
Are you struggling to remove a stuck monopod shoe from your camera? Don’t worry, you’re not alone. Many photographers have encountered this frustrating situation at some point. Whether the shoe is jammed due to wear and tear or improper usage, it can be a challenging problem to solve. Thankfully, with some patience and the right techniques, you can safely and successfully remove the stuck monopod shoe from your camera without causing any damage. In this article, we will guide you through the process, providing helpful tips and step-by-step instructions to ensure a smooth and hassle-free removal. So, if you’re ready to regain full functionality of your camera, let’s get started!
Inside This Article
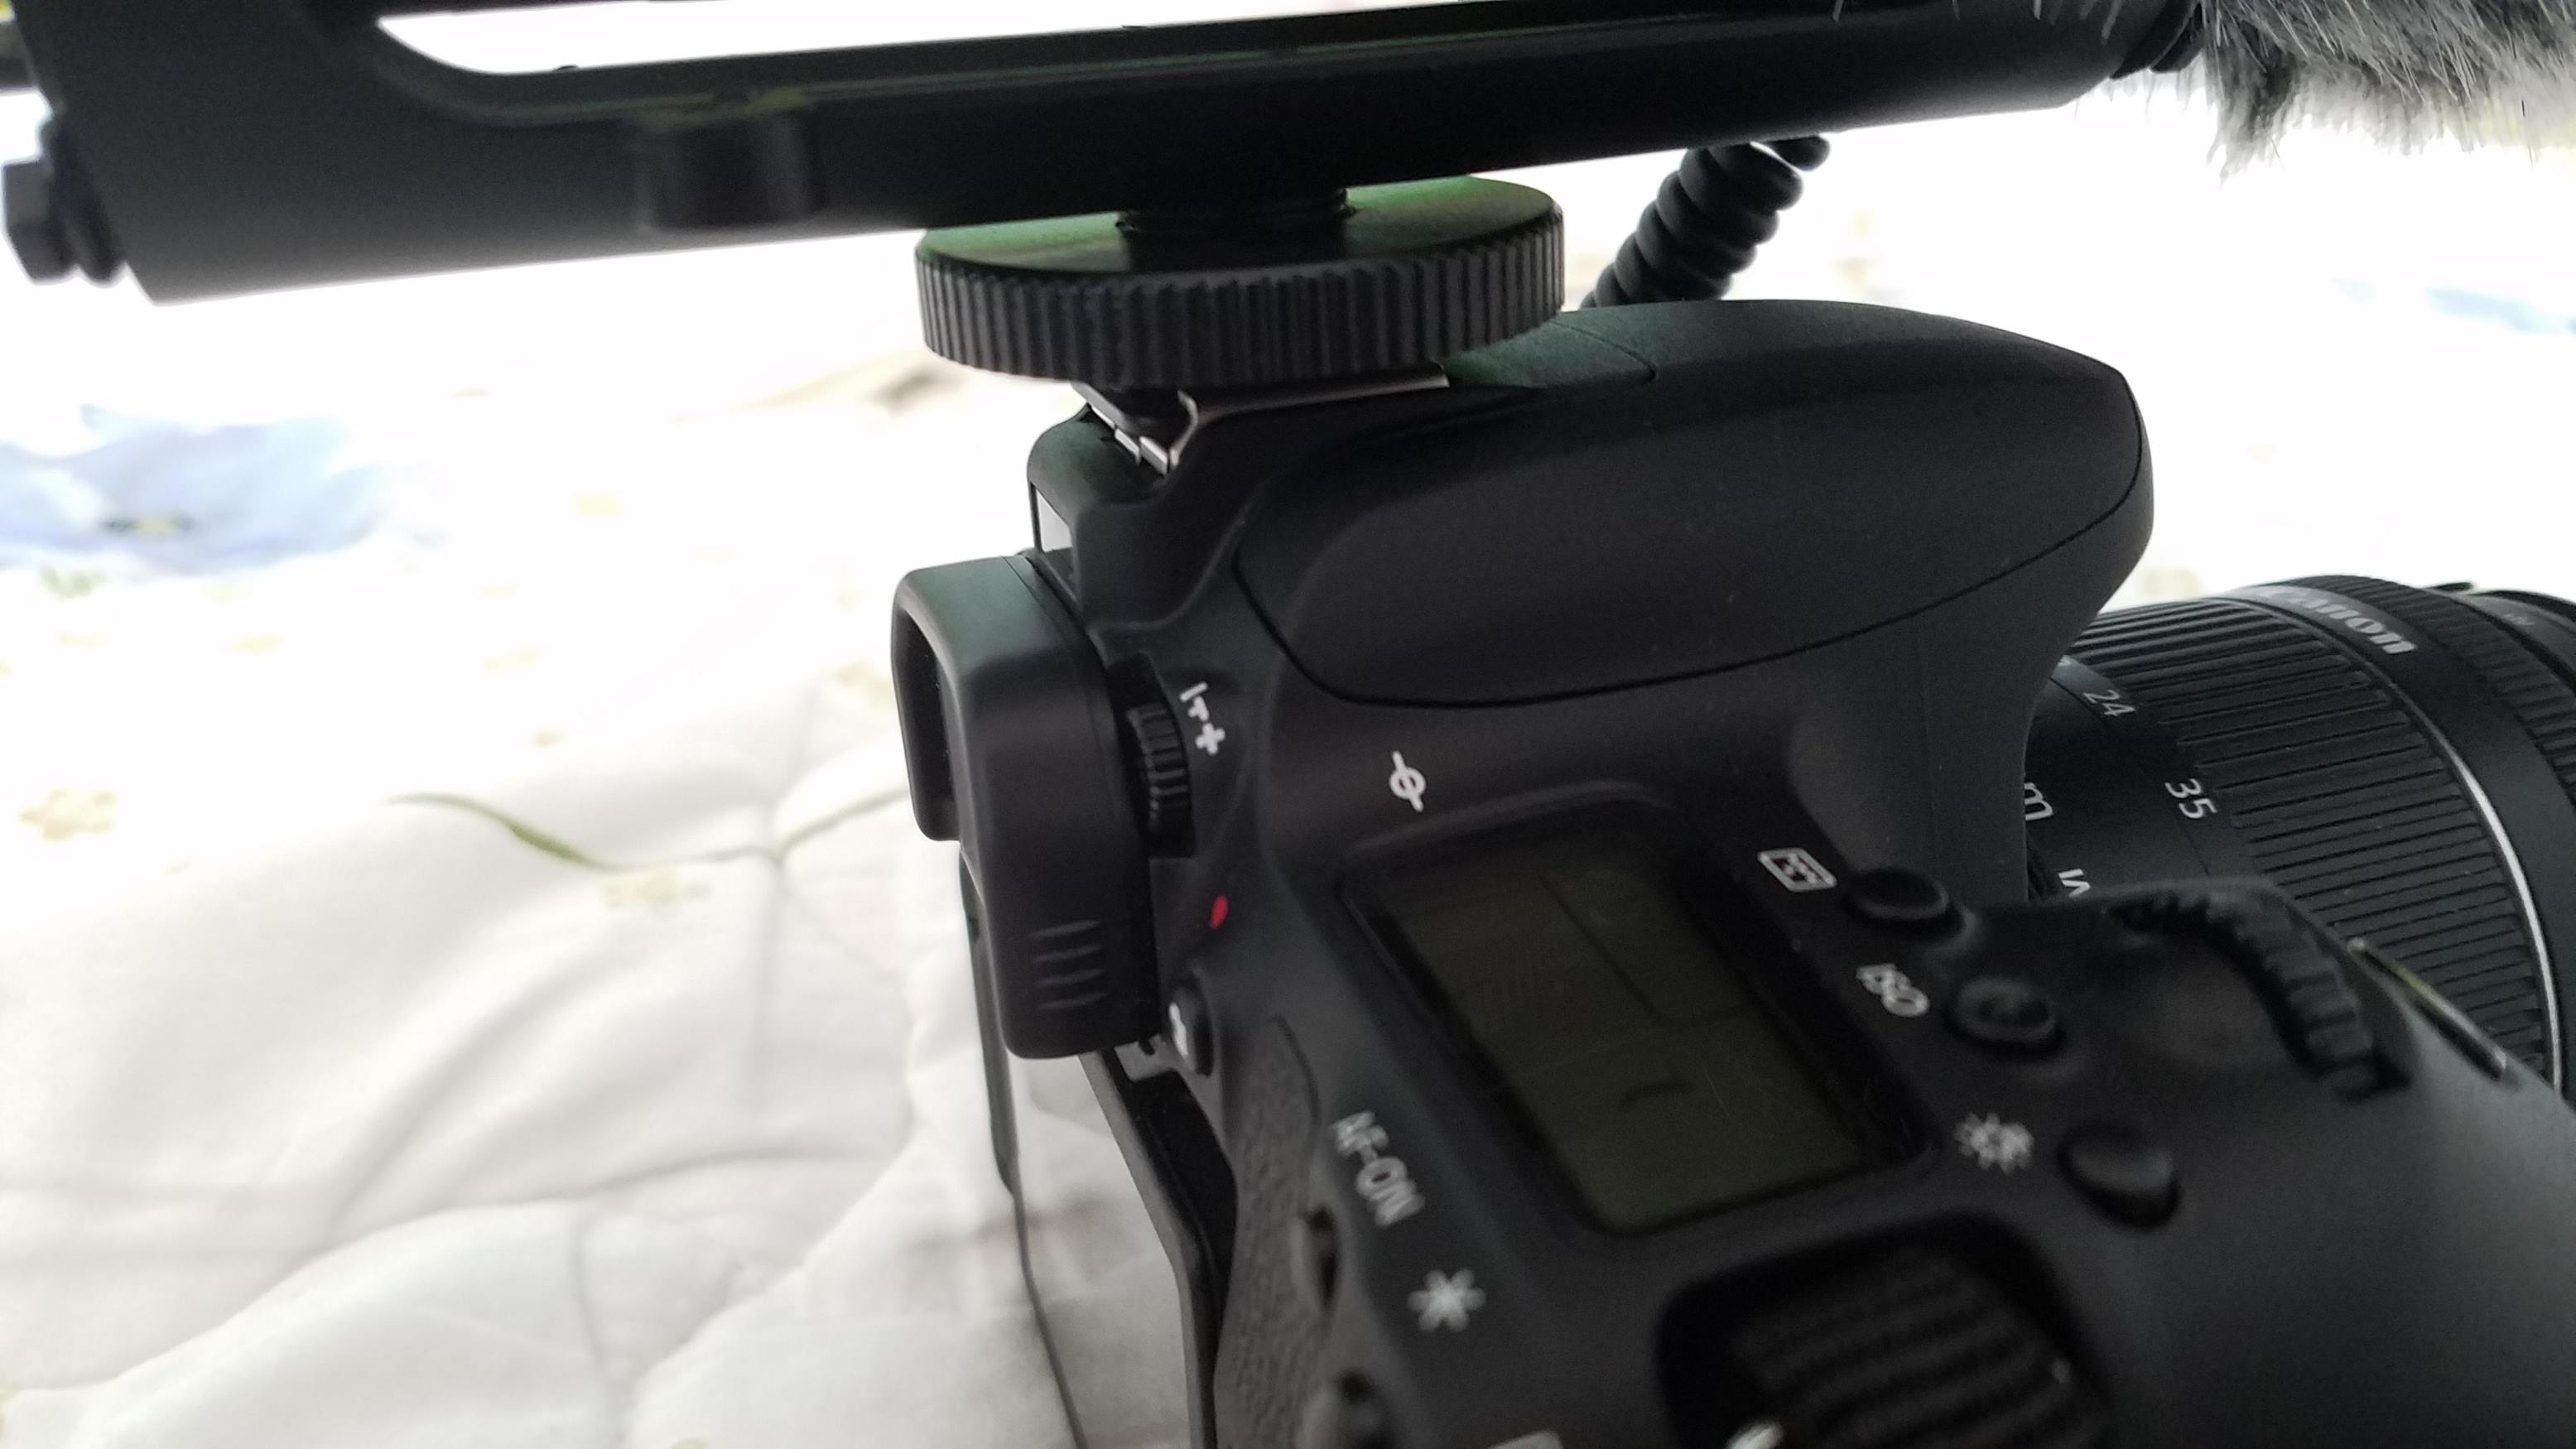
- Overview of a Stuck Monopod Shoe
- Methods to Remove a Stuck Monopod Shoe
- Safety Precautions
- Conclusion
- FAQs
Overview of a Stuck Monopod Shoe
A monopod shoe is a small accessory that attaches to the bottom of a camera and allows it to be mounted onto a monopod or tripod. It provides stability and support for capturing steady shots. However, there are instances when the monopod shoe can become stuck or jammed, making it difficult to remove. This can be a frustrating situation for photographers and videographers who rely on their equipment for their work.
When a monopod shoe gets stuck, it usually means that the mechanism that holds it in place has become tight or lodged. This can happen due to dirt, debris, or wear and tear over time. Removing a stuck monopod shoe requires some finesse, patience, and the right techniques to avoid any damage to the camera or shoe.
In the following sections, we will explore different methods to safely and effectively remove a stuck monopod shoe from your camera, providing you with the knowledge and tools to handle this situation with ease.
Methods to Remove a Stuck Monopod Shoe
Dealing with a stuck monopod shoe can be frustrating, especially when you want to quickly switch between different accessories or attach your camera to a tripod. However, with a little patience and the right approach, you can successfully remove the stuck shoe without causing any damage. Here are some effective methods to help you tackle this issue:
Using Lubrication
One of the simplest and most common methods to remove a stuck monopod shoe is by using a lubricant. Apply a small amount of lubricating oil, such as WD-40, around the edges of the shoe where it is stuck. Let it sit for a few minutes to allow the lubricant to penetrate and loosen any debris or corrosion. Next, gently twist and wiggle the shoe back and forth to help loosen it further. Repeat this process if necessary, and with a little perseverance, the shoe should come off.
Applying Heat
If the monopod shoe is stuck due to adhesive residue or dried-up glue, applying heat can help soften the adhesive and make it easier to remove. Use a hairdryer on a low or medium heat setting to warm up the shoe and the area around it. Be cautious not to overheat the surrounding parts and avoid direct contact with the camera or tripod. Once the adhesive has softened, gently twist and slide the shoe to remove it. This method may require multiple attempts, so be patient and careful.
Utilizing Tools
If the monopod shoe simply refuses to budge, you may need to employ some tools to aid in its removal. A flathead screwdriver or a plastic pry tool can help provide leverage and assist in loosening the shoe. Place the tool underneath the shoe and slowly apply pressure while gently twisting and wiggling. Be careful not to exert too much force to prevent damaging the camera or tripod. Additionally, ensure that the tool you are using is non-abrasive and will not scratch or harm the surfaces.
Seeking Professional Help
If all else fails, and you are concerned about causing any damage to your camera or accessories, it might be best to seek professional help. Contact the monopod manufacturer, a camera repair service, or visit a local photography store for assistance. They have the expertise and specialized tools to safely remove the stuck monopod shoe without jeopardizing the integrity of your equipment.
Remember, when attempting any of these methods, it’s crucial to proceed with caution and avoid using excessive force. Take your time, be patient, and if you are unsure or uncomfortable, it’s always better to seek professional advice. With the right approach and a little perseverance, you’ll be able to remove that stubborn monopod shoe and get back to capturing incredible shots in no time.
Safety Precautions
When it comes to safety, it is crucial to take the necessary precautions to ensure the well-being of individuals. This is especially true in situations where potential risks or hazards are involved. Whether you are working with heavy machinery, engaging in sports activities, or even performing simple household tasks, incorporating safety precautions is of utmost importance. By following a few simple guidelines, you can minimize the chances of accidents and injuries. Here are some key safety precautions to keep in mind:
1. Wear appropriate protective gear: Depending on the activity or task at hand, it is important to wear the right protective gear. This can include items such as helmets, goggles, gloves, safety shoes, or masks. Protective gear is designed to safeguard specific body parts and reduce the risk of injury.
2. Use tools and equipment correctly: Improper use of tools and equipment can lead to accidents and injuries. Always read and follow the manufacturer’s instructions before using any device. Ensure that tools are properly maintained and in good working condition.
3. Be mindful of your surroundings: Awareness of your surroundings is crucial for preventing accidents. Identify potential hazards in your environment and take appropriate measures to eliminate or minimize them. Stay alert and focus on the task at hand to avoid unnecessary mishaps.
4. Follow proper ergonomic practices: Whether you are working at a desk or engaging in physical labor, practicing good ergonomics is essential. Maintain proper posture, take regular breaks, and use ergonomic equipment to prevent unnecessary strain and discomfort on your body.
5. Keep emergency tools and contacts readily available: In case of an emergency, it is important to have accessible emergency tools and contacts. This can include items such as fire extinguishers, first aid kits, emergency phone numbers, and escape routes. Ensure that everyone in your household or workplace knows where these resources are located.
6. Stay informed and trained: Regularly update your knowledge and skills relevant to the activities you engage in. Stay informed about any new safety guidelines or procedures. Attend training sessions or workshops to enhance your understanding of safety practices.
7. Practice good housekeeping: A clean and organized environment can help prevent accidents. Keep walkways clear of clutter, dispose of waste properly, and store hazardous substances correctly. Regularly inspect and maintain your surroundings to ensure a safe and tidy environment.
8. Communicate and report hazards: If you notice any potential hazards or unsafe conditions, communicate them to the relevant authorities or supervisors. Promptly report any accidents or near-miss incidents to ensure that appropriate actions are taken to prevent future occurrences.
Remember, safety should never be compromised. Incorporating these safety precautions into your daily routine will help protect you and others from unnecessary harm. Stay vigilant, follow guidelines, and prioritize safety in all your activities.
Conclusion
Removing a stuck monopod shoe from a camera can be a frustrating and challenging task. However, with the right approach and some patience, you can successfully detach the shoe without causing any damage to your camera equipment.
Remember to always start with gentle pressure and try twisting the shoe counterclockwise. If that doesn’t work, utilizing tools like pliers or rubber grips can provide the extra leverage needed to release the shoe. It’s crucial to exercise caution and avoid applying excessive force to prevent any potential harm to the camera or monopod.
When faced with a stubborn and immovable shoe, consulting professional help from a camera technician or the manufacturer may be the best course of action. They possess the expertise and specialized tools required to handle intricate camera repairs.
By following these tips and tricks, you can confidently and safely remove a stuck monopod shoe from your camera, ensuring that you continue to capture those special moments with ease.
FAQs
1. How do I take off a stuck monopod shoe from my camera?
To remove a stuck monopod shoe from your camera, you can try the following steps:
- Turn off your camera and ensure it is safely secured.
- Gently apply pressure on the shoe release button or lever, if your monopod has one, while pulling upward on the shoe.
- If the shoe still does not come off, try slightly rotating it from side to side while applying upward pressure, as this can help loosen any tight connection.
- If the monopod shoe remains stuck, you can use a pair of pliers or a wrench with a cloth or rubber grip to protect the shoe. Carefully hold the shoe with the pliers or wrench and twist it counterclockwise to loosen and detach it from the camera.
Remember to exercise caution while using tools to avoid damaging your camera or monopod.
2. Can I use lubricants to remove a stuck monopod shoe?
It is generally not recommended to use lubricants to remove a stuck monopod shoe from your camera. While lubricants may initially provide some ease in removing the shoe, they can potentially cause the shoe to become loose or detach during use, compromising the stability of your camera setup. It is best to follow the steps outlined in the previous answer and avoid using lubricants unless specifically recommended by the monopod manufacturer.
3. What should I do if the shoe release button is not working?
If the shoe release button on your monopod is not working, you can consider the following options:
- Check for any obstacles or debris that might be hindering the button’s functionality. Remove any visible obstruction carefully, ensuring not to damage the button or surrounding parts.
- If the button still does not work, you can try gently tapping it or lightly applying pressure from different angles to see if it becomes unstuck.
- If the shoe release button remains unresponsive, you may need to contact the monopod manufacturer or seek professional assistance for repair or replacement options.
4. Is it possible to remove a stuck monopod shoe without using tools?
Yes, it is possible to remove a stuck monopod shoe without using tools. The first step is to try applying upward pressure while simultaneously twisting and turning the shoe gently from side to side. This motion can help loosen the stuck connection and allow the shoe to be removed. However, if these methods do not work, utilizing tools, such as pliers or a wrench, may be necessary as described in the previous answer.
5. Can a stuck monopod shoe damage my camera?
A stuck monopod shoe has the potential to damage your camera if force is applied incorrectly during removal. It is important to exercise care and use proper techniques to avoid any mishaps. Applying excessive force or using inappropriate tools can lead to scratches, dents, or even component breakage on your camera. If you are unsure or uncomfortable with removing the shoe yourself, it is highly recommended to reach out to a professional camera technician for assistance to minimize the risk of damage.