
Welcome to our comprehensive guide on how to use GPS on the Fitbit Charge 5. With the increasing popularity of fitness tracking devices, the Fitbit Charge 5 stands out with its advanced GPS capabilities. Whether you’re a seasoned runner exploring new routes or a hiker venturing into uncharted trails, the GPS functionality on the Fitbit Charge 5 can provide you with accurate and real-time tracking of your workouts and outdoor activities.
In this article, we will dive into the steps to activate and utilize GPS on your Fitbit Charge 5. We’ll explore how to connect to GPS, track your outdoor activities with precision, and make the most out of this feature to take your fitness journey to new heights. So, put on your Charge 5 and get ready to unlock the full potential of GPS tracking on your Fitbit device.
Inside This Article
- Getting Started with GPS on Fitbit Charge 5
- Pairing Fitbit Charge 5 with your Smartphone
- Enabling GPS on Fitbit Charge 5
- Using GPS to Track Activities on Fitbit Charge 5
- Conclusion
- FAQs
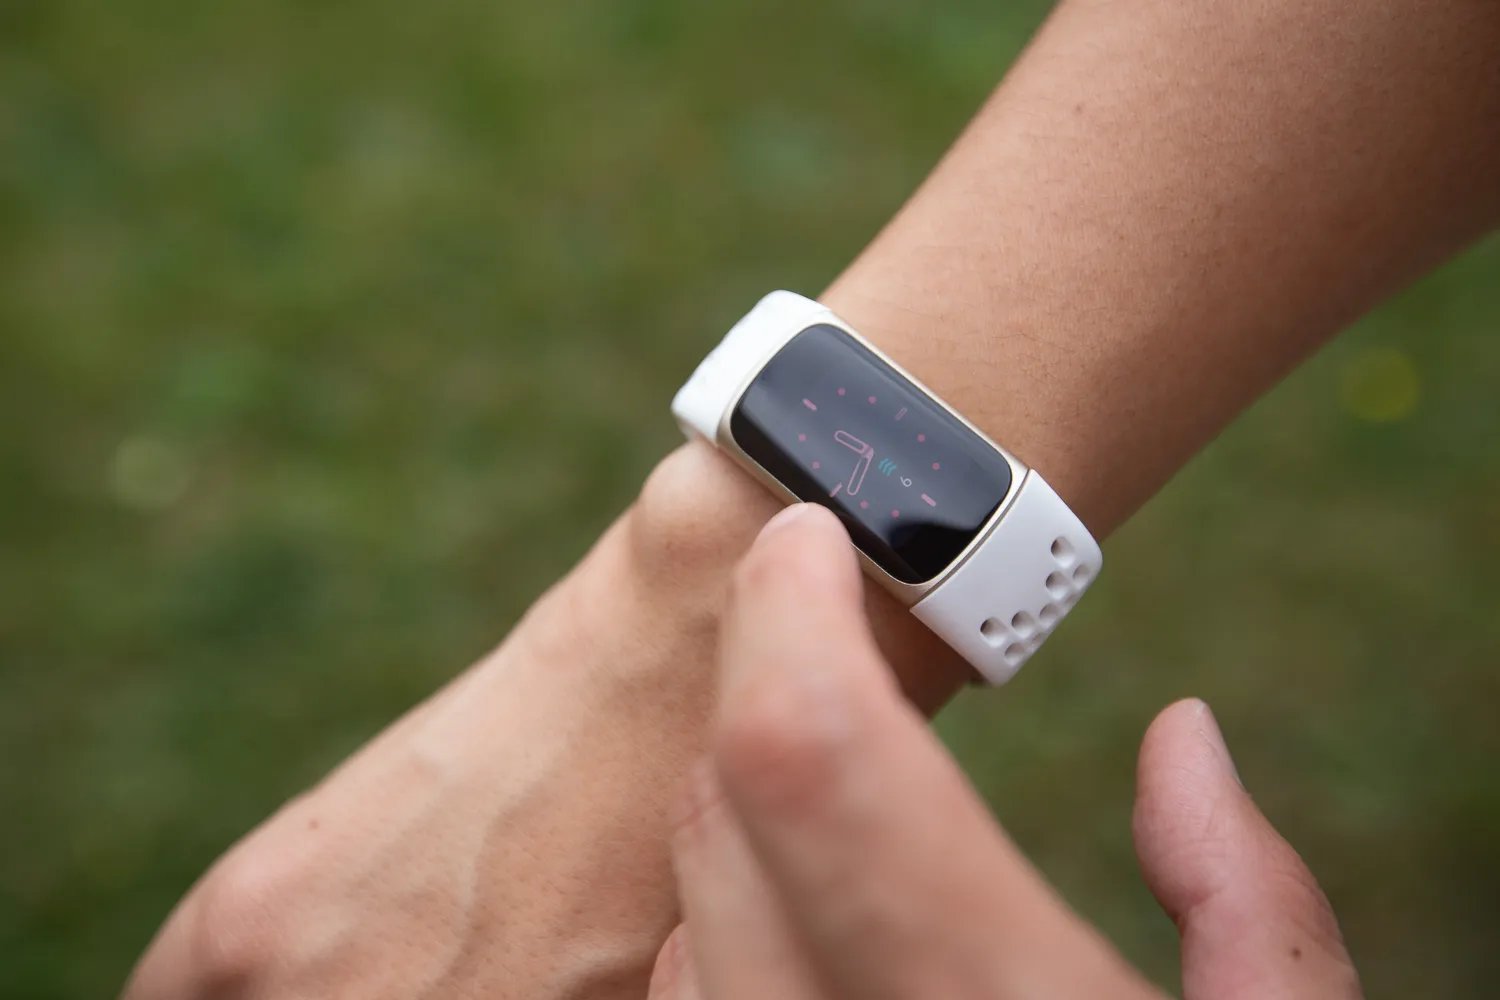
Getting Started with GPS on Fitbit Charge 5
If you’re an adventure enthusiast or a fitness enthusiast who loves tracking outdoor activities, then you’re in for a treat with the Fitbit Charge 5. This sleek and powerful fitness tracker comes equipped with a built-in GPS, allowing you to accurately track and map your outdoor activities such as running, hiking, and cycling.
To make the most of the GPS feature on your Fitbit Charge 5, you’ll need to follow a few simple steps to get started. Here’s a step-by-step guide on how to use GPS on your Fitbit Charge 5:
- Firstly, make sure your Fitbit Charge 5 is securely fastened on your wrist. Adjust the band to ensure a comfortable and snug fit.
- Next, ensure that your Fitbit Charge 5 is properly connected to your smartphone. This will allow your Fitbit to receive GPS data from your phone.
- Open the Fitbit app on your smartphone and navigate to the device settings section.
- Look for the GPS settings option and make sure it is turned on. If it is turned off, toggle the switch to enable GPS functionality.
- Once GPS is enabled, your Fitbit Charge 5 will start searching for GPS signals. This may take a few moments, so be patient.
- When the GPS signal is found, you will see a small icon on your Fitbit’s display indicating that GPS is active.
- Now you’re ready to start your outdoor activity. Whether it’s a run, a hike, or a bike ride, simply select the relevant activity mode on your Fitbit Charge 5.
- During your activity, your Fitbit Charge 5 will continuously track your movements and collect GPS data.
- When you’ve completed your activity, stop the tracking on your Fitbit Charge 5.
- Sync your Fitbit with the app on your smartphone to view detailed maps and statistics of your tracked activity.
Using the GPS feature on your Fitbit Charge 5 opens up a whole new world of exercise tracking and outdoor adventures. So why wait? Get started with GPS on your Fitbit Charge 5 and embark on your fitness journey with confidence and precision.
Pairing Fitbit Charge 5 with your Smartphone
Pairing your Fitbit Charge 5 with your smartphone is a crucial step to unlock the full potential of this powerful fitness tracker. Not only does it allow you to receive notifications and call alerts on your wrist, but it also enables you to use GPS tracking for precise activity tracking. Follow these simple steps to pair your Fitbit Charge 5 with your smartphone:
1. Ensure that your smartphone is compatible with the Fitbit Charge 5. The Charge 5 is compatible with both Android and iOS devices, so whether you use an iPhone or an Android phone, you’ll be able to connect it effortlessly.
2. Install the Fitbit app on your smartphone. The Fitbit app is available for free on the Google Play Store for Android devices and the App Store for iOS devices. Download and install the app, then open it.
3. Create a Fitbit account or log in to your existing account. If you’re a new user, you’ll need to provide some basic information and set up your profile. If you already have a Fitbit account, simply log in with your credentials.
4. Tap on the profile icon in the top-left corner of the Fitbit app and select “Set Up a Device.” Choose “Fitbit Charge 5” from the list of available devices.
5. Follow the on-screen instructions to initiate the pairing process. Make sure that Bluetooth is enabled on your smartphone, as the Fitbit Charge 5 relies on Bluetooth technology to connect to your phone.
6. Once your Fitbit Charge 5 is detected, tap on it to begin the pairing process. You may be prompted to enter a four-digit code displayed on your Charge 5 to confirm the connection.
7. Complete the pairing process by following the remaining on-screen instructions. This may involve granting necessary permissions and allowing the Fitbit app to access specific features on your smartphone.
8. Once the pairing is successful, your Fitbit Charge 5 will be connected to your smartphone. You can customize settings, receive notifications, and track your activities seamlessly.
Remember, it’s important to keep your Fitbit app and smartphone software up to date to ensure optimal compatibility and performance. Regularly check for updates in your app store to take advantage of new features and improvements.
By following these steps, you’ll be able to pair your Fitbit Charge 5 with your smartphone effortlessly, allowing you to fully leverage its functionality and stay connected while achieving your fitness goals.
Enabling GPS on Fitbit Charge 5
Fitbit Charge 5 is a feature-packed fitness tracker that comes with built-in GPS functionality. Enabling GPS on your Fitbit Charge 5 is a simple process that allows you to track your outdoor activities accurately. Here’s a step-by-step guide on how to enable GPS on the Fitbit Charge 5.
1. Make sure your Fitbit Charge 5 is fully charged and paired with a compatible smartphone. GPS functionality requires the tracker to be connected to a smartphone.
2. Open the Fitbit app on your smartphone and ensure that it is up to date. If there are any pending updates, install them before proceeding.
3. On the Fitbit app’s dashboard, tap on the Charge 5 icon or go to the device settings.
4. Scroll down and locate the “GPS” option. Tap on it to access the GPS settings.
5. You will see the option to enable GPS on your Fitbit Charge 5. Toggle the switch to the “On” position.
6. Once GPS is enabled, you can choose whether to allow Fitbit to use your smartphone’s GPS alongside the tracker’s built-in GPS. This helps improve GPS accuracy. Decide based on your preference.
7. After enabling GPS, exit the settings and return to the Fitbit app’s dashboard.
8. You are now ready to use GPS to track your activities on your Fitbit Charge 5. Go for a run, hike, or bike ride, and your tracker will capture accurate GPS data to provide insightful performance metrics.
Enabling GPS on your Fitbit Charge 5 empowers you to track various outdoor activities with precision. Remember to keep your tracker connected to your smartphone for GPS functionality to work effectively. Get out there and explore the outdoors while effortlessly monitoring your fitness goals with the help of Fitbit Charge 5’s GPS feature.
Using GPS to Track Activities on Fitbit Charge 5
Fitbit Charge 5 is not only a stylish fitness tracker but also a powerful device that incorporates GPS technology. Utilizing GPS on your Fitbit Charge 5 can enhance your activity tracking experience by providing accurate distance, pace, and route information during outdoor workouts. Here’s a step-by-step guide on how to use GPS to track activities on your Fitbit Charge 5.
1. Start by selecting the desired activity mode on your Fitbit Charge 5. Whether you’re going for a run, hike, bike ride, or outdoor workout, make sure to choose the appropriate mode that aligns with your activity.
2. Once you’ve selected your activity, swipe left on your Fitbit Charge 5 until you reach the GPS icon. Tap on it to enable GPS tracking for your activity.
3. The Fitbit Charge 5 will now search for GPS signal. It may take a few moments to establish a connection, especially if you’re in an area with limited GPS reception. To improve GPS signal acquisition, make sure you’re in an open area with a clear view of the sky.
4. Once GPS signal is acquired, your Fitbit Charge 5 will display a GPS icon with signal strength bars. This indicates that your device is ready to track your activity using GPS.
5. Start your activity and let the Fitbit Charge 5 track your movement using GPS. As you exercise, the device will continuously update your distance, pace, and other relevant metrics based on the GPS data it receives.
6. During your activity, you can swipe right on your Fitbit Charge 5 to access the real-time activity stats screen. Here, you’ll be able to view information such as distance traveled, current pace, and duration.
7. After completing your activity, you can end the tracking session by pressing the side button on your Fitbit Charge 5. This will save your activity data, including the GPS route, to your Fitbit account.
8. To review your tracked activities and view detailed GPS data, open the Fitbit app on your paired smartphone. From there, you can access a wealth of information, including maps of your GPS routes, splits, and a comprehensive breakdown of your performance metrics.
By using GPS on your Fitbit Charge 5, you can accurately track your outdoor activities and gain valuable insights into your performance. Whether you’re aiming to improve your running speed, track your cycling routes, or explore new hiking trails, GPS on Fitbit Charge 5 will be your reliable companion.
Conclusion
GPS is a valuable feature of the Fitbit Charge 5 that allows users to accurately track their outdoor activities and view detailed data about their workouts. Whether you are going for a run, bike ride, or hike, the GPS on the Fitbit Charge 5 can provide you with real-time metrics such as distance, pace, and elevation.
The integration of GPS into a fitness tracker like the Fitbit Charge 5 opens up a world of possibilities for tracking your outdoor adventures and achieving your fitness goals. With the ability to map out your routes and monitor your progress, you can challenge yourself to go further, faster, and higher than ever before.
So, whether you’re a fitness enthusiast, an outdoor adventurer, or simply looking to track your everyday activities, the GPS feature on the Fitbit Charge 5 is a valuable tool that elevates your fitness journey to new heights.
FAQs
1. Can I use GPS on my Fitbit Charge 5?
Yes, the Fitbit Charge 5 is equipped with built-in GPS functionality. This allows you to track your outdoor activities, such as running, hiking, or cycling, without needing to bring your smartphone along.
2. How do I activate GPS on my Fitbit Charge 5?
To activate GPS on your Fitbit Charge 5, follow these steps:
- Open the Fitbit app on your smartphone.
- Tap on your profile icon in the top left corner.
- Select your Fitbit Charge 5 from the list of devices.
- Scroll down and tap on “Exercise Shortcuts.”
- Tap on “GPS.”
- Toggle the switch to enable GPS.
3. Does using GPS on Fitbit Charge 5 drain the battery quickly?
Using GPS on your Fitbit Charge 5 may have an impact on battery life. If you plan on using GPS for an extended period, it is recommended to fully charge your Fitbit Charge 5 beforehand. Additionally, you can optimize battery usage by disabling unnecessary features like always-on display and notifications during your GPS-tracked activities.
4. Can I see my GPS-tracked route on the Fitbit app?
Yes, you can view your GPS-tracked route on the Fitbit app. After completing your outdoor activity, open the Fitbit app, go to your exercise history, and select the activity you want to view. The app will display a summary of your activity, including a map showing your route.
5. Can I use GPS on my Fitbit Charge 5 without a smartphone?
Yes, the Fitbit Charge 5 has a built-in GPS, allowing you to use GPS for outdoor activities even without a smartphone. This means you can leave your phone behind and still track your distance, pace, and routes directly from your Fitbit device.