
Are you new to the world of audio equipment and wondering how to wire an XLR connector? Look no further. In this informative guide, we will walk you through the process of wiring an XLR connector step by step.
An XLR connector is a popular type of audio connector used in professional audio settings. It is commonly found on microphones, mixers, and other audio devices. Understanding how to properly wire an XLR connector is crucial for anyone working in the audio industry or for those who enjoy DIY audio projects.
By the end of this article, you will have a clear understanding of how an XLR connector is wired and be confident in your ability to connect XLR cables correctly. So, let’s dive in and get started!
Inside This Article
- Essential Tools and Materials
- Step 1: Understanding the XLR Connector
- Step 2: Gather the Necessary Components
- Step 3: Preparing the Cable
- Step 4: Wiring the XLR Connector
- Step 5: Testing the Connection
- Troubleshooting Tips
- Final Thoughts
- Conclusion
- FAQs
Essential Tools and Materials
When it comes to wiring an XLR connector, having the right tools and materials is crucial for a successful job. Here are the essential tools and materials you will need:
1. XLR Connectors: These are the key components of the wiring process. Make sure to have a sufficient number of male and female XLR connectors, depending on your specific needs.
2. Cable: Choose a high-quality cable suitable for carrying audio signals. Look for cables specifically designed for XLR connectors to ensure proper connectivity and signal integrity.
3. Wire Strippers: These tools are essential for removing the outer insulation of the cable and exposing the individual conductor wires. Make sure to choose wire strippers that are appropriate for the gauge of the cable you are using.
4. Soldering Iron: A soldering iron is necessary for securely attaching the wires to the XLR connectors. Invest in a good-quality soldering iron with adjustable heat settings for precise soldering.
5. Solder: Use high-quality solder to create reliable and durable connections between the wires and the XLR connectors. Look for solder that is specifically designed for electronic applications.
6. Heat Shrink Tubing: Heat shrink tubing is used to insulate and protect the soldered connections. It provides strength and durability to the wiring job. Choose the appropriate size of heat shrink tubing for your specific application.
7. Multimeter: A multimeter is a versatile tool that allows you to test the continuity and stability of the connections. It helps ensure that the wiring is done correctly and there are no faulty connections.
8. Wire Cutter: A pair of wire cutters comes in handy for trimming the excess wire length and ensuring neat and clean connections.
9. Electrical Tape: Electrical tape can be used as an additional layer of insulation and to secure the connections. Opt for high-quality electrical tape that provides good adhesion and remains in place over time.
10. Safety Equipment: Prioritize safety by wearing insulated gloves and safety glasses during the wiring process to protect yourself from potential electrical hazards. Safety should always be the top priority.
Having these essential tools and materials ready before you start wiring an XLR connector will save you time and ensure a professional and reliable connection. Make sure to double-check your supplies to ensure you have everything you need before getting started.
Step 1: Understanding the XLR Connector
The XLR connector is a widely used professional audio connector that provides a secure and balanced connection for microphones, speakers, and other audio equipment. It consists of three pins, each with a specific function, housed within a durable and reliable metal casing.
The first pin, known as the “hot” or “positive” pin, carries the audio signal. It is commonly represented by the color red. The second pin is the “cold” or “negative” pin, which completes the balanced signal. This pin is typically represented by the color black. The third pin is the ground pin, represented by the color green or blue, and is responsible for shielding the audio signal from interference.
Understanding the function and layout of these pins is crucial when wiring an XLR connector. It ensures that the audio signal is properly transmitted and received, resulting in excellent sound quality and reduced noise.
Another important aspect of the XLR connector is its gender. XLR connectors come in male and female versions, denoted by the number of pins on the connector. Male XLR connectors have pins, while female XLR connectors have corresponding holes to accept the pins. This gender differentiation allows for easy connection and compatibility between different audio devices.
In addition to its balanced audio capabilities, the XLR connector also supports phantom power. This feature allows a device, such as a microphone, to receive power from the audio system through the XLR cable. Phantom power is typically required for condenser microphones and other devices that require additional power to operate.
By understanding the basic anatomy of the XLR connector, including its pins, gender, and phantom power capabilities, you are one step closer to successfully wiring an XLR connector for your audio needs.
Step 2: Gather the Necessary Components
Before you start wiring an XLR connector, it’s crucial to gather all the necessary components. Having everything you need within reach will ensure a smooth and efficient process. Here are the essential tools and materials you’ll need:
- XLR Connector: The heart of the wiring process, the XLR connector is a three-pin connector commonly used in audio systems. You will need one male and one female connector for your project.
- Shielded Cable: Use a shielded cable designed for audio applications. It is important to use a cable with the appropriate gauge for your specific needs.
- Wire Strippers: These tools are essential for removing the outer casing of the cable and exposing the inner wires for connection.
- Connector Housing: The connector housing provides protection and stability for the XLR connector. Make sure you have two housings, one for the male connector and one for the female connector.
- Heat Shrink Tubing: Heat shrink tubing is used to insulate and protect the soldered connections. Choose tubing that fits the diameter of your cable and connectors.
- Soldering Iron and Solder: These are essential tools for connecting the wires to the pins of the XLR connector. Make sure you have a soldering iron with a fine tip for precise work.
- Heat Gun or Lighter: You will need a heat gun or a lighter to shrink the heat shrink tubing and ensure a secure and insulated connection.
- Wire Labels or Marker: It’s always helpful to label your wires or use a marker to indicate which wire is connected to which pin of the XLR connector.
- Wire Ties or Velcro Straps: To keep your cables organized and prevent them from tangling, have some wire ties or velcro straps on hand.
By gathering all these components before you begin, you’ll have everything you need to successfully wire an XLR connector and ensure a professional and reliable audio connection.
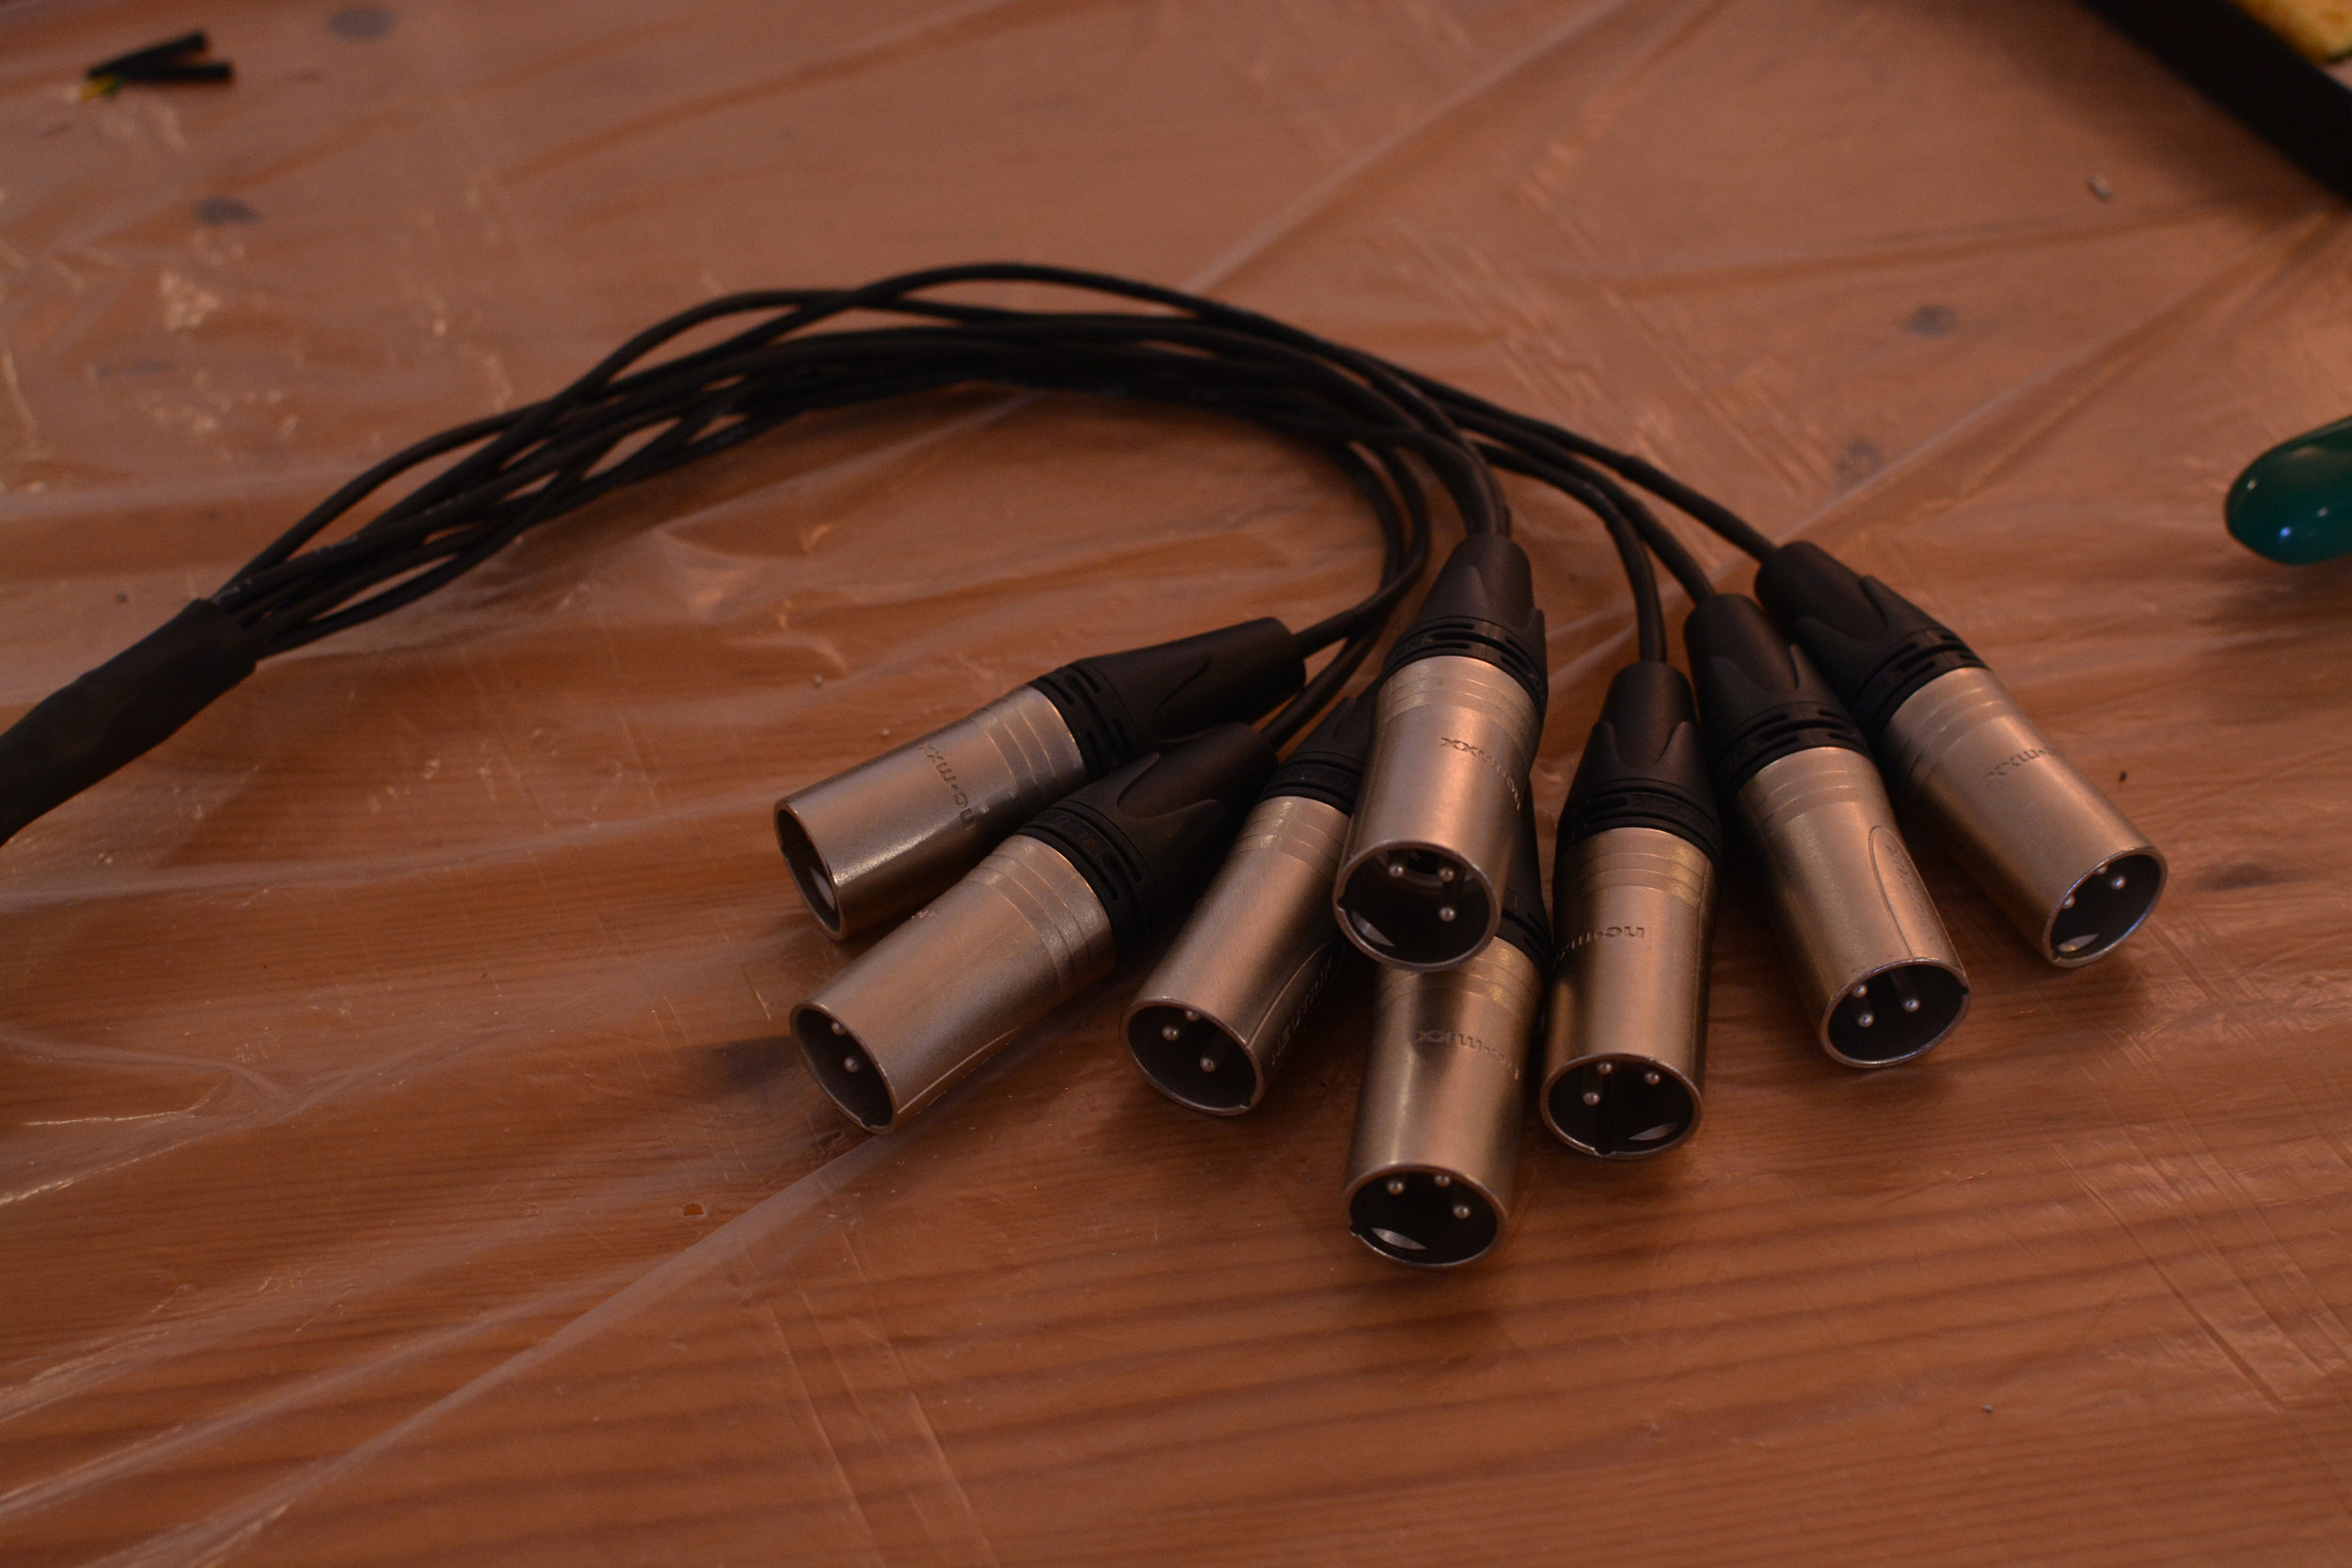
Step 3: Preparing the Cable
Before you can wire an XLR connector, it’s crucial to properly prepare the cable. Here are the steps to ensure that the cable is ready for the wiring process:
1. Start by cutting the cable to the desired length using sharp wire cutters. Make sure to leave some extra length for stripping and connecting the wires.
2. Carefully remove the outer jacket of the cable using a cable stripper. You need to expose the inner wires without damaging them. Take your time and be precise during this step.
3. Once the outer jacket is removed, you will find several insulated wires inside. For standard XLR connectors, you will typically have three wires – one for the ground, one for the positive signal, and one for the negative signal. Identify these wires and separate them from each other.
4. Strip about 1/2 inch of insulation from the end of each wire using wire strippers. Be cautious and avoid cutting into the wire strands while stripping the insulation.
5. After the insulation is stripped, you may notice that each wire consists of multiple strands. It’s essential to twist these strands together to ensure a solid and consistent connection.
6. Use your fingers or a pair of pliers to carefully twist the strands of each wire together. Make sure the twisted sections are tight and secure, preventing any loose strands from causing a poor connection or short circuit.
7. Once the wires are twisted, it’s recommended to tin the ends of each wire. Tinning involves applying a small amount of solder to the end of the wire, which helps in achieving a clean and secure connection during the wiring process.
8. Heat up your soldering iron and apply just enough solder to coat the exposed wire strands. Allow the solder to flow smoothly and evenly, enhancing the conductivity of the wire.
9. Repeat the above steps for all the wires involved in the XLR connection. Ensure that each wire has a neatly twisted and tinned end.
Now that your cable is properly prepared, you’re ready to move on to the next step: wiring the XLR connector. Remember to take your time and be meticulous during this process to achieve a reliable and professional connection.
Step 4: Wiring the XLR Connector
Wiring the XLR connector is a crucial step to ensure proper connectivity and signal transmission. Follow these steps to correctly wire your XLR connector:
- Identify the pins: The XLR connector has three pins – pin 1, pin 2, and pin 3. Pin 1 is commonly the ground connection, while pin 2 and pin 3 are used for the audio signal.
- Strip the cable: Begin by stripping off the outer covering of the cable, exposing the inner wires. Make sure to leave around 1/2 to 3/4 inch of the inner wires exposed.
- Identify the wire colors: XLR cables typically have three wires – a shield wire, hot wire, and cold wire. The shield wire is usually wrapped around the hot and cold wires, acting as a protective grounding wire. The hot wire is often red or white, while the cold wire is black or green.
- Solder the connections: Start by soldering the shield wire. The shield wire should be soldered to pin 1, which is usually the longer pin. Wrap the shield wire around the pin and apply heat to melt the solder, ensuring a secure connection. Trim any excess wire that extends beyond the soldered connection.
- Solder the hot wire: The hot wire should be soldered to pin 2. Slide the wire into the small hole on the pin and apply heat until the solder flows and creates a solid connection. Trim any excess wire as needed.
- Solder the cold wire: The cold wire is soldered to pin 3. Insert the wire into the hole on the pin and solder it in place. Trim any excess wire.
- Insulate the connections: To prevent any short circuits or accidental contact, insulate the soldered connections using heat shrink tubing or electrical tape. Slide the tubing or wrap the tape around each soldered connection and use a heat source to shrink the tubing or secure the tape.
By following these steps and properly wiring your XLR connector, you can ensure a reliable and high-quality audio connection. Double-check your connections, making sure there are no loose wires or exposed metal that could cause interference or damage to your equipment. Take your time and pay attention to detail for a professional and long-lasting wiring job.
Step 5: Testing the Connection
After wiring the XLR connector, it is crucial to test the connection to ensure that everything is working correctly. This step is essential because it allows you to identify and troubleshoot any potential issues before using the cable.
Here is a simple yet effective method to test the XLR connection:
1. First, connect one end of the XLR cable to a compatible device, such as a microphone or audio interface.
2. Next, connect the other end of the cable to another compatible device, such as a mixer or amplifier.
3. Make sure that both devices are powered on and set to the correct input/output settings.
With everything in place, perform the following tests:
Test 1: Signal transmission
Speak or sing into the connected microphone while monitoring the audio output. Check if the audio signal is being transmitted clearly and without any distortion or interference.
Test 2: Channel separation
If you are using a stereo cable or a cable with multiple channels, verify that the left and right channels are correctly separated and delivering the expected audio in each channel.
Test 3: Grounding and noise
Listen carefully for any unwanted noise, hum, or buzzing during audio playback. This can be an indication of poor grounding or interference. Try repositioning the cables, ensuring proper grounding, or using an isolation transformer if needed.
If any issues arise during the testing phase, double-check the wiring connections and ensure that each wire is securely connected to the correct pin. Make any necessary adjustments or corrections to rectify the problem.
Remember, testing the XLR connection is a critical step to guaranteeing optimal audio performance. By taking the time to thoroughly test the connection, you can troubleshoot and resolve any issues, ultimately ensuring a seamless audio experience.
Troubleshooting Tips
Even with careful wiring, sometimes issues can arise when working with XLR connectors. Here are some troubleshooting tips to help you identify and fix common problems:
1. Check the Cable Connections: Start by inspecting the XLR connectors for loose or improperly connected wires. Make sure each wire is firmly connected to its respective pin.
2. Test with Different Cables: If you’re experiencing audio issues, try using a different XLR cable to see if the problem is isolated to the cable itself. Sometimes cables can become damaged or worn out, impacting the quality of the connection.
3. Verify Phantom Power: If you’re using a condenser microphone that requires phantom power, ensure that it is properly activated. Check your audio interface or mixer settings to make sure phantom power is turned on.
4. Check Grounding: Poor grounding can result in various issues, such as humming or buzzing sounds. Ensure that all devices connected to the XLR cable have proper grounding, and check for any loose or faulty ground connections.
5. Test with Different Equipment: If you have access to alternative audio devices, such as microphones, mixers, or speakers, try connecting them to determine if the issue lies with a specific piece of equipment. This can help isolate the problem and identify the faulty component.
6. Inspect for Physical Damage: Carefully examine the XLR connectors for any visible physical damage, such as bent pins or broken solder joints. If you notice any issues, you may need to replace the faulty connector or seek professional assistance for repair.
7. Use Proper Cable Length: XLR cables have a maximum recommended length, usually around 100 feet. If you’re experiencing signal loss or degradation, consider using shorter cables or using a signal booster/amplifier to maintain the audio quality.
8. Test in Different Environments: If you’re experiencing intermittent issues, it could be related to the environment in which the equipment is being used. Try testing the XLR setup in a different location to rule out any environmental factors affecting the connection.
9. Seek Professional Help: If you’ve exhausted all troubleshooting steps and are still experiencing issues, it may be time to consult with a professional audio technician. They will have the expertise and specialized equipment to diagnose and resolve complex XLR connection problems.
By following these troubleshooting tips, you’ll be better equipped to identify and resolve common issues that may arise when working with XLR connectors. Remember, patience and a systematic approach are key when troubleshooting any audio setup.
Final Thoughts
Having a good understanding of the XLR connector and its pinout is essential before attempting to wire it. Take the time to familiarize yourself with the different pins and their corresponding functions to avoid any confusion.
When gathering the necessary components, make sure to use high-quality cables and connectors. Investing in good-quality materials will ensure a better connection and reduce the risk of signal loss or interference.
Take your time with preparing the cable, making sure to strip the insulation properly and exposing enough of the inner wires. It’s crucial to make clean and secure connections between the wires and the connector pins to avoid any loose connections or short circuits.
Wiring the XLR connector requires attention to detail and precision. Make sure to follow the specific pinout for your equipment and double-check your work to avoid any potential wiring mistakes. Taking the time to do it right will save you from future hassles and troubleshooting.
After wiring the XLR connector, it’s important to test the connection to ensure everything is working properly. Use an audio device or an XLR tester to verify that the signal is being transmitted correctly. If there are any issues, refer to the troubleshooting tips section to help you fix the problem.
In the event that you encounter any issues or problems during the wiring process, don’t hesitate to seek assistance. There are plenty of resources online, including forums and tutorials, where you can find guidance and advice from experts in the field.
Remember, practice makes perfect. The more you wire XLR connectors, the more confident and proficient you’ll become. Don’t be discouraged if you encounter difficulties in the beginning – with time and experience, you’ll master the skill.
So, with the right tools, materials, knowledge, and a little patience, you can successfully wire an XLR connector and enjoy the benefits of a clean and secure audio connection. Happy wiring!
Conclusion
In conclusion, knowing how to wire an XLR connector is a valuable skill for any audio enthusiast or professional. By understanding the different pin configurations and following proper wiring techniques, you can ensure a reliable and high-quality audio connection. Whether you’re setting up a home studio, working in live sound, or connecting audio equipment for any purpose, mastering the art of XLR wiring will help you achieve clear and professional audio transmission.
Remember to double-check your connections, use quality cables, and follow industry standards to ensure optimal performance. With the right knowledge and attention to detail, you can confidently wire an XLR connector and enjoy seamless audio experiences for all your recording or live sound needs.
So, next time you find yourself faced with an XLR connector, don’t panic! Armed with the knowledge from this article, you’ll be able to tackle any wiring task with confidence and achieve exceptional audio quality.
FAQs
Q: What is an XLR connector?
An XLR connector is a type of electrical connector commonly used in professional audio systems. It is designed to provide a stable and secure connection for balanced audio signals, making it popular in live sound, recording studios, and other professional audio applications.
Q: How many pins does an XLR connector have?
Most XLR connectors have three pins, although there are variations with more pins for different applications. The three-pin XLR connectors are typically used for balanced audio signals, with one pin carrying the positive audio signal, another carrying the negative signal, and the third serving as the ground connection.
Q: What devices use XLR connectors?
XLR connectors are commonly used in a variety of audio devices, including microphones, speakers, audio mixers, and amplifiers. They allow for a reliable and noise-free transmission of audio signals, making them an essential component in professional audio setups.
Q: How do I wire an XLR connector?
To wire an XLR connector, you will need to follow a specific wiring scheme. Usually, the positive audio signal is connected to pin 2, the negative signal to pin 3, and the ground connection to pin 1. It is important to ensure proper insulation and secure soldering to maintain a solid connection and prevent signal interference.
Q: Can I use an XLR connector for other applications besides audio?
While XLR connectors are primarily used for audio signals, they can be adapted for other applications as well. For example, XLR connectors with more pins can be utilized for lighting control in stage production or as a power connection in some equipment. However, it is important to ensure compatibility and proper wiring for the specific application.