
In the world of mobile accessories, finding the perfect spot to place a PopSocket on your Samsung Galaxy S9+ can be a game-changer. PopSockets have become immensely popular due to their ability to provide a secure grip on your phone, prevent accidental drops, and even act as a stand for watching videos or taking selfies. But where exactly should you place this handy accessory on your S9+? This article will guide you through the process, taking into consideration both ergonomics and functionality. Whether you want to place it on the back, near the edges, or even on your phone case, we will explore the different options and help you find the ideal placement for your PopSocket on your Samsung Galaxy S9+. Let’s dive in and unlock the potential of your mobile accessory!
Inside This Article
- Where To Place Popsocket S9+
- Back of the Phone
- Bottom of the Phone
- On a Phone Case
- Where To Place Popsocket S9+
- Back of the Phone:
- Bottom of the Phone:
- On a Phone Case:
- Near the Edges of the Phone:
- Conclusion
- FAQs
Where To Place Popsocket S9+
PopSockets are a popular accessory designed to provide a secure grip on your phone, making it easier to hold and use. When it comes to placing a PopSocket on your Samsung Galaxy S9+, there are a few options to consider. The placement of your PopSocket can significantly impact its functionality and your overall user experience. Here are some suggestions on where to place your PopSocket S9+:
Back of the Phone
One of the most common places to attach a PopSocket on your S9+ is on the back of the phone. This placement offers a secure grip and allows you to comfortably hold your device with one hand. You can attach the PopSocket anywhere on the back, but it’s recommended to place it towards the bottom to ensure it doesn’t interfere with the camera or other essential features. This position provides a natural grip and is ideal for everyday use.
Bottom of the Phone
If you prefer to use your S9+ in landscape mode, placing the PopSocket on the bottom of the phone can be a great option. This placement allows you to prop up your device at an angle, making it easier to watch videos, participate in video calls, or use your phone hands-free. It’s important to note that using the PopSocket in this position may require a phone case with an open bottom to ensure compatibility.
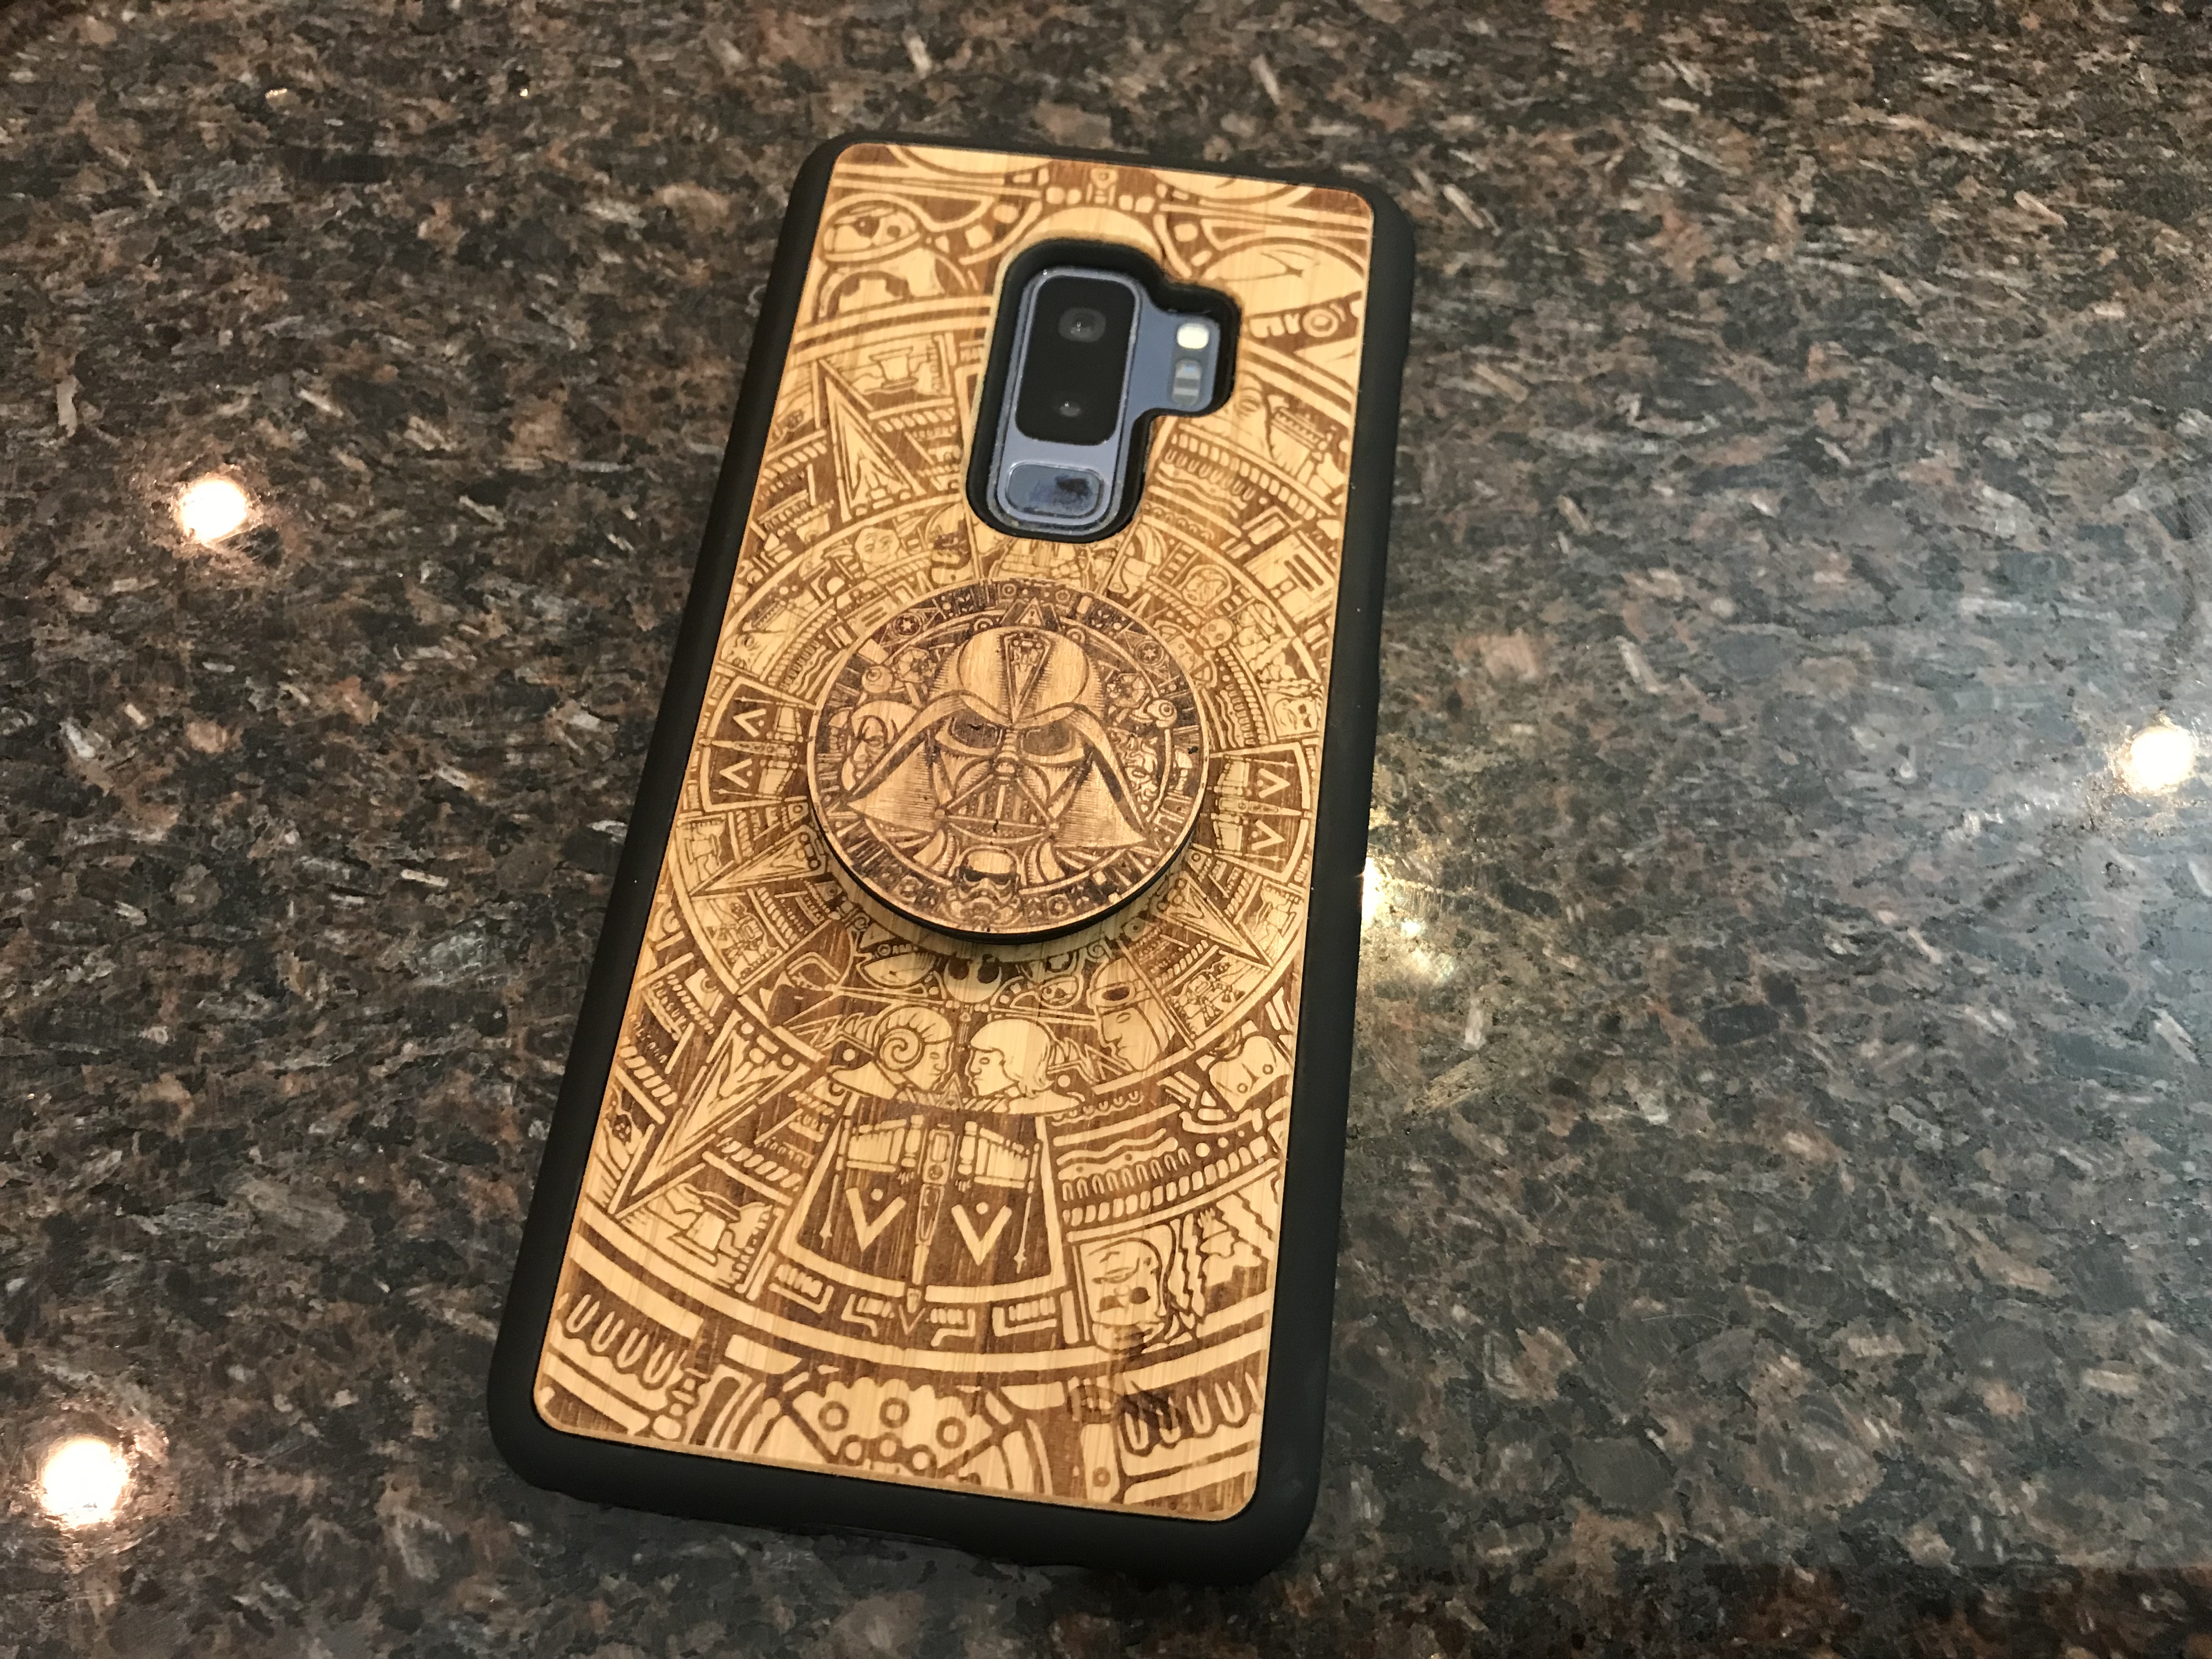
On a Phone Case
If you use a phone case on your S9+, you can attach the PopSocket directly onto the case. This option provides flexibility, as you can easily switch between different cases without having to remove or reapply the PopSocket. Make sure the case you choose is smooth and flat to ensure a secure attachment. It’s recommended to position the PopSocket towards the bottom of the case for better functionality and grip.
Near the Edges of the Phone
Another popular placement for PopSockets is near the edges of the phone. This allows for better access to the phone’s buttons and ensures a secure grip while navigating or gaming. Placing the PopSocket near the edges also helps distribute the weight of the phone more evenly, making it comfortable to hold for longer periods.
Ultimately, the choice of where to place your PopSocket S9+ depends on your personal preference and how you use your phone. Consider your daily activities, how you grip your device, and any specific needs you may have when deciding on the placement. Experiment with different positions to find the one that offers the best grip and convenience for you.
Remember, applying a PopSocket may require cleaning the surface of your phone or case beforehand to ensure a strong adhesive bond. Follow the instructions provided with the PopSocket to ensure proper application.
Back of the Phone
When it comes to placing a Popsocket on the back of your Samsung Galaxy S9+, there are a few key factors to consider. The first is the placement of the phone’s camera and fingerprint sensor. You’ll want to make sure that the Popsocket does not interfere with these important functions. To achieve this, it’s best to place the Popsocket on the lower half of the back of the phone.
Start by cleaning the back of your phone with a gentle cleanser or alcohol wipe to ensure a clean and smooth surface. Once the back of the phone is clean, peel the adhesive backing off the Popsocket and firmly press it onto the desired spot on the back of your phone. Apply gentle pressure for about 10-15 seconds to ensure a strong bond.
The back of the phone is a popular spot to place a Popsocket because it provides a convenient, central location for you to grip your phone securely. This can make it easier to take selfies, text with one hand, or simply hold your phone with confidence. Plus, the Popsocket can also act as a stand, allowing you to prop your phone up for hands-free viewing of movies, videos, or video calls.
Remember, though, that the position and size of your Popsocket may vary depending on personal preference and hand size. Some people may prefer to place the Popsocket more towards the bottom of the phone, while others may opt for a higher placement. Experiment with different positions to find the one that feels most comfortable and convenient for you.
Another consideration when placing a Popsocket on the back of your S9+ is its compatibility with wireless charging. The Popsocket itself is not wireless charging-compatible, but you can easily remove it from your phone before placing it on a wireless charger. Simply twist and pull the Popsocket gently to detach it from the back of your phone. Once your phone is charged, you can reattach the Popsocket following the same steps as before.
In summary, placing a Popsocket on the back of your Samsung Galaxy S9+ can provide you with a secure grip and versatile functionality. Aim to position it on the lower half of the back while avoiding any interference with the camera and fingerprint sensor. Experiment with different positions to find the optimal placement for your personal preferences. Remember to remove the Popsocket before wireless charging if necessary. Now you can enjoy a more secure and convenient handling of your phone with the added style and functionality of a Popsocket.
Bottom of the Phone
When it comes to placing a Popsocket on the bottom of your S9+, there are a few considerations to keep in mind. While it may not be the most common placement option, it can still offer some unique benefits.
One advantage of placing the Popsocket on the bottom of the phone is that it allows for more comfortable one-handed use. By having the Popsocket positioned at the bottom, it can provide added stability and grip, making it easier to hold and use your phone with just one hand.
Another benefit of placing the Popsocket at the bottom is that it can act as a convenient stand. When you want to watch videos or have a video call, simply extend the Popsocket and prop your phone up on a flat surface. This allows for hands-free viewing, making it ideal for watching movies, attending virtual meetings, or even following along with cooking tutorials in the kitchen.
However, it’s important to note that placing a Popsocket on the bottom of the S9+ may not be suitable for everyone. If you often use a wireless charging pad to charge your phone, having the Popsocket at the bottom may interfere with the charging process. It’s recommended to remove the Popsocket or choose an alternative placement when charging wirelessly.
Additionally, placing the Popsocket on the bottom may also affect how the phone sits in certain phone holders or car mounts. Depending on the design of the holder or mount, having the Popsocket at the bottom may not provide a secure fit or may obstruct the view.
Overall, the decision to place the Popsocket on the bottom of your S9+ comes down to personal preference and how you primarily use your phone. If you value one-handed use and the convenience of a built-in stand, it may be worth giving this placement option a try. Just keep in mind the potential limitations with wireless charging and compatibility with phone holders or mounts.
On a Phone Case
Another popular and practical option for placing a PopSocket on your S9+ is to attach it directly to a phone case. This method offers both functionality and convenience, as it allows you to easily switch between different cases while still having the PopSocket securely attached.
When choosing a phone case to use with a PopSocket, it’s important to consider the material and design of the case. Most PopSockets adhere well to smooth, hard surfaces, so a case with a similar texture is recommended. Avoid cases with excessive texture or a rubberized finish, as they may not provide a strong enough bond for the PopSocket adhesive.
To attach a PopSocket to a phone case, simply follow the same steps as you would for attaching it directly to the back of your phone. Clean the surface of the case with an alcohol wipe, remove the backing from the PopSocket adhesive, and firmly press it onto the desired location on the case. Allow the adhesive to fully set for a few hours before using the PopSocket.
The advantage of using a PopSocket on a phone case is the ability to position it in a way that complements your grip and usage. You can place it in the center, closer to the top or bottom, or even towards the edges, depending on your preference. Experiment with different positions to find the most comfortable and functional placement for your PopSocket on the phone case.
Additionally, using a PopSocket on a phone case offers the flexibility to remove it whenever needed. If you find that you prefer using the phone without the PopSocket attached, you can simply remove it from the case without leaving any residue or damage on the phone itself.
However, it’s important to note that not all phone cases are compatible with PopSockets. Some cases may have uneven or textured surfaces that can affect the adhesive’s bond or interfere with the PopSocket’s functionality. In such cases, it’s recommended to either choose a different case or consider using alternative phone accessories that are more suited to the specific case design.
Overall, attaching a PopSocket to a phone case offers versatility and the option to customize the positioning to your liking. It provides a secure grip and adds functionality to your S9+, allowing for a more comfortable and convenient user experience.
Where To Place Popsocket S9+
When it comes to adding a popsocket to your Samsung Galaxy S9+, the placement is key. A popsocket is a handy accessory that attaches to the back of your phone, providing a secure grip and stand for your device. But where exactly should you place it to maximize its functionality? Here are a few options for ideal placement:
Back of the Phone:
One of the most common places to attach a popsocket is on the back of the phone. This allows you to comfortably hold your S9+ with one hand, reducing the risk of accidental drops. Placing it near the center of the phone’s back ensures that it aligns with your natural grip, providing a secure and comfortable hold.
Bottom of the Phone:
If you prefer to use your phone in landscape mode, consider placing the popsocket at the bottom of the device. This positioning allows you to prop the phone up at a slight angle, making it perfect for watching videos, video calling, or even taking selfies. The popsocket acts as a handy stand, allowing you to enjoy hands-free use of your S9+.
On a Phone Case:
If you use a phone case to protect your S9+, you can still use a popsocket by attaching it to the case. Look for a phone case that has a flat, smooth back surface to ensure a secure grip for the popsocket. By placing the popsocket on the case, you can easily switch it between different cases while still enjoying the benefits of enhanced grip and functionality.
Near the Edges of the Phone:
Another option for placing a popsocket on your S9+ is near the edges of the phone. This placement works well if you have larger hands or prefer a more secure grip near the sides of the device. Placing the popsocket near the edges allows you to reach all areas of the screen comfortably, making it easier to navigate and use your phone with one hand.
When deciding where to place your popsocket, it ultimately comes down to personal preference and how you typically hold and use your S9+. Experiment with different positions to determine which one feels the most comfortable and functional for you. Remember to clean the surface of your phone or case before attaching the popsocket to ensure a strong and secure bond.
So go ahead and give your S9+ the added functionality and convenience of a popsocket. Choose the placement that suits your needs and start enjoying a more secure grip and versatile stand for your phone!
Conclusion
In conclusion, the Samsung Galaxy S9+ is an impressive smartphone that can greatly benefit from the addition of a PopSocket. With its stunning design and large screen, the S9+ is a device that you’ll want to handle with care. By placing a PopSocket on the back of your phone, you can improve your grip and reduce the risk of accidentally dropping it.
When it comes to finding the perfect spot to place your PopSocket on the S9+, there are a few factors to consider. It’s important to choose a location that is comfortable for you to hold, while also ensuring that it doesn’t interfere with the phone’s functionality. The center of the back of the phone is a popular choice, as it provides a balanced grip and doesn’t obstruct the camera or fingerprint sensor.
However, ultimately, the placement of your PopSocket is a personal preference. Experiment with different positions until you find the one that works best for you. Whether you choose to place it in the top corner or towards the bottom of the phone, a PopSocket will undoubtedly enhance the usability and overall experience of using your Samsung Galaxy S9+.
FAQs
Here are some frequently asked questions regarding the placement of Popsockets on the Samsung Galaxy S9+:
1. Where is the best place to put a Popsocket on my Samsung Galaxy S9+?
Finding the perfect spot for your Popsocket on the back of your Samsung Galaxy S9+ is a matter of personal preference. However, the general recommendation is to place it towards the bottom half of the phone’s back, centered horizontally. This way, it provides a comfortable grip and maximum reachability for your fingers.
2. Can I place a Popsocket directly on the back of my phone case?
Yes, you can definitely attach a Popsocket to the back of your phone case. Most phone cases have a smooth surface that allows for easy adherence. Just make sure that the case material is compatible with the adhesive backing of the Popsocket to ensure a secure fit.
3. Will the Popsocket interfere with wireless charging on my Samsung Galaxy S9+?
If you frequently use wireless charging, it is important to place the Popsocket in a position that won’t hinder the charging process. It is recommended to attach the Popsocket towards the bottom of the phone’s back, leaving enough space at the top to align it properly with the wireless charger.
4. Can I remove and reposition the Popsocket on my Samsung Galaxy S9+?
Yes, Popsockets are designed to be repositionable. If you want to change the placement or remove it temporarily, carefully peel off the Popsocket from the back of your phone or case. Keep in mind that constantly removing and reapplying the Popsocket may affect its adhesive strength over time.
5. How do I clean the back of my Samsung Galaxy S9+ before attaching a Popsocket?
Before attaching the Popsocket, it’s essential to clean the back of your Samsung Galaxy S9+ to ensure a strong and lasting bond. Wipe the surface with a microfiber cloth or a screen cleaning solution to remove any dirt, oil, or residue. Make sure the surface is completely dry before applying the Popsocket.