
Are you tired of taking the same old flat pictures with your iPhone camera? Well, it’s time to level up your photography skills and learn how to shoot an overhead picture. Whether you want to capture a stunning flat lay of your breakfast or showcase your artistic arrangement of objects, an overhead shot can add a unique perspective to your photos. In this article, we will guide you through the process of shooting an overhead picture with your iPhone camera. From finding the perfect angle to using the right lighting and composition techniques, we’ll show you how to achieve the best results. So, grab your iPhone and let’s master the art of capturing breathtaking overhead shots!
Inside This Article
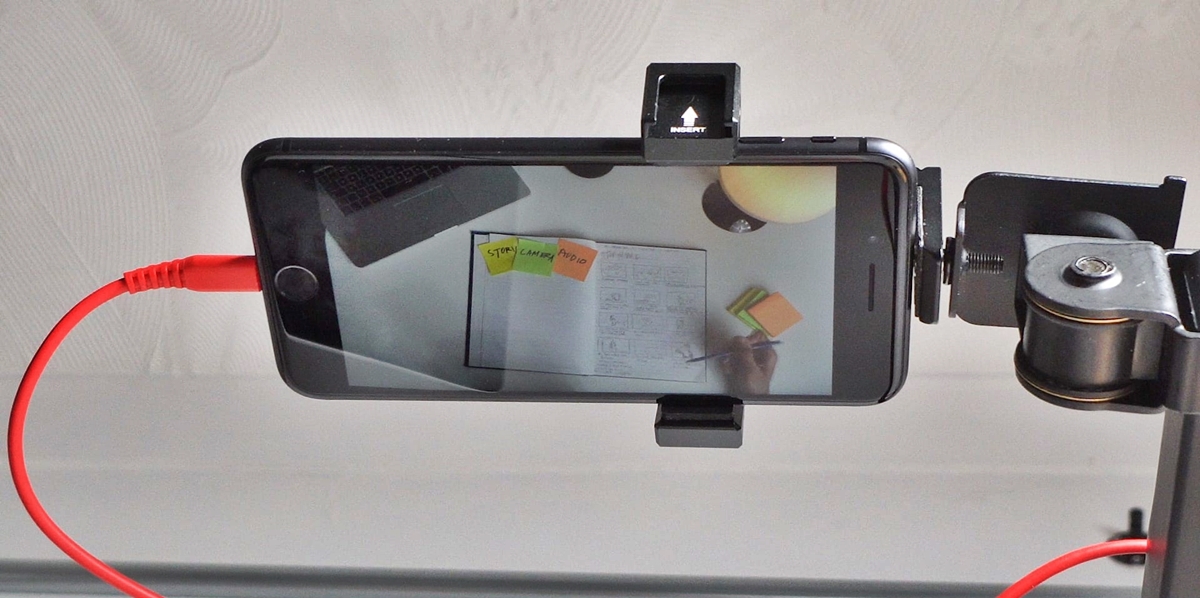
- Positioning your iPhone
- Adjusting the camera settings
- Shooting techniques for overhead pictures
- Conclusion
- FAQs
Positioning your iPhone
When it comes to shooting an overhead picture with your iPhone camera, the positioning of your device plays a crucial role in capturing the perfect shot. Here are some key tips to consider:
1. Find the Right Angle: Begin by identifying the angle from which you want to capture the overhead shot. This could be directly above your subject or slightly tilted for a unique perspective.
2. Stable Support: To avoid shaky shots, it is essential to place your iPhone on a stable support surface. You can use a tripod, a stack of books, or any other creative means to keep your device steady.
3. Overhead Position: Hold your iPhone directly above the subject, ensuring that the camera lens is parallel to the ground. This will provide a clear and unobstructed view of the scene.
4. Use a Timer or Selfie Stick: If reaching an overhead position is challenging, try using the timer function on your iPhone camera or connect your device to a selfie stick. This will allow you to position the iPhone at the desired angle without straining your arm.
5. Experiment with Height: Depending on the height of your subject or the composition you want to achieve, you can adjust the elevation of your iPhone. This could involve raising or lowering the support surface or adjusting the extendable arm of a selfie stick.
Remember, the positioning of your iPhone is crucial in capturing an overhead picture successfully. Take your time to find the ideal angle and stability, allowing you to create stunning and visually captivating images.
Adjusting the camera settings
Once you have positioned your iPhone for the overhead shot, it’s time to adjust the camera settings to ensure you capture the best possible image. Here are some key camera settings to consider:
- Exposure: The exposure setting determines how much light the camera lets in. For overhead shots, it’s important to ensure the exposure is correctly balanced to avoid overexposed or underexposed areas. To adjust the exposure, tap on the desired area of the screen and slide your finger up or down to increase or decrease the exposure.
- Focus: By default, the iPhone camera automatically focuses on the subject in the center of the frame. However, for overhead shots, you may want to ensure that the entire frame is in focus. To manually adjust the focus, tap on the screen and hold until you see the yellow box flashing. Then, drag your finger up or down to adjust the focus area.
- White Balance: White balance plays a crucial role in determining the accurate color representation of your image. For overhead pictures, you want to ensure that the white balance is set correctly to avoid any color casts. You can experiment with different white balance presets such as Auto, Daylight, Cloudy, or Tungsten, depending on the lighting conditions.
- Gridlines: Enabling the gridlines on your iPhone camera can help you compose the overhead shot effectively. The gridlines follow the rule of thirds, which can be a helpful guide for positioning your subject and creating a balanced composition. To enable gridlines, go to Settings > Camera > Grid and toggle it on.
- Timer: When capturing overhead shots, it can be challenging to hold the phone steady and press the shutter button simultaneously. To avoid any unwanted camera shake, consider using the self-timer function. Set the timer to a few seconds, position your iPhone, and let it capture the shot on its own.
By adjusting these camera settings, you can enhance the quality and composition of your overhead pictures with your iPhone camera. Take the time to experiment with different settings to achieve the desired result.
Shooting techniques for overhead pictures
Once you have your iPhone positioned correctly and the camera settings adjusted, it’s time to explore some shooting techniques to capture stunning overhead pictures. Here are four techniques that will take your overhead photography skills to the next level:
- Utilize the Gridlines: When shooting overhead pictures, it’s important to ensure that your composition is perfectly balanced. To achieve this, make use of the gridlines feature on your iPhone. This will help you align your subject and create a visually pleasing image.
- Use the Burst Mode: When photographing moving subjects from an overhead angle, such as people playing sports or a busy market, use the burst mode on your iPhone. This feature allows you to capture a series of shots in quick succession, increasing your chances of capturing the perfect moment.
- Experiment with Angles: While shooting overhead, don’t be afraid to experiment with different angles. Try tilting your iPhone slightly to add an interesting perspective to your composition. This can create a unique and dynamic image that stands out.
- Add Depth with Props: To add depth and visual interest to your overhead pictures, consider incorporating props into your composition. Whether it’s colorful fruits, flowers, or other objects, props can enhance the overall aesthetic and make your image more engaging.
By utilizing these shooting techniques, you’ll be able to capture stunning overhead pictures with your iPhone camera. Remember to practice and experiment with different settings and angles to find your unique style and create captivating images.
In conclusion, shooting an overhead picture with your iPhone camera is a simple and effective technique that can elevate your photography skills. By following the steps outlined in this article, you can capture stunning images from a unique perspective. Whether it’s for food photography, flat lay compositions, or documenting a process, mastering this technique will enhance your visual storytelling. Remember to find a stable surface, use the grid feature for alignment, adjust exposure and focus, and experiment with different angles and compositions. With practice and creativity, you’ll be able to create captivating overhead shots that will impress your audience and take your photography to the next level.
FAQs
Q: Can I shoot an overhead picture with my iPhone camera?
Yes, you can definitely capture overhead pictures using the iPhone camera. With the right technique and positioning, you can achieve great results.
Q: What is the best angle for shooting an overhead picture?
The best angle for shooting an overhead picture is directly above the subject. This helps provide a clear and detailed view of the objects or scene you want to capture.
Q: Do I need any additional equipment to shoot an overhead picture?
No, you don’t necessarily need any additional equipment. However, using a tripod or a selfie stick can help stabilize your iPhone and make it easier to hold it steady while shooting from above.
Q: What are some tips for getting a good overhead shot?
To get a good overhead shot, make sure the subject is well-lit and positioned on a clean, clutter-free surface. You can also experiment with different heights and angles to find the most visually appealing composition.
Q: Are there any iPhone apps that can help with shooting overhead pictures?
Yes, there are several photography apps available for the iPhone that can assist with shooting overhead pictures. Some popular options include Over and Snapseed, which offer tools for editing and enhancing your photos.