
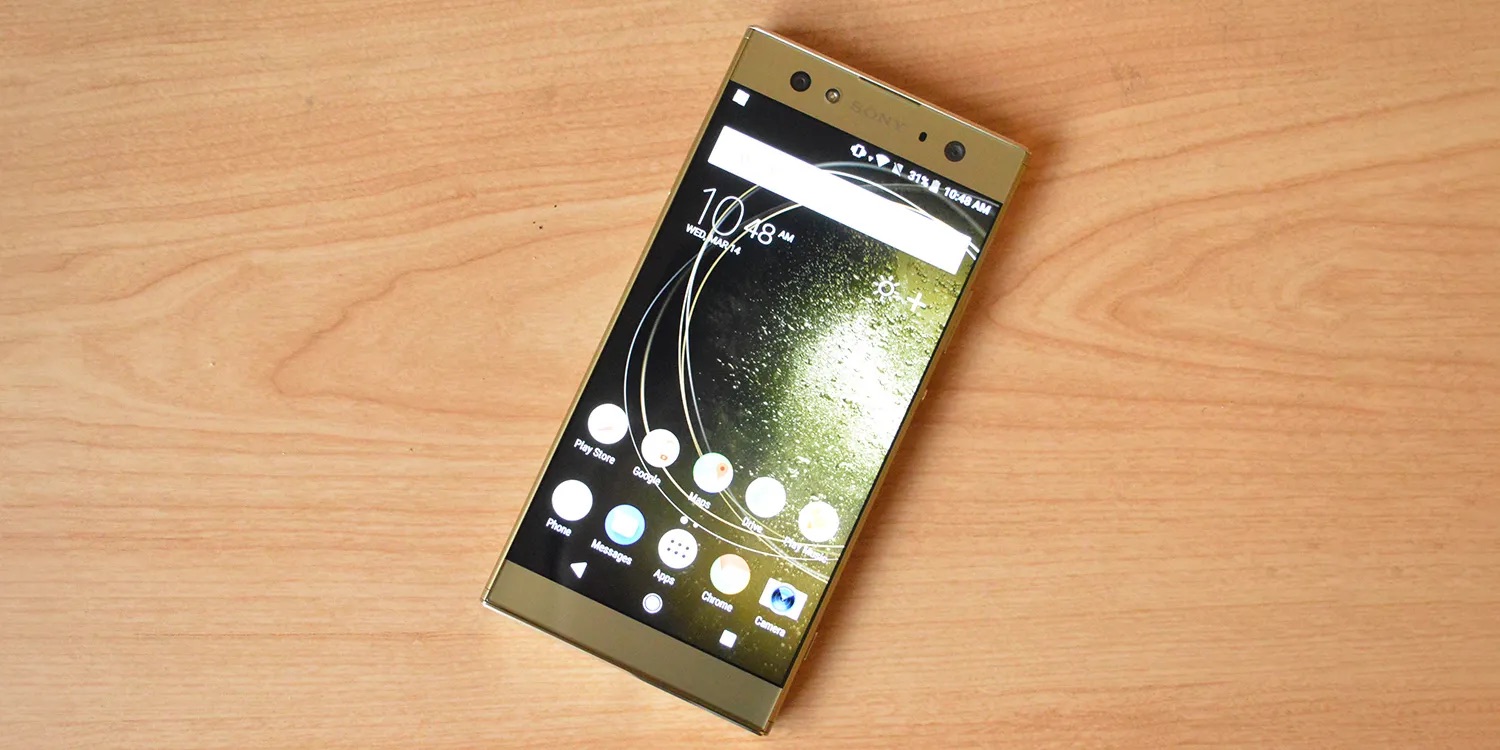
The Sony Xperia XA2 Ultra is a powerful and feature-packed smartphone that offers ample storage space for all your multimedia needs. However, if you find that the built-in storage is not sufficient, you have the option to expand it by adding a micro SD card. Adding a micro SD card to your Sony Xperia XA2 Ultra allows you to increase the storage capacity, giving you more room to store pictures, videos, music, and apps. In this article, we will walk you through the step-by-step process of adding a micro SD card to your Sony Xperia XA2 Ultra, ensuring that you can make the most out of your smartphone’s capabilities. Whether you’re looking to store more media files or install additional applications, our guide will help you expand your device’s storage in no time.
Inside This Article
- Benefits of Adding a Micro SD Card to Sony Xperia XA2 Ultra
- Step-by-Step Guide: How to Add a Micro SD Card to Sony Xperia XA2 Ultra
- Tips for Using a Micro SD Card with Sony Xperia XA2 Ultra
- Conclusion
- FAQs
Benefits of Adding a Micro SD Card to Sony Xperia XA2 Ultra
Adding a micro SD card to your Sony Xperia XA2 Ultra can provide numerous benefits and enhance your overall smartphone experience. Here are some of the key advantages of using a micro SD card with your device:
- Expanded Storage: One of the primary benefits of adding a micro SD card is the ability to expand your device’s storage capacity. The Sony Xperia XA2 Ultra already offers a generous amount of internal storage, but by inserting a micro SD card, you can significantly increase the available space for storing photos, videos, apps, and other files.
- Flexibility and Convenience: With a micro SD card in your Xperia XA2 Ultra, you can carry an extensive library of music, movies, and documents wherever you go. This allows you to access your favorite entertainment and important files without relying on an internet connection.
- Seamless Media Storage: By using a micro SD card, you can store media files directly on the card, reducing the burden on your device’s internal storage. This helps to keep your Xperia XA2 Ultra running smoothly and ensures faster access to media files.
- Easy File Transfer: With a micro SD card, transferring files between devices becomes effortless. You can easily move photos, videos, and other files between your Xperia XA2 Ultra and other devices such as computers, cameras, and other smartphones.
- Enhanced Privacy: Having a micro SD card allows you to keep personal files separate from your device’s internal storage. This is particularly useful if you frequently share your device or want to keep sensitive files protected and secure.
By adding a micro SD card to your Sony Xperia XA2 Ultra, you can enjoy expanded storage, flexibility, convenience, seamless media storage, easy file transfer, and enhanced privacy. It’s a simple and affordable way to maximize the potential of your smartphone and enhance your overall digital experience.
Step-by-Step Guide: How to Add a Micro SD Card to Sony Xperia XA2 Ultra
Are you running low on storage space on your Sony Xperia XA2 Ultra? Adding a micro SD card can be a great solution to expand the storage capacity of your device. With a micro SD card, you can have more space to store photos, videos, apps, and other files without worrying about running out of memory.
Adding a micro SD card to your Sony Xperia XA2 Ultra is a simple process. Follow these step-by-step instructions to get started:
- Power off your phone: Before adding or removing any external storage device, it is essential to power off your device to prevent any data loss or damage.
- Locate the SIM card tray: The SIM card tray of the Sony Xperia XA2 Ultra also acts as the SD card slot. You can find it on the left side of the device, near the top.
- Insert the SIM ejector tool: Take the SIM ejector tool that came with your Sony Xperia XA2 Ultra and insert it into the small hole on the SIM card tray.
- Eject the SIM card tray: Gently push the ejector tool to release the SIM card tray. Once it pops out, carefully remove the tray from the device.
- Place the micro SD card: Take your micro SD card and place it in the slot on the SIM card tray. Make sure the gold contacts on the micro SD card are facing downward.
- Reinsert the SIM card tray: Once the micro SD card is properly placed, insert the SIM card tray back into the Sony Xperia XA2 Ultra. Ensure it is fully secured and the tray is flush with the device.
- Power on your phone: After reinserting the SIM card tray, power on your Sony Xperia XA2 Ultra. The device will automatically recognize the micro SD card and integrate it into the system.
- Format the micro SD card (optional): If the micro SD card was previously used or if your device does not recognize it, you may need to format the card. Go to Settings > Storage > Erase SD card and follow the on-screen instructions to format it.
That’s it! You have successfully added a micro SD card to your Sony Xperia XA2 Ultra. Now you can enjoy the benefits of expanded storage space and keep all your important files, photos, videos, and apps in one place.
Tips for Using a Micro SD Card with Sony Xperia XA2 Ultra
Adding a micro SD card to your Sony Xperia XA2 Ultra can significantly expand your device’s storage capacity and enhance your overall mobile experience. To make the most out of your micro SD card, consider the following tips:
1. Choose a high-quality micro SD card: When selecting a micro SD card for your Xperia XA2 Ultra, make sure to opt for a reputable brand with a reliable track record. High-quality micro SD cards are more durable and offer better performance, ensuring smooth operation and data integrity.
2. Format the micro SD card: Before using the micro SD card with your Xperia XA2 Ultra, it is recommended to format it using your device. This helps to optimize the card’s compatibility with your smartphone and ensures proper functioning.
3. Set default storage location: Once the micro SD card is successfully installed, go to your Xperia XA2 Ultra’s settings and set the default storage location to the SD card. This ensures that any new apps, photos, videos, or other media you create or download will be automatically saved to the micro SD card rather than the internal storage.
4. Move apps and media to the micro SD card: To free up space on your Xperia XA2 Ultra’s internal storage, you can manually move apps and media files to the micro SD card. Simply go to your device’s settings, select “Apps,” choose the app you wish to move, and click on “Move to SD card.” This helps optimize internal storage and ensures a smooth app usage experience.
5. Regularly back up your data: As with any storage solution, it’s essential to regularly back up your data. While micro SD cards are relatively reliable, unforeseen circumstances like device damage or card corruption can lead to data loss. Keep your important files, photos, and videos backed up on a computer, cloud storage, or another external storage device to ensure their safety.
6. Safely remove the micro SD card: When you need to remove the micro SD card from your Xperia XA2 Ultra, it is crucial to follow the proper procedure. Go to your device’s settings, select “Storage,” and choose the micro SD card option. From there, select “Unmount SD card” and wait for the notification indicating that it is safe to remove the card. Removing the micro SD card improperly can result in data loss or damage to the card or device.
7. Keep the micro SD card clean: Dust and debris can accumulate on the micro SD card over time, potentially affecting its performance. To prevent this, periodically remove the micro SD card from your Xperia XA2 Ultra and gently wipe it clean using a soft, lint-free cloth. Be cautious not to apply excessive pressure or use any liquid cleaners.
By following these tips, you can optimize your micro SD card usage with your Sony Xperia XA2 Ultra, ensuring efficient storage management and a smooth user experience.
Conclusion
Adding a micro SD card to your Sony Xperia XA2 Ultra is a great way to expand its storage capacity and enhance your overall mobile experience. With a few simple steps, you can insert a micro SD card and enjoy additional space for storing photos, videos, apps, and more.
By following the instructions outlined in this article, you can easily add a micro SD card to your Sony Xperia XA2 Ultra without any hassle. Remember to choose a card with a suitable capacity and class, ensuring optimal performance and compatibility. Whether you’re a photography enthusiast or simply need extra storage for your files, the addition of a micro SD card will provide the flexibility and convenience you need.
So go ahead and unlock the full potential of your Sony Xperia XA2 Ultra by expanding its storage with a micro SD card. Enjoy the freedom to capture more memories, install more apps, and store more media on your device.
FAQs
1. Can I add a micro SD card to my Sony Xperia XA2 Ultra?
Yes, the Sony Xperia XA2 Ultra supports expandable storage through a micro SD card slot. This allows you to increase the device’s storage capacity for more apps, photos, videos, and other files.
2. What is the maximum capacity of micro SD card that I can use with my Sony Xperia XA2 Ultra?
The Sony Xperia XA2 Ultra supports micro SD cards up to a capacity of 400GB. This provides ample space for storing a large number of files, including high-resolution photos, videos, and music.
3. How do I insert a micro SD card into my Sony Xperia XA2 Ultra?
To insert a micro SD card into your Sony Xperia XA2 Ultra, follow these steps:
1. Locate the micro SD card slot on your device. It is typically located on the side of the phone, near the SIM card tray.
2. Use a SIM card eject tool or a small paperclip to gently push the SIM card tray out of the phone.
3. Place the micro SD card into the slot, ensuring that the gold contacts on the card are facing downward and aligning with the contacts in the slot.
4. Push the SIM card tray back into the phone until it clicks into place.
4. How do I format a micro SD card on my Sony Xperia XA2 Ultra?
To format a micro SD card on your Sony Xperia XA2 Ultra, follow these steps:
1. Go to the “Settings” menu on your device.
2. Scroll down and tap on “Storage.”
3. Tap on “SD card” or “Portable storage” (depending on your device’s software version).
4. Tap on “Format” or “Erase.”
5. Follow the on-screen instructions to confirm the formatting process.
Please note that formatting a micro SD card will erase all data stored on it, so it is important to back up any important files before proceeding.
5. Can I move apps to a micro SD card on my Sony Xperia XA2 Ultra?
Yes, it is possible to move compatible apps to a micro SD card on your Sony Xperia XA2 Ultra. This can help free up internal storage space and ensure smoother performance. To move apps to the SD card, follow these steps:
1. Go to the “Settings” menu on your device.
2. Scroll down and tap on “Apps & notifications.”
3. Select the app you want to move to the SD card.
4. Tap on “Storage.”
5. If the option is available, tap on “Change” or “Move to SD card.”
Please note that not all apps can be moved to the SD card, as it depends on the app developer’s settings.