
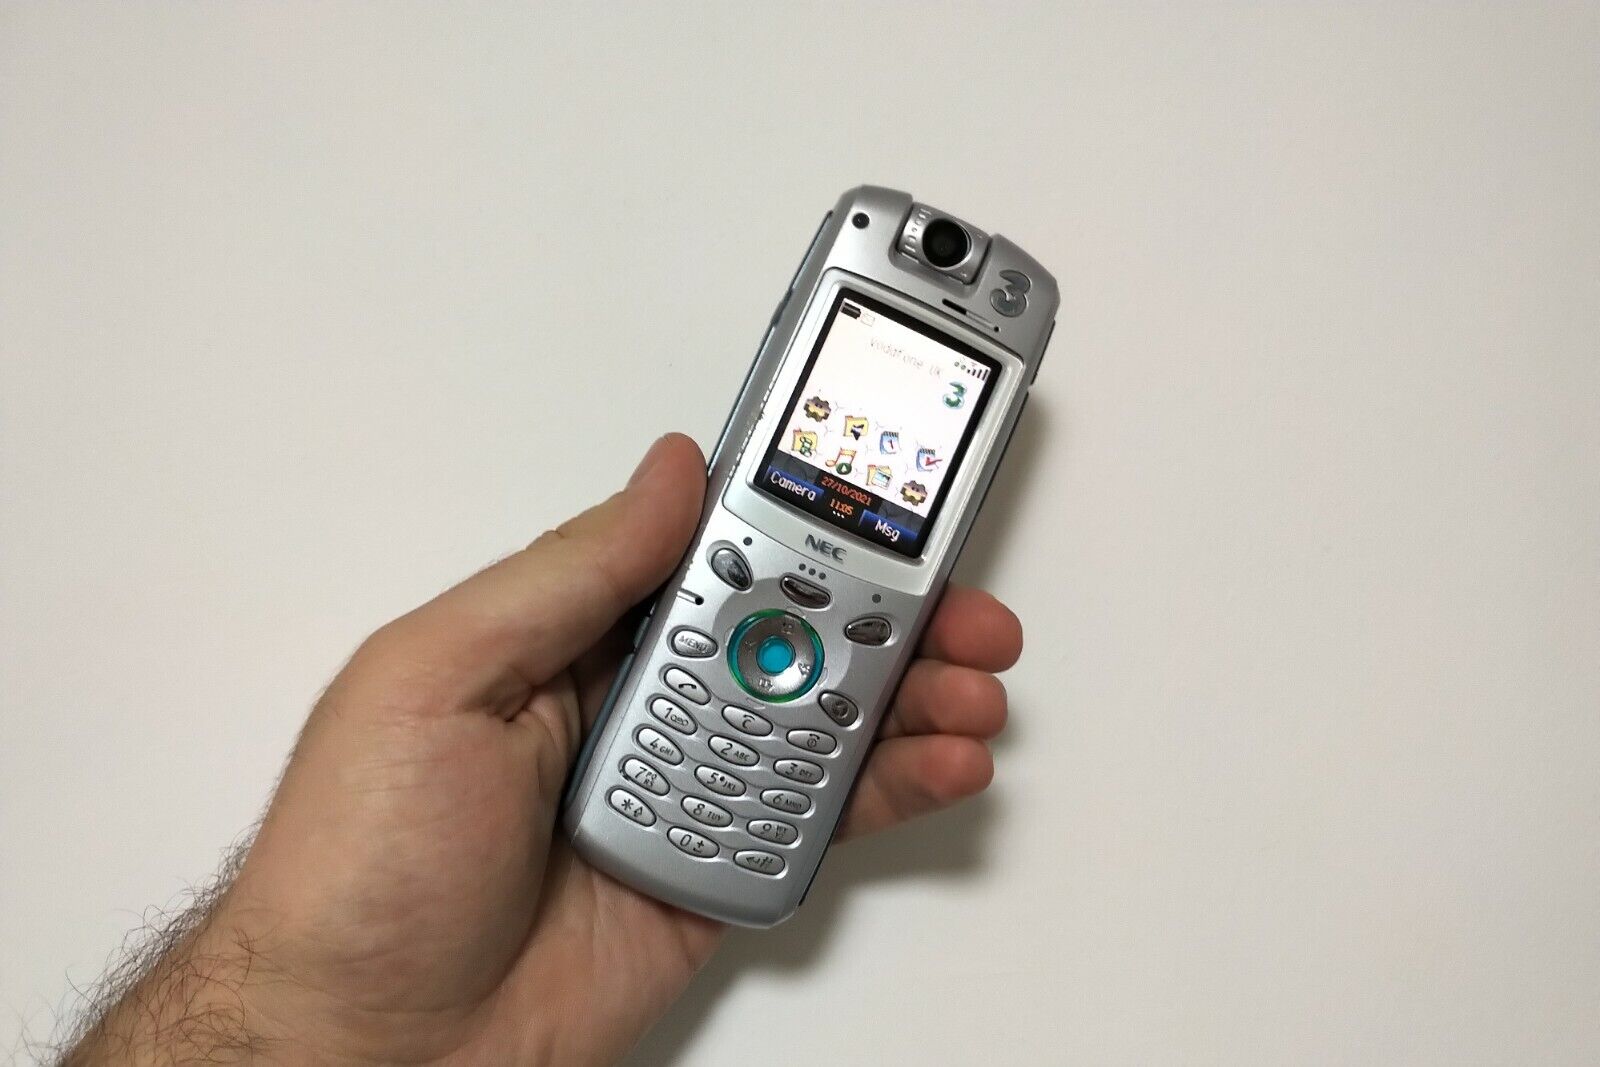
Are you struggling to figure out how to change the time on your NEC phone? Don’t worry, you’re not alone. Many people find it confusing to adjust the time settings on their mobile devices, especially if they are not familiar with the specific brand and model. Thankfully, changing the time on an NEC phone is a relatively simple process once you know the steps. In this article, we will provide you with a comprehensive guide on how to change the time on your NEC phone. Whether you have a NEC desk phone or a NEC mobile phone, we’ve got you covered. So, let’s get started and make sure you always have the correct time displayed on your NEC phone!
Inside This Article
- Overview
- Step 1: Accessing the Menu Options
- Step 2: Finding the Date and Time Settings
- Step 3: Adjusting the Time
- Step 4: Saving the Changes
- Conclusion
- FAQs
Overview
If you own an NEC phone and need to change the time, you’ve come to the right place. Whether you want to reset the time, adjust the time format, set daylight saving time, or update the timezone, this article will guide you through the process step by step.
Time is an essential aspect of our everyday lives, and ensuring that your NEC phone displays the correct time is crucial for various reasons. From keeping track of important appointments and meetings to maintaining synchronization with colleagues and clients, having accurate time on your device is essential.
Fortunately, changing the time on NEC phones is a fairly straightforward process, and you can quickly update the time to match your desired settings. In the following sections, we will explore the different methods to change the time on NEC phones, providing detailed instructions for each process.
So, let’s dive in and learn how to change the time on your NEC phone!
Step 1: Accessing the Menu Options
Changing the time on a NEC phone may seem like a daunting task, but with the right guidance, it becomes a breeze. To begin, you’ll need to access the menu options on your NEC phone. Don’t worry, it’s easier than it sounds.
First, locate the menu button on your NEC phone. It’s typically represented by a square icon and is usually located near the bottom or side of the device. Once you’ve found it, press the menu button to open the menu options.
After pressing the menu button, you’ll see a list of different options on the screen. These options may include settings, preferences, or customization features. Use the arrow buttons, typically located near the menu button, to navigate through the menu and highlight the settings option.
Once you’ve highlighted the settings option, press the select or enter button to access the settings menu. This menu will contain various configuration options for your NEC phone.
Scroll through the settings menu using the arrow buttons until you find the date and time option. It may be labeled as ‘date and time,’ ‘time settings,’ or similar. Once you’ve located it, press the select or enter button once again to access the date and time settings.
Now that you’ve successfully accessed the menu options on your NEC phone, you’re ready to proceed to the next step of changing the time. Keep following our guide to ensure you set the correct time on your NEC phone effortlessly.
Step 2: Finding the Date and Time Settings
Once you have successfully accessed the settings menu on your NEC phone, it’s time to locate the date and time settings. Here’s how to find them:
1. Look for the “Settings” option on the main menu of your NEC phone. It may be represented by an icon with gears or a similar symbol.
2. Tap on the “Settings” option to open the settings menu. If there are multiple tabs or sections in the settings menu, navigate to the one that contains the date and time settings.
3. Scroll through the options until you find the “Date and Time” or “Time and Date” section. Different NEC phone models may have slightly different menu structures, but you should be able to locate it without much difficulty.
4. Once you have found the “Date and Time” section, tap on it to access the corresponding settings.
By following these steps, you can easily find the date and time settings on your NEC phone. Now, let’s move on to the next step where we will learn how to reset the time.
Step 3: Adjusting the Time
Once you have reset the time and set the correct time format on your NEC phone, you can proceed to adjust the time according to your specific time zone. Here’s how:
1. Locate the “Menu” button on your NEC phone and press it to enter the menu options.
2. Using the navigation keys, scroll through the menu options until you find the “Settings” or “System Setup” option. Press the corresponding button to enter the settings menu.
3. In the settings menu, look for the “Date and Time” or “Time Settings” option. Select it to access the time adjustment settings.
4. You will now see the current time displayed on your NEC phone. Use the navigation keys to adjust the hours and minutes according to your desired time. Press the corresponding buttons to increase or decrease the values.
5. Once you have set the correct time, press the “Save” or “OK” button to save the changes.
6. In some cases, your NEC phone may also have an option to set the date. If necessary, adjust the date settings following a similar process to the time adjustment.
7. After saving the changes, exit the settings menu by pressing the “Exit” or “Back” button until you return to the main screen of your NEC phone.
Now, the time on your NEC phone should be properly adjusted according to your preferred settings. It is recommended to double-check the time to ensure accuracy.
Step 4: Saving the Changes
Once you have successfully adjusted the time on your NEC Phone, it is important to save the changes to ensure that the correct time is displayed going forward.
To save the changes:
- Press the “Save” or “OK” button on your NEC Phone. The exact button name may vary depending on the model of your device.
- Wait for the confirmation message to appear on the screen, indicating that the changes have been saved successfully.
- Press the “Exit” or “End” button to return to the main screen of your NEC Phone.
By following these simple steps, you can ensure that the changes you made to the time settings on your NEC Phone are saved and applied correctly. It is recommended to double-check the time displayed on your phone after saving the changes to ensure that it reflects the correct time.
In case you encounter any issues while saving the changes or if the time does not appear to be updated correctly, refer to the user manual of your NEC Phone or contact the customer support for further assistance.
Changing the time on a NEC phone can seem like a daunting task, but with the right guidance, it can be done quickly and easily. By following the steps outlined in this article, you can confidently adjust the time on your NEC phone to ensure it reflects the correct time and keeps you organized and on schedule.
Remember, it’s important to refer to your NEC phone’s user manual for specific instructions tailored to your model. Additionally, keep in mind that the steps may vary slightly depending on the firmware version or software installed on your phone.
Now that you have the knowledge to change the time on your NEC phone, you can do so confidently whenever needed. Don’t let outdated time settings hold you back – take control and stay in sync with your NEC phone’s clock.
FAQs
1. How can I change the time on my NEC phone?
To change the time on your NEC phone, follow these simple steps:
- Press the Menu button on your NEC phone.
- Scroll through the options and select System Setup.
- Choose Date & Time settings.
- Adjust the time using the navigation buttons.
- Save the changes by pressing the OK or Save button.
2. Why is it important to regularly update the time on my NEC phone?
Keeping the accurate time on your NEC phone is crucial for various reasons. It ensures that call logs, voicemails, and other time-sensitive features are properly recorded. Additionally, accurate time settings allow for better synchronization with other services, such as call forwarding and scheduling functions. Overall, regularly updating the time ensures smooth communication and efficient use of the NEC phone.
3. Can I set the time on my NEC phone automatically?
Yes, most NEC phone models offer the option to set the time automatically. This is typically done by connecting your phone to a network or by enabling the Network Time Protocol (NTP) feature in the phone’s settings. With automatic time synchronization, your NEC phone will update its time based on the time provided by the network or NTP server.
4. What should I do if the time on my NEC phone is not changing?
If the time on your NEC phone is not changing, you can try the following troubleshooting steps:
- Restart your NEC phone to see if it resolves the issue.
- Check the network connection to ensure your phone is properly connected to the internet or network.
- Verify if the automatic time setting is enabled and if the correct time zone is selected. Adjust the settings if necessary.
- If the issue persists, contact your phone system administrator or NEC customer support for further assistance.
5. Can I change the time format on my NEC phone?
Yes, you can change the time format on your NEC phone, depending on its model and software. Some NEC phone models offer options to switch between 12-hour and 24-hour time formats. To change the time format, go to the Date & Time settings on your NEC phone and look for the option to switch between the formats. Select your preferred time format and save the changes.