
In today’s interconnected world, having a reliable and fast mobile network connection is essential. However, not all mobile networks operate on the same frequency bands. Each mobile phone has specific frequency bands that it supports, which determine its compatibility with different network carriers. As a Samsung phone user, it is important to know how to check the frequency bands supported by your device.
By understanding the frequency bands supported by your Samsung phone, you can ensure that it works seamlessly with your chosen network carrier and takes advantage of the best possible network coverage and speeds. In this article, we will guide you through the process of checking the frequency bands on your Samsung phone, providing you with the knowledge to make informed decisions about your network compatibility.
Inside This Article
- # 1. Overview
- Method 1: Using the Android System Settings
- # 3. Method 2: Using a Third-Party App
- # 4. Method 3: Using Secret Codes
- Conclusion
- FAQs
# 1. Overview
In today’s fast-paced world, staying connected is more important than ever. And when it comes to mobile phones, one crucial aspect of connectivity is the frequency band your device operates on. The frequency band determines the range and quality of signals your phone can send and receive, ultimately impacting your call quality, internet speed, and overall user experience.
For Samsung phone users, it is essential to know how to check the frequency band your device is currently using. By understanding the frequency band, you can troubleshoot network issues, ensure compatibility with different carriers, and optimize your mobile experience.
In this article, we will explore three different methods to check the frequency band on your Samsung phone. Whether you prefer using the built-in Android settings, downloading a third-party app, or entering secret codes, we’ve got you covered with step-by-step instructions.
So, without further ado, let’s dive into the various methods to check the frequency band on your Samsung phone.
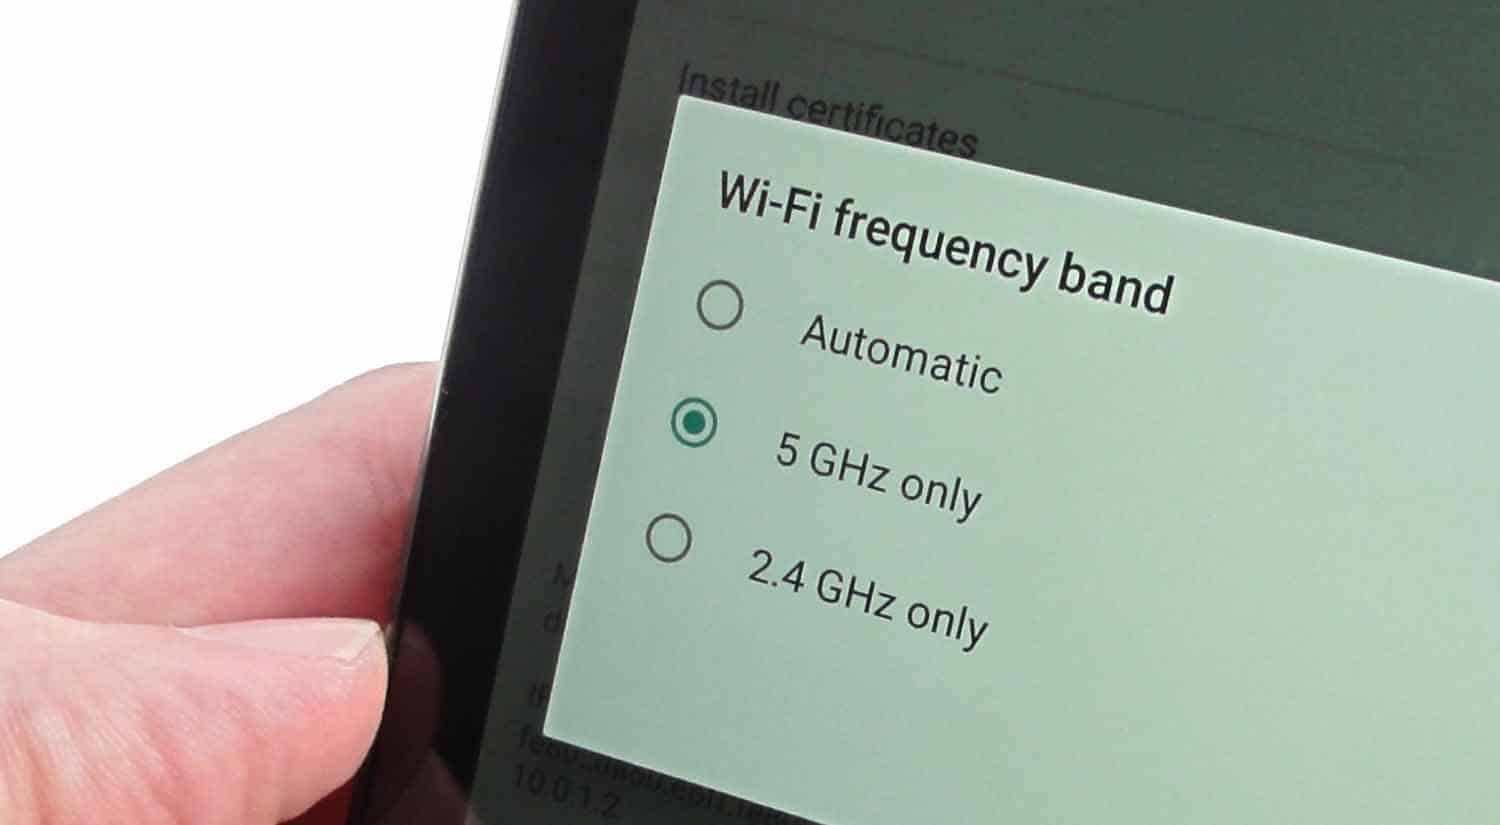
Method 1: Using the Android System Settings
Checking the frequency band on your Samsung phone is a relatively simple task, thanks to the built-in settings on the Android operating system.
To access the frequency band information, follow these steps:
- Open the Settings app on your Samsung phone.
- Scroll down and tap on the “About Phone” or “About Device” option.
- Look for the “Network” or “Network & Internet” section and tap on it.
- Next, tap on “Mobile Network” or a similar option based on your device’s settings.
- Note: The exact wording may vary slightly depending on the model and Android version of your Samsung phone.
- You should now see the “Network Mode” or “Preferred Network Type” option. Tap on it.
- Inside the “Network Mode” menu, you will find the list of available frequency bands. The currently selected band will be highlighted or marked with a checkmark.
By following these steps, you can easily check the frequency band your Samsung phone is currently using. This information can be useful if you are experiencing network issues or want to ensure compatibility with a specific carrier or network technology.
It’s important to note that not all phones have the same set of frequency bands available. The available bands depend on the model and the region where the phone is intended to be used. You can check with your phone’s manufacturer or carrier to find out the specific bands supported by your Samsung phone.
Now that you know how to check the frequency band on your Samsung phone, you can have a better understanding of its network capabilities and make informed decisions regarding network settings and compatibility.
# 3. Method 2: Using a Third-Party App
If you’re looking for a more convenient way to check the frequency band on your Samsung phone, you can use a reliable third-party app. These apps are designed to provide detailed information about your device’s network connections, including the frequency band it is currently using.
To get started, head to the Google Play Store and search for “Network Signal Info” or a similar app. There are several options available, so choose one with good reviews and a high rating.
Once you’ve installed the app, open it and allow the necessary permissions for it to access your phone’s network information. You will then be greeted with a comprehensive dashboard that displays all the relevant details about your network connections.
Look for the option that allows you to view the frequency band information. In most cases, this can be found in the settings or information section of the app. Tap on it, and the app will display the specific frequency band that your Samsung phone is currently connected to.
By using a third-party app, you not only get to see the frequency band your phone is utilizing, but you also gain access to additional network-related information. This can include signal strength, network type, and even cell tower details.
Keep in mind that while third-party apps provide valuable insights, they may also have additional features and functions that may not be relevant to your specific needs. Therefore, it’s essential to choose a reputable app that focuses on providing accurate frequency band information.
With a third-party app, checking the frequency band on your Samsung phone becomes effortless and user-friendly. You don’t have to navigate through complicated menus or enter secret codes. Just launch the app, and all the relevant information is right at your fingertips.
Now that you know how to use a third-party app to check the frequency band on your Samsung phone, you can ensure you are utilizing the best network connection available. This knowledge can come in handy, especially if you find yourself in an area with spotty coverage and want to optimize your phone’s performance.
# 4. Method 3: Using Secret Codes
Another way to check the frequency band on your Samsung phone is by using secret codes. These codes are built into the phone’s software and can provide access to hidden menus and settings.
To access the secret codes, follow these steps:
1. Open the phone’s dialer and type in the following code: *#*#4636#*#*
2. Once you enter the code, you will be taken to a hidden menu called “Phone information.”
3. Scroll down until you find the option labeled “Set preferred network type” or “Network mode.”
4. Tap on the option, and you will see a list of available network types or frequency bands.
5. Look for the band or bands that you are interested in, such as “LTE Band 4” or “GSM 850/1900.”
6. Note down the frequency band that is displayed for future reference.
It’s important to note that accessing these secret codes and hidden menus may vary depending on the specific Samsung phone model and software version. Some codes may not work on all devices or could be disabled by the manufacturer.
Using secret codes to check the frequency band on your Samsung phone can be a quick and easy way to find out which bands are supported by your device. This information can be useful when troubleshooting network issues or ensuring compatibility with different carriers.
Conclusion
Understanding the frequency bands of your Samsung phone is crucial in ensuring optimal network connectivity and compatibility. By checking the frequency band supported by your device, you can determine whether it will work with your desired carrier or in a specific region. This knowledge empowers you to make informed decisions when purchasing a new phone or switching providers.
With the help of the methods discussed in this article, you can easily check the frequency band on your Samsung phone. Whether you use the device settings, third-party apps, or online databases, you have multiple options to find this vital information.
Remember, having a phone that supports the appropriate frequency bands is essential for a seamless mobile experience. So, take the time to verify the supported bands on your Samsung phone, and enjoy reliable and efficient connectivity wherever you go!
FAQs
1. Why is it important to check the frequency band on my Samsung phone?
Checking the frequency band on your Samsung phone is important because it determines the compatibility of your device with different cellular networks. By knowing the supported frequency bands, you can ensure that your phone will work properly and have optimal network coverage.
2. How can I check the frequency band on my Samsung phone?
To check the frequency band on your Samsung phone, you can follow these steps:
– Go to “Settings” on your phone.
– Scroll down and tap on “About phone” or “About device.”
– Look for “Network” or “Network information.”
– Find the section for “Frequency bands” or “Supported bands.”
3. What are frequency bands?
Frequency bands refer to the range of radio frequencies that are used for wireless communication. Different countries and cellular networks use different frequency bands to provide mobile services. It is important to ensure that your phone supports the frequency bands used by your network provider for compatible and reliable connectivity.
4. Can I change the frequency band on my Samsung phone?
No, you cannot change the frequency band on your Samsung phone. The supported frequency bands are hardware-specific and cannot be altered through software or settings. If your phone does not support the frequency bands used by your network provider, you may need to consider getting a different phone or contacting your provider for advice.
5. What happens if my Samsung phone doesn’t support the frequency bands used by my network?
If your Samsung phone doesn’t support the frequency bands used by your network, you may experience limited or no network connectivity. This means that you may have weaker signals, dropped calls, and slower data speeds. It is essential to ensure that your phone is compatible with the frequency bands used by your network provider to have a seamless mobile experience.