
In this article, we will discuss how to delete the second space in Redmi Note 10. The second space feature on Xiaomi devices allows users to create a separate and independent space, like having two phones in one. However, there may come a time when you no longer need the second space, or you simply want to reclaim the storage it occupies. While the option to delete the second space is not readily apparent, don’t worry – we will guide you through the process step by step. By the end of this article, you will have the knowledge and confidence to remove the second space from your Redmi Note 10, freeing up valuable storage space and streamlining your device’s usage. So, let’s get started and learn how to delete the second space on your Redmi Note 10!
Inside This Article
- Overview of Second Space in Redmi Note 10
- Steps to Delete Second Space in Redmi Note 10
- Additional Information and Tips for Managing Multiple User Spaces
- Conclusion
- FAQs
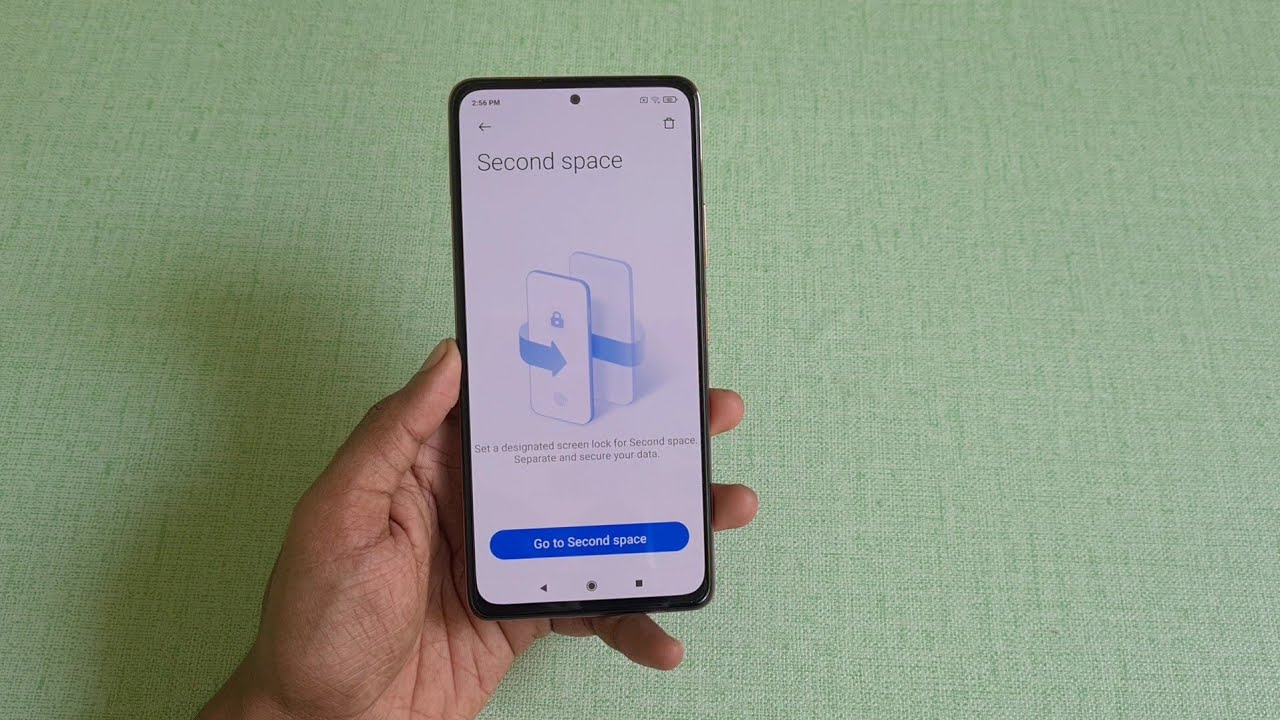
Overview of Second Space in Redmi Note 10
The Redmi Note 10 is a feature-packed smartphone that offers a wide range of functionalities to its users. One of the standout features is the Second Space, a unique and innovative feature that allows users to create a separate and isolated space within their device. This feature comes in handy when you want to keep your personal and professional life separate or share your device with someone else without compromising your privacy.
The Second Space in Redmi Note 10 essentially creates a virtual partition on your device, where you can set up a completely different set of apps, wallpapers, and settings. It gives you the freedom to have two separate and independent user spaces within a single device, with each space having its own set of data and configurations.
This feature is particularly useful for individuals who need to use their device for different purposes. For example, you can have one space for your personal use, where you can have your personal apps, photos, and settings, while the other space can be dedicated to your work or school-related activities. This separation ensures that your personal information and data remain private and secure, even if you share your device with someone else.
Moreover, the Second Space feature allows you to switch between the two spaces seamlessly, with just a few taps. This makes it incredibly convenient to transition from your personal space to your work space, without the need for multiple devices or complicated setup processes.
Another benefit of the Second Space in Redmi Note 10 is that it provides an added layer of security. Since each space is independent, you can set up a separate lock screen password or fingerprint for each space. This means that even if someone gains access to one space, they won’t be able to access the other space without the respective password or fingerprint.
Overall, the Second Space feature in Redmi Note 10 is a powerful tool that enhances the user experience by providing a convenient and secure way to manage multiple user spaces within a single device. It offers flexibility, privacy, and ease of use, making it a valuable feature for individuals who need to keep their personal and professional lives separate or share their device with others.
Steps to Delete Second Space in Redmi Note 10
If you no longer need the Second Space feature on your Redmi Note 10, you can easily delete it. Follow these simple steps to remove Second Space from your device:
- Unlock your Redmi Note 10 and go to the home screen.
- Swipe down from the top of the screen to access the notification panel.
- Tap on the “Settings” icon, which is represented by a gear-shaped icon.
- In the settings menu, scroll down and tap on the “Dual apps” option.
- Under the Dual apps section, you’ll find the option for “Second Space.” Tap on it to proceed.
- Inside the Second Space settings, you’ll see the option to “Delete” the Second Space. Tap on it.
- A confirmation pop-up will appear, asking if you want to delete the Second Space. Tap on “Delete” to confirm.
- Wait for a few moments as your Redmi Note 10 removes the Second Space from your device.
- Once the process is complete, you’ll see a notification confirming the deletion of Second Space.
- You can now go back to the home screen and enjoy your Redmi Note 10 without the Second Space feature.
By following these steps, you can easily delete the Second Space feature on your Redmi Note 10. Keep in mind that deleting the Second Space will remove all the data and apps associated with it. Make sure to backup any important data before proceeding with the deletion.
Additional Information and Tips for Managing Multiple User Spaces
While the primary purpose of this article is to guide you on how to delete the Second Space in Redmi Note 10, it’s worth mentioning some additional information and tips for managing multiple user spaces on your device.
1. Privacy and Security: One of the key advantages of using multiple user spaces is the enhanced privacy and security it provides. Each user space is isolated from the others, meaning that apps, files, and settings are separate, ensuring that your personal data is protected and inaccessible to others.
2. Managing User Spaces: In addition to deleting the Second Space, you can also create, switch, and manage multiple user spaces on your Redmi Note 10. Simply go to the settings menu, navigate to the “Users & accounts” section, and select “Add user” or “User to switch” to access different spaces.
3. Customizing User Spaces: Each user space can be customized to suit your preferences. You can personalize the wallpaper, app layout, and settings within each space. This allows you to create unique environments for different purposes, such as work, personal use, or sharing your device with others.
4. App and Data Management: When using multiple user spaces, it’s important to keep track of your apps and data. Remember that each space has its own set of installed apps and data. If you want to access specific apps or transfer data between spaces, you’ll need to do it within each individual space.
5. Guest Mode: Apart from creating multiple user spaces, Redmi Note 10 also offers a guest mode feature. Guest mode allows you to give temporary access to your device to someone without granting full access to your personal data. It’s a convenient way to share your phone with others while maintaining your privacy.
6. Switching User Spaces: To switch between user spaces, go to the settings menu, select “Users & accounts,” and tap on the user you want to switch to. This allows you to seamlessly transition between different spaces and access the apps and settings specific to each user.
Remember to regularly review and manage your user spaces to ensure optimal performance and organization. It’s a good practice to periodically delete unnecessary spaces or clear data from unused user spaces to free up storage on your device.
With these additional tips and information, you’ll be able to effectively manage multiple user spaces on your Redmi Note 10, enjoying the benefits of enhanced privacy, security, and customization. Whether you use it for work, personal use, or sharing your device, the ability to have multiple user spaces brings added convenience and flexibility to your smartphone experience.
Conclusion
In conclusion, deleting the second space in Redmi Note 10 is a simple process that can help optimize the storage and performance of your device. By removing the second space, you can free up additional storage space and improve the overall functionality of your Redmi Note 10.
We have explored the step-by-step process to delete the second space in Redmi Note 10. Remember to back up your data before proceeding, as deleting the second space will erase all the data stored in it. It is crucial to follow the instructions carefully to ensure a successful deletion process and avoid any accidental loss of important files or data.
By deleting the second space, you can declutter your device, improve storage efficiency, and enhance the overall user experience on your Redmi Note 10. Enjoy the streamlined functionality and maximize the potential of your device by removing the second space.
FAQs
1. What is Second Space in Redmi Note 10?
Second Space is a feature available on Redmi Note 10 that allows you to have a separate virtual space on your device. It creates a parallel environment where you can have a different set of apps, accounts, and settings. It helps to keep your personal and work life separate or can be used to share your device with someone else.
2. How do I access Second Space on Redmi Note 10?
To access Second Space on your Redmi Note 10, follow these steps:
- Go to the Settings app on your device.
- Scroll down and select “Second Space.”
- Tap on “Turn on Second Space” to enable the feature.
- Set up a password or fingerprint lock for the Second Space.
- Once enabled, you can switch to the Second Space by swiping down on the home screen and tapping the “Second Space” icon.
3. Can I delete Second Space on Redmi Note 10?
Yes, you can delete Second Space on your Redmi Note 10 if you no longer need it. To delete Second Space, follow these steps:
- Go to the Settings app on your device.
- Scroll down and select “Second Space.”
- Tap on “Delete Second Space.”
- Enter the password or fingerprint to authenticate the deletion process.
- Confirm the deletion by selecting “Delete Second Space” again.
4. What happens to the data in Second Space when I delete it?
When you delete Second Space on your Redmi Note 10, all the data and apps stored in the Second Space will be permanently erased. It is crucial to make sure you have backed up any important data before proceeding with the deletion process.
5. Can I recover Second Space after deleting it on Redmi Note 10?
No, once you delete Second Space on your Redmi Note 10, it cannot be recovered. All the data and settings associated with the Second Space will be permanently erased. If you wish to use Second Space again, you will need to set it up from scratch.