
Are you running out of storage space on your Samsung S20 due to the large number of photos taking up valuable memory? Don’t worry, there’s a simple solution – moving your photos to an SD card. The Samsung S20 has the capability to expand its storage by adding an external SD card, allowing you to free up space on your device without losing your precious memories.
In this article, we will guide you through the step-by-step process of moving photos to an SD card on your Samsung S20. You’ll learn how to select and transfer photos, ensuring that you have ample storage space on your device for future captures. Whether you’re a photography enthusiast or simply love documenting every moment, this guide will help you optimize your Samsung S20’s memory and keep your photos safe and accessible.
Inside This Article
How to Move Photos to SD Card on Samsung S20
If you are running out of storage space on your Samsung S20 and want to free up some memory, moving your photos to the SD card is a great solution. The SD card not only expands your phone’s storage capacity but also allows you to easily transfer and access your photos. In this article, we will guide you through the process of moving photos to the SD card on your Samsung S20.
Enable the SD Card
The first step is to make sure that the SD card is properly inserted into your Samsung S20. To do this, locate the SIM card tray, usually located on the side of the device. Use the SIM card ejector tool, or a small pin, to gently push the tray out. Insert the SD card into the designated slot and push the tray back in until it clicks into place. Once the SD card is inserted, your device should recognize it automatically.
Transfer Photos using the Gallery App
The Gallery app on your Samsung S20 offers a convenient way to move your photos to the SD card. Follow these steps:
- Open the Gallery app on your Samsung S20.
- Select the photos you want to move by tapping and holding on one photo and then tapping on the other photos you wish to select.
- Tap on the “Menu” or “More” button often represented by three dots in the top-right corner of the screen.
- From the options that appear, select “Move to SD card” or “Move to external storage.
- Wait for the transfer process to complete. This may take some time depending on the number and size of the photos.
- Once the transfer is finished, you can verify that the photos have been moved to the SD card by opening the “SD card” folder within the Gallery app.
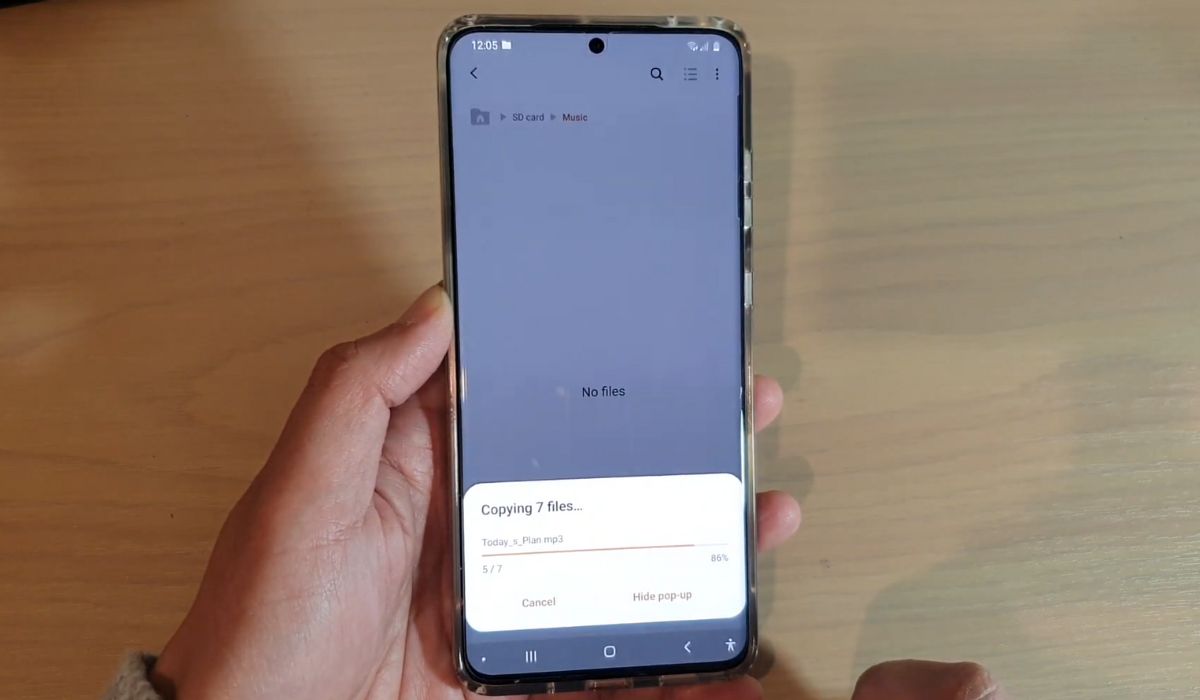
Move Photos through the File Manager
If you prefer a more manual approach, you can also move your photos to the SD card through the File Manager. Here’s how:
- Open the File Manager app on your Samsung S20.
- Navigate to the “Internal storage” or “Device storage” folder.
- Locate the “DCIM” folder, which contains your photos. Tap on it to open.
- Select the photos you want to move by tapping and holding on one photo and then tapping on the other photos you wish to select.
- Tap on the “Move” or “Cut” option, usually represented by a pair of scissors or a folder icon with a cut-out corner.
- Go back to the main screen of the File Manager and navigate to the “SD card” or “External storage” folder.
- Tap on the “Paste” or “Move here” option to transfer the selected photos to the SD card.
Set the SD Card as the Default Storage
If you want to ensure that all future photos are automatically saved to the SD card, you can set it as the default storage location for your camera app. Here’s how:
- Open the Camera app on your Samsung S20.
- Tap on the gear icon or the Settings option within the camera interface.
- Scroll down and locate the “Storage” or “Storage location” option.
- Select “SD card” or “External storage” as your preferred storage location.
- Exit the camera settings and from now on, all the photos you capture will be saved directly to the SD card.
By following these steps, you can easily move your photos to the SD card on your Samsung S20, freeing up valuable internal storage space. Whether you choose to use the Gallery app, the File Manager, or set the SD card as the default storage, you can ensure that your precious memories are safely stored and easily accessible.
Conclusion
In conclusion, moving photos to an SD card on your Samsung S20 is a simple and effective way to free up storage space on your device. With just a few taps, you can transfer your precious memories to the SD card and ensure that they are safe and easily accessible. Whether you’re running low on storage or want to organize your photo collection, utilizing the SD card feature on your Samsung S20 is a practical solution.
Remember to regularly back up your photos to a separate location, such as the cloud or a computer, to avoid any potential data loss. Additionally, always ensure that you insert a compatible and reliable SD card into your device to avoid any performance issues.
By following the steps outlined in this guide, you can effortlessly manage your photos and enjoy the benefits of increased storage capacity on your Samsung S20. So go ahead and start moving your photos to an SD card today!
FAQs
1. What is the benefit of moving photos to an SD card on the Samsung S20?
2. How do I check if my Samsung S20 has an SD card slot?
3. Can I move all types of photos to the SD card?
4. What happens to the photos if I remove the SD card from my Samsung S20?
5. Can I still access and view photos when they are stored on the SD card?