
Welcome to our guide on how to stitch Xiaomi Mijia Mi Sphere 360 on a Mac! The Xiaomi Mijia Mi Sphere 360 camera is a popular choice for capturing immersive 360-degree photos and videos. However, stitching these files together on a Mac can be a bit tricky if you’re not familiar with the process.
In this article, we will provide you with step-by-step instructions on how to stitch Xiaomi Mijia Mi Sphere 360 files on your Mac computer. Whether you’re a photography enthusiast or simply looking to share your panoramic memories with friends and family, this guide will help you transform your raw footage into stunning, seamless 360-degree experiences.
So, let’s get started and unlock the full potential of your Xiaomi Mijia Mi Sphere 360 camera with our Mac stitching guide!
Inside This Article
- Overview
- Installing Stitcher Software
- Importing 360 Images to Stitcher
- Stitching Images on a Mac
- Conclusion
- FAQs
Overview
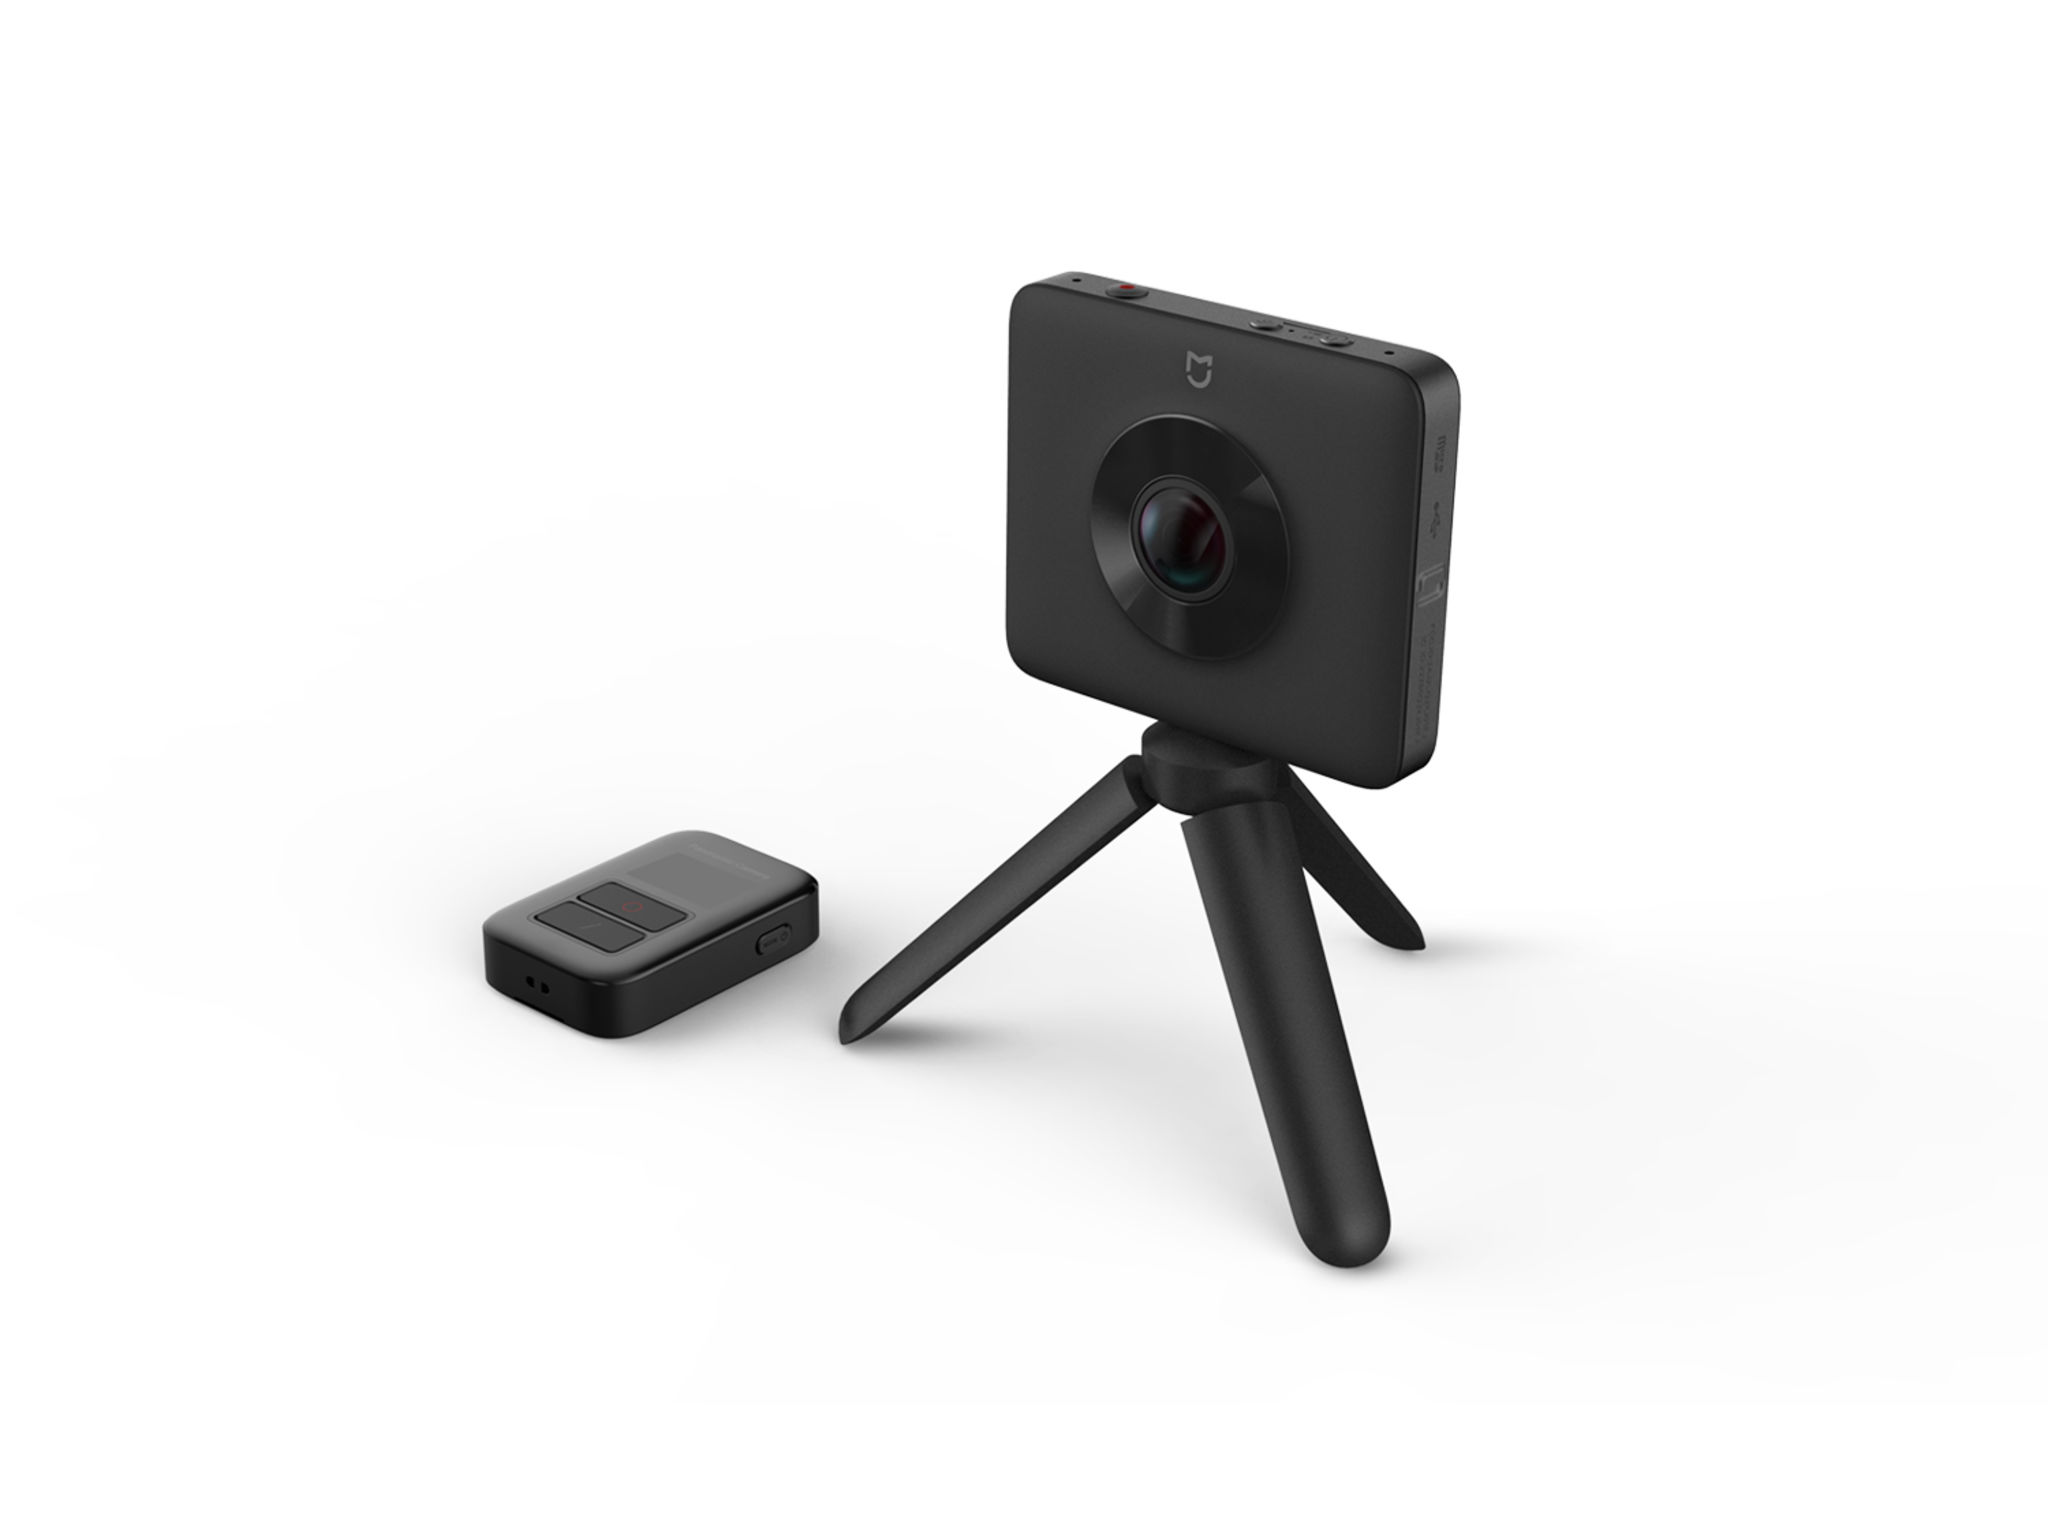
In today’s digital era, capturing stunning 360-degree photos and videos has become incredibly popular. One device that has gained a lot of attention in this space is the Xiaomi Mijia Mi Sphere 360 camera. This compact and portable camera allows you to capture immersive 360-degree images and videos with ease.
However, in order to fully experience the magic of 360 photography, it is important to know how to stitch together multiple images into a seamless panoramic masterpiece. If you are a Mac user, don’t worry! In this article, we will guide you through the step-by-step process of stitching Xiaomi Mijia Mi Sphere 360 photos on your Mac.
Stitching your 360-degree images on a Mac can be a breeze, as long as you have the right software and know the correct steps to follow. The key software you will need is a dedicated stitching software called Stitcher.
Stitcher is a powerful tool that allows you to combine multiple images and create a seamless 360-degree panorama. It is compatible with Mac operating systems and offers a user-friendly interface, making the stitching process intuitive and straightforward.
The first step is to download and install the Stitcher software on your Mac. Head over to the official Stitcher website and look for the Mac version of the software. Once downloaded, double-click on the installer file and follow the on-screen instructions to install the software on your Mac.
Once you have successfully installed the Stitcher software, it’s time to import your Xiaomi Mijia Mi Sphere 360 images. Connect your camera to your Mac using the provided USB cable, and the Stitcher software should automatically recognize the connected device.
If the software fails to detect your camera, you can manually import the images from your camera’s SD card. Simply click on the “Import” button within the Stitcher software and navigate to the location of your images on the SD card. Select the desired images and click on “Import” to bring them into the Stitcher software.
With your images successfully imported into the Stitcher software, it’s time to start the stitching process. The software will automatically analyze and align the images to create the seamless 360-degree panorama. You may have to wait for a few minutes depending on the number of images and the processing power of your Mac.
Once the stitching process is complete, you can preview the stitched panorama within the Stitcher software. You can adjust the orientation, crop the panorama, and make other adjustments as per your preference. Explore the various editing tools and options provided by the software to enhance the final result and make it truly captivating.
Once you are satisfied with the stitched panorama, you can export it in various formats supported by the Stitcher software. Choose the desired format, select the output location, and click on “Export” to save the final stitched image or video on your Mac.
Now that you know how to stitch Xiaomi Mijia Mi Sphere 360 photos on your Mac, you can unleash your creativity and capture breathtaking 360-degree panoramas. Whether you’re into landscape photography, virtual tours, or simply want to capture your memories in a unique way, the Xiaomi Mijia Mi Sphere 360 camera and the Stitcher software make the process a breeze.
So, grab your camera, fire up your Mac, and get ready to dive into the world of stunning 360-degree imagery!
Installing Stitcher Software
If you own a Xiaomi Mijia Mi Sphere 360 camera and want to stitch your 360-degree images on a Mac, the first step is to install the Stitcher software. The Stitcher software is a powerful tool that enables you to merge multiple images into a seamless panoramic image. Follow the steps below to install the Stitcher software on your Mac:
-
Visit the Xiaomi official website or the Apple App Store and search for “Xiaomi Mijia Mi Sphere 360 Stitcher.”
-
Download and install the Stitcher software on your Mac.
-
Once the installation is complete, launch the Stitcher software.
-
Connect your Xiaomi Mijia Mi Sphere 360 camera to your Mac using a USB cable or by inserting the SD card into your Mac’s SD card slot.
-
The Stitcher software should detect your camera automatically. If not, click on the “Device” or “Camera” tab and select your Xiaomi Mijia Mi Sphere 360 camera from the available devices.
-
Follow the on-screen instructions to complete the installation process.
Once the Stitcher software is installed on your Mac, you are ready to import your 360 images and start stitching them together to create stunning panoramic images.
Importing 360 Images to Stitcher
Once you have captured stunning 360-degree photos with your Xiaomi Mijia Mi Sphere 360 camera, the next step is to import these images into a stitching software. In this case, we will be using Stitcher, a powerful software compatible with Mac devices.
To start the importing process, you need to connect your Xiaomi Mijia Mi Sphere 360 camera to your Mac using a USB cable. Once connected, turn on the camera and wait for your Mac to recognize it. It might take a few moments for the connection to establish.
Next, open Stitcher on your Mac. On the main interface, you will find an option to import images. Click on this option to proceed.
A file browser window will pop up, allowing you to navigate to the folder where your 360 images are stored. Select the images you want to import and click on the “Import” button.
Stitcher will then start the importing process and display a progress bar to track the import status. The time it takes to import the images depends on the number and size of the files.
Once the importing process is complete, you will see thumbnails of the imported images in the Stitcher interface. You can preview and browse through the images to ensure all the desired photos are successfully imported.
It’s important to note that Stitcher supports various image formats, including JPEG and RAW files. This means you can import both stitched and unstitched images, depending on your preference and eventual editing requirements.
Additionally, Stitcher offers advanced features such as batch processing, auto-alignment, and automatic exposure correction. These features help streamline the stitching workflow and ensure seamless and high-quality results.
Once you have imported your 360 images to Stitcher, you are now ready to start the stitching process. Stitcher will automatically detect and match the overlapping areas in the images, ensuring a precise alignment for seamless stitching.
With the images successfully imported and the stitching process about to begin, you are one step closer to creating captivating and immersive 360-degree panoramas using your Xiaomi Mijia Mi Sphere 360 camera and Mac device.
Stitching Images on a Mac
Stitching images on a Mac is a straightforward process that can be accomplished using various software options available for Mac users. Whether you are a professional photographer or an avid 360-degree photography enthusiast, stitching your images together on a Mac allows you to create stunning panoramic visuals.
One of the recommended software options for stitching 360-degree images on a Mac is the Stitcher software developed by Xiaomi Mijia. This powerful software provides a user-friendly interface and advanced features to seamlessly stitch your images together.
Here is a step-by-step guide on how to stitch Xiaomi Mijia Mi Sphere 360 images on a Mac using Stitcher:
- Step 1: Install Stitcher Software
- Step 2: Importing 360 Images to Stitcher
- Step 3: Stitching Images
- Step 4: Save and Export the Stitched Image
Start by downloading and installing the Stitcher software on your Mac. Ensure that you have the latest version of the software to access the most updated features and enhancements.
Connect your Xiaomi Mijia Mi Sphere 360 camera to your Mac using the provided USB cable. Once connected, open the Stitcher software.
Click on the “Import Images” button within the Stitcher software and browse your Mac’s directory to locate the folder containing your 360-degree images captured by the Xiaomi Mijia Mi Sphere camera. Select the images you want to stitch together and click “Import” to add them to the Stitcher software.
After importing the 360-degree images to the Stitcher software, arrange them in the desired sequence. You can drag and drop the images to rearrange them as needed.
Once you have the images in the correct order, click on the “Stitch” button to initiate the stitching process. The Stitcher software will analyze and merge the images to create a seamless 360-degree panorama.
It is important to note that the stitching process may take some time, depending on the number of images and the processing power of your Mac. Be patient and avoid interrupting the stitching process to ensure optimal results.
Once the stitching process is complete, review the stitched image in the Stitcher software’s preview window. If you are satisfied with the results, click on the “Save” or “Export” button to save the stitched image to your desired location on your Mac.
Consider choosing a high-resolution output format, such as TIFF or PNG, to preserve the clarity and detail of the stitched image.
That’s it! You have successfully stitched Xiaomi Mijia Mi Sphere 360 images on your Mac using Stitcher. Now you can explore and share your stunning panoramic visuals captured by your Xiaomi Mijia Mi Sphere camera.
Remember to regularly update your Stitcher software to access the latest features and improvements, as software updates often include bug fixes and performance enhancements.
Conclusion
In conclusion, the Xiaomi Mijia Mi Sphere 360 camera is a fantastic option for those looking to capture stunning 360-degree images and videos. With its user-friendly interface and compatibility with Mac computers, it offers a seamless and enjoyable experience for Mac users. The ability to stitch your footage directly on your Mac allows for smooth and hassle-free editing, ensuring you can create breathtaking content without any technical hurdles.
Whether you’re an aspiring photographer, a travel enthusiast, or simply someone who loves to capture the world around them, the Xiaomi Mijia Mi Sphere 360 camera is worth considering. Its sleek design, high-quality output, and convenient Mac compatibility make it a versatile tool for capturing immersive and engaging content. So don’t hesitate to give it a try and unleash your creativity in the world of 360-degree photography and videography!
“`html
FAQs
1. Can I use a Mac to stitch Xiaomi Mijia Mi Sphere 360 videos?
Yes, you can stitch Xiaomi Mijia Mi Sphere 360 videos on a Mac using dedicated software like “Xiaomi Mijia Mi Sphere 360 Action Camera PC/Mac software” or third-party stitching programs such as Adobe Premiere Pro or Autopano Video.
2. Which software should I use to stitch Xiaomi Mijia Mi Sphere 360 videos on a Mac?
There are several options you can consider, such as the official Xiaomi Mijia Mi Sphere 360 Action Camera software for Mac, Adobe Premiere Pro, Autopano Video, or other third-party stitching software available for the Mac platform. Choose the one that best suits your needs and preferences.
3. Can I edit Xiaomi Mijia Mi Sphere 360 videos on a Mac?
Yes, you can edit Xiaomi Mijia Mi Sphere 360 videos on a Mac using video editing software like Adobe Premiere Pro, Final Cut Pro, or iMovie. These software programs allow you to trim, merge, add effects, and perform other editing tasks on your 360-degree footage.
4. What are the recommended export settings for Xiaomi Mijia Mi Sphere 360 videos on a Mac?
The recommended export settings for Xiaomi Mijia Mi Sphere 360 videos on a Mac may vary depending on your specific requirements and the platform where you intend to share or display the videos. However, a common recommendation is to export the videos in a suitable format and resolution for the target platform, ensuring compatibility and optimal viewing quality.
5. Are there any additional accessories or equipment needed to stitch Xiaomi Mijia Mi Sphere 360 videos on a Mac?
Generally, no additional accessories or equipment are necessary to stitch Xiaomi Mijia Mi Sphere 360 videos on a Mac. However, if you plan to capture the 360 footage using the Xiaomi Mijia Mi Sphere 360 camera, make sure you have a fast and reliable SD card with sufficient storage capacity. Other than that, a Mac computer with decent processing power and sufficient storage should suffice for the stitching process.
“`