
Are you tired of struggling to transfer photos from your Android phone to your Chromebook? Look no further! In this comprehensive guide, we will walk you through the step-by-step process to effortlessly transfer all your precious photos. Whether you want to free up space on your phone or simply have a backup on your Chromebook, we’ve got you covered.
With the increasing popularity of Chromebooks and their seamless integration with Android devices, transferring photos has become a breeze. Whether you’re a photography enthusiast or just enjoy capturing special moments, being able to conveniently access and manage your photos on your Chromebook can greatly enhance your experience. So, let’s delve into the world of photo transfer and unlock the full potential of your Android phone and Chromebook combination.
Inside This Article
- Getting Started with Photo Transfer
- Method 1: Using Google Photos App
- Method 2: Using USB Cable
- Method 3: Using Google Drive
- Method 4: Using a MicroSD Card
- Conclusion
- FAQs
Getting Started with Photo Transfer
Transferring photos from your Android phone to your Chromebook can be a convenient way to view and edit your pictures on a larger screen. Whether you want to back up your photos or simply have easier access to them, there are several methods you can use to transfer your photos seamlessly. In this article, we will guide you through the various methods, step by step.
Before we dive into the methods, there are a few things you need to do to set the stage for a successful photo transfer. First, make sure that both your Android phone and Chromebook are connected to the internet. This will ensure that your photos can be synced or uploaded to the cloud for easy access. Additionally, ensure that you have enough free space on your Chromebook or any external storage device you plan to use.
Once you have taken care of these preliminary steps, you can proceed with one of the following methods to transfer your photos:
Method 1: Using Google Photos App
Transferring photos from your Android phone to a Chromebook can be seamlessly done using the Google Photos app. By following these steps, you’ll have your cherished memories readily available on your Chromebook in no time.
Step 1: Install Google Photos App
The first step is to install the Google Photos app on your Android phone. Head to the Google Play Store and search for “Google Photos.” Tap on the app and click “Install.” Once installed, open the app to proceed to the next step.
Step 2: Sign in to your Google Account
Next, sign in to your Google Account within the Google Photos app. This will ensure that your photos are synced with your Google account and accessible across devices. If you don’t have a Google Account, you can create one by following the prompts on your phone.
Step 3: Enable Backup & Sync
Once you’re signed in, navigate to the app’s settings. Look for the “Backup & sync” option and enable it. By turning on backup and sync, all the photos you take or upload on your Android phone will automatically be uploaded to your Google Photos account.
Step 4: Select and Upload Photos
Now that backup and sync are enabled, you can proceed to select the photos you want to transfer to your Chromebook. Open the Google Photos app, tap on the desired photos, and click the “Upload” button. You can select multiple photos by long-pressing on one photo and then tapping on the others you want to include.
Step 5: Access Photos on Chromebook
Once you’ve uploaded your photos, they will be available in your Google Photos account. To access them on your Chromebook, log in to the same Google Account on your Chromebook. Open the Google Photos website or use the pre-installed Google Photos app on your Chromebook to view and download the transferred photos.
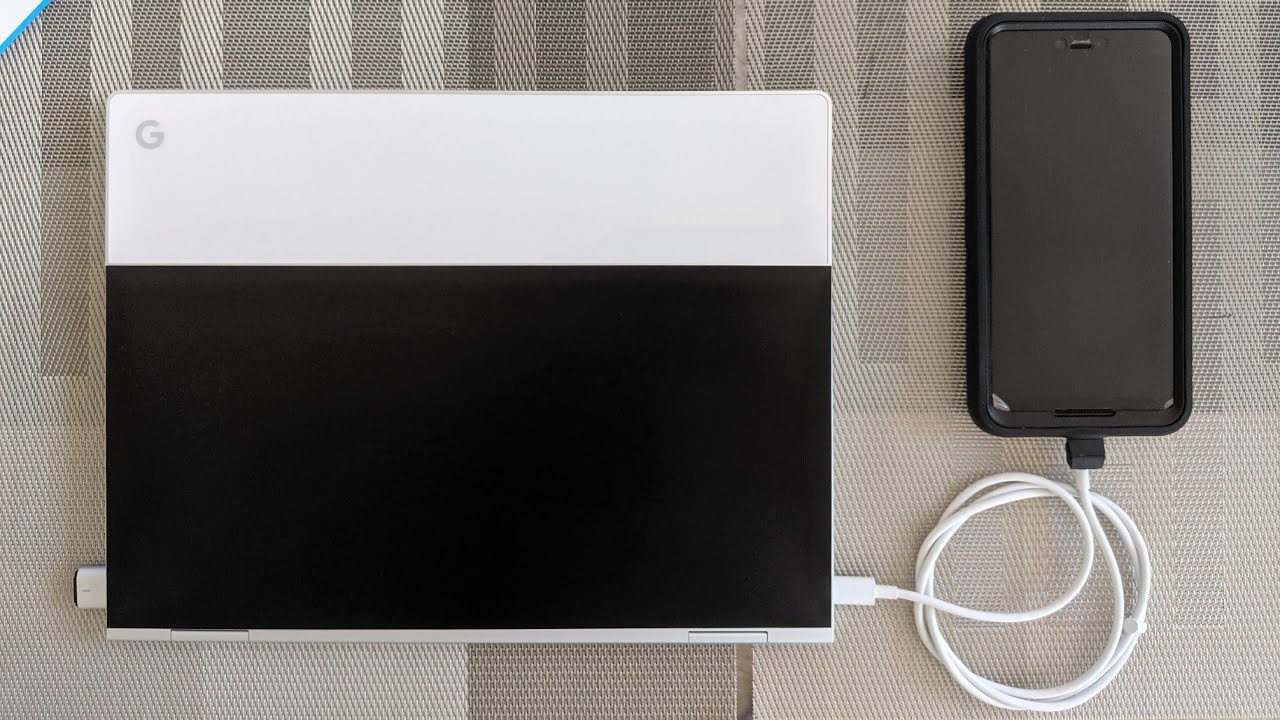
Method 2: Using USB Cable
Transferring photos from your Android phone to a Chromebook using a USB cable is a simple and straightforward method. Follow these steps to complete the transfer:
Step 1: Connect your Android Phone to Chromebook
Start by connecting your Android phone to the Chromebook using a compatible USB cable. Make sure both devices are turned on and unlocked. Once connected, your Chromebook should detect the phone and display a notification.
Step 2: Enable File Transfer Mode on Android
On your Android phone, swipe down from the top of the screen to access the notification panel. Look for the USB connection options and tap on it. Select “File Transfer” or “Transfer files” from the list of available options. This will enable file transfer mode on your phone.
Step 3: Find and Copy Photos
Open the Files app on your Chromebook. In the left sidebar, you should see your Android phone listed under “Devices”. Click on your phone’s name to open it. Navigate to the folder where your photos are stored, which is usually “DCIM” or “Pictures”. Select the photos you want to transfer by clicking on them. You can select multiple photos by holding down the Ctrl key while clicking.
Step 4: Paste Photos on Chromebook
After selecting the photos, right-click anywhere in the Files app and choose “Copy” from the context menu that appears. Now, navigate to the location on your Chromebook where you want to save the photos. Right-click in that location and select “Paste”. The photos will be transferred from your Android phone to the Chromebook.
Once the transfer is complete, you can disconnect your Android phone from the Chromebook. You can now access the transferred photos on your Chromebook and use them as needed.
Method 3: Using Google Drive
Google Drive is a widely used cloud storage service that can be accessed on multiple devices, including Chromebooks. By uploading your photos to Google Drive, you can easily transfer them to your Chromebook. Here’s how to do it:
Step 1: Install Google Drive App
The first step is to install the Google Drive app on your Android phone. You can find the app in the Google Play Store. Simply search for “Google Drive” and click on the “Install” button to download and install the app.
Step 2: Sign in to your Google Account
Once you have installed the Google Drive app, open it and sign in to your Google Account. If you don’t have an account, you can create one for free. Signing in to your account will give you access to the full functionality of Google Drive.
Step 3: Upload Photos to Google Drive
Now that you are signed in, you can start uploading your photos to Google Drive. In the Google Drive app, tap on the “+” icon or the “Upload” button to select the photos you want to transfer. You can choose individual photos or select multiple photos at once. Once you have made your selection, tap on the “Upload” button to start the upload process. Depending on the size of your photos and your internet connection speed, the upload may take some time.
Step 4: Access Photos on Chromebook
Once your photos have been uploaded to Google Drive, you can easily access them on your Chromebook. Open the Chrome web browser on your Chromebook and go to the Google Drive website. Sign in with the same Google Account you used to upload the photos. In the Google Drive interface, you will see the uploaded photos. Simply click on a photo to view or download it to your Chromebook.
Using Google Drive to transfer photos from your Android phone to your Chromebook offers a convenient and secure way to access your photos across devices. Whether you want to edit or share your photos on your Chromebook, Google Drive makes it easy to do so. Give it a try and enjoy seamless photo transfer!
Method 4: Using a MicroSD Card
If you prefer a more direct and offline method to transfer photos from your Android phone to your Chromebook, using a MicroSD card is a convenient option. With a MicroSD card, you can easily transfer your photos without relying on an internet connection or cloud storage.
Step 1: Insert MicroSD Card into your Android Phone
The first step is to insert a MicroSD card into your Android phone. Locate the slot for the MicroSD card, which is typically on the side or back of the device, and carefully insert the card.
Step 2: Save Photos to MicroSD Card
Once the MicroSD card is inserted, you can begin saving your photos directly to the card. Open your phone’s gallery or photo app, select the photos you want to transfer, and choose the option to save them to the MicroSD card. Ensure that the photos are saved properly before proceeding to the next step.
Step 3: Remove MicroSD Card from Android Phone
After saving your photos to the MicroSD card, safely remove the card from your Android phone. This step is crucial to avoid data corruption or loss. Consult your phone’s user manual or search online for specific instructions on how to safely eject the MicroSD card from your device.
Step 4: Insert MicroSD Card into Chromebook
With your photos securely saved on the MicroSD card, it’s time to transfer them to your Chromebook. Locate the MicroSD card slot on your Chromebook, usually found on the side of the device, and carefully insert the card into the slot. Ensure that the card is inserted correctly to avoid any damage.
Step 5: Access Photos on Chromebook
Once the MicroSD card is inserted into your Chromebook, the system will recognize it and allow you to access the photos stored on it. Open the Files app on your Chromebook, locate the MicroSD card, and navigate to the folder where your photos are stored. From there, you can view, organize, and transfer your photos to any location on your Chromebook.
Using a MicroSD card offers a simple and reliable way to transfer photos from your Android phone to your Chromebook. Whether you want to free up space on your phone or have your photos readily available on your Chromebook, this method provides a convenient offline solution.
Conclusion
In conclusion, transferring photos from your Android phone to your Chromebook is a straightforward process that allows you to conveniently access and manage your images across devices. Whether you prefer using a USB cable, Google Photos, or the Files app, you have several options to choose from based on your preferences and device compatibility.
By following the steps outlined in this guide, you can easily transfer your photos and enjoy them on the larger screen of your Chromebook or share them with others. Remember to keep your photos organized and backed up regularly to ensure their safety and accessibility.
With the ability to seamlessly transfer photos between your Android phone and Chromebook, you can make the most of both devices and enjoy a seamless user experience. So go ahead, transfer those captivating memories, and continue creating new ones on your Chromebook!
FAQs
Q: Can I transfer photos from my Android phone to a Chromebook?
Yes, you can transfer photos from your Android phone to a Chromebook. In fact, it is quite simple and convenient to do so.
Q: What methods can I use to transfer photos?
There are several methods you can use to transfer photos from your Android phone to a Chromebook. You can use a USB cable, Google Drive, or a cloud storage service like Dropbox.
Q: How do I transfer photos using a USB cable?
To transfer photos using a USB cable, connect your Android phone to your Chromebook using the cable. Once connected, open the Files app on your Chromebook, find your phone listed under “Devices,” and access the photos you want to transfer. Simply drag and drop the photos to the desired folder on your Chromebook.
Q: Can I transfer photos wirelessly?
Yes, you can transfer photos wirelessly from your Android phone to a Chromebook. One way to do this is by uploading your photos to a cloud storage service like Google Drive from your phone, and then accessing and downloading them on your Chromebook using the Google Drive app or the web browser.
Q: How can I transfer photos using Google Drive?
To transfer photos using Google Drive, simply open the Google Drive app on your Android phone. Upload the photos you want to transfer to your Google Drive account. Once uploaded, open Google Drive on your Chromebook, locate the uploaded photos, and download them to your Chromebook’s local storage.