
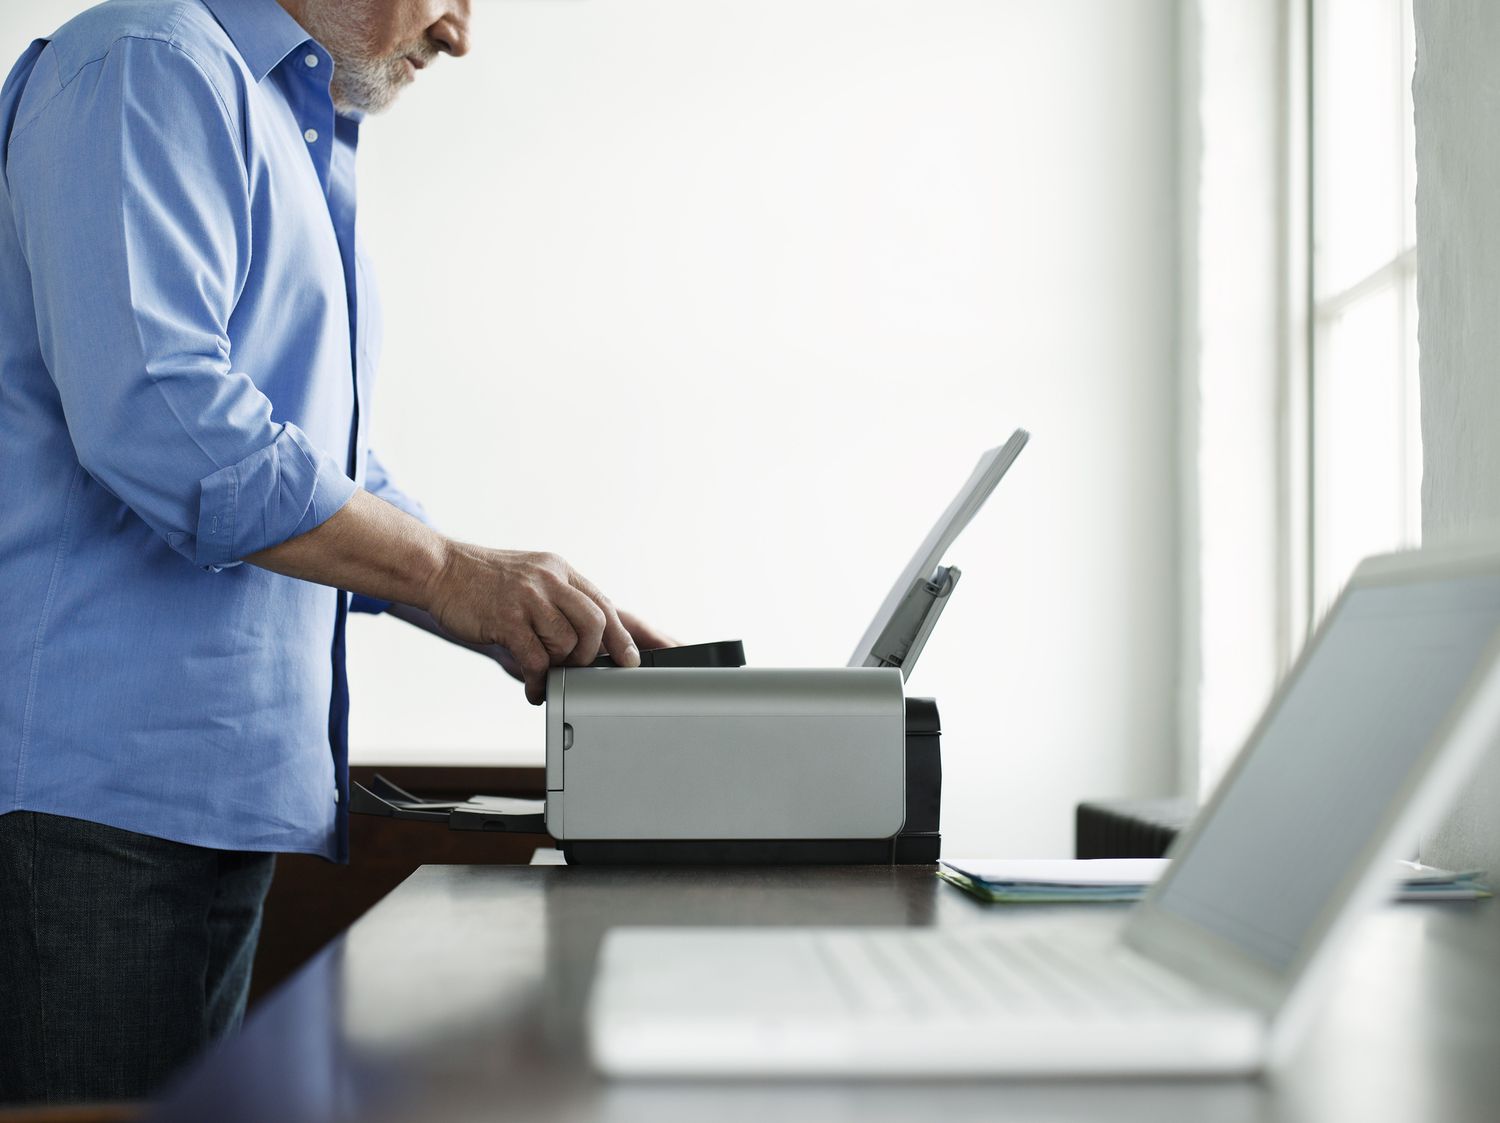
Connecting to a wireless printer from a laptop has become increasingly convenient in today’s technology-driven world. One of the most popular brands of wireless printers is HP, known for its reliability and user-friendly features. Whether you need to print important documents, photos, or other files, being able to connect effortlessly to your HP wireless printer from your laptop is a valuable skill.
In this article, we will guide you through the step-by-step process of connecting to an HP wireless printer from a laptop. We will cover everything from checking your laptop’s compatibility with the printer to installing the necessary drivers and configuring the wireless connection. By following these instructions, you will be able to seamlessly set up a connection between your laptop and HP wireless printer, allowing you to print documents and files with ease.
Inside This Article
- Overview
- Step 1: Ensure compatibility and prepare your devices
- Step 2: Connect your laptop to the wireless network
- Step 3: Find and install the HP printer software
- Step 4: Add the HP printer to your laptop
- Troubleshooting tips
- Conclusion
- FAQs
Overview
Connecting your laptop to an HP wireless printer allows for convenient printing without the hassle of dealing with cables and wires. With the right setup and software, you can easily print documents, photos, and more directly from your laptop to your HP wireless printer. In this guide, we will walk you through the steps to connect to an HP wireless printer from your laptop.
Before diving into the process, it’s important to make sure that your laptop and HP wireless printer are compatible. Ensure that both devices support wireless connectivity and check the printer’s manual or specifications to confirm compatibility with your laptop’s operating system.
Once compatibility is confirmed, you’ll need to prepare your devices. Make sure that your laptop is connected to the same Wi-Fi network that you want to connect your HP wireless printer to. This ensures that both devices are on the same network and can communicate with each other.
Next, you’ll need to find and install the appropriate HP printer software on your laptop. This software includes the necessary drivers and utilities to establish a connection between your laptop and the HP wireless printer. Visit the official HP website or use the installation CD that came with your printer to download and install the software.
After installing the HP printer software, you’re ready to add the printer to your laptop. Open the Control Panel on your laptop and navigate to the “Devices and Printers” section. Click on “Add a printer” and follow the on-screen prompts to detect and connect to your HP wireless printer. Make sure to select the correct printer model during the setup process.
Should you encounter any issues during the setup process, there are troubleshooting tips available to help you troubleshoot and resolve common problems. Check the printer’s manual or visit the HP support website for troubleshooting guides and solutions to common installation and connection issues.
Step 1: Ensure compatibility and prepare your devices
Before attempting to connect your laptop to an HP wireless printer, it is crucial to ensure compatibility and prepare your devices. Here are the essential steps to follow:
1. Check the compatibility: The first thing you need to do is check whether your laptop and the HP wireless printer are compatible with each other. Review the specifications and requirements of both devices to ensure they can connect seamlessly.
2. Verify the wireless connectivity: Make sure that your laptop has built-in Wi-Fi capability or an external Wi-Fi adapter. This is necessary to connect to the wireless network where the printer is connected. Similarly, ensure that the HP wireless printer has Wi-Fi functionality and is connected to a wireless network.
3. Update the drivers: To avoid any compatibility issues, it is advisable to update the drivers for both your laptop and the HP printer. Visit the manufacturer’s website to download and install the latest drivers for your devices.
4. Gather the necessary information: Take note of the name, security type, and password of the wireless network to which the HP printer is connected. This information will be required during the setup process.
5. Place the printer in proximity: Position the HP wireless printer within the range of your laptop’s Wi-Fi connectivity. This will ensure a strong and stable connection between the devices.
By following these steps, you will ensure the compatibility and readiness of your devices to establish a successful connection between your laptop and the HP wireless printer. Remember, preparing your devices beforehand can save you time and prevent any unnecessary troubleshooting in the future.
Step 2: Connect your laptop to the wireless network
Now that you have made sure your laptop and HP wireless printer are compatible, the next step is to connect your laptop to the wireless network. Follow these simple instructions to establish a wireless connection:
1. Start by turning on your laptop and accessing the network settings. This can usually be done by clicking on the network icon in the taskbar or by going to the Control Panel and selecting Network and Sharing Center.
2. Once you are in the network settings, look for the list of available wireless networks. Locate your Wi-Fi network from the list and click on it to connect. If your network is password-protected, you will be prompted to enter the password. Make sure to enter the correct password and click Connect.
3. After a few seconds, your laptop should establish a connection to the wireless network. You can confirm this by checking the network icon in the taskbar, which should show the connected status.
4. To ensure a stable connection, it is advisable to place your laptop within the range of the wireless router. If you are too far away from the router, the signal strength may weaken, resulting in a slower or unreliable connection.
5. Additionally, you can optimize the network connection by closing any unnecessary programs or tabs that may be using bandwidth. This will help to allocate more bandwidth to your printing tasks and ensure a smooth printing experience.
By following these steps, you will successfully connect your laptop to the wireless network, paving the way for seamless communication between your laptop and HP wireless printer.
Step 3: Find and install the HP printer software
Once you have connected your laptop to the wireless network, the next step is to find and install the HP printer software. This software will allow your laptop to communicate with the printer smoothly and efficiently. Here’s how you can get started:
1. Visit the official HP website: Start by opening your web browser and navigating to the official HP website. You can easily find it by typing “www.hp.com” in the address bar and hitting enter.
2. Navigate to the support page: Once you are on the HP website, look for the “Support” or “Support & Drivers” section. Click on it to proceed.
3. Enter your printer model: On the support page, you will be asked to enter your printer model or enter the product name. Refer to the printer’s documentation or look for the model number on the printer itself. Once entered, click on the “Submit” or “Search” button.
4. Choose your operating system: After submitting your printer model, you will be directed to a page with different driver options. Select your operating system from the provided list, such as Windows, macOS, or Linux.
5. Download the printer software: Once you have selected your operating system, scroll down to find the driver or software section. Look for the option to download the printer software or driver and click on it. This will initiate the download process.
6. Install the printer software: After the download is complete, locate the downloaded file on your laptop and double-click on it to start the installation process. Follow the on-screen instructions to complete the installation.
7. Connect the printer to the laptop: During the installation process, you may be prompted to connect the printer to your laptop via USB or wirelessly. Follow the instructions provided by the software to establish the connection.
8. Complete the installation: Once the printer software is installed and the connection is established, the installation process will be completed. Make sure to follow any additional prompts or instructions to ensure everything is set up correctly.
9. Test the printer: To ensure that the installation was successful, try printing a test page. This will help verify that your laptop is correctly communicating with the HP wireless printer.
That’s it! You have successfully found and installed the HP printer software on your laptop. Now you can enjoy the convenience of wirelessly printing from your laptop to your HP printer.
Step 4: Add the HP printer to your laptop
Now that you have connected your laptop to the wireless network and installed the necessary HP printer software, it’s time to add the printer to your laptop. This step will allow your laptop to communicate and print wirelessly to the HP printer.
Follow these steps to add the HP printer to your laptop:
- On your laptop, click on the “Start” button and go to “Settings”.
- In the Settings menu, click on “Devices”.
- Under the Devices menu, click on “Printers & scanners”.
- Click on the “Add a printer or scanner” option.
- Your laptop will start searching for available printers and scanners on the network.
- Once the HP printer is detected, select it from the list.
- Click on the “Add device” button to add the HP printer to your laptop.
- Depending on your printer model, you may be prompted to install additional drivers or software. Follow the on-screen instructions to complete the installation.
After completing these steps, your HP printer should be successfully added to your laptop. You can now start printing documents wirelessly from your laptop to the HP printer.
If you encounter any issues while adding the HP printer to your laptop, here are a few troubleshooting tips:
- Ensure that both your laptop and the HP printer are connected to the same wireless network.
- Double-check that the printer is turned on and in a ready state.
- Restart your laptop and try adding the printer again.
- If the printer still does not appear in the list, you may need to manually enter the printer’s IP address or network name in the “Add a printer or scanner” option.
- Refer to the printer’s user manual or HP’s support website for further assistance.
Adding the HP printer to your laptop is a straightforward process that allows you to enjoy the convenience of wireless printing. By following these steps and troubleshooting tips, you can ensure a seamless connection and start printing documents with ease.
Troubleshooting tips
Connecting to a wireless printer can sometimes be a bit challenging. However, with a few troubleshooting tips, you can quickly resolve any connectivity issues and start printing wirelessly from your laptop to your HP printer. Here are some helpful solutions to common problems:
1. Check your wireless network connection: Ensure that your laptop is connected to the same wireless network as your HP printer. Double-check the network name (SSID) and password to make sure they are correctly entered.
2. Restart your devices: Sometimes, a simple restart can solve the problem. Shut down your laptop and turn off the HP printer. Wait for a few seconds, then power on both devices again. This can help refresh the connection and resolve minor glitches.
3. Update the printer software: Outdated printer software can cause compatibility issues. Visit the official HP website and download the latest software and drivers for your specific printer model. Install the updates on your laptop to ensure seamless communication between your devices.
4. Restart your wireless router: If you’re still experiencing connectivity problems, try restarting your wireless router. Unplug it from the power source, wait for about 10 seconds, then plug it back in. Allow the router to fully restart before trying to connect your laptop to the printer again.
5. Check firewall and antivirus settings: Sometimes, security settings on your laptop can block the connection to your wireless printer. Temporarily disable any firewall or antivirus software and check if the printer can be detected. If it can, add an exception for the printer in your security software settings.
6. Reset the printer’s network settings: If nothing seems to work, you can try resetting the network settings on your HP printer. Refer to the printer’s manual or the manufacturer’s website for instructions on how to do this. Once the network settings have been reset, go through the setup process again to establish a new connection.
7. Contact HP support: If all else fails, don’t hesitate to reach out to HP support for assistance. They have a dedicated team of experts who can provide personalized solutions for your printer connectivity issues.
By following these troubleshooting tips, you can quickly resolve any connectivity issues and connect to your HP wireless printer from your laptop. Don’t let technical difficulties hold you back from enjoying the convenience of wireless printing. With a little patience and persistence, you’ll soon be printing effortlessly from your laptop.
In conclusion, connecting to an HP wireless printer from a laptop is a relatively straightforward process that offers convenience and flexibility. By following the steps outlined in this article, you can establish a wireless connection between your laptop and the HP printer, enabling you to print documents effortlessly from anywhere within the printer’s range. The wireless printing option eliminates the need for cumbersome cables, allowing you to maintain a clutter-free workspace. With the ability to connect multiple laptops to a single wireless printer, you can effortlessly share the printer with others in your household or office. So, whether you need to print important documents, assignments, or personal photos, connecting your laptop to an HP wireless printer ensures seamless printing capabilities.
FAQs
1. How do I connect my laptop to an HP wireless printer?
To connect your laptop to an HP wireless printer, follow these steps:
- Make sure your laptop and printer are connected to the same Wi-Fi network.
- Turn on your HP wireless printer and ensure it is in the ready state.
- On your laptop, click on the Start menu and go to the Control Panel.
- Select “Devices and Printers” or “Printers and Scanners.”
- Click on the “Add a printer” or “Add device” option.
- Wait for your laptop to detect the available printers, and select your HP wireless printer from the list.
- Follow any on-screen prompts to complete the installation process.
2. Can I connect multiple laptops to the same HP wireless printer?
Yes, you can connect multiple laptops to the same HP wireless printer as long as they are connected to the same Wi-Fi network. Each laptop will need to follow the steps mentioned above to connect to the printer.
3. Can I connect my laptop to an HP wireless printer without Wi-Fi?
No, in order to connect your laptop to an HP wireless printer, you need to have a Wi-Fi network available. The printer and the laptop need to be connected to the same Wi-Fi network for them to communicate with each other.
4. How do I find the IP address of my HP wireless printer?
To find the IP address of your HP wireless printer, you can follow these steps:
- On your printer, navigate to the Settings or Network menu.
- Select the option for Network Setup or Network Configuration.
- Look for the IP address or TCP/IP address information. It should be displayed on the screen.
5. What should I do if my laptop is not detecting the HP wireless printer?
If your laptop is not detecting the HP wireless printer, you can try the following troubleshooting steps:
- Ensure that both your laptop and the HP wireless printer are connected to the same Wi-Fi network.
- Restart your laptop and printer to refresh their connection.
- Check if the printer is in the ready state and not displaying any error messages.
- Verify that the printer drivers are installed on your laptop. If not, visit the HP website to download and install the drivers.
- Try connecting your laptop to the printer using a USB cable as a temporary workaround.
- If all else fails, consult the HP support website or contact their customer support for further assistance.