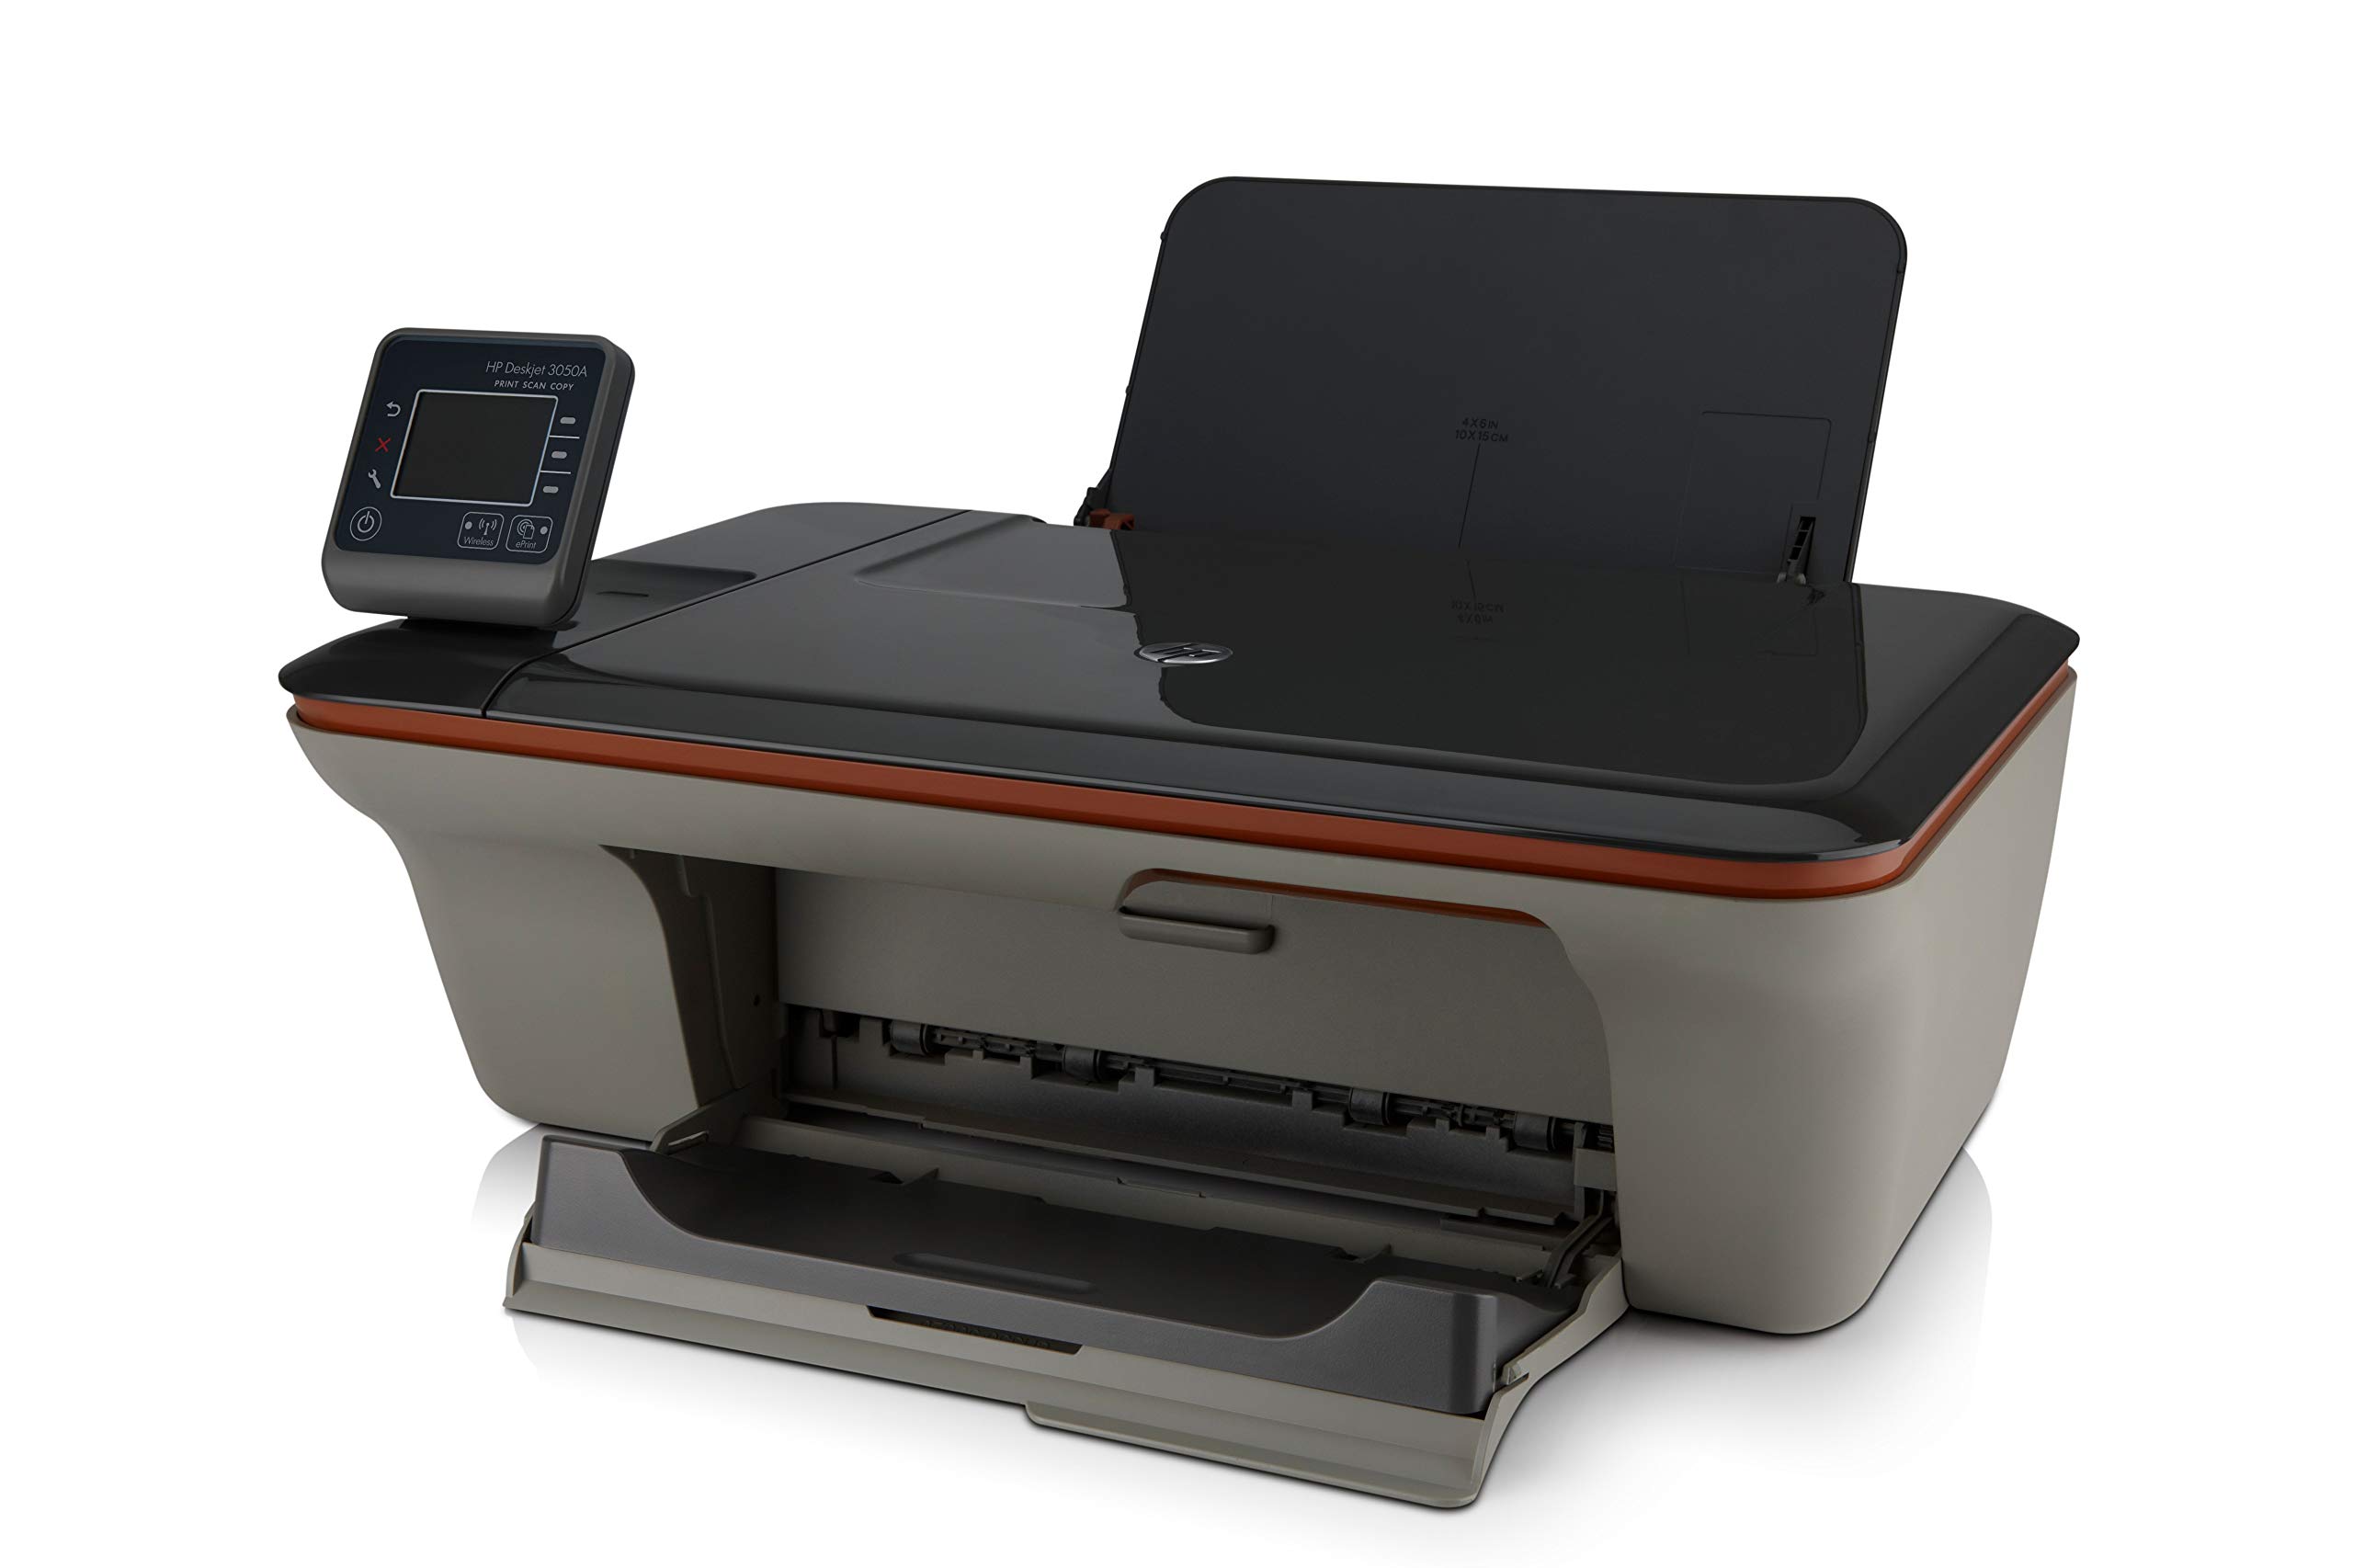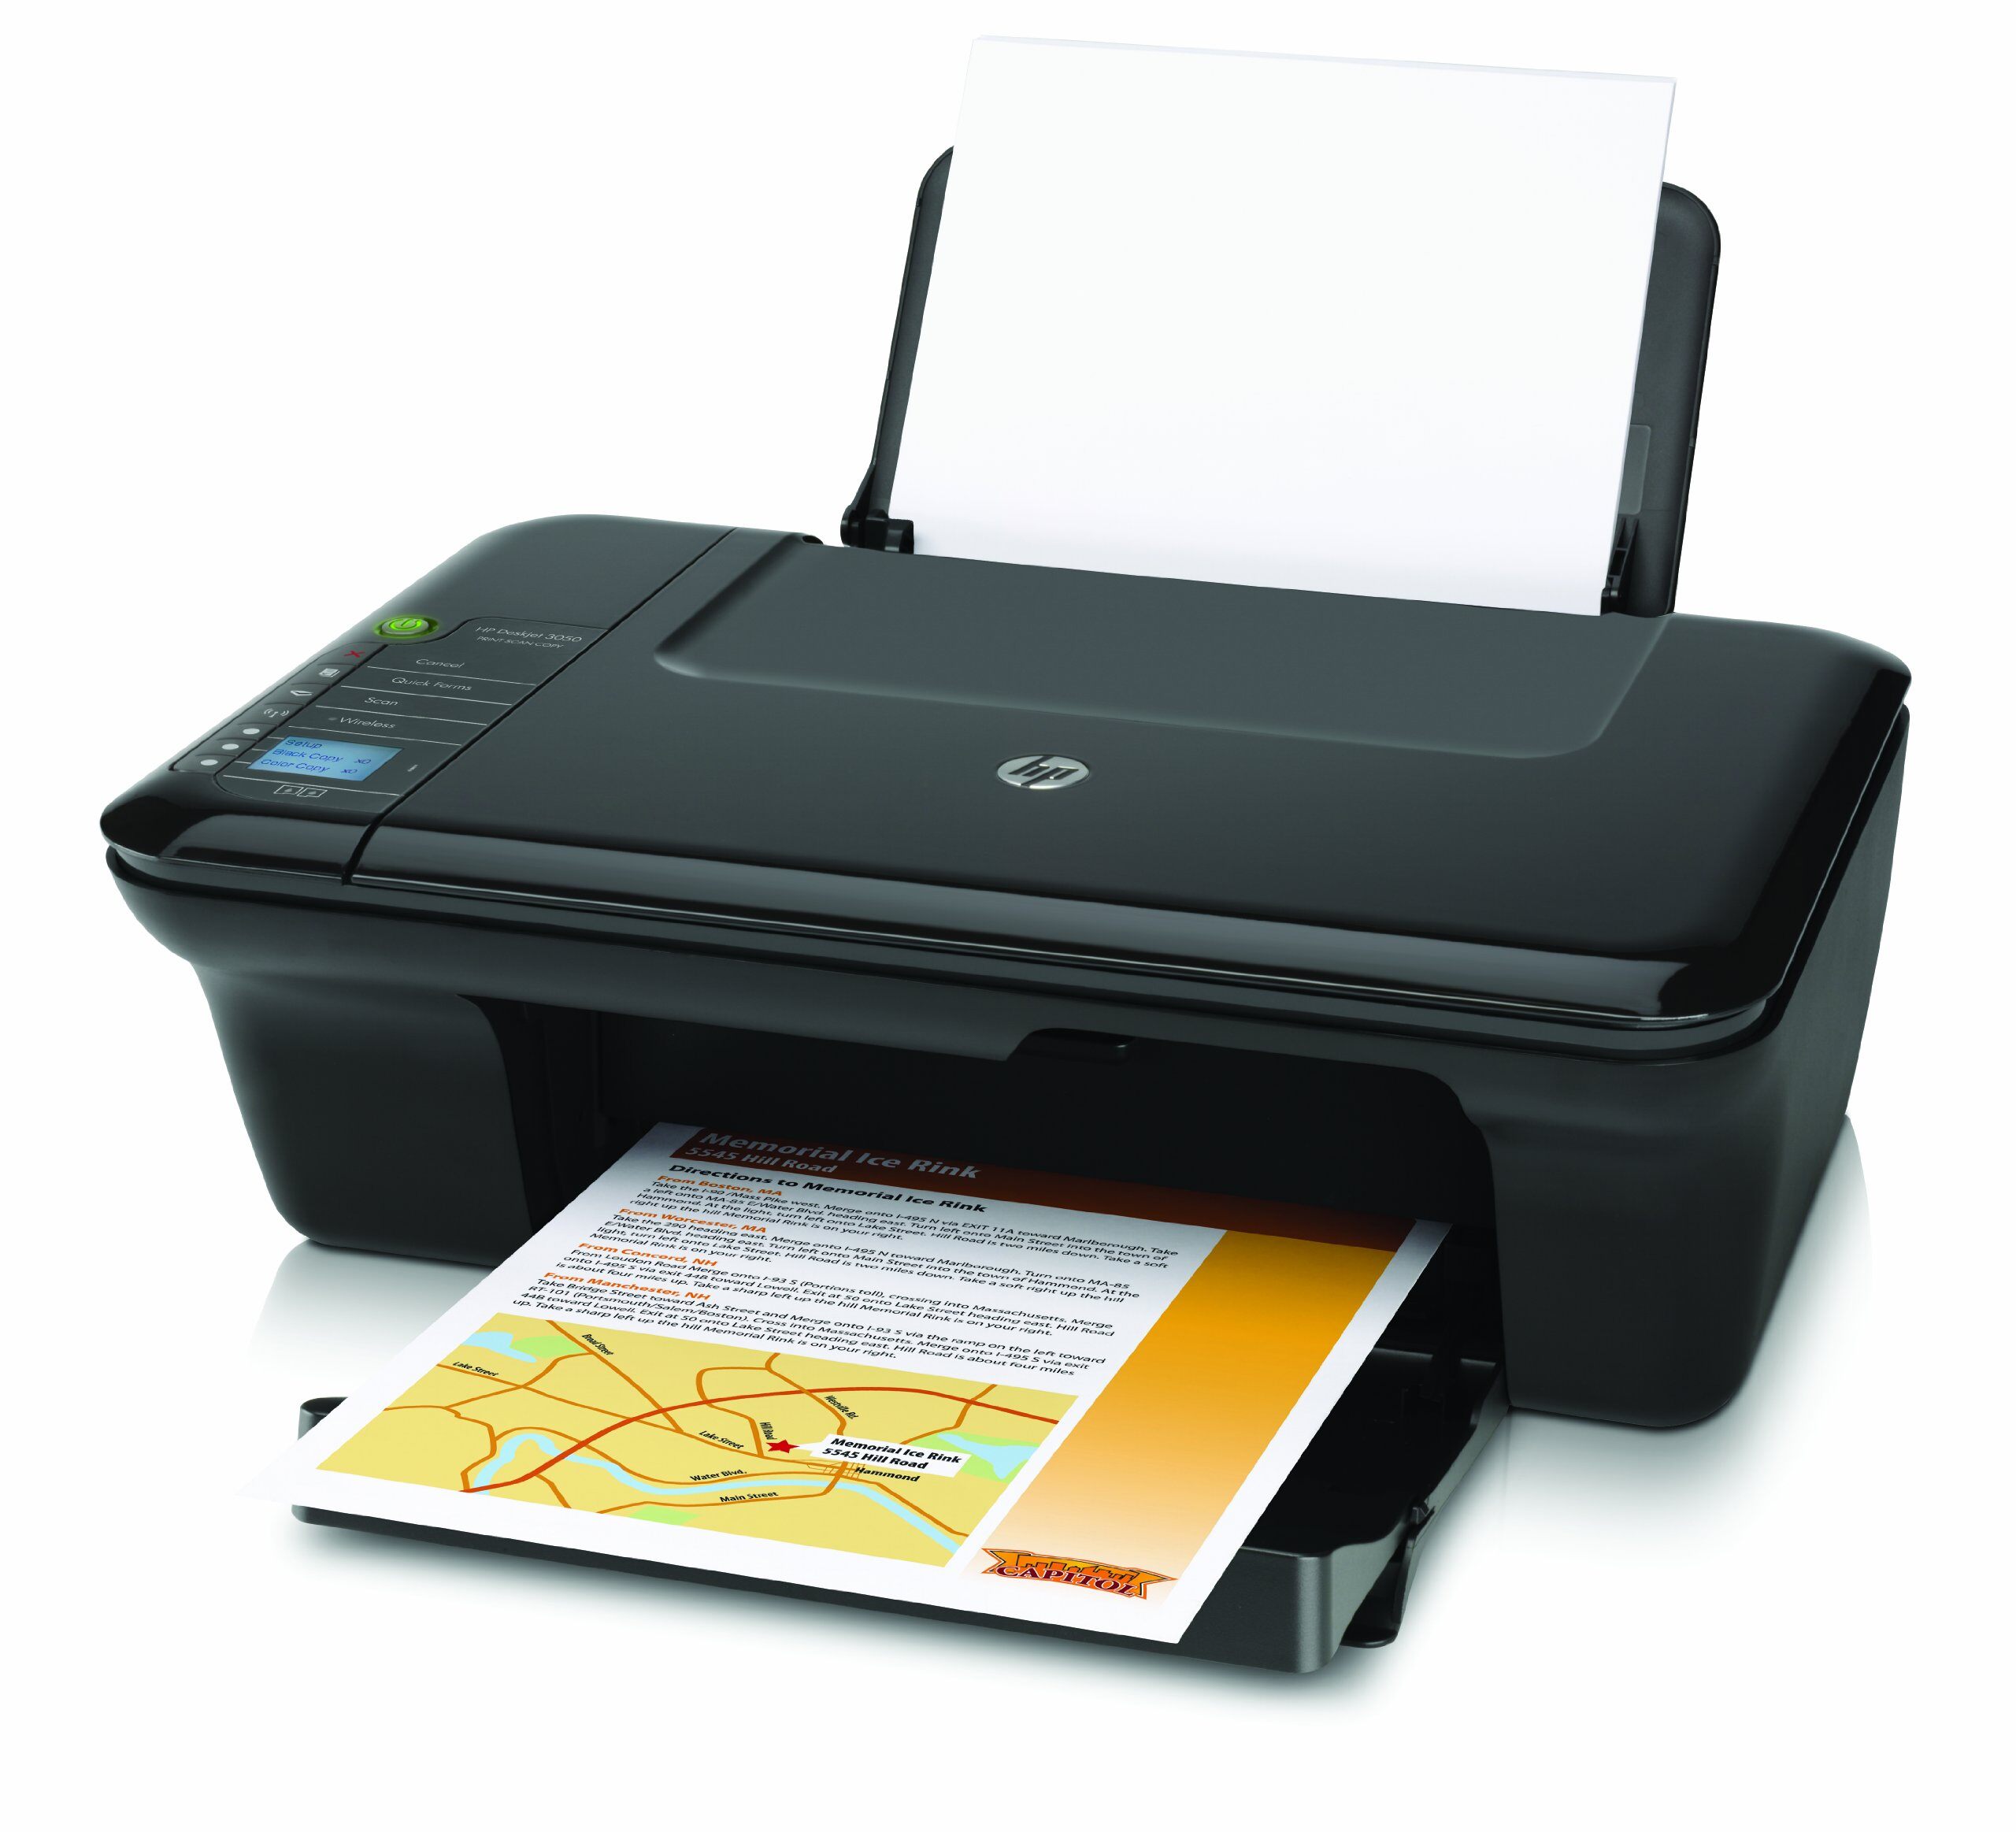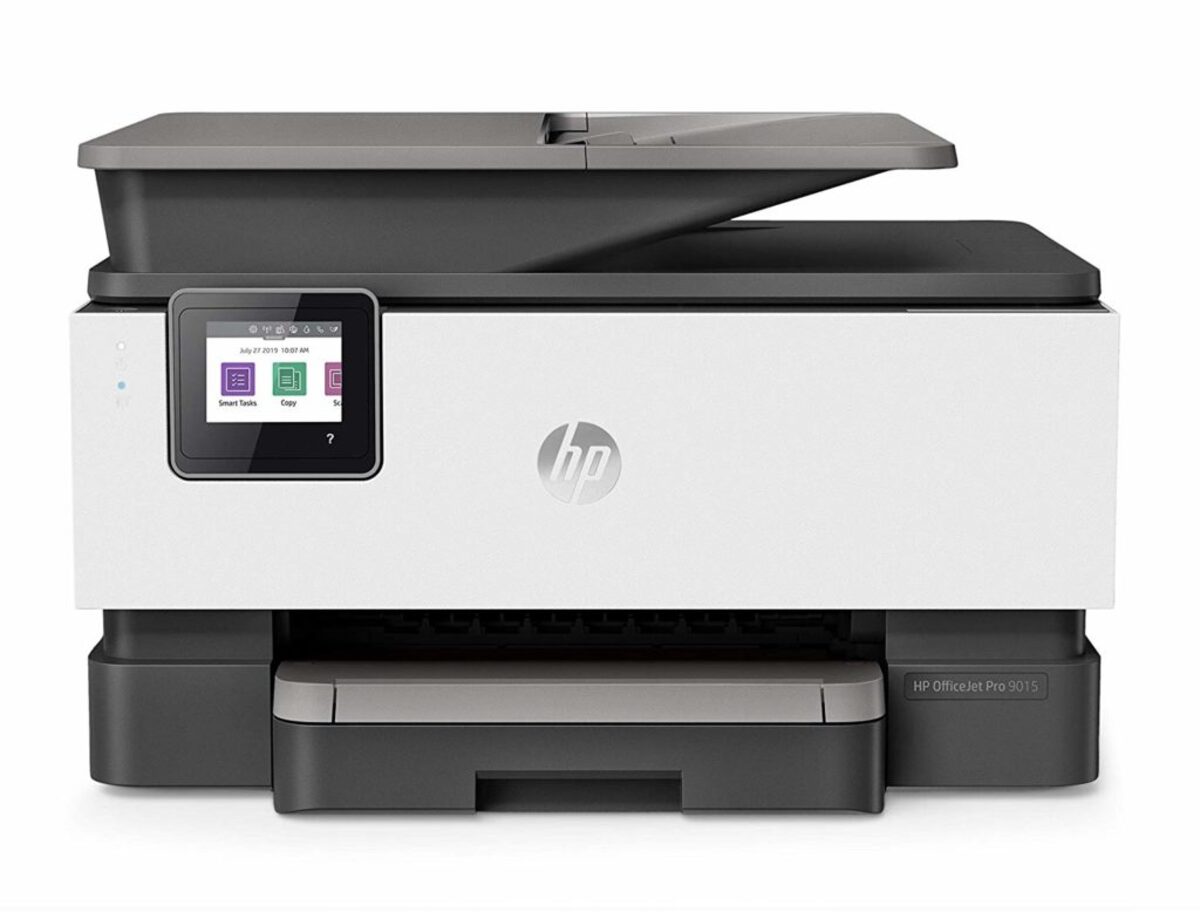
To connect HP Deskjet 3056A to a wireless router, use the printer’s autowireless method: restore network defaults from the printer’s menu, connect your phone or computer to the printer’s temporary network, and then open its Embedded Web Server at 192.168.223.1 to join your home router. This documented, model-specific path gives you a direct wireless printer setup without requiring a dedicated app.
Before you connect your HP Deskjet 3056A to a wireless router
You need a phone or computer with a web browser, your home Wi‑Fi password, and the printer powered on within range of the router. The autowireless method is the documented path for the HP Deskjet 3056A; no iPhone or Android app is required[1]. The printer can connect to routers using either 2.4 GHz or 5 GHz bands.
Step 1: Restore network defaults on the printer
- Press the Wireless button on the printer’s control panel.
- Select Settings, then choose Restore Defaults. The specific menu path on the printer is Wireless button > Settings > Restore Defaults.
- Wait for the wireless light to begin flashing. The flashing light confirms the printer is in autowireless mode, ready to broadcast its own temporary network[1].
Step 2: Connect to the printer's temporary network
On your phone or computer, open the list of available Wi‑Fi networks. Look for a network named HP-setup-3056a followed by part of the printer’s hardware address. The printer's temporary network name includes part of the hardware address (HP-setup-3056a followed by part of the hardware address). Join this network; no password is needed for this temporary connection[1].
Step 3: Open the Embedded Web Server
- Launch a web browser on the device that is now connected to the printer’s temporary network.
- In the address bar, type 192.168.223.1 and press Enter. This opens the printer’s Embedded Web Server.
- Select the Network tab, then click Wireless Setup Wizard[1].
Step 4: Join your home Wi‑Fi network
- From the list of detected networks, choose your home Wi‑Fi network.
- Enter your home Wi‑Fi password when prompted and complete the on‑screen prompts.
- When the printer’s wireless light turns solid blue, the connection is successful. After successful setup, the wireless light should be solid blue. Reconnect your phone or computer to your normal home network[1][3].
Alternative method: WPS push-button setup
If your router supports WPS, you can use the WPS push-button method as a faster alternative to the autowireless path. Hold the printer’s Wireless button for more than three seconds to enter WPS push mode, then press the router’s WPS button within two minutes. The printer’s wireless light should turn solid blue when the connection is established[2][3].
This method is particularly useful when you need to set up a HP wireless printer quickly or reconnect after a router change.
Troubleshooting
Printer not broadcasting the setup network
If you do not see the HP-setup-3056a network, restore the network defaults again by pressing the Wireless button, going to Settings, and selecting Restore Defaults. Wait for the wireless light to flash, then check for the network again[1].
Connection never turns solid
If the wireless light does not turn solid blue after completing the autowireless steps, verify that you entered the correct home Wi‑Fi password. You can also try the WPS push-button method: hold the printer’s Wireless button for more than three seconds and then press the router’s WPS button within two minutes[2][3].
Switching to a new router
When you change your home router, the printer’s stored network credentials become invalid. Restore the printer’s network defaults using the Wireless button and Settings menu, then repeat the full autowireless steps above to connect to the new router[1]. If the printer will not join a new router, use WPS push mode by holding the Wireless button for more than three seconds, then pressing the router's WPS button.
Frequently Asked Questions
Is a phone app required for this setup?
No. The HP Deskjet 3056A does not have a documented iPhone or Android app setup path. The autowireless method uses only the printer’s built-in functions and a browser-based Embedded Web Server[1].
What does a solid blue wireless light mean?
A solid blue wireless light indicates that the printer is successfully connected to your home Wi‑Fi network and ready to print from any device on the same network[3].
How do I confirm the printer is connected after setup?
Print a network configuration page from the printer’s control panel: press the Wireless button, then the Information button, select Print Report, and choose Network Configuration. The printed page shows the printer’s IP address and network status, a valid IP address and “Connected” status confirm the printer is on your network.
Can I use a wired USB connection instead?
Yes, the HP Deskjet 3056A supports a wired USB connection to a single computer, but this bypasses wireless printing entirely. For wireless printing from multiple devices, use the autowireless or WPS method described above.
Related reading: How To Connect Wireless Printer HP Deskjet 3050A J611.