
Are your Skullcandy wireless earbuds giving you trouble? Don’t worry, we’ve got you covered! In this article, we will guide you through the process of repairing your Skullcandy wireless earbuds, helping you get back to enjoying your favorite tunes in no time. Whether you’re experiencing connectivity issues, audio problems, or a faulty charging port, we’ll provide you with step-by-step instructions to troubleshoot and fix the issue. With our expertise in cell phone technology, especially when it comes to Skullcandy products, we’ll help you become your very own earbud repair expert. So sit back, relax, and let’s dive into the world of Skullcandy wireless earbud repairs!
Inside This Article
- Troubleshooting Common Issues
- Resetting Your Skullcandy Wireless Earbuds
- Replacing the Earbud Tips
- Contacting Skullcandy Customer Support
- Conclusion
- FAQs
Troubleshooting Common Issues
If you’re experiencing any issues with your Skullcandy wireless earbuds, don’t panic. There are several common problems that can be easily resolved with a few simple troubleshooting steps. Whether it’s connectivity issues, audio problems, or a dead battery, we’ve got you covered.
1.1 Connectivity Issues
If your Skullcandy wireless earbuds are having trouble connecting to your device, there are a few things you can try to fix the problem. First, make sure that Bluetooth is enabled on your device and that it’s in pairing mode. If that doesn’t work, try turning off your earbuds and then turning them back on. You can also try resetting the earbuds by holding down the power button for 10 seconds. If all else fails, you may need to forget the earbuds on your device and try pairing them again.
1.2 Audio Problems
Are you experiencing issues with the audio quality of your Skullcandy wireless earbuds? There are a few potential solutions to this problem. First, check if the volume level on your device is turned up and adjust it accordingly. If the audio still sounds distorted or muffled, try cleaning the earbuds’ speakers and the audio ports with a soft cloth or brush. In some cases, the issue may be with the audio files themselves, so try playing different songs or audio files to determine if it’s a specific file causing the problem.
1.3 Dead Battery
If your Skullcandy wireless earbuds are not turning on or are constantly running out of battery, it may be time to replace the battery. Most Skullcandy earbuds come with a rechargeable battery that will eventually wear out over time. To replace the battery, check the user manual for your specific model or contact Skullcandy customer support for assistance. Alternatively, you can try charging the earbuds for a longer period of time to see if that helps revive the battery.
1.4 Other Issues
If you’re experiencing any other problems with your Skullcandy wireless earbuds that aren’t covered in the above sections, it’s best to consult the user manual or contact Skullcandy customer support for further assistance. They will be able to provide you with specific troubleshooting steps based on your model and the issue you’re facing.
By following these troubleshooting tips, you should be able to resolve most common issues with your Skullcandy wireless earbuds. Remember, prevention is key, so always handle your earbuds with care and keep them protected when not in use. Happy listening!
Resetting Your Skullcandy Wireless Earbuds
Resetting your Skullcandy wireless earbuds can often solve various issues, including connectivity problems and unresponsive controls. The process differs depending on the specific model you have. But don’t worry, we’ll guide you through the general steps below:
- First, turn off your Skullcandy earbuds by pressing and holding the power button until they power down.
- Next, place your earbuds back in the charging case and close the lid.
- Now, press and hold the pairing button on the charging case for about 10 seconds or until the LED light starts flashing rapidly. This indicates that the reset process has begun.
- After releasing the pairing button, open the lid of the charging case, and you should see the LED light on your earbuds start flashing rapidly as well.
- Finally, pair your earbuds with your device again and check if the issues you were experiencing have been resolved.
Resetting your Skullcandy wireless earbuds can help restore them to their default settings and clear any temporary glitches that may have been causing problems. Remember, though, that resetting your earbuds will also remove any custom settings or saved preferences you may have had.
If you are still encountering issues after resetting your earbuds, it may be necessary to reach out to Skullcandy’s customer support for further assistance. They have a team of experts who can provide personalized troubleshooting steps or help you arrange a repair or replacement if needed.
By following these steps, you can easily reset your Skullcandy wireless earbuds and potentially resolve any issues you may be experiencing. Remember to consult your specific model’s user manual for any additional instructions or precautions.
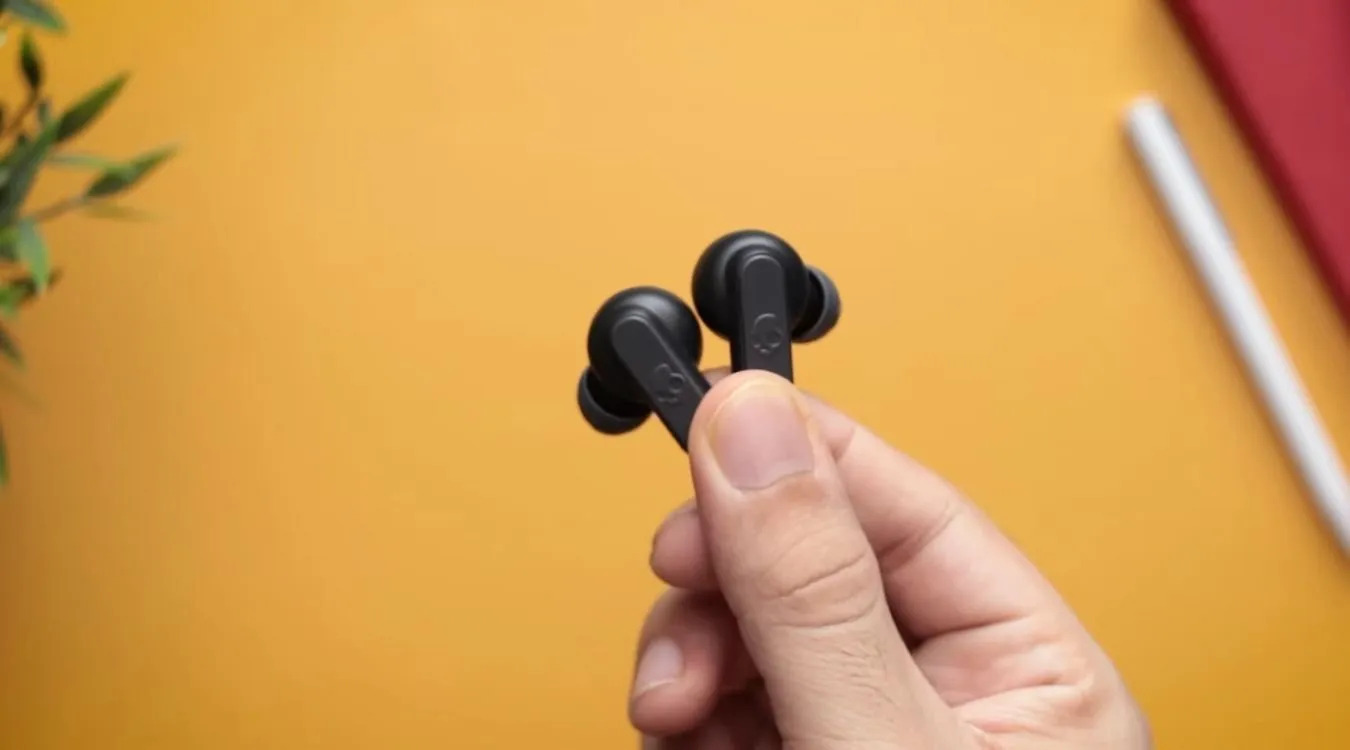
Replacing the Earbud Tips
If you’re experiencing discomfort or a decline in audio quality with your Skullcandy wireless earbuds, it might be time to replace the earbud tips. These tips, also known as ear cushions or ear gels, can get worn out over time or may not fit properly. Luckily, replacing them is a straightforward process.
Here’s a step-by-step guide on how to replace the earbud tips:
- Start by identifying the type of earbud tips you have. Skullcandy offers different sizes and materials for their earbud tips, including silicone and memory foam.
- Gently remove the old earbud tips by grasping them firmly and pulling them off. Be careful not to apply too much force or you may damage the earbuds.
- Take the new pair of earbud tips and align them with the earbuds. Make sure they are facing the correct direction, with the wider opening facing outward.
- Apply slight pressure and push the new earbud tips onto the earbuds until they are securely in place. Give them a gentle tug to ensure they are properly attached.
- If the new earbud tips feel loose or don’t provide a comfortable fit, try a different size or material. Skullcandy offers replacement tips in various sizes to accommodate different ear shapes and sizes.
Replacing the earbud tips can make a significant difference in the overall audio experience and comfort of using your Skullcandy wireless earbuds. It’s recommended to regularly check the condition of your earbud tips and replace them as needed.
Remember, maintaining clean and well-fitting earbud tips is essential for optimal performance and to prevent any discomfort during extended use. Keep your earbuds clean and replace the tips whenever necessary to ensure you can enjoy your music or podcasts without any interruptions.
Contacting Skullcandy Customer Support
If you’ve tried troubleshooting your Skullcandy wireless earbuds and you’re still experiencing issues, it may be time to reach out to Skullcandy’s customer support. They have a dedicated team of experts who can assist you in resolving any problems you may be facing.
To contact Skullcandy customer support, you have several options:
- Call: You can call their customer support hotline to speak with a representative directly. They will be able to guide you through the troubleshooting process or advise you on any necessary repairs.
- Email: Alternatively, you can send an email to their support team explaining the issues you’re encountering. Be sure to provide as much detail as possible so they can assist you effectively.
- Live Chat: Many companies now offer live chat support, and Skullcandy is no exception. Visit their website and look for a live chat option. This allows you to have a real-time conversation with a support representative who can help you troubleshoot the problem.
Conclusion
Repairing your Skullcandy wireless earbuds can save you money and extend the lifespan of your favorite audio accessory. Whether you’re dealing with a broken wire, a malfunctioning button, or a faulty battery, troubleshooting and fixing the issue is often easier than you might think.
Before attempting any repairs, make sure to refer to the manufacturer’s guidelines and warranty information. If your earbuds are still covered under warranty, it’s best to contact Skullcandy customer support for assistance. However, if your warranty has expired or the issue is not covered, the DIY repair methods discussed in this article can be a cost-effective solution.
Remember to be patient, follow instructions carefully, and gather the necessary tools before starting the repair process. With a bit of know-how and some troubleshooting skills, you’ll be able to get your Skullcandy wireless earbuds up and running again in no time, ensuring many more hours of great audio quality and enjoyment.
FAQs
1. How can I repair my Skullcandy wireless earbuds?
Repairing your Skullcandy wireless earbuds can be a simple process. Start by checking the basic troubleshooting steps, such as ensuring that the earbuds are charged and that the Bluetooth connection is active. If these steps don’t resolve the issue, you may need to explore further options. Check for any physical damage to the earbuds and see if there are any replaceable parts. If not, it may be worth contacting Skullcandy’s customer support for further assistance or considering professional repair services.
2. Can I repair the battery of my Skullcandy wireless earbuds?
The battery of your Skullcandy wireless earbuds may not be user-replaceable, depending on the specific model. If you are experiencing battery-related issues, such as a short battery life or difficulty charging, it is recommended to consult Skullcandy’s customer support or refer to the user manual for troubleshooting steps. In some cases, a firmware update or resetting the earbuds may help resolve battery issues. If all else fails, it may be necessary to explore professional repair options.
3. How do I clean my Skullcandy wireless earbuds?
Keeping your Skullcandy wireless earbuds clean is important for optimal performance and longevity. To clean them, start by disconnecting the earbuds from any power source. Use a soft, lint-free cloth to gently wipe away any visible dirt or smudges on the exterior of the earbuds. Be careful not to apply excessive pressure or use harsh chemicals. For the ear tips, remove them and rinse them with warm water. Make sure to thoroughly dry the ear tips and earbuds before reattaching them. Avoid submerging the earbuds in water or using alcohol-based cleaning solutions, as this can damage the electronic components.
4. My Skullcandy wireless earbuds are not pairing. What should I do?
If your Skullcandy wireless earbuds are not pairing with your device, there are a few troubleshooting steps you can try. First, ensure that Bluetooth is enabled on your device and that it is within range of the earbuds. Next, put the earbuds into pairing mode by following the instructions in the user manual. Once in pairing mode, attempt to connect to the earbuds from your device’s Bluetooth settings. If the issue persists, try resetting the earbuds by holding the power button for a few seconds until the LED indicator flashes. If none of these steps resolve the issue, contact Skullcandy’s customer support for further assistance.
5. Can I replace the ear tips of my Skullcandy wireless earbuds?
Yes, in most cases, you can replace the ear tips of your Skullcandy wireless earbuds. Frequently, Skullcandy provides multiple sizes of ear tips in the packaging to ensure a comfortable fit. To replace the ear tips, gently pull off the existing ones and slide on the new ones that best fit your ears. Make sure the ear tips are securely attached to the earbuds for optimal sound quality and noise isolation. If you need additional or replacement ear tips, you can check with Skullcandy’s customer support or purchase them from authorized retailers.