
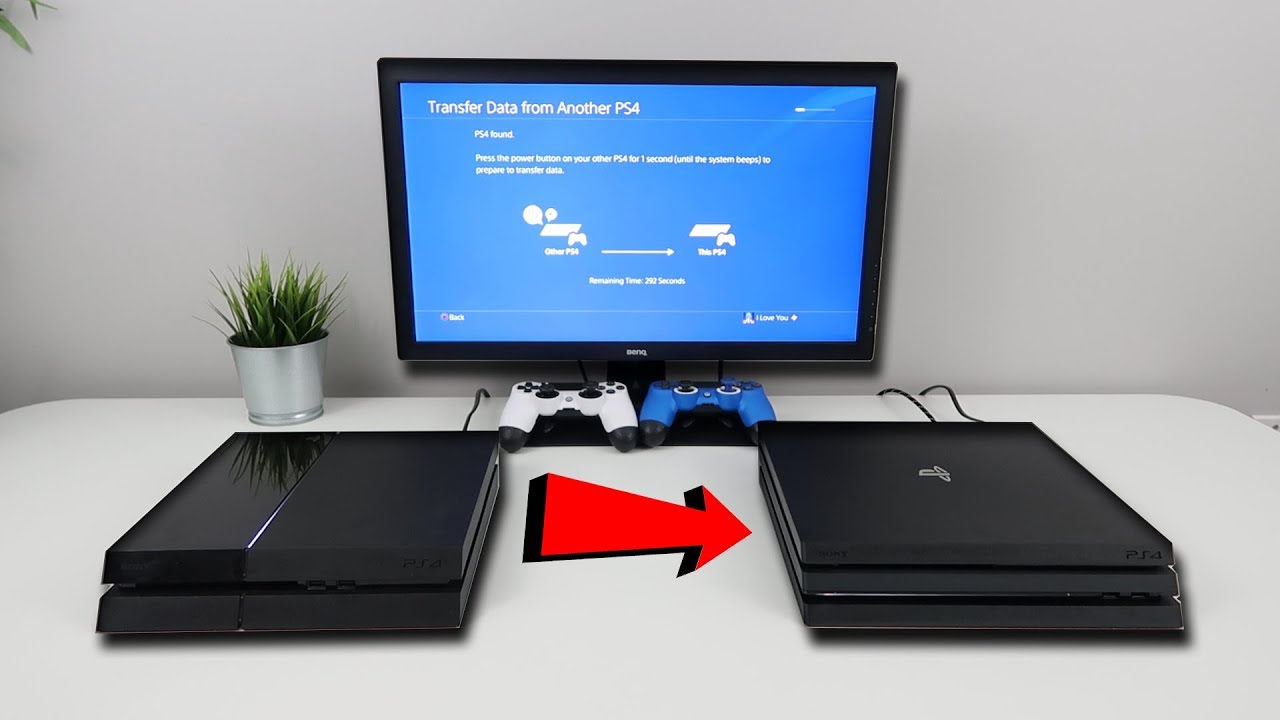
Are you planning to upgrade to a new PlayStation 3 (PS3) console and wondering how to transfer your saved data from your old console? Well, you’re in the right place! In this article, we’ll guide you through the process of transferring your saved data from one PS3 to another, ensuring that you can continue your gaming journey without losing any progress or achievements.
Whether you’ve accumulated hours of gameplay, unlocked special features, or achieved high scores, transferring your saved data is crucial to maintaining your gaming experience. So, let’s dive in and explore the steps you need to follow to seamlessly transfer your data from your old PS3 to your new one.
Inside This Article
- Preparing for the Data Transfer
- Transferring Data using an Ethernet Cable
- Transferring Data through Wi-Fi Network
- Transferring Data using an External Storage Device
- Troubleshooting Tips
- Conclusion
- FAQs
Preparing for the Data Transfer
Before transferring your saved data from one PS3 to another, it’s important to properly prepare for the process to ensure a smooth and successful transfer. Here are some steps to follow:
1. Create a Backup: Before you start the data transfer, it’s crucial to create a backup of all your saved data. This will serve as a safety net in case anything goes wrong during the transfer process. You can either use the built-in backup utility on your PS3 or manually copy your game saves, downloaded content, and other data to an external storage device.
2. Check System Software Versions: Ensure that both the source and destination PS3 systems have the latest system software versions installed. This will help avoid compatibility issues and ensure that the transfer process runs smoothly.
3. Free Up Space: It’s essential to have enough storage space on the destination PS3 to accommodate the saved data being transferred. Delete any unwanted games, demos, or unnecessary files from the target console to make room for the transferred data.
4. Ensure Stable Internet Connection: If you plan on transferring data through a Wi-Fi network, make sure you have a stable and reliable internet connection to prevent any interruptions during the process. If possible, connect your PS3 to the router using an Ethernet cable for a more stable connection.
5. Gather Required Cables and Devices: Depending on the method you choose for data transfer, gather the necessary cables and devices. If you plan to transfer data using an Ethernet cable, make sure you have an Ethernet cable of sufficient length. For transferring data through an external storage device, ensure that the device is formatted correctly and has enough storage space.
By following these steps and properly preparing for the data transfer, you can ensure a hassle-free experience and safeguard your precious saved data. Now that you’re prepared, let’s move on to the various methods of transferring your data between PS3 consoles.
Transferring Data using an Ethernet Cable
One of the most reliable and efficient methods to transfer data from one PS3 console to another is by using an Ethernet cable. This method allows for a direct connection between the two consoles, ensuring a fast and stable data transfer process.
To begin the process, make sure both PS3 consoles are turned off. Locate the Ethernet ports on the back of each console – they usually have a rectangular shape and are labeled “LAN” or “Ethernet”. Connect one end of the Ethernet cable to the LAN port of the console with the saved data (the source console).
Next, connect the other end of the Ethernet cable to the LAN port of the console where you want to transfer the data (the target console). Once the Ethernet cable is securely connected to both consoles, power them on.
On the source console, go to the “Settings” menu and select “System Settings”. Choose “Data Transfer Utility” and then select “Transfer Data from This System to Another PS3”. Follow the prompts on the screen to initiate the data transfer process.
On the target console, go to the “Settings” menu and select “System Settings” as well. Choose “Data Transfer Utility” and then select “Transfer Data from Another PS3 to This System”. Again, follow the on-screen prompts to proceed with the data transfer.
The consoles will establish a connection through the Ethernet cable, and the transfer process will begin. The speed of the transfer will depend on the size of the data and the speed of the Ethernet connection. Larger files may take longer to transfer.
It is important to note that the data transfer process will overwrite any existing data on the target console, so ensure there is no important data that you will lose during the transfer. If needed, consider backing up any crucial data on the target console before initiating the transfer.
Once the transfer is complete, you can verify that all the data has been successfully transferred by accessing the relevant game saves, downloadable content, or other data on the target console. Remember to safely disconnect the Ethernet cable from both consoles after the data transfer is finished.
Transferring data using an Ethernet cable is a convenient and reliable method to seamlessly move your saved data from one PS3 console to another. It allows for a direct connection and ensures a smooth transfer process. Now, you can enjoy your games and other content on your new console without losing any progress or data.
Transferring Data through Wi-Fi Network
If you prefer a wireless option for transferring data between your PS3 consoles, you can use a Wi-Fi network. This method allows you to transfer your saved data without the need for any physical cables or external storage devices.
Follow these steps to transfer your data through a Wi-Fi network:
- Make sure both the source and destination PS3 consoles are connected to the same Wi-Fi network. This is crucial for a smooth and successful transfer.
- On the source PS3, go to the “Settings” menu and select “System Settings.”
- Choose “Data Transfer Utility” and then “Transfer.” The system will generate a unique code.
- Switch to the destination PS3 console and also navigate to the “Settings” menu and select “System Settings.”
- Once again, choose “Data Transfer Utility,” but this time select “Transfer from Another PS3.” Enter the unique code generated by the source PS3.
- The transfer process will begin, and you should be patient as the time it takes depends on the amount of data being transferred.
- Once the transfer is complete, you can access your saved data on the destination PS3.
It’s important to note that certain types of data cannot be transferred over Wi-Fi, such as purchased games, add-ons, or downloaded content. These items will need to be manually redownloaded on the destination PS3.
Additionally, ensure that both PS3 consoles have enough storage space to accommodate the transferred data. If the destination console does not have sufficient space, you may need to free up some storage or use an external storage device to temporarily hold the data during the transfer process.
Overall, transferring data through a Wi-Fi network provides a convenient and wireless solution for transferring your saved data between PS3 consoles. Whether you have a large collection of game saves or valuable progress in your favorite games, this method allows you to seamlessly migrate your data to a new console.
Transferring Data using an External Storage Device
If you want to transfer data from one PS3 to another, using an external storage device is a convenient option. Here’s a step-by-step guide on how to do it:
1. Prepare the external storage device: Start by ensuring that your external storage device, such as a USB flash drive or external hard drive, is formatted to FAT32 or exFAT. This is important because the PS3 only supports these file systems.
2. Back up your data: Before transferring data, it’s crucial to create a backup of the files you want to transfer. You can do this by going to the PS3’s Settings menu, selecting System Settings, followed by Backup Utility. Follow the on-screen instructions to back up your data to the external storage device.
3. Connect the external storage device: Once you have backed up your data, safely connect the external storage device to the PS3 using one of the available USB ports.
4. Access the data transfer utility: On the PS3’s XMB (XrossMediaBar) menu, navigate to the Settings menu and select System Settings. From there, choose the “Data Transfer Utility” option.
5. Initiate the transfer: In the Data Transfer Utility, select the “Transfer Data from Another PS3” option. The system will prompt you to confirm that you want to transfer data from the external storage device. Follow the on-screen instructions to proceed with the transfer.
6. Select the data to transfer: The Data Transfer Utility will detect the backup on the external storage device. You will be presented with a list of data categories, such as game saves, media files, and settings. Select the categories you want to transfer to the new PS3 and proceed.
7. Wait for the transfer to complete: The transfer process may take some time, depending on the amount of data being transferred. It’s crucial to be patient and avoid interrupting the process to ensure a successful transfer.
8. Verify the data transfer: Once the transfer is complete, verify that the transferred data appears correctly on the new PS3. You can access the data from the respective applications or settings menus on the new console.
9. Clean up the external storage device: After successfully transferring the data, you can safely disconnect and format the external storage device if you no longer need the backup files on it.
By following these steps, you can effortlessly transfer your saved data from one PS3 to another using an external storage device. It’s a reliable method to ensure your data remains intact and accessible on your new console.
Troubleshooting Tips
Transferring data from one PS3 to another can sometimes be a tricky process. If you encounter any issues or run into difficulties during the transfer, don’t panic! Here are some troubleshooting tips to help you overcome common problems and ensure a smooth data transfer:
1. Ensure Both PS3 Consoles are Updated: Before attempting the data transfer, make sure that both your old and new PS3 consoles have the latest system software updates installed. Keeping your consoles up-to-date will minimize compatibility issues and maximize the success rate of the transfer.
2. Check Your Network Connection: If you’re transferring data over a Wi-Fi network, ensure that your internet connection is stable and reliable. Poor network connectivity can lead to interruptions or slow transfer speeds. Consider moving closer to the router or using a wired connection if you’re experiencing difficulties.
3. Verify Enough Storage Space: Make sure that your new PS3 has sufficient available storage space to accommodate the data you’re transferring. Check the storage capacity of both consoles and ensure that there is enough room on the destination console to accommodate the transferred data.
4. Restart Your PS3 Consoles: If you encounter any unexpected errors or glitches during the transfer process, try restarting both your old and new PS3 consoles. A simple restart can often resolve temporary issues and refresh the system, allowing for a smoother transfer experience.
5. Use a Different Data Transfer Method: If you’re encountering persistent problems with one data transfer method, such as Ethernet or Wi-Fi, consider trying an alternative method. For example, if using an Ethernet cable proves troublesome, switch to a Wi-Fi network for the transfer and vice versa.
6. Consult the PlayStation Support Community: If all else fails and you’re still experiencing difficulties, don’t hesitate to seek help from the PlayStation Support Community. They have a wealth of knowledge and experience and can provide you with personalized troubleshooting guidance to overcome any transfer-related issues.
By following these troubleshooting tips, you can overcome common hurdles and successfully transfer your saved data from one PS3 console to another. Remember to stay patient and persistent during the transfer process, as it may take some time depending on the amount of data being transferred. Good luck!
Conclusion
In conclusion, transferring saved data from one PS3 to another is a straightforward process that allows you to keep your game progress and settings intact. Whether you are upgrading to a new console or wanting to share your game progress with a friend, following the steps mentioned in this article will help you seamlessly transfer your data.
Remember to back up your data before initiating the transfer and ensure that both consoles are connected to the same network for a smooth and efficient transfer process. With a few simple steps, you can easily transfer your saved data and continue your gaming adventures on a new console without any hassle.
Now that you have a clear understanding of how to transfer saved data between PS3 consoles, you can enjoy uninterrupted gaming experiences and ensure that your progress is safely preserved. So, go ahead and transfer your data with confidence, knowing that your game history will be right there waiting for you on your new console!
FAQs
1. Can I transfer saved data from one PS3 to another?
Yes, you can transfer saved data from one PS3 to another by using the data transfer utility feature. This feature allows you to transfer games, saved data, and other content from one PS3 console to another.
2. How do I transfer saved data between PS3 consoles?
To transfer saved data between PS3 consoles, follow these steps:
- Connect both consoles to the same network.
- On the source PS3, go to the Settings menu, then System Settings, and select Data Transfer Utility.
- Follow the on-screen instructions to create a backup of your data onto an external storage device.
- Once the backup is complete, disconnect the external storage device from the source PS3 and connect it to the destination PS3.
- On the destination PS3, go to the Settings menu, then System Settings, and select Data Transfer Utility.
- Follow the on-screen instructions to transfer the saved data from the external storage device to the destination PS3.
3. Can I transfer my PSN account to a different PS3?
Yes, you can log in to your PSN account on a different PS3 console. Simply sign in with your PSN username and password on the new console, and you will have access to your account, including your purchased games, saved data, and other content. However, keep in mind that you can only be logged in to one PS3 console at a time. If you want to switch consoles, you will need to sign out from the current console before logging in to the new one.
4. Will transferring saved data delete it from the source PS3?
Transferring saved data from one PS3 to another using the data transfer utility does not delete the data from the source console. The data is copied to the destination console, while the original data remains on the source console. This means you will have a backup of your saved data on both consoles.
5. Can I transfer saved data between PS3 consoles using a USB drive?
Yes, you can transfer saved data between PS3 consoles using a USB drive. Here’s how:
- Insert a USB drive into the source PS3.
- On the source PS3, go to the Settings menu, then System Settings, and select Backup Utility.
- Select Backup and follow the on-screen instructions to backup your data onto the USB drive.
- Once the backup is complete, insert the USB drive into the destination PS3.
- On the destination PS3, go to the Settings menu, then System Settings, and select Backup Utility.
- Select Restore and follow the on-screen instructions to restore the saved data from the USB drive to the destination PS3.