
Are you a proud owner of a PlayStation 3 (PS3) console and looking to connect to the PS3 network wirelessly? You’ve come to the right place! Connecting your PS3 to the network wirelessly not only enables you to play games online, but also gives you access to a wide range of exciting features such as streaming movies, downloading content, and interacting with other gamers around the globe. In this article, we will guide you through the process of connecting your PS3 to the network wirelessly, providing step-by-step instructions and helpful tips along the way. So, grab your controller and get ready to experience gaming and entertainment like never before!
Inside This Article
- Step 1: Setting Up the Wireless Network
- Step 2: Connecting the PS3 to the Wireless Network
- Step 3: Configuring the Network Settings
- Step 4: Testing the Connection
- Conclusion
- FAQs
Step 1: Setting Up the Wireless Network
Before you can connect your PS3 to a wireless network, you need to set it up properly. This involves a few simple steps that will ensure a smooth and hassle-free connection.
1. Check your internet connection: Ensure that you have an active internet connection before attempting to connect your PS3. You can do this by connecting a computer or another device to your wireless network and confirming that it is working properly.
2. Access your router settings: To set up the wireless network, you will need to access your router’s settings. Open a web browser on your computer or device connected to the network and type in the router’s IP address. This information can usually be found on the router itself or in the user manual.
3. Set up the wireless network: Once you have accessed the router settings, navigate to the wireless settings section. Here, you will need to configure the network name (SSID) and the network security settings. Choose a unique and easy-to-remember SSID and select the appropriate security protocol, such as WPA2-PSK.
4. Set a password: It is essential to secure your wireless network with a password to prevent unauthorized access. Create a strong and unique password that combines letters, numbers, and special characters. Note down the password as you will need it later when connecting your PS3 to the network.
5. Save the settings: Once you have configured the wireless network settings, make sure to save the changes. This will apply the new settings to your router and make the network available for connection.
By following these steps, you have successfully set up your wireless network and made it ready for your PS3 to connect. Now, you can move on to the next step of linking your PS3 to the network.
Step 2: Connecting the PS3 to the Wireless Network
After setting up your wireless network, it’s time to connect your PS3 to it. This step is essential to enjoy online gaming, streaming services, and accessing various internet features on your PS3 console. Here’s a step-by-step guide to help you get connected:
1. Power on the PS3 Console: Make sure your PS3 console is powered on. You can do this by pressing the power button located on the front of the console.
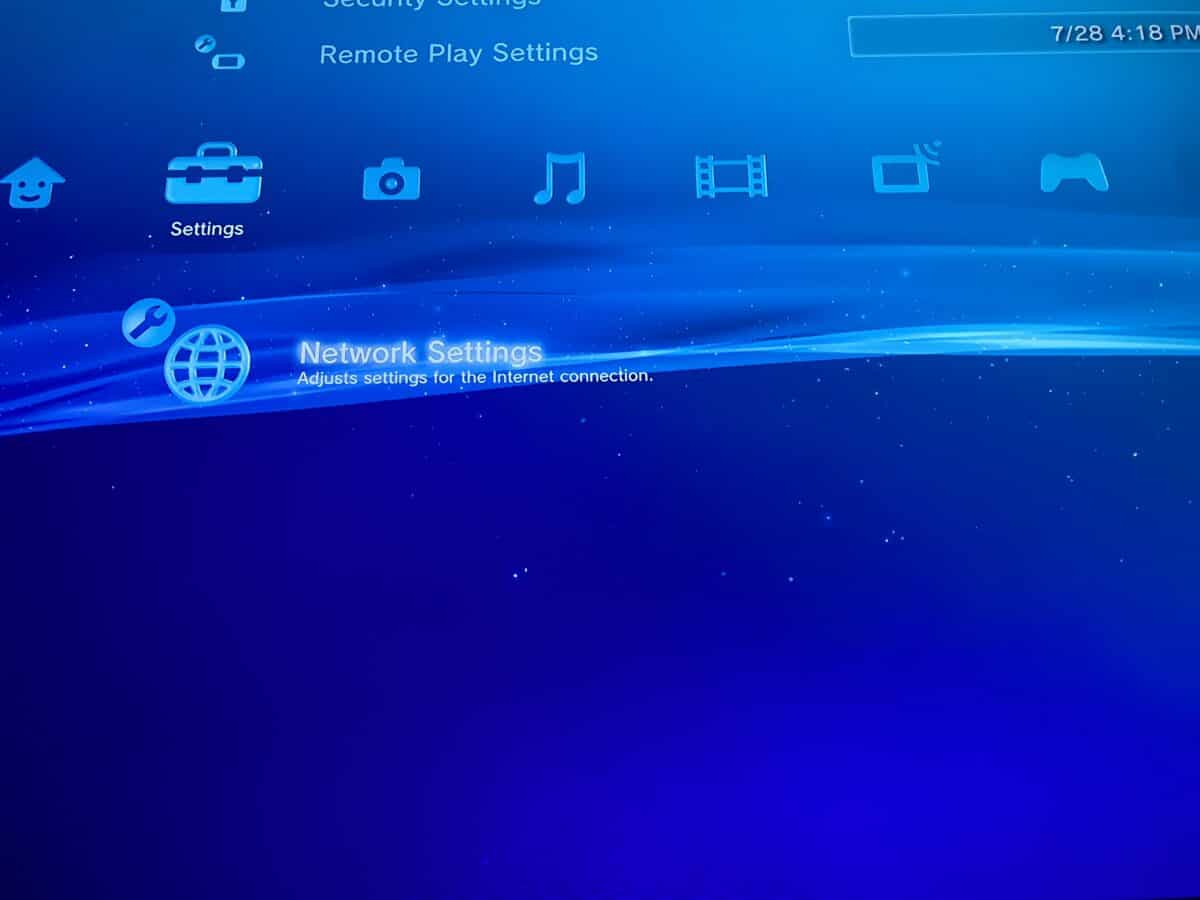
2. Navigate to the Settings Menu: On the PS3 main menu, scroll to the far left and select the “Settings” option.
3. Go to Network Settings: Within the Settings menu, scroll down and select “Network Settings.”
4. Choose Internet Connection Settings: In the Network Settings menu, choose “Internet Connection Settings.”
5. Select the Wireless Option: When prompted to select a connection method, choose “Wireless” and press the X button on your controller.
6. Scan and Select Your Network: The PS3 console will now scan for available wireless networks. Once the scan is complete, a list of networks will appear. Use the directional pad on your controller to navigate and select your desired wireless network.
7. Enter the Network Password: If your network is secured with a password, a prompt will appear asking you to enter the password. Use the on-screen keyboard to input the correct password. Be mindful of uppercase and lowercase letters.
8. Configure IP Address Settings: Select “Automatic” for the IP Address setting unless you are knowledgeable about network configuration and need to manually set it up.
9. Set DHCP Host Name: Choose “Do Not Set” for the DHCP Host Name setting unless you are instructed otherwise by your internet service provider (ISP).
10. Configure DNS Settings: Select “Automatic” for the DNS Settings unless instructed otherwise by your ISP.
11. Choose Connection Test: The PS3 console will now test the connection to ensure successful connectivity. This process may take a few moments.
12. Enjoy Your Wireless Connection: Once the connection test is complete and successful, you are now connected to your wireless network. You can now enjoy online gaming, stream content, and use various online features on your PS3.
Connecting your PS3 to a wireless network is a simple process that allows you to unlock the full potential of your console. By following these steps, you can ensure a seamless and enjoyable gaming and internet experience on your PS3.
Step 3: Configuring the Network Settings
Once your PS3 is successfully connected to the wireless network, the next step is to configure the network settings. This will ensure that your PS3 can properly communicate with the network and access online features.
To configure the network settings on your PS3, follow these steps:
1. From the PS3 main menu, go to “Settings” and select “Network Settings.”
2. Choose “Internet Connection Settings” and select “Yes” when prompted to continue.
3. Select the “Easy” setup option if you are unsure of the network settings. The PS3 will automatically detect and configure the settings for you. If you prefer to manually enter the settings, choose the “Custom” option.
4. If you selected the “Custom” option, you will now need to enter the network information manually. This includes selecting the network type (either wired or wireless) and entering the IP address, subnet mask, default gateway, and DNS settings.
5. If you are unsure about these settings, you can contact your Internet Service Provider (ISP) for assistance. They will be able to provide you with the necessary information to enter into the PS3’s network settings.
6. Once you have entered the network settings, you can proceed to test the connection. This will ensure that the network settings are correct and that your PS3 can connect to the internet.
7. If the connection test is successful, you can save the settings and start using your PS3 to access online features, download games, and stream media.
It is important to note that the network settings can vary depending on your specific network setup. If you are experiencing any issues during the configuration process, it is recommended to consult the user manual or contact customer support for further assistance.
With the network settings properly configured, you can now enjoy the full range of features and online capabilities of your PS3.
Step 4: Testing the Connection
After setting up and connecting your PS3 to the wireless network, it’s important to test the connection to ensure everything is working properly. Follow these steps to test the connection:
- Access the Network Settings: On your PS3, go to the Settings menu and select Network Settings.
- Choose the Internet Connection Test: Within the Network Settings menu, select Internet Connection Test. This option will check if your PS3 can connect to the internet.
- Wait for the Test to Complete: The PS3 will perform a series of tests, including checking the network connection, obtaining IP address, and testing the internet connection. Allow the test to complete.
- Review the Test Results: Once the test is done, you will see a summary of the results. Pay attention to the following information:
- Connection Status: This will indicate whether the PS3 is successfully connected to the network or if there are any issues.
- Signal Strength: A higher signal strength indicates a stronger and more stable connection.
- NAT Type: This refers to the Network Address Translation (NAT) type and determines the level of connectivity to other devices and online services. NAT Type 2 is the most common and preferred setting for most users.
- Resolve Any Issues: If the connection test results show that there are issues, you may need to troubleshoot the problem. Common solutions include restarting your router, ensuring the correct network security settings are in place, or contacting your internet service provider (ISP) for assistance.
By testing the connection, you can verify that your PS3 is properly connected to the wireless network and has access to the internet. This step is essential for ensuring smooth online gaming, downloading updates, and accessing various online services offered by the PlayStation Network.
Conclusion
Connecting to the PS3 Network wirelessly provides a convenient and seamless gaming experience. By following the steps outlined in this article, you can easily set up your PS3 to connect to the network without the need for any cables. Whether you want to play multiplayer games, download updates, or stream content, a wireless connection allows you to do so with ease.
Remember to ensure that your PS3 is within range of your Wi-Fi router and that you have the correct network information. By inputting the necessary details and selecting the appropriate settings, you can establish a reliable wireless connection. Enjoy the online features of your PS3 and experience the magic of gaming in the digital era!
FAQs
1. How do I connect my PS3 to a wireless network?
To connect your PS3 to a wireless network, follow these steps:
- Turn on your PS3 and navigate to the settings menu.
- Select “Network Settings” and then choose “Internet Connection Settings.”
- Choose the option for wireless connection, and then select “Scan” to find available networks.
- Select your Wi-Fi network from the list and enter the password if prompted.
- Once connected, your PS3 will automatically perform a connection test to ensure a successful link to the wireless network.
2. Why can’t I connect to my wireless network with my PS3?
There could be several reasons why you are unable to connect to your wireless network with your PS3. Some common issues include:
- Incorrect Wi-Fi password entry
- Unstable or weak wireless signal
- Router or modem issues
- Firewall settings blocking connection
- Outdated PS3 system software
If you are experiencing difficulties, try re-entering your Wi-Fi password, moving closer to the router, and restarting your router and PS3. Updating your PS3 system software may also help resolve any compatibility issues.
3. Can I connect my PS3 to a public Wi-Fi network?
Yes, you can connect your PS3 to a public Wi-Fi network, such as those found in cafes, hotels, or libraries. The process is the same as connecting to any other Wi-Fi network. However, keep in mind that public networks may have additional access restrictions or require a login page to gain internet access. Make sure to follow any instructions provided by the network provider to establish a connection successfully.
4. How do I improve the wireless signal for my PS3?
To improve the wireless signal for your PS3, you can try the following:
- Move your PS3 and wireless router closer together
- Ensure there are no physical obstructions between the PS3 and the router
- Reduce interference by keeping other electrical devices away from the router
- Upgrade your router to a more powerful model
- Use a Wi-Fi extender or powerline adapter to boost the signal
Experimenting with different placement options and troubleshooting steps can help improve the signal strength and stability for your PS3 connection.
5. Can I use a wired connection instead of a wireless connection for my PS3?
Yes, you can use a wired connection for your PS3. The PS3 has an Ethernet port that allows you to connect it directly to your router or modem using an Ethernet cable. This can provide a more stable and faster internet connection compared to a wireless connection. To set up a wired connection, simply connect one end of the Ethernet cable to your PS3 and the other end to your router or modem. Then, follow the on-screen instructions to configure the network settings on your PS3.