
Welcome to the exciting world of the iPhone 13! Activating your new iPhone 13 is a crucial step to unleash its full potential. Whether you’re upgrading from an older iPhone model or making the switch from a different device, the activation process is essential to start enjoying all the features and functionalities of your new device. In this comprehensive guide, we’ll walk you through the seamless activation process, ensuring that you can dive into the captivating iPhone 13 experience without any hitches. From setting up your SIM card to configuring essential settings, we’ve got you covered every step of the way. So, let’s embark on this journey together and get your iPhone 13 up and running in no time!
Inside This Article
- Checking Your iPhone 13- Unboxing and inspecting the device- Powering on the device- Setting up Face ID or Touch ID
- Connecting to a Wi-Fi Network- Selecting a Wi-Fi network- Entering the Wi-Fi password
- Setting Up Your iPhone 13- Choosing a language and region- Transferring data from your previous device- Setting up a passcode or password
- Activating Your iPhone 13- Inserting the SIM card- Activating the device with your carrier- Completing the setup process
- Conclusion
- FAQs
Checking Your iPhone 13- Unboxing and inspecting the device- Powering on the device- Setting up Face ID or Touch ID
So you’ve just got your hands on the latest iPhone 13 – congratulations! The first step is to unbox and inspect your new device. Carefully remove the shrink wrap and lift the lid to reveal the sleek and stylish iPhone 13 nestled within its packaging.
Once you’ve unboxed the iPhone 13, it’s time to power it on. Simply press and hold the side button until the Apple logo appears on the screen. This signifies that your iPhone 13 is booting up and getting ready for the initial setup process.
As your iPhone 13 powers on, you’ll be prompted to set up Face ID or Touch ID, depending on your preference. Face ID uses advanced facial recognition technology to unlock your device and authenticate purchases, while Touch ID utilizes your fingerprint for the same purpose. Follow the on-screen instructions to complete the setup of your preferred biometric authentication method.
Connecting to a Wi-Fi Network- Selecting a Wi-Fi network- Entering the Wi-Fi password
Once your iPhone 13 is powered on and you’ve set up Face ID or Touch ID, the next step is to connect to a Wi-Fi network. This allows your device to access the internet, download updates, and enable various online features.
To select a Wi-Fi network, navigate to the Settings app on your iPhone 13. Tap on “Wi-Fi” and ensure that the Wi-Fi toggle switch is turned on. Your device will then display a list of available Wi-Fi networks. Tap on the network you want to connect to, and if it’s a secured network, you’ll be prompted to enter the Wi-Fi password.
When prompted, enter the Wi-Fi password for the selected network. Make sure to enter the password accurately, taking into account uppercase and lowercase letters, as Wi-Fi passwords are case-sensitive. Once the password is entered, tap “Join” or “Connect” to establish the connection.
Setting Up Your iPhone 13- Choosing a language and region- Transferring data from your previous device- Setting up a passcode or password
Setting up your new iPhone 13 is an exciting process that allows you to customize it to your preferences and transfer data from your previous device. Let’s walk through the essential steps to get your iPhone 13 up and running smoothly.
When you first power on your iPhone 13, you’ll be prompted to select your preferred language and region. This ensures that your device displays information in the language you’re comfortable with and adjusts settings based on your region’s specific requirements. Choose the language and region that best suit your needs and tap “Next” to continue.
Transferring data from your previous device to your new iPhone 13 is a seamless process thanks to Apple’s intuitive setup. Whether you’re switching from an older iPhone, an Android device, or another smartphone, you can easily transfer your data, including contacts, photos, apps, and more, using the “Transfer from iPhone/Android” option. This ensures that your new iPhone 13 feels familiar and personalized from the start.
After selecting the data transfer option, follow the on-screen instructions to initiate the transfer process. Depending on the amount of data being transferred, this may take a few minutes to complete. Once the transfer is finished, your new iPhone 13 will mirror the content and settings of your previous device, making the transition seamless and hassle-free.
Setting up a passcode or password is crucial for securing your iPhone 13 and protecting your personal information. During the setup process, you’ll have the option to create a passcode or password that will be required to unlock your device and access sensitive data. Choose a secure and memorable passcode that provides an extra layer of security for your iPhone 13.
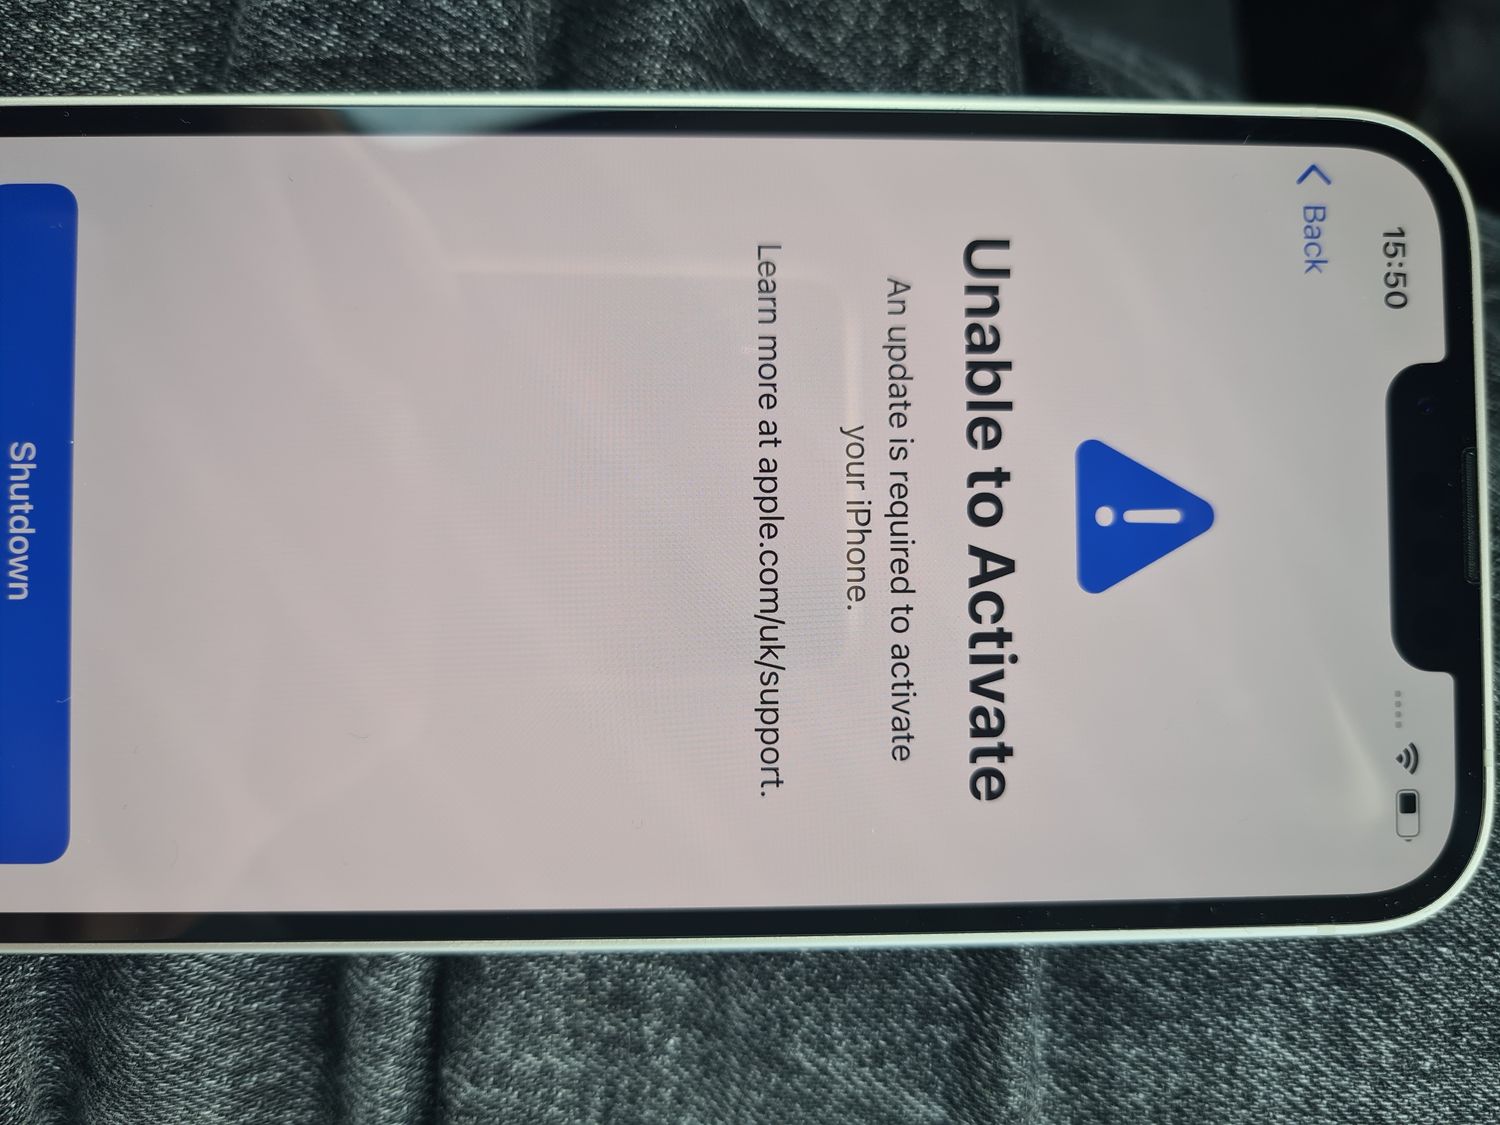
Activating Your iPhone 13- Inserting the SIM card- Activating the device with your carrier- Completing the setup process
After unboxing and powering on your new iPhone 13, the next crucial step is to activate the device. This involves inserting the SIM card, activating the device with your carrier, and completing the setup process.
To begin, locate the SIM card tray on your iPhone 13. Use the SIM eject tool or a paperclip to gently push into the small pinhole next to the tray. Once the tray pops out, carefully place the SIM card into the tray, ensuring it fits securely. Then, gently push the tray back into the slot until it clicks into place.
With the SIM card inserted, power on your iPhone 13 and follow the on-screen prompts to connect to a Wi-Fi network. Once connected, your device will begin the activation process. If you have a physical SIM card, you may need to call your carrier or visit their website to activate the SIM card and complete the activation process.
If you have an eSIM, you can activate it directly through your carrier’s website or by contacting their customer support. Follow the instructions provided by your carrier to complete the activation of your eSIM. Once the SIM card or eSIM is activated, your iPhone 13 will be ready to use on your carrier’s network.
After the activation is complete, you will be guided through the setup process, which includes signing in with your Apple ID, setting up Face ID or Touch ID, and transferring data from your previous device. Once these steps are completed, your iPhone 13 will be fully activated and ready for use.
Conclusion
Activating your new iPhone 13 is a straightforward process that ensures you can start using your device to its full potential. By following the simple steps outlined in this guide, you can seamlessly activate your iPhone 13 and begin exploring its impressive features. Whether you opt for the traditional method of using a SIM card or the convenience of eSIM activation, the choice is yours. With the advanced technology and user-friendly interface of the iPhone 13, you’re set to embark on an unparalleled mobile experience. From setting up Face ID to customizing your preferences, your new iPhone 13 is ready to become an indispensable part of your daily life. Get ready to enjoy the seamless integration, powerful performance, and innovative capabilities that the iPhone 13 has to offer.
FAQs
**Q: How do I activate my new iPhone 13?**
A: To activate your new iPhone 13, simply turn it on and follow the on-screen instructions. You can choose to activate it with your existing SIM card or request a new one from your carrier if needed.
Q: Can I transfer data from my old iPhone to the new iPhone 13 during activation?
A: Yes, you can transfer data from your old iPhone to the new iPhone 13 during the activation process. You can use iCloud, iTunes, or the Quick Start feature to seamlessly transfer your data, including contacts, photos, apps, and settings.
Q: Do I need to back up my old iPhone before activating the new iPhone 13?
A: It's highly recommended to back up your old iPhone before activating the new iPhone 13. This ensures that all your important data is safely stored and can be easily transferred to your new device.
Q: What should I do if I encounter issues during the activation process?
A: If you encounter any issues during the activation process, such as SIM card errors or network connectivity problems, you can reach out to your carrier's customer support for assistance. They can help troubleshoot the issue and ensure a smooth activation.
Q: Can I activate my new iPhone 13 without a SIM card?
A: Yes, you can activate your new iPhone 13 without a SIM card. Simply follow the on-screen instructions and choose the option for activating without a SIM card. You can then insert a SIM card later or use an eSIM for activation.