
In today’s digital age, hard drives have become an essential part of our lives. Whether it’s backing up important files or storing precious memories, having a reliable and secure hard drive is crucial. However, there may be times when you encounter an annoying issue called “write protection.” This frustrating problem prevents you from making any changes or modifications to files on your hard drive, leaving you feeling stuck and limited in what you can do. So, how do you unwrie protect a hard drive in your docking station? In this article, we will explore the steps and solutions to help you regain control over your hard drive and remove the write protection, so you can freely manage your files and data.
Inside This Article
- Overview of Unwrite Protection on Hard Drives
- Step-by-Step Guide: Unwrite Protecting a Hard Drive in a Docking Station
- Troubleshooting Unwrite Protection Issues
- Conclusion
- FAQs
Overview of Unwrite Protection on Hard Drives
Unwrite protection, also known as write protection, is a feature that prevents any changes from being made to the data on a hard drive. This feature is useful in situations where you want to safeguard important files or prevent accidental modifications. When a hard drive is write protected, you cannot add, delete, or modify any data on it.
Unwrite protection can be set on a hard drive using various methods, including hardware switches, software settings, or operating system controls. It is commonly used in scenarios such as computer forensics, data recovery, or when sharing sensitive information.
There are two main types of unwrite protection: physical write protection and software write protection. Physical write protection involves using a physical switch on the hard drive or a docking station that prevents any changes to the data. Software write protection, on the other hand, is implemented through settings in the operating system or third-party software programs.
It’s important to note that unwrite protection is different from read-only mode. Read-only mode allows you to access and view the data on a hard drive, but you cannot modify or delete any files. Unwrite protection, on the other hand, completely blocks any write operations on the drive.
Unwrite protection can be a useful feature when it comes to protecting important data or preventing accidental modifications. However, there may be instances where you need to remove the write protection in order to make changes to the hard drive. The next section will provide a step-by-step guide on how to unwrite protect a hard drive in a docking station.
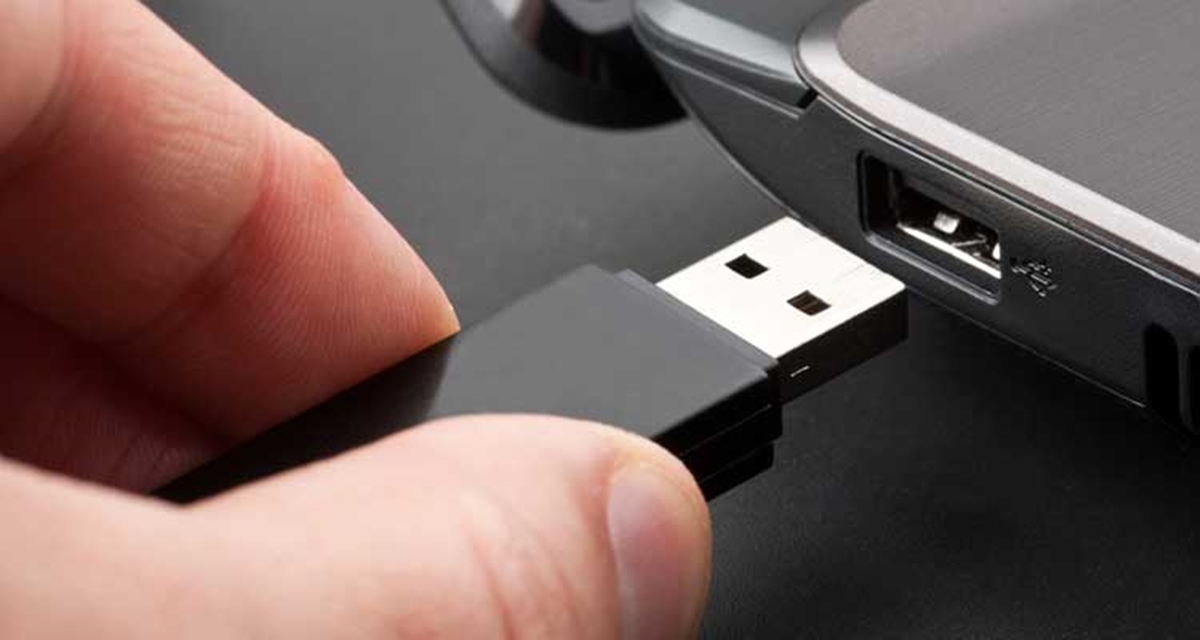
Step-by-Step Guide: Unwrite Protecting a Hard Drive in a Docking Station
Unwrite protection on a hard drive can be quite frustrating, especially when you’re trying to write or modify data. If you’re encountering this issue with a hard drive connected to a docking station, there are several steps you can take to unwrite protect it. In this guide, we’ll walk you through the process step-by-step to help you resolve the problem.
1. Check the physical write protection switch
Many docking stations, especially external ones, have a physical write protection switch on the device itself. This switch is designed to prevent any accidental modifications to the hard drive. Check if your docking station has a write protection switch and make sure it is in the “off” or “unlocked” position. Sometimes, the switch can be mistakenly flipped, causing write protection on the hard drive.
2. Use disk management tools to unwrite protect the hard drive
If the physical switch is not the cause of the write protection, you can try using disk management tools to remove the protection. In Windows, you can access the Disk Management utility by right-clicking on the “Start” button and selecting “Disk Management” from the menu. In Disk Management, locate the connected hard drive, right-click on it, and select “Properties”. Look for any write protection options and make sure they are disabled. If enabled, uncheck the options and click “OK” to save the changes.
3. Update or reinstall the docking station drivers
Outdated or incompatible docking station drivers can sometimes cause write protection issues. To fix this, you can update or reinstall the drivers. Start by visiting the manufacturer’s website for your docking station model and download the latest drivers. Once downloaded, run the installer to update the drivers. If you already have the latest drivers installed, try uninstalling and reinstalling them to ensure they are properly configured.
4. Check for firmware updates for the docking station
Like drivers, outdated firmware can also contribute to write protection problems. Check the manufacturer’s website for any firmware updates specific to your docking station model. Follow the instructions provided to download and install the firmware update. Updating the firmware can address compatibility issues and improve overall performance.
By following these step-by-step instructions, you should be able to unwrite protect a hard drive in your docking station. However, if the issue persists, it may be worth considering other factors such as a damaged hard drive or compatibility issues. You may want to try using a different docking station or seek technical support for further assistance.
Troubleshooting Unwrite Protection Issues
When encountering unwrite protection issues with a hard drive in your docking station, there are a few troubleshooting steps you can take to identify and resolve the problem.
The first step is to ensure that the hard drive itself is not physically damaged. Check for any visible signs of damage such as scratches, dents, or loose connections. If you notice any physical damage, it may be necessary to replace the hard drive.
If the hard drive appears to be in good condition, the next step is to disconnect and reconnect it from the docking station. Sometimes, a poor connection or a loose cable can cause issues with write protection. Ensure that the connections are secure and that the hard drive is properly seated in the docking station.
If the problem persists, try using a different docking station or connect the hard drive to a different computer. This will help determine if the issue is with the docking station itself or with the computer you are using. It could be a compatibility issue or a problem with the docking station’s circuitry.
If none of the above steps resolve the unwrite protection issue, it is recommended to contact technical support for further assistance. They will have specialized knowledge and resources to help troubleshoot and resolve the problem. Be sure to provide them with any relevant details, such as the make and model of the docking station and any error messages you have encountered.
By following these troubleshooting steps, you will be able to identify and resolve unwrite protection issues with your hard drive in a docking station. Whether it’s a simple connection problem or a more complex technical issue, taking these steps can help ensure that your hard drive is functioning properly and allows you to write data to it as needed.
Conclusion
In conclusion, understanding how to remove the write protection from a hard drive in a docking station can be a useful skill for any computer user. By following the steps outlined in this article and using the appropriate tools and software, you can effectively remove the write protection and regain full access to your hard drive’s functionality.
Remember to first check for any physical write protection switches on the docking station or hard drive enclosure before attempting any software solutions. Additionally, make sure to take precautionary measures such as backing up your data before making any changes to avoid potential data loss.
With the knowledge and understanding gained from this article, you can confidently address any write protection issues that may arise with your hard drive in a docking station. Happy computing!
FAQs
Q: How do I unwrite protect a hard drive in my docking station?
A: To unwrite protect a hard drive in a docking station, you can follow these steps:
- First, make sure your docking station is connected properly to your computer.
- Open the “File Explorer” or “Windows Explorer” on your computer.
- Locate the drive that you want to unwrite protect.
- Right-click on the drive and select “Properties”.
- In the “Properties” window, go to the “General” tab.
- Look for the “Read-only” checkbox and make sure it is unchecked.
- Click “Apply” and then “OK” to save the changes.
Once you have completed these steps, the hard drive in your docking station should no longer be write protected, allowing you to modify or write files to it.
Q: Why is my hard drive in the docking station write protected?
A: There are a few possible reasons why your hard drive in the docking station may be write protected.
- It could be due to a physical write protection switch on the hard drive itself. Check for any switches or buttons on the drive and ensure they are not set to the “lock” or “write protect” position.
- The drive may have been write protected using software or settings on your computer. Check the properties of the drive and ensure that the “Read-only” checkbox is unchecked.
- In some cases, a virus or malware infection can cause a hard drive to become write protected. Run a thorough scan of your computer using an up-to-date antivirus program to remove any potential threats.
If none of these solutions resolve the issue, it’s possible that the drive itself may be faulty or damaged. Consider trying the drive in a different docking station or connecting it directly to your computer to further troubleshoot the problem.
Q: Can I unwrite protect a hard drive in a docking station on a Mac?
A: Yes, you can unwrite protect a hard drive in a docking station on a Mac by following similar steps as on a Windows computer. Here’s what you can do:
- Connect your docking station to your Mac.
- Open the “Finder” application.
- Locate the drive in the side panel or under “Devices” in the Finder window.
- Right-click on the drive and select “Get Info”.
- In the “Get Info” window, make sure the “Locked” checkbox is unchecked.
Once you have unchecked the “Locked” checkbox, the hard drive in your docking station should no longer be write protected on your Mac.
Q: Will unwrite protecting a hard drive erase all my data?
A: No, unwrite protecting a hard drive will not erase your data. Write protection is a feature that prevents any changes from being made to the drive, such as overwriting or deleting files. By unwrite protecting the drive, you are simply enabling the ability to modify and write files to it. Your existing data will remain intact.
Q: What should I do if unwrite protecting a hard drive in my docking station doesn’t work?
A: If unwrite protecting a hard drive in your docking station doesn’t work, there are a few additional steps you can take to troubleshoot the issue:
- Try connecting the hard drive directly to your computer instead of using the docking station. This will help determine if the problem lies with the docking station or the drive itself.
- Ensure that you have the latest drivers and firmware for both your docking station and hard drive. Check the manufacturer’s website for any available updates.
- If possible, test the hard drive in a different docking station or on a different computer to rule out compatibility issues.
- If none of these steps resolve the problem, it’s possible that the drive itself may be experiencing hardware issues. Consider consulting a professional data recovery service if you have important data on the drive that needs to be recovered.