
Removing a laptop from a docking station is a common task for many users. Whether you’re at the office, a co-working space, or working from home, knowing the proper steps to safely remove your laptop from a docking station is essential to avoid any unnecessary damage. In this article, we will guide you through the process of removing your laptop from a docking station, providing you with tips and tricks to ensure a smooth and hassle-free experience. We will cover the different types of docking stations, the steps to disconnecting your laptop, and best practices to protect your device. So, let’s dive in and learn how to remove a laptop from a docking station with ease!
Inside This Article
- Checking the Connection Status
- Safely Ejecting the Laptop
- Disconnecting Cables from the Docking Station
- Physically Removing the Laptop from the Docking Station
- Conclusion
- FAQs
Checking the Connection Status
Before removing your laptop from the docking station, it is important to ensure that all connections are properly established and that it is safe to disconnect.
Here are a few steps to check the connection status:
- Look for indicator lights: Most docking stations have indicator lights that provide information about the status of the connection. Check for any lit or blinking lights, as these can indicate that the laptop is still actively connected to the docking station.
- Check the display: If your laptop is connected to an external monitor through the docking station, take a moment to verify that the display is functioning correctly. Look for any distortions or abnormalities that may suggest a loose connection.
- Test the peripherals: If you have any peripherals, such as a keyboard or mouse, connected to the docking station, make sure they are responsive and working properly. This can help confirm that the connection is stable and secure.
- Inspect the cables: Examine the cables connecting the docking station to your laptop and any external devices. Look for any signs of wear or damage, including frayed wires or loose connections. If you spot any issues, address them before disconnecting.
By following these steps, you can ensure that the connection between your laptop and the docking station is secure before proceeding with the removal process.
Safely Ejecting the Laptop
When you’re ready to remove your laptop from the docking station, it’s important to follow proper procedures to prevent any data loss or damage to your device. Safely ejecting your laptop ensures that all processes and connections are properly terminated before disconnecting it from the docking station. Here are the steps to safely eject your laptop:
Step 1: Save and close all open applications: Before ejecting your laptop, make sure to save any unsaved work and close all open applications. This ensures that no data is lost or corrupted during the ejection process.
Step 2: Check the battery status: If your laptop is running on battery power, ensure that the battery level is sufficient to operate independently. If the battery level is low, consider connecting your laptop to a power source before ejecting it from the docking station.
Step 3: Look for the eject button or icon: Many docking stations have an eject button or icon that you can use to safely remove your laptop. Locate this button or icon on your docking station.
Step 4: Click or press the eject button: Click or press the eject button to initiate the ejection process. This will trigger the docking station to release the laptop and terminate all connections.
Step 5: Wait for the confirmation message: After clicking or pressing the eject button, wait for a confirmation message on your laptop’s screen or a light indicator on the docking station that indicates the ejection process is complete.
Step 6: Disconnect any remaining cables: Once you receive the confirmation message, disconnect any remaining cables connected to your laptop, such as power cords, USB cables, or Ethernet cables.
Step 7: Remove the laptop from the docking station: Gently lift your laptop away from the docking station, ensuring that it is fully detached before moving or closing the docking station.
By following these steps, you can safely eject your laptop from the docking station without risking any data loss or damage. Remember to always follow the manufacturer’s instructions for your specific docking station model, as the ejection process may vary between different models.
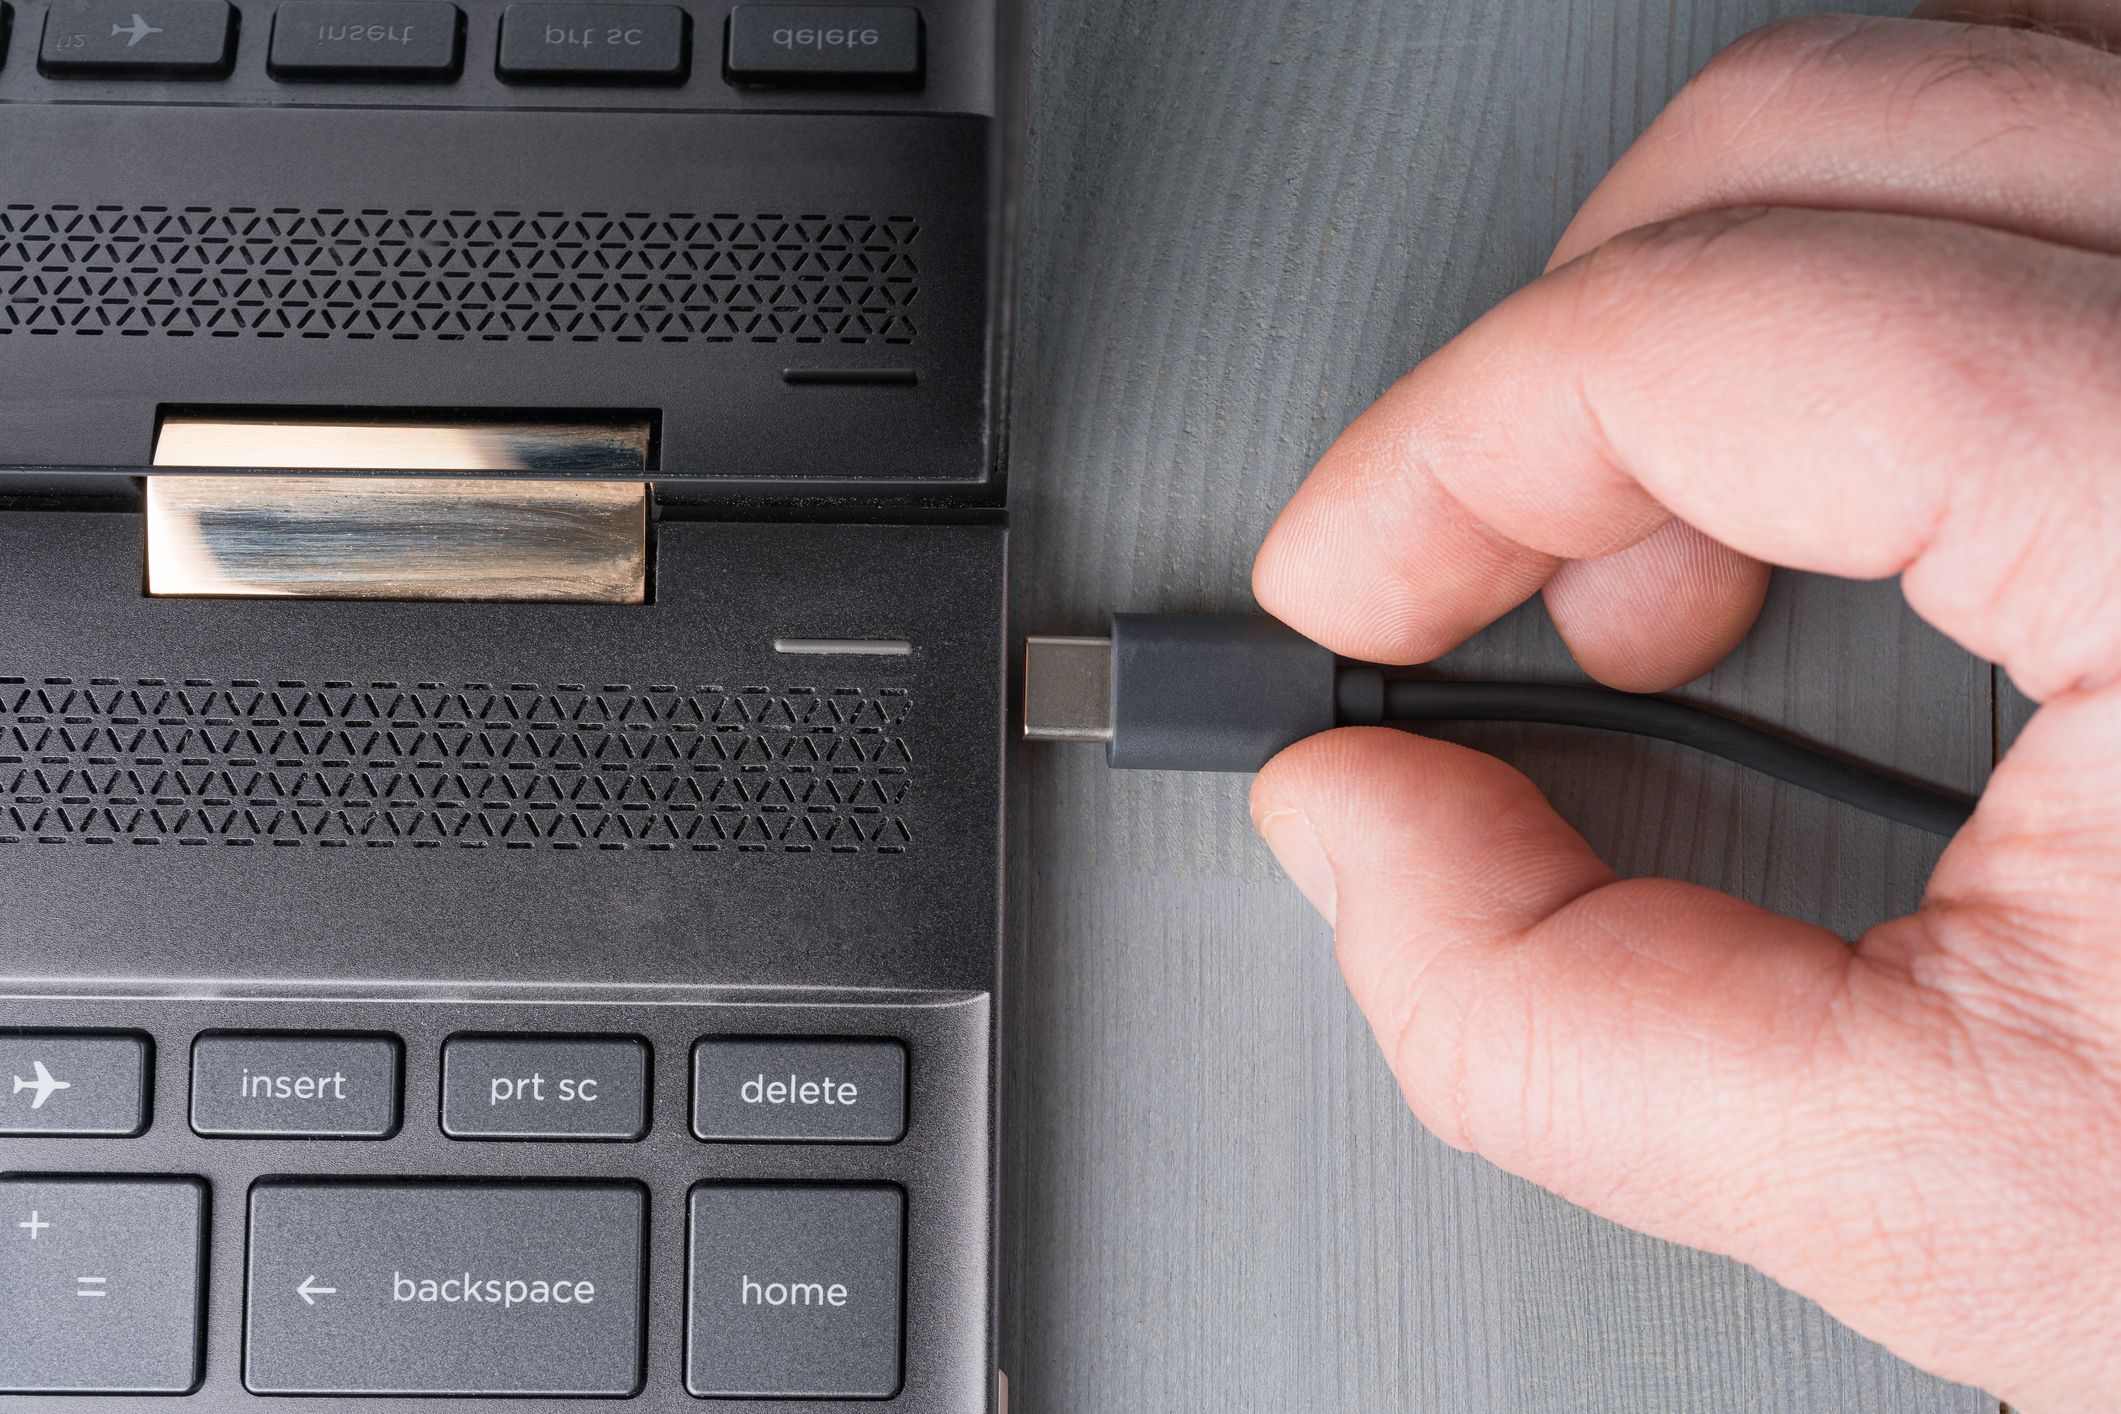
Disconnecting Cables from the Docking Station
Disconnecting cables from a docking station is a simple process that requires attention to detail. It’s important to do it correctly to ensure the safety of your laptop and prevent any damage to the dock or cables. Here is a step-by-step guide to help you disconnect the cables smoothly:
- Power cable: Begin by disconnecting the power cable from the docking station. Locate the power cable connection port on the docking station, usually found at the back. Gently pull the power cable out from the port to disconnect it.
- Display cable: If your laptop is connected to an external monitor through a display cable, locate the display cable connection port on the docking station. Depending on the type of cable, it may be a VGA, HDMI, or DisplayPort connection. Carefully remove the cable by gently pulling it out of the port.
- USB devices: Many docking stations have USB ports for connecting peripheral devices. Disconnect any USB devices, such as printers, keyboards, or mice, from the docking station. Simply unplug the USB cables from the USB ports on the docking station.
- Ethernet cable: If you have an Ethernet cable connected to the docking station for an internet connection, locate the Ethernet port and unplug the cable. This is usually an RJ-45 port that looks similar to a telephone cable connection.
- Audio cables: If you have speakers or headphones connected to the docking station, unplug the audio cables from the audio output ports. These ports are typically color-coded as green or labeled with a headphone icon.
- Other connections: Depending on your specific setup, you may have other cables connected to the docking station, such as video input cables or USB-C cables. Take note of all the cables connected to the docking station and disconnect them one by one, ensuring a clean removal.
Remember to handle the cables with care and avoid pulling them forcefully. It’s good practice to gently hold the connector and wiggle it slightly while pulling to ensure a smooth disconnection. By following these steps, you can confidently disconnect the cables from your docking station without any hassle.
Physically Removing the Laptop from the Docking Station
Now that you have ensured all the necessary precautions have been taken, it’s time to physically remove your laptop from the docking station. Here’s a step-by-step guide to help you through the process:
- Make sure the laptop is powered off or in sleep mode. This will prevent any data loss or damage to the system during the removal process.
- Gently grasp the laptop with both hands, ensuring a secure grip. Keep your fingers away from any moving parts like the hinges or ports.
- Slowly lift the laptop upwards, taking care to disengage it from the docking station’s connectors. Most docking stations have a release mechanism, such as a lever or button, to unlock the laptop.
- As you lift the laptop, double-check that no cables or cords are still attached to the connectors. If you find any, carefully disconnect them from both the laptop and the docking station, taking care not to pull forcefully or damage the cables.
- Once all cables are disconnected, continue lifting the laptop until it is completely free from the docking station. Take your time and ensure a smooth and steady motion to avoid any accidental drops or damage.
- Place the laptop on a safe and clean surface, such as a desk or a laptop sleeve. This will protect it from scratches, dust, or other potential hazards.
- Inspect the laptop and the docking station for any signs of damage or wear. Check the connectors for any debris or dirt. If necessary, use compressed air or a soft cloth to gently clean the connectors.
- If you plan to reconnect the laptop to the docking station in the future, ensure that both the laptop and the docking station are stored in a secure and easily accessible location.
Remember, the process of physically removing a laptop from a docking station may vary slightly depending on the specific model and brand. Always refer to the manufacturer’s instructions or consult their support resources if you encounter any difficulties or uncertainties.
By following these steps, you can safely and properly remove your laptop from the docking station without causing any damage to either the laptop or the docking station.
Conclusion
Removing a laptop from a docking station is a simple process that can be done safely and efficiently with the right knowledge. By following the steps outlined in this guide, you can disconnect your laptop from the docking station without causing any damage to either device.
Remember to power off your laptop and disconnect any peripherals or cables before removing it from the docking station. Take your time and be gentle when sliding or lifting the laptop from the dock, ensuring that it is fully detached before moving or closing the docking station.
By properly removing your laptop from the docking station, you can ensure the longevity and functionality of both your laptop and the docking station itself. So, whether you’re using a docking station at the office or at home, you can confidently and safely connect and disconnect your laptop as needed, maximizing your productivity and convenience.
FAQs
1. How do I remove a laptop from a docking station?
To remove a laptop from a docking station, follow these steps:
- Make sure all cables and connections between the laptop and the docking station are disconnected.
- Look for the release lever or button on the docking station. This mechanism is designed to securely hold your laptop in place.
- Press the release lever or button, and while holding it, gently lift the laptop off the docking station.
- Once the laptop is lifted, ensure that it is fully detached from the docking station before moving it.
2. Are there any precautions to take before removing a laptop from a docking station?
Yes, it is important to take a few precautions before removing a laptop from a docking station:
- Save your work and close any open applications to prevent data loss or potential errors.
- Ensure that the laptop is not in the middle of any processes or updates.
- If your laptop has an external display connected to the docking station, make sure to properly disconnect it to avoid any damage.
3. Can I remove a laptop from a docking station while it is powered on?
While it is generally recommended to power off your laptop before removing it from a docking station, some laptops and docking stations support “hot docking” or “hot undocking.” This means that you can safely remove your laptop from the docking station while it is powered on. However, it is always a good practice to check your laptop’s user manual or contact the manufacturer to ensure that your specific model supports this feature.
4. What should I do if I encounter any issues while removing my laptop from a docking station?
If you encounter any issues while removing your laptop from a docking station, such as difficulty in detaching the laptop or any unexpected behavior, try the following steps:
- Ensure that all cables and connections are properly disconnected and not obstructing the laptop’s movement.
- Check if there are any error messages or notifications displayed on your laptop screen.
- If possible, restart your laptop and try removing it from the docking station again.
- If the issue persists, consult your laptop’s user manual or contact the manufacturer for further assistance.
5. Can I use a docking station with any laptop?
Docking stations are designed to be compatible with specific laptop models or brands. It is important to check the compatibility of a docking station with your laptop before purchasing or using it. Manufacturers often provide a list of supported laptop models on their website or product packaging. Ensure that your laptop meets the requirements specified by the docking station to ensure proper functionality and connectivity.