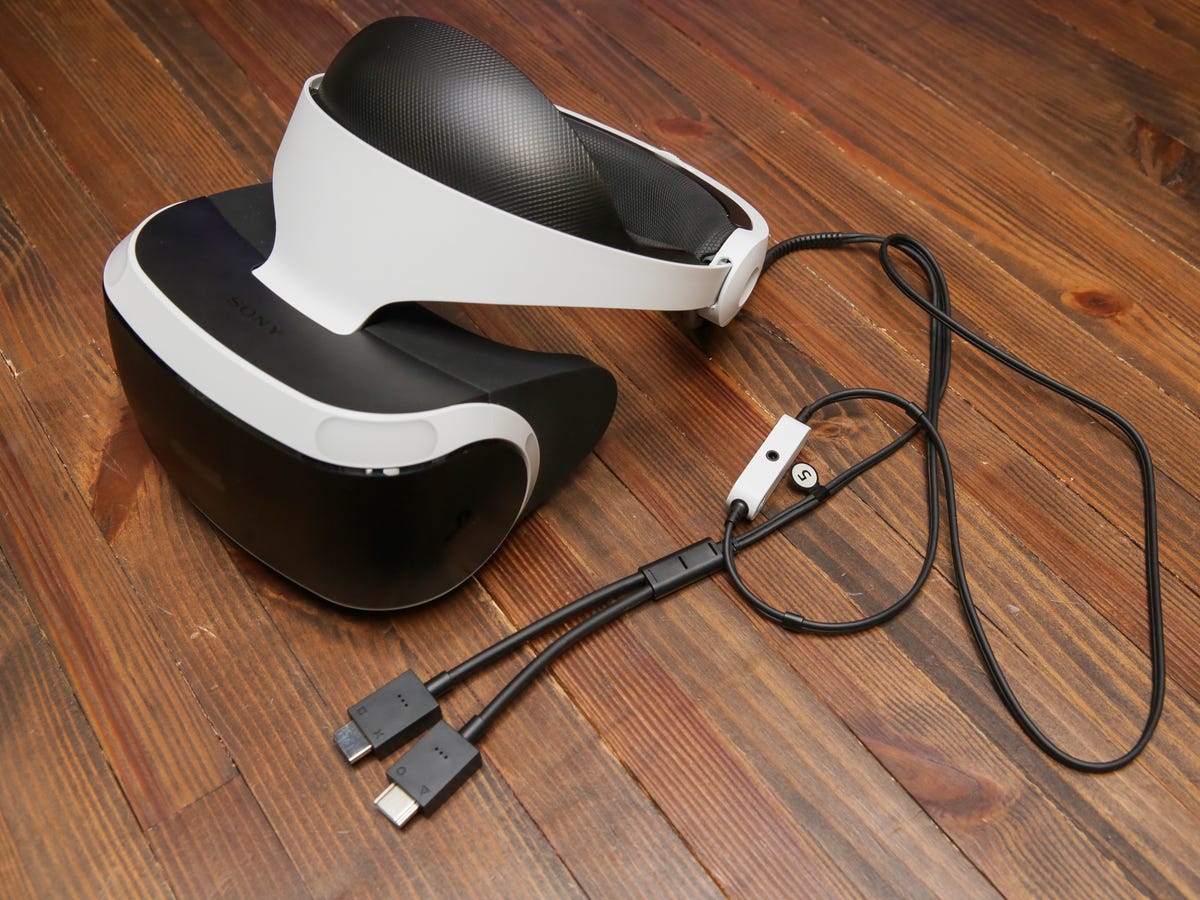
Are you new to the world of PlayStation VR and wondering how to adjust your headset for the best experience? Look no further! In this comprehensive guide, we will walk you through the steps to adjust your PSVR headset to ensure optimal comfort and image quality. Whether you’re a seasoned gamer or just starting with VR, getting the right fit is crucial to enjoy immersive gameplay without any distractions. From adjusting the headband and positioning the visor to calibrating the inter-pupillary distance, we will cover everything you need to know to fine-tune your PSVR headset. So, grab your controller, put on your headset, and let’s dive into the world of PlayStation VR!
Inside This Article
- Headstrap Adjustment
- Interpupillary Distance (IPD) Adjustment
- Lens Position Adjustment
- Ergonomic Placement Adjustment
- Conclusion
- FAQs
How To Adjust PSVR Headset
Headstrap Adjustment
Adjusting the headstrap on your PSVR headset is crucial to ensure a comfortable and secure fit. Start by loosening the strap by pulling on the adjustment tabs located at the back of the headstrap. Place the headset on your head and adjust the strap until it sits snugly but not too tight. Make sure the weight of the headset is evenly distributed on your forehead and the back of your head. Secure the strap by tightening the adjustment tabs.
Interpupillary Distance (IPD) Adjustment
The Interpupillary Distance (IPD) adjustment is important for achieving optimal visual clarity. To adjust the IPD, locate the IPD slider on the bottom of the PSVR headset. Hold the headset up to your face and look through the lenses. Use the IPD slider to move the lenses closer together or farther apart until you see a clear, single image. The recommended distance is usually between 58-70mm, but you can adjust it according to your comfort.
Lens Position Adjustment
Ensuring the proper lens position is essential for a sharp and immersive experience with your PSVR headset. With the headset on, use the lens adjustment button located beneath the front panel. Press and hold the button, then slide the lenses forward or backward until the image becomes sharp and in focus. Release the button to lock the lenses in place. Adjusting the lenses can help alleviate eye strain and improve overall visual quality.
Ergonomic Placement Adjustment
Proper ergonomic placement of the PSVR headset can contribute to long-term comfort and prevent unnecessary strain. Start by positioning the headset directly in front of your eyes, with the lenses aligned with your pupils. Tilt the headset slightly downward to ensure the screen is centered with your field of vision. Make sure the bottom of the headset rests comfortably on your cheekbones and the padding on the back of the headstrap is properly positioned against the back of your head.
So there you have it – adjusting your PSVR headset is a crucial step in ensuring an optimal gaming experience. By following the simple steps outlined in this guide, you can easily adjust your headset to fit comfortably and securely on your head.
Remember to take your time when making adjustments, and don’t hesitate to experiment until you find the perfect fit. Properly adjusting the PSVR headset will not only enhance your comfort but also improve the visual quality and overall immersion of your VR experience.
Whether you’re a seasoned PSVR player or a newcomer to virtual reality gaming, taking the time to adjust your headset correctly will undoubtedly enhance your gaming sessions and keep you coming back for more thrilling adventures in the virtual world.
FAQs
1. Why do I need to adjust the PSVR headset?
Adjusting the PSVR headset is crucial to ensure a comfortable and immersive virtual reality (VR) experience. Proper adjustment helps to maximize visual clarity, reduce motion sickness, and prevent discomfort during long gaming sessions.
2. How do I adjust the PSVR headset?
To adjust the PSVR headset, start by placing it on your head and adjusting the band at the back for a secure fit. Then, use the button on the back of the headset to adjust the distance between the screen and your eyes. Finally, use the button on the bottom of the headset to adjust the position of the screen vertically. Make sure to adjust until you have a clear view with minimal shifting or blur.
3. Can I adjust the PSVR headset for different head sizes?
Yes, the PSVR headset is designed to be adjustable to accommodate different head sizes. The headband can be extended or tightened to fit comfortably on your head. Additionally, the eye-to-eye distance and screen position can be adjusted to match your individual preferences.
4. How can I reduce the screen fogging up inside the PSVR headset?
To prevent the screen from fogging up inside the PSVR headset, make sure that your face and the rubber seal on the headset are clean and dry before you put it on. If necessary, you can also try using anti-fog wipes or sprays specifically designed for VR headsets. Additionally, avoid covering the vents on the headset, as they help to dissipate heat and prevent fogging.
5. Can I adjust the audio settings on the PSVR headset?
Yes, you can adjust the audio settings on the PSVR headset. The headset has built-in headphones that can be adjusted using the controls on the side. You can adjust the volume level, balance between chat and game audio, and even enable 3D audio for a more immersive experience. Additionally, you can use your PlayStation settings to further customize the audio output to your preference.
