
Are you ready to step up your gaming experience on the PlayStation 4 (PS4)? One of the essential accessories that can greatly enhance your gaming immersion is a headset. Whether you’re playing multiplayer games, chatting with friends, or enjoying the cinematic sound effects of your favorite title, a headset can make a world of difference. However, setting up a headset on your PS4 may seem like a daunting task, especially if you’re not tech-savvy. But fear not! In this article, we will guide you through the step-by-step process of setting up a headset on your PS4, ensuring that you can jump right into the action without any hassle. So grab your headset, sit back, and let’s get started!
Inside This Article
- Headset Compatibility
- Connecting the Headset to the PS4
- Adjusting Audio Settings on the PS4
- Troubleshooting common issues with headset setup
- Conclusion
- FAQs
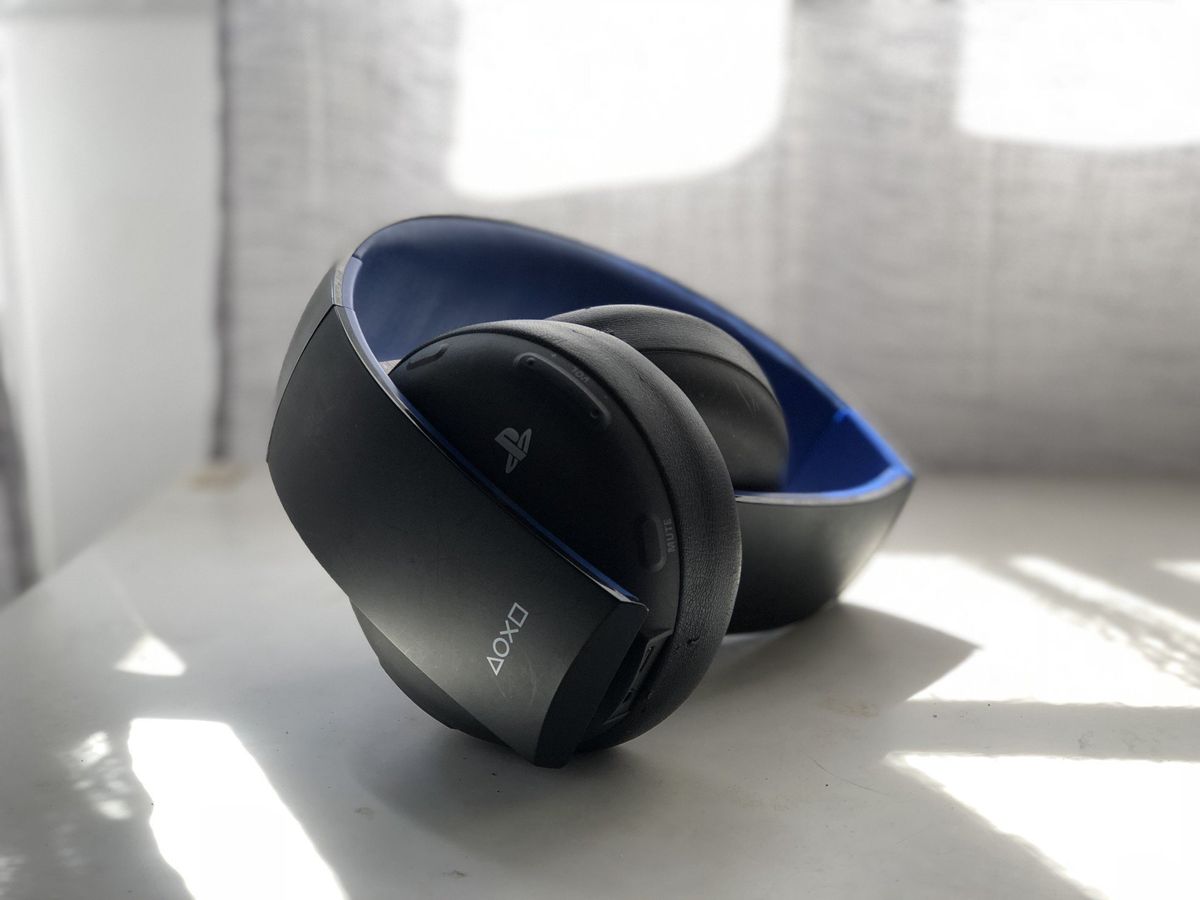
Headset Compatibility
When it comes to setting up a headset on your PS4, it’s essential to ensure that the headset you have is compatible with the console. PlayStation 4 supports a wide range of headsets, including wired and wireless options, making it easier for you to find a headset that suits your needs.
Before purchasing a headset, it’s crucial to check its compatibility with the PS4. Look for headsets that explicitly state their compatibility with the PS4 in their product description or packaging. This will ensure that the headset is designed to work seamlessly with your console.
One key aspect to consider is the connection type. The PS4 offers both USB and 3.5mm audio jack connections for headsets. Make sure to choose a headset that matches the available ports on your PS4. If your PS4 console has a USB port, you can opt for a USB headset. Alternatively, if it has a 3.5mm audio jack, you can choose a headset with a compatible 3.5mm connector.
Additionally, pay attention to the compatibility of the headset with the PS4’s audio output settings. Some headsets require specific audio settings or adjustments to deliver optimal sound quality. Check if the headset supports features like virtual surround sound, 3D audio, or other advanced audio technologies offered by the PS4.
Certain headsets also come with additional features that enhance the gaming experience, such as built-in microphones, adjustable settings for game and chat audio balance, or even customizable audio profiles. Consider your preferences and gaming needs when choosing a headset to ensure it has the features that will enhance your gaming sessions.
Lastly, it’s always a good idea to read reviews and consider recommendations from other PS4 users. This can provide valuable insights into the compatibility, performance, and durability of various headset models with the PS4.
Connecting the Headset to the PS4
Setting up your headset on the PS4 is a straightforward process that will have you enjoying immersive audio in no time. Follow the steps below to connect your headset properly:
1. Begin by checking the compatibility of your headset with the PS4. Most modern headsets are compatible with the PS4, but it’s always a good idea to double-check. Refer to the headset’s user manual or visit the manufacturer’s website to ensure compatibility.
2. Locate the USB or audio jack on your headset. If your headset has a USB connector, simply plug it into one of the available USB ports on the front or back of your PS4 console. If your headset uses an audio jack, connect it to the corresponding port on the PS4 controller.
3. Turn on your PS4 console and navigate to the “Settings” menu. You can find this by scrolling to the right on the home screen and selecting the toolbox icon labeled “Settings.”
4. Within the “Settings” menu, select “Devices.” This will open a submenu with various device-related settings.
5. From the “Devices” submenu, select “Audio Devices.” Here, you will find options for adjusting the volume, input, and output settings for your connected headset.
6. Choose the appropriate headset option. If using a USB headset, select “USB Headset” as the input and output device. If using a headset with an audio jack, select “Headset Connected to Controller” as the input and output device.
7. Customize your audio settings. Depending on your preferences, you can balance game audio and chat audio, enable or disable 3D audio effects, and adjust the microphone sensitivity. Experiment with these settings to find the optimal audio experience for your gaming sessions.
8. Test your headset to ensure everything is functioning correctly. Use the “Adjust Microphone Level” option in the “Audio Devices” menu to test your microphone and make any necessary adjustments.
That’s it! Your headset is now connected to your PS4, and you’re ready to enjoy immersive audio while gaming. Remember to refer to your headset’s user manual for any specific instructions or troubleshooting tips.
Adjusting Audio Settings on the PS4
Now that you have successfully connected your headset to the PS4, it’s time to optimize the audio settings to ensure the best possible gaming experience. The PS4 offers a range of audio settings that can be adjusted to suit your preferences. Here’s a step-by-step guide on how to adjust the audio settings on your PS4:
-
Access the PS4 settings by navigating to the main menu and selecting the “Settings” option.
-
Scroll down and select “Sound and Screen” from the list of options.
-
In the “Sound and Screen” menu, choose “Audio Output Settings”.
-
On the next screen, you will see a list of audio output options. Select “Primary Output Port” to adjust the main audio output settings.
-
Choose “Digital Out (Optical)” if you are using an optical cable to connect your headset. This option is recommended for headsets that support Dolby Surround Sound.
-
If you are using a wireless headset, select “USB Headset (USB Audio Device)” or “Headset Connected to Controller” depending on how your headset is connected to the PS4.
-
Once you have selected the appropriate audio output option, you can further customize the audio settings. Adjust the volume control to set the desired headphone volume.
-
If your headset supports surround sound, enable the “Enable Dolby Digital” setting for an immersive gaming experience.
-
Additionally, you can adjust the microphone level by selecting “Adjust Microphone Level” in the “Audio Output Settings” menu. This will ensure that your voice is clear and audible to other players during online gaming sessions.
-
After making these adjustments, test the audio to ensure that the sound is balanced and clear. You can do this by navigating to the “Volume Control (Headphones)” option in the “Audio Output Settings” menu.
By adjusting the audio settings on your PS4, you can enhance your gaming experience and fully immerse yourself in the world of your favorite games. Take the time to experiment with different settings to find the perfect audio balance that suits your preferences and gaming style. Happy gaming!
Troubleshooting common issues with headset setup
Setting up a headset on your PS4 can sometimes be a bit tricky, and you may encounter a few issues along the way. Fortunately, most problems can be easily resolved with a few troubleshooting steps. Here are some common issues that users face and how to fix them:
No sound in the headset: If you’re not getting any sound in your headset, first check the volume settings on both your PS4 and the headset itself. Make sure the volume is turned up and not muted. Additionally, check if the headset is properly connected to the controller or console. If the problem persists, try restarting your PS4 or disconnecting and reconnecting the headset.
Mic not working: If the microphone on your headset is not working, start by checking if it’s securely connected. If you’re using a wireless headset, ensure that the battery is charged and the connection is stable. Additionally, check the microphone settings on your PS4. Go to “Settings,” then “Devices,” and select “Audio Devices.” From there, you can adjust the microphone volume and test it to see if it’s working properly.
Poor audio quality: If you’re experiencing low audio quality or distortion in your headset, it could be due to a few factors. First, check if the headset’s audio cables are securely connected. If you’re using a wireless headset, make sure you’re within the recommended range. Interference from other devices may also affect audio quality, so try moving away from sources of interference like Wi-Fi routers or cordless phones. Finally, check if the headset’s audio settings are properly configured on your PS4.
Headset not recognized: If your PS4 is not recognizing your headset, try the following troubleshooting steps. First, ensure that the headset is connected to the PS4’s audio jack or USB port securely. Verify that the headset is compatible with the PS4 model you’re using. Some headsets may require a firmware update for compatibility. You can check the manufacturer’s website for any available updates. Also, try connecting the headset to a different controller or USB port to rule out any potential hardware issues.
One-sided audio: If you’re only getting audio in one ear of your headset, make sure that the audio cables are fully inserted into their respective ports. If you’re using a wireless headset, ensure that the transmitter is properly connected and that the batteries are fully charged. Adjust the audio balance settings on your PS4 to ensure that both sides are receiving audio signals.
Other general troubleshooting steps: If none of the above solutions work, try restarting both your PS4 and the headset. Resetting the PS4’s audio settings to default may also help. You can do this by going to “Settings,” then “Sound and Screen,” and selecting “Audio Output Settings.” Finally, make sure that your headset is fully compatible with the PS4. Check the manufacturer’s specifications or consult their support documentation if needed.
By following these troubleshooting steps, you’ll be able to overcome common issues and enjoy a seamless headset setup on your PS4. Remember, persistence and a little bit of troubleshooting can go a long way in resolving any problems you may encounter. Happy gaming!
Conclusion
Setting up a headset on your PS4 is a straightforward process that allows you to enjoy an immersive and enhanced gaming experience. By following the steps outlined in this guide, you can easily connect and configure your headset with your PS4 console.
Remember, choosing the right headset for your gaming needs is essential. Consider factors such as sound quality, comfort, microphone functionality, and additional features to ensure optimal performance.
Whether you prefer wireless or wired, surround sound or stereo, there are a variety of headset options available on the market. Take the time to research and read reviews to find the headset that suits your preferences and budget.
Once you’ve successfully set up your headset, you can delve into the world of online gaming, communicate with fellow players, and enjoy the immersive audio experience that a quality headset provides.
So, don’t hesitate to invest in a headset and elevate your gaming experience to a whole new level!
FAQs
Q: Can any headset be used with PS4?
A: Yes, most headsets with a 3.5mm audio jack can be used with the PS4. However, some wireless headsets may require additional setup or adapters.
Q: How do I set up a headset on PS4?
A: To set up a headset on PS4, simply connect the headset to the PS4 controller using the 3.5mm audio jack. Go to the “Settings” on your PS4, select “Devices” and then “Audio Devices.” From there, you can adjust the settings for your headset.
Q: Why is my headset not working on PS4?
A: There could be several reasons why your headset is not working on PS4. First, make sure the headset is properly connected to the controller. If it is connected but still not working, try restarting your PS4. Additionally, check if the headset is compatible with the PS4 and if any firmware updates are available for your headset.
Q: How do I adjust the volume on my headset on PS4?
A: To adjust the volume on your headset on PS4, hold down the PS button on the controller to bring up the quick menu. From there, go to “Sound/Devices” and select “Volume Control.” You can then adjust the volume using the on-screen slider.
Q: Can I use Bluetooth headphones on PS4?
A: Yes, you can use Bluetooth headphones on PS4, but you will need to use a Bluetooth dongle or adapter as the PS4 does not have built-in Bluetooth support for headphones. Simply connect the Bluetooth dongle to the USB port on your PS4 and follow the pairing instructions for your headphones.