
Changing the NAT Type on your hotspot can significantly improve your online gaming experience, allowing you to connect with other players effortlessly. NAT, or Network Address Translation, is a technology that allows multiple devices to share a single IP address. By default, many hotspots have a strict or moderate NAT Type, which can cause issues with online gaming, such as limited connectivity or longer matchmaking times.
In this article, we will explore the step-by-step process of changing your hotspot’s NAT Type, ensuring a smoother and more enjoyable gaming experience. We will provide detailed instructions for both Android and iOS devices, as well as offer troubleshooting tips for common issues that may arise during the process.
So, if you want to take your online gaming to the next level and eliminate the frustrations caused by a strict or moderate NAT Type, let’s dive in and learn how to change it!
Inside This Article
- Overview
- Method 1: Changing NAT Type on Gaming Console
- Method 2: Changing NAT Type on Windows PC
- Method 3: Changing NAT Type on Router Settings
- Method 4: Contacting Internet Service Provider (ISP)
- Conclusion
- FAQs
Overview
When it comes to online gaming, having an open or moderate NAT type can significantly enhance your gaming experience. However, if you are using a mobile hotspot to connect to the internet, you may encounter issues with your NAT type that can lead to connectivity problems.
NAT (Network Address Translation) is a technology used by routers to translate private IP addresses to public IP addresses and vice versa. It determines how other devices and the internet communicate with your device. There are three types of NAT: strict, moderate, and open. An open NAT type allows for seamless communication, while a strict NAT type may impose restrictions.
If you are experiencing connectivity issues or have a strict NAT type while using a mobile hotspot, don’t worry. There are several methods to change your hotspot’s NAT type and improve your gaming experience. In this article, we will explore these methods, including changing NAT type on gaming consoles, Windows PC, router settings, and contacting your internet service provider (ISP).
Method 1: Changing NAT Type on Gaming Console
Changing the NAT type on your gaming console is an important step to improve your online gaming experience. NAT (Network Address Translation) determines how your console communicates with other players and servers over the internet. There are three types of NAT: Type 1, Type 2, and Type 3. Type 1 allows for open communication and is ideal for online gaming, while Type 3 is more restrictive and can cause issues with online gaming. If you find that your console is set to Type 3, here’s how you can change it:
1. Check your router’s user manual or visit the manufacturer’s website to find the IP address needed to access your router’s settings. Typically, it is something like 192.168.0.1 or 192.168.1.1. Once you have the IP address, enter it into your web browser.
2. Log in to your router’s settings using the administrator username and password. If you don’t know the login credentials, refer to your router’s manual or contact your Internet Service Provider (ISP) for assistance.
3. Look for the “Port Forwarding” or “DMZ” option in your router’s settings. This will allow you to open specific ports and direct incoming connections to your gaming console.
4. Identify the IP address of your gaming console. On most consoles, you can find this information in the network settings. Write down the IP address as you will need it for the next step.
5. In the router settings, select the option to add a new port forwarding rule or enable DMZ. Enter the IP address of your gaming console and specify the ports required for your console’s online gaming. These ports vary depending on the console, so refer to the manufacturer’s support page or user manual for the specific port numbers.
6. Save the changes in your router’s settings and restart both your router and gaming console. This will apply the new settings and ensure a fresh connection.
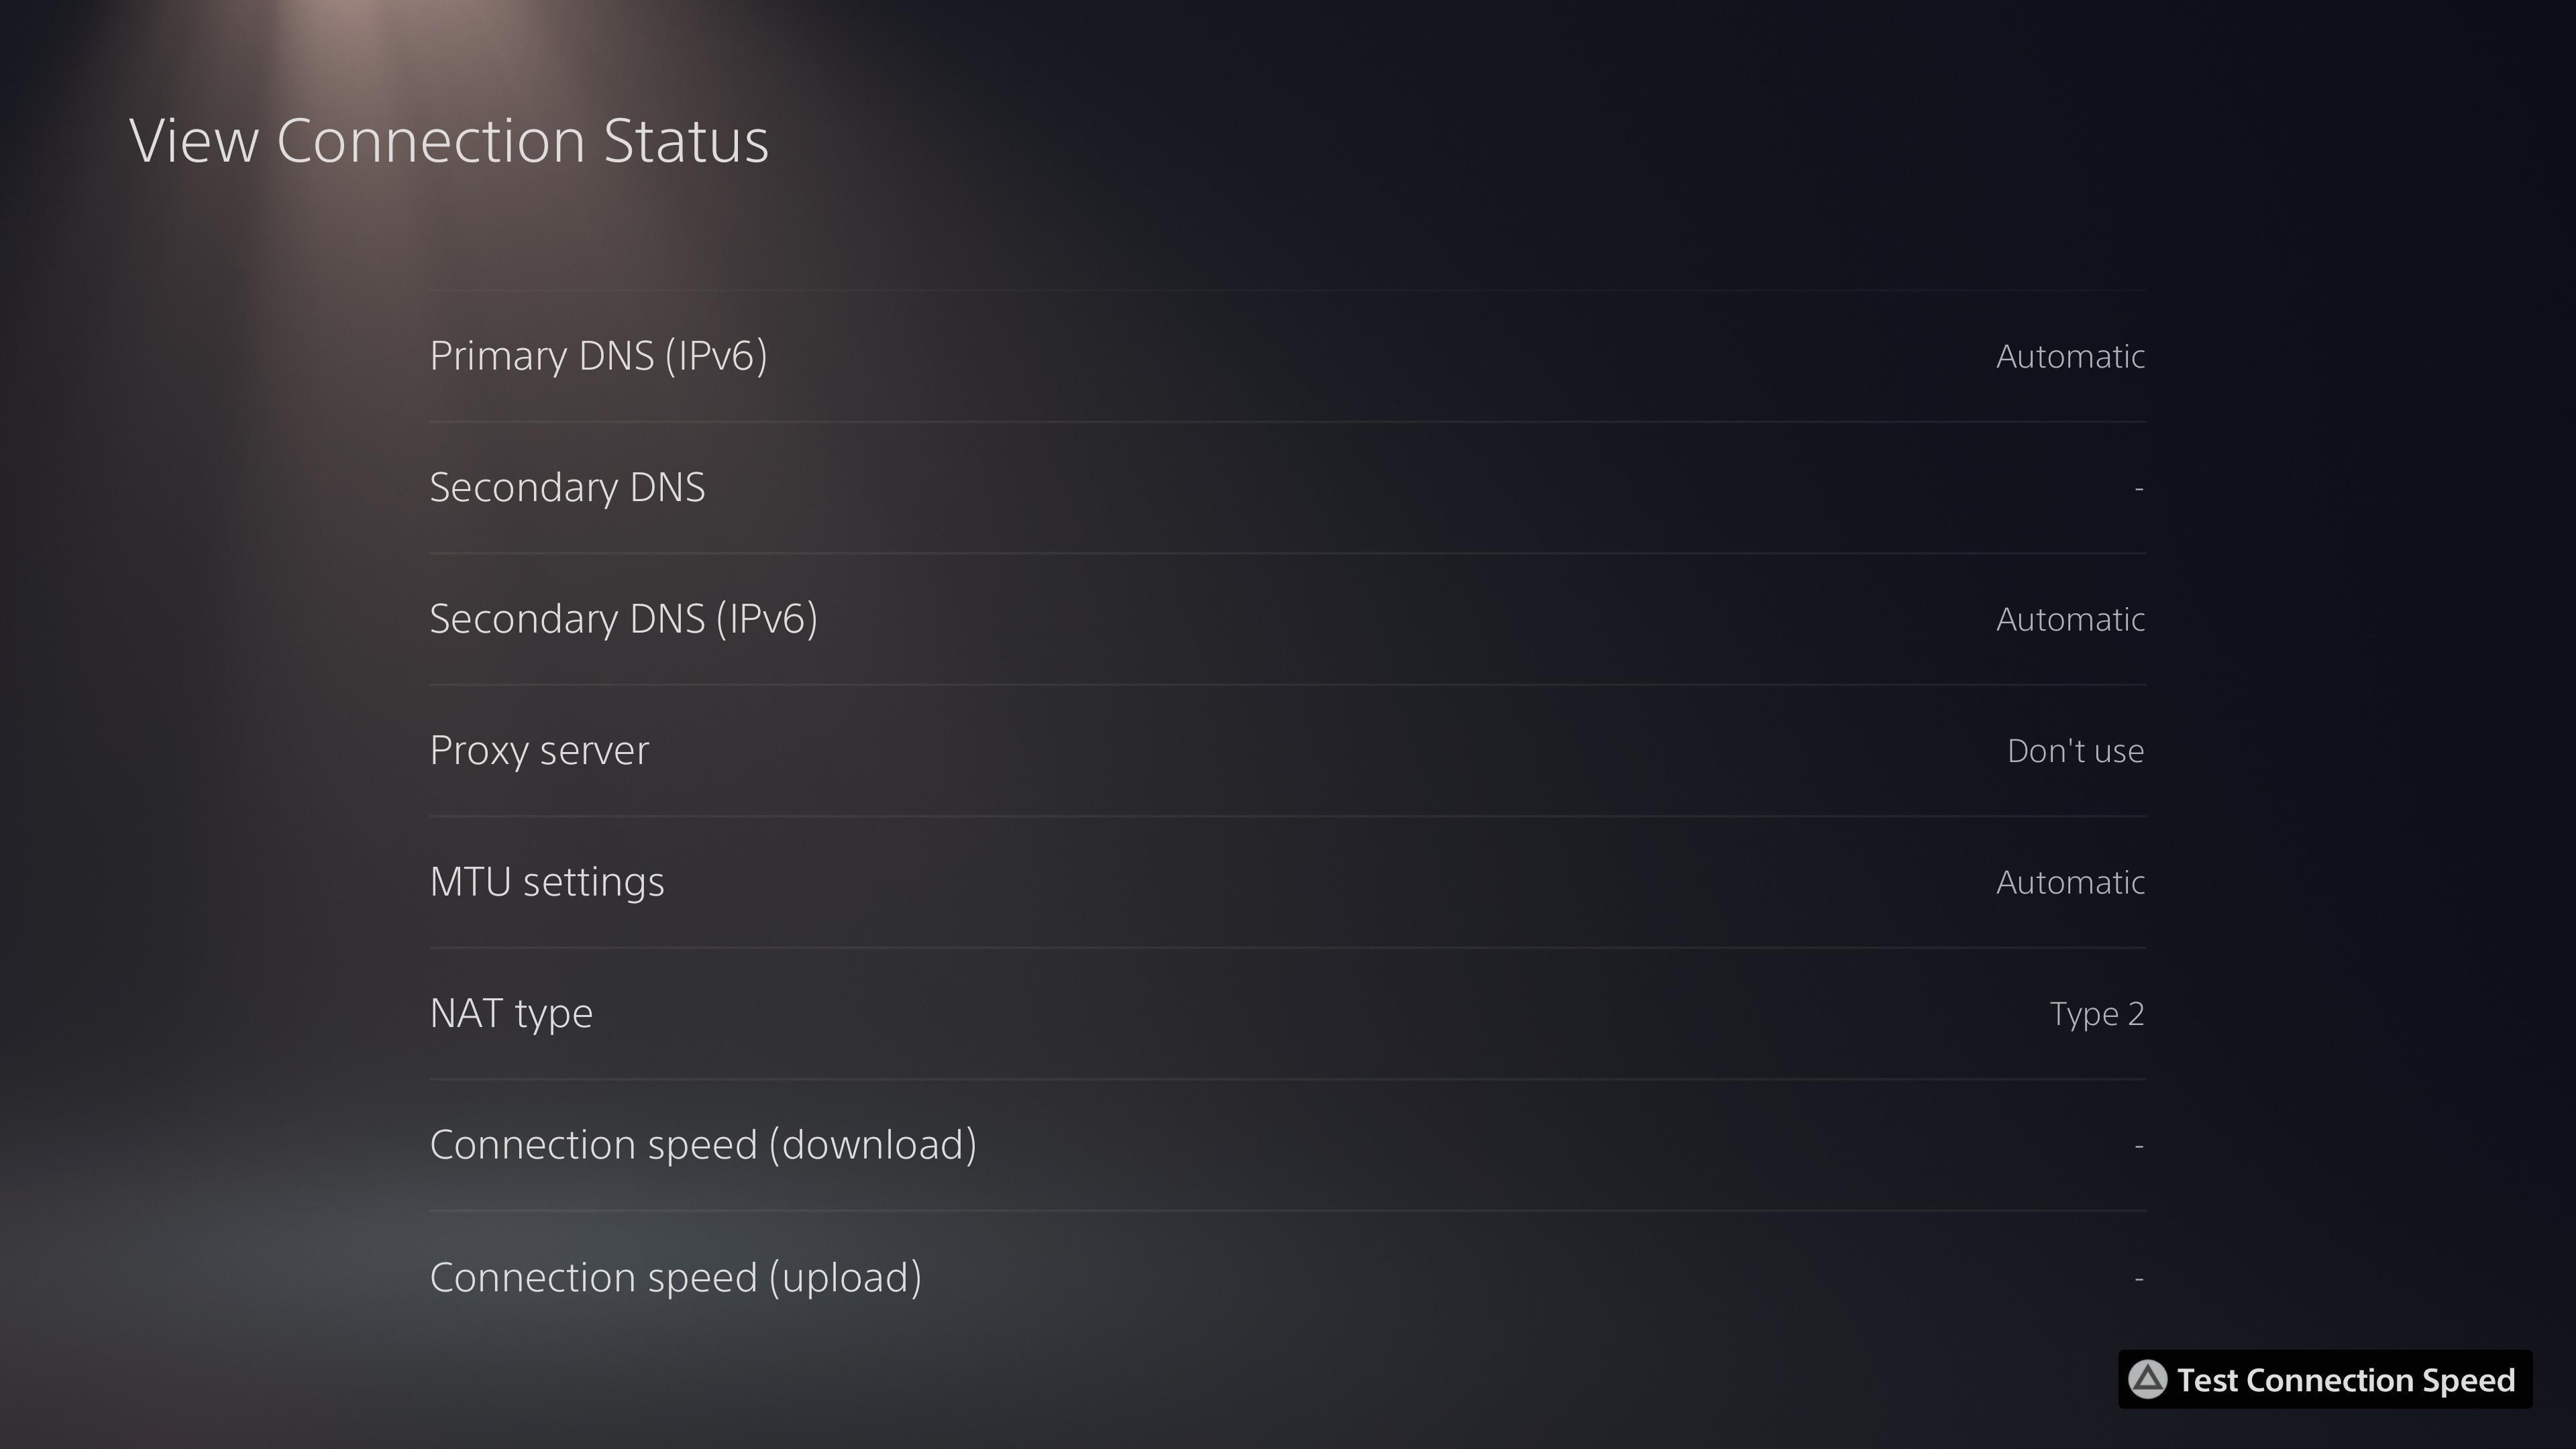
Once your gaming console restarts, check the NAT type in the console’s network settings. It should now show a more open NAT type (Type 1 or Type 2), which will improve your online gaming experience by allowing for smoother communication with other players and servers.
Note: It’s important to keep in mind that changing the NAT type on your gaming console may vary depending on the make and model of your router. If you’re unsure about any steps or encounter any difficulties, it’s always recommended to consult your router’s manual or contact your ISP for assistance.
Method 2: Changing NAT Type on Windows PC
If you are experiencing issues with your NAT (Network Address Translation) type on your Windows PC while using a hotspot, don’t worry. There are a few simple steps you can follow to change your NAT type and improve your network connection.
Step 1: Open Network Connections
The first step is to open the Network Connections settings on your Windows PC. You can do this by right-clicking on the network icon in the system tray and selecting “Open Network & Internet Settings.”
Step 2: Access Adapter Settings
Once you have opened the Network & Internet Settings, click on “Change adapter options” to access the adapter settings.
Step 3: Locate Your Network Adapter
In the Adapter settings, you will find a list of all the available network adapters on your PC. Look for the one that is connected to your hotspot (it will typically have the name of your hotspot provider or the name of your phone) and right-click on it.
Step 4: Open Properties
After right-clicking on your hotspot adapter, select “Properties” from the context menu. This will open the properties window for your network adapter.
Step 5: Change NAT Type
In the properties window, click on the “Networking” tab. Under the “This connection uses the following items” section, scroll down and locate “Internet Protocol Version 4 (TCP/IPv4)”. Select it and click on the “Properties” button.
Step 6: Manually Set DNS
In the TCP/IPv4 Properties window, select the option “Use the following DNS server addresses.” Here, you can change the DNS server addresses to ones provided by a reliable DNS service provider, such as Google DNS (8.8.8.8 and 8.8.4.4), Cloudflare DNS (1.1.1.1 and 1.0.0.1), or OpenDNS (208.67.222.222 and 208.67.220.220).
Step 7: Save Changes
After setting the DNS server addresses, click “OK” to save your changes and close the TCP/IPv4 Properties window. Then, click “OK” again to save the changes in the network adapter properties window.
Step 8: Restart Your PC
To apply the changes and ensure the new NAT type takes effect, it’s a good idea to restart your Windows PC. This will refresh the network settings and help establish a new connection with the changed NAT type.
By following these steps, you should be able to change the NAT type on your Windows PC while using a hotspot. Remember to restart your PC after making the changes to allow them to take effect properly. Enjoy a smoother online gaming experience with an improved network connection.
Method 3: Changing NAT Type on Router Settings
If you want to change the NAT type on your router settings, follow the step-by-step guide below:
1. Open a web browser on your computer and enter the IP address of your router in the address bar. The IP address is usually mentioned on the router itself or in the documentation that came with it. If you’re not sure about the IP address, you can try the common ones like 192.168.1.1 or 192.168.0.1.
2. Enter the username and password for your router. If you haven’t changed them, the default username and password are typically “admin” for both fields. However, it’s essential to note that different router models and manufacturers may have different default login credentials. If you can’t remember the login details, you may need to refer to the router’s manual or contact the manufacturer.
3. Once you’re logged in, look for the NAT type settings. The location of these settings can vary depending on your router model. It might be under a “Network” or “WAN” category, or it may be listed separately. You can also refer to the router’s manual or search online for specific instructions for your router model.
4. Locate the NAT type option and change it to the desired setting. The available options may include Open, Moderate, or Strict, depending on your router’s firmware. Selecting “Open” will give you the most unrestricted connectivity, while “Strict” may impose more limitations on certain applications or services.
5. Once you’ve made the necessary changes, save the settings and exit the router’s configuration page. It may prompt you to reboot your router for the changes to take effect. Follow any additional instructions on the screen if necessary.
6. After your router has restarted, check the NAT type on your gaming console or PC to confirm if the changes have been successful. You can follow the methods mentioned in the previous sections to check the NAT type.
By changing the NAT type on your router settings, you can potentially improve your online gaming experience and ensure a smoother connection with other players or services.
Method 4: Contacting Internet Service Provider (ISP)
If you’ve tried all the methods mentioned above and still haven’t been able to change your hotspot’s NAT type, it may be time to reach out to your Internet Service Provider (ISP) for assistance. Your ISP is responsible for providing you with internet access, and they have the knowledge and resources to help troubleshoot and resolve network-related issues.
Contacting your ISP is a straightforward process. Begin by locating their customer support contact information. This can usually be found on their website or on your billing statement. Once you have the contact details, you can reach out to them via phone, email, or their online support portal.
When you contact your ISP, be sure to provide them with specific information about the issue you’re facing. Clearly explain that you’re trying to change the NAT type on your mobile hotspot and have exhausted all other troubleshooting methods. Provide details about your hotspot device, the gaming console or device you’re using, and any error messages or issues you’ve encountered during the process.
Your ISP will likely guide you through a series of diagnostic steps to determine the cause of the NAT type issue. They may remotely access your router settings, perform tests, or make configuration changes on their end. Follow their instructions carefully and provide any information or assistance they request.
In some cases, your ISP may need to escalate your issue to their technical support team or specialized network engineers. This is particularly true if the NAT type issue is related to network infrastructure or a specific configuration on their end. It may take some time for them to investigate and resolve the issue, so be patient and stay in contact with them for updates.
Contacting your ISP is usually the last resort when it comes to changing your hotspot’s NAT type. However, they have the expertise and resources to address network-related problems effectively. By working with your ISP, you can ensure that all possible avenues have been explored to resolve the NAT type issue and enjoy a seamless gaming experience.
Conclusion
Changing your hotspot NAT type can open up a world of possibilities, allowing for seamless online gaming experiences, enhanced connectivity, and improved performance. By following the steps outlined in this article and making use of the various methods available, you can easily change your hotspot NAT type and enjoy a better online experience.
Remember to choose the method that best suits your device and network setup, whether it’s using port forwarding, enabling UPnP, or using a virtual private network (VPN). Experiment with different options to find the one that works best for you.
With the right NAT type, you can overcome connectivity issues, reduce lag, and fully enjoy online gaming and other online activities. So go ahead, take control of your hotspot NAT type, and experience the internet in a whole new way.
FAQs
1. What is NAT type?
NAT type, or Network Address Translation type, is a setting that determines how your device connects to other devices and the internet. It affects the capability to communicate with other players or devices during online gaming or sharing files.
2. Why is it important to change hotspot NAT type?
Changing hotspot NAT type can be beneficial in various scenarios. For example, if you are experiencing connectivity issues while gaming online, changing the NAT type can help improve the connection and reduce latency.
3. How can I change hotspot NAT type?
To change the hotspot NAT type, you will need to access your device’s settings. Typically, you can do this by logging into your hotspot device’s web interface or mobile app. Look for the NAT type settings under the network or connection settings and choose the desired NAT type.
4. What are the different NAT types?
There are three main NAT types: NAT Type 1 (Open), NAT Type 2 (Moderate), and NAT Type 3 (Strict). NAT Type 1 allows unrestricted communication with other devices, NAT Type 2 allows communication with most devices but may have some limitations, and NAT Type 3 has the most restrictions and may hinder certain online functionalities.
5. Will changing the NAT type affect other devices connected to my hotspot?
Changing the hotspot NAT type should not impact other devices connected to your hotspot, as it only affects your device’s settings. However, keep in mind that different devices may have different options or capabilities when it comes to changing NAT types.