
Wireless headsets have become increasingly popular in recent years, providing convenient and hands-free communication for people on the go. One of the most crucial aspects of owning a wireless headset is ensuring that it is always charged and ready to use. In this article, we will explore the various methods and best practices for charging a wireless headset, ensuring that you never have to deal with the frustration of a dead battery in the middle of an important call or task. Whether you’re a busy professional, a multitasking parent, or a tech enthusiast, knowing how to charge your wireless headset properly is essential for uninterrupted communication and entertainment. So, let’s dive into the world of wireless headset charging and discover the best ways to keep your device powered up and ready for use.
Inside This Article
- Overview
- Step 1: Check the battery level
- Step 2: Connecting the charger
- Step 3: Charging the wireless headset
- Conclusion
- FAQs
Overview
If you own a wireless headset, knowing how to properly charge it is essential for uninterrupted use. A wireless headset offers the convenience of mobility and untethered audio experience, but it relies on a battery that needs to be recharged regularly. In this guide, we will walk you through the steps to efficiently charge a wireless headset and ensure you’re always ready for your next audio adventure.
Charging a wireless headset may seem like a straightforward task, but it’s important to follow the manufacturer’s instructions to optimize battery life and prevent any potential damage. By understanding the charging process and taking the necessary precautions, you can enjoy long-lasting battery performance and extend the lifespan of your wireless headset.
Before we delve into the steps, it’s worth noting that the charging process may vary slightly depending on the make and model of your wireless headset. Therefore, it’s always advisable to refer to the user manual or manufacturer’s guidelines for specific instructions tailored to your device.
Step 1: Check the battery level
Before charging your wireless headset, it is essential to check the battery level to ensure that it has enough power to last you through the day. This step is crucial as it allows you to assess whether your headset needs charging or not.
To check the battery level, simply turn on your wireless headset and locate the battery indicator. Depending on the make and model of your headset, the battery indicator may be displayed as a series of lights or a digital percentage on the device itself. Consult your headset’s user manual if you are unsure about the location of the battery indicator.
Once you have found the battery indicator, take note of the current battery level. If the battery level is low, it is a clear indication that your headset needs to be charged. On the other hand, if the battery level is sufficient, you can continue using your wireless headset without the need for immediate charging.
It is worth mentioning that some wireless headsets also come with companion mobile apps that allow you to check the battery level from your smartphone. If your headset is compatible with such an app, make sure to install it and use it to monitor the battery level conveniently.
Step 2: Connecting the charger
Once you have checked the battery level of your wireless headset, the next step is to connect it to the charger. This is a crucial step in ensuring that your headset is properly charged and ready for use.
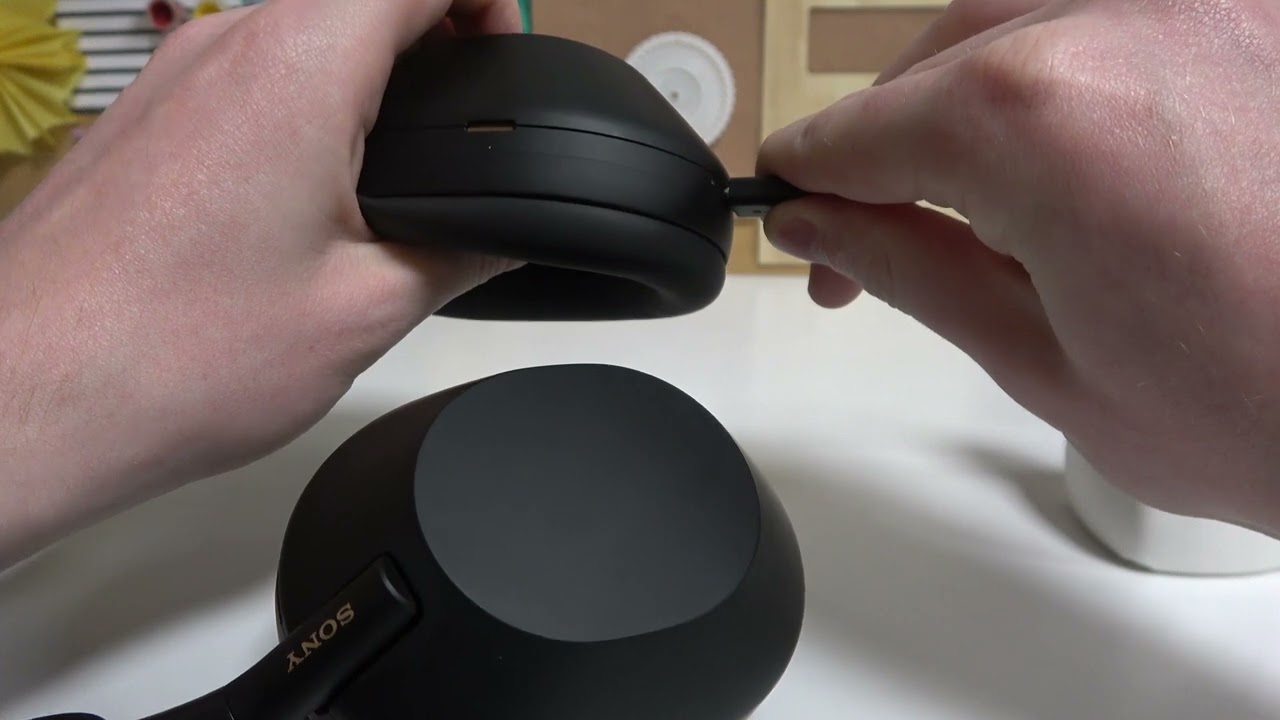
To connect the charger, locate the charging port on your wireless headset. This is typically a small port located on the bottom or side of the headset. It may be covered by a rubber flap or cap to protect it from dust and debris.
Once you have located the charging port, take the charging cable that came with your headset and insert the appropriate end into the port. Make sure that the cable is inserted securely, as loose connections can result in slower charging or no charging at all.
After connecting the charger, plug the other end of the cable into a power source such as a wall outlet or a USB port on your computer. Ensure that the power source is working properly and providing a consistent flow of electricity.
Once the charger is connected, you may notice a light indicator on the headset or the charging cable. This light is usually red and indicates that the headset is charging. If the light does not turn on, try disconnecting and reconnecting the charger to ensure a proper connection.
Leave your wireless headset connected to the charger for the recommended charging time. This can vary depending on the model of your headset but is typically around 2-3 hours. Avoid disconnecting the charger before the headset is fully charged, as this can affect the battery life and overall performance of the device.
While the headset is charging, you can take this time to do other tasks or simply take a break. Once the charging time is complete, you can disconnect the charger from the headset and remove the cable from the power source.
Now that you have successfully connected the charger to your wireless headset and allowed it to charge, you are ready to enjoy uninterrupted wireless audio and take advantage of all the features your headset has to offer.
Step 3: Charging the wireless headset
After properly connecting your wireless headset to the charging port, it’s time to start the charging process. Follow these simple steps to ensure a smooth and efficient charging experience:
1. Check the charging indicator: Most wireless headsets have a built-in indicator light to let you know the status of the charging process. Once you plug in the charger, pay attention to see if the light turns on or starts blinking. This will indicate that the headset is receiving power and is in the charging mode.
2. Leave it undisturbed: To ensure a faster and complete charging, it’s recommended to leave the wireless headset undisturbed while it’s connected to the charger. Avoid fiddling with the headset or removing it from the charging port, as this can interrupt the charging process.
3. Monitor the charging time: The time required for a complete charge may vary depending on the specific headset model and its battery capacity. It’s a good practice to refer to the manufacturer’s instructions or the headset’s user manual to get an idea of the recommended charging time. This will help you gauge how long you need to leave the headset connected to the charger.
4. Don’t overcharge: While it’s essential to charge your wireless headset fully, it’s important not to overcharge it. Overcharging can potentially damage the battery and reduce its overall lifespan. Once the headset is fully charged, disconnect it from the charger to avoid any unnecessary strain on the battery.
5. Keep an eye on heat: During the charging process, it’s normal for the wireless headset to generate some heat. However, if you notice that the headset is getting excessively hot, it’s advisable to disconnect it from the charger and let it cool down. Excessive heat can indicate a problem with the charger or the headset itself, so it’s important to address it promptly.
Once your wireless headset is fully charged, you can disconnect it from the charger and enjoy the convenience of wireless audio without any interruptions. Remember to store the charger in a safe place for future use.
Conclusion
In conclusion, charging a wireless headset is a simple and essential task to ensure uninterrupted audio experiences. By following the manufacturer’s guidelines and using the correct charging cable and power source, you can keep your wireless headset powered and ready to use. Remember to take care of the charging port and keep it clean to prevent any issues. Additionally, consider investing in a high-quality wireless headset with long battery life to enjoy extended listening sessions without the need for frequent charging. With the advancements in technology, wireless headsets have become an indispensable accessory for those seeking convenience and mobility. So, grab your wireless headset, charge it up, and immerse yourself in the world of wireless audio!
FAQs
Q: How do I charge a wireless headset?
To charge a wireless headset, you will need to use the charging cable that is usually provided in the packaging. Connect one end of the cable to the headset and the other end to a power source, such as a USB port on your computer or a wall charger. Make sure the headset is properly aligned with the charging port and leave it connected until the battery is fully charged.
Q: How long does it take to charge a wireless headset?
The charging time for a wireless headset can vary depending on the model and the battery capacity. On average, it takes around 1-2 hours to fully charge a wireless headset. However, some high-capacity headsets may take longer, while smaller ones may charge more quickly. It’s always a good idea to refer to the manufacturer’s instructions for the specific charging time of your headset.
Q: Can I use my wireless headset while it’s charging?
In most cases, you can use your wireless headset while it’s charging. However, it’s always best to consult the user manual provided by the manufacturer to ensure this feature is supported. Keep in mind that using the headset during charging may prolong the charging time, as the battery will be powering the device while also charging. Additionally, some headsets may have certain limitations while charging, such as reduced audio quality or limited functionality, so it’s important to check the instructions.
Q: How can I tell when my wireless headset is fully charged?
There are usually indicators on the wireless headset that show the charging status. These indicators can be in the form of LED lights or a digital display. When the headset is fully charged, the indicator will typically show a solid light or a specific message. Some headsets may also emit a sound or vibration signal to indicate when they are fully charged. It’s recommended to refer to the user manual for your specific headset model to understand the charging indicators.
Q: Can I overcharge my wireless headset?
Most modern wireless headsets are designed with built-in protection mechanisms to prevent overcharging. Once the battery reaches its maximum capacity, the charging process will automatically stop, ensuring that the headset is not overcharged. However, it’s still a good practice to disconnect the headset from the charging cable once it reaches a full charge, as keeping it plugged in unnecessarily can potentially put unnecessary strain on the battery over time.