
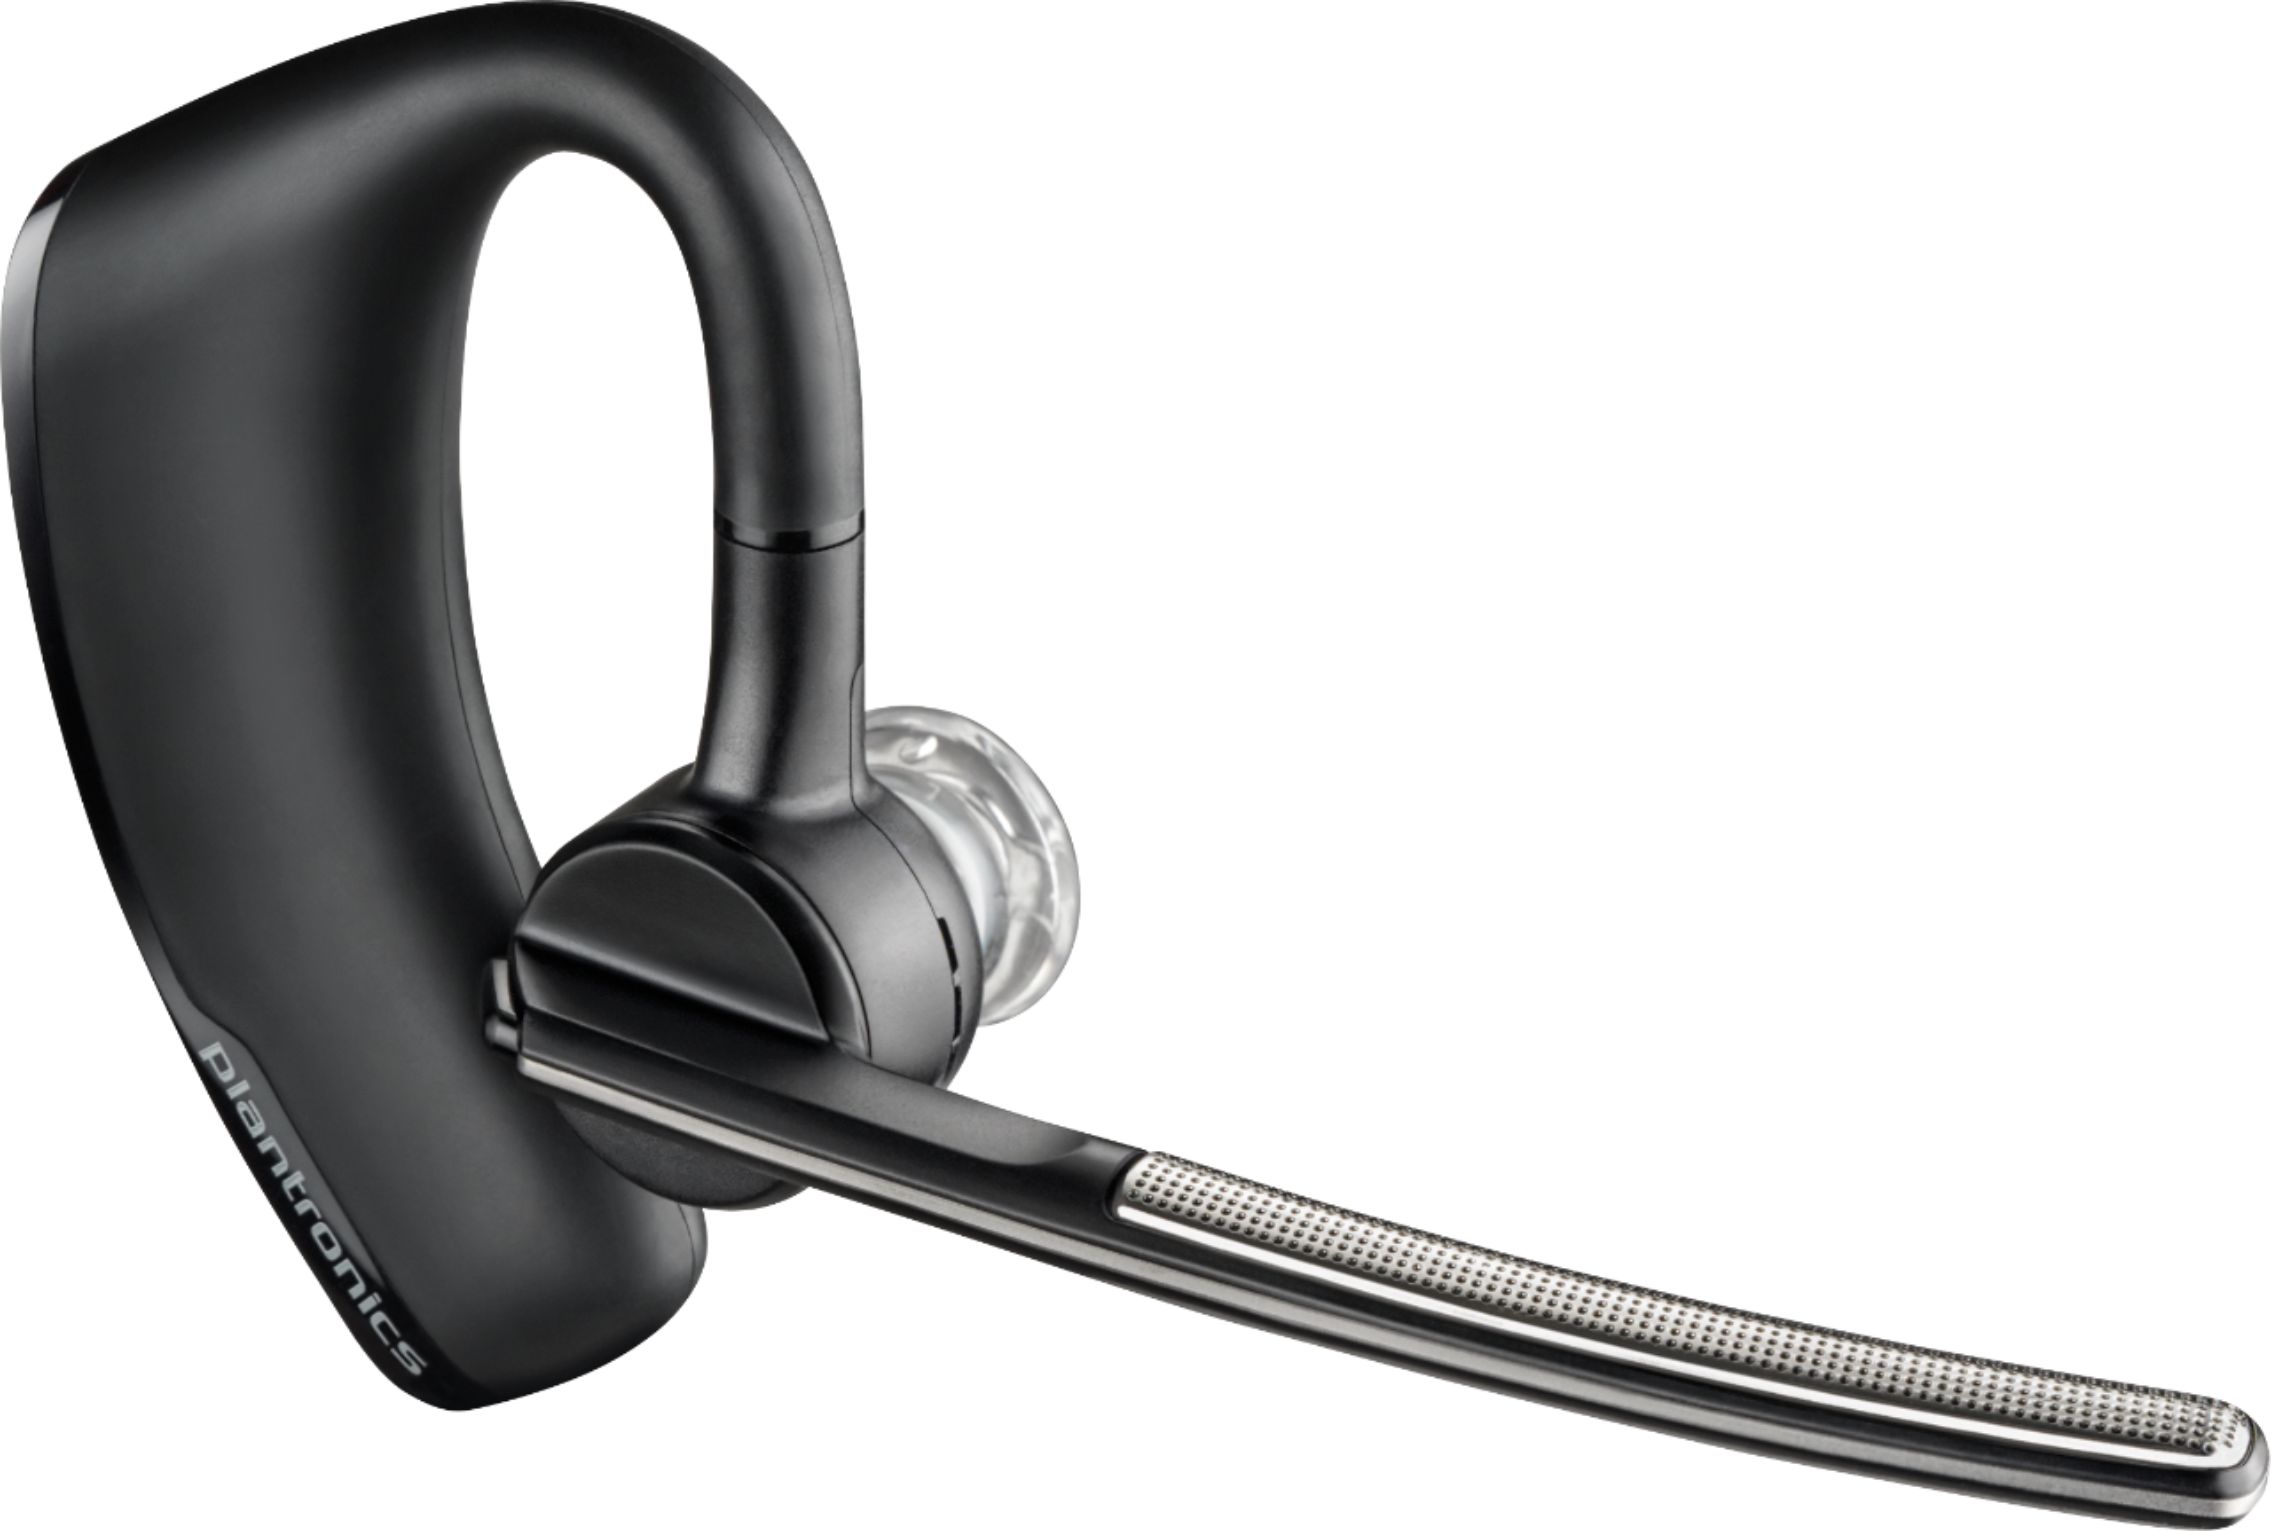
In today’s fast-paced world, staying connected and multitasking is essential. Whether you’re working, playing games, or simply enjoying your favorite tunes, having a reliable wireless headset can make all the difference. Plantronics is a renowned brand known for its cutting-edge technology and superior audio quality. Connecting your Plantronics wireless headset to your device is a straightforward process that allows you to enjoy a truly wireless experience. In this article, we will explore step-by-step instructions on how to connect your Plantronics wireless headset to various devices, including smartphones, tablets, and computers. With these simple instructions, you’ll be ready to immerse yourself in crystal clear sound and enjoy the freedom of hands-free communication and entertainment.
Inside This Article
- Overview
- Step 1: Charging the Headset
- Step 2: Pairing with a Device
- Step 3: Adjusting the Headset Settings
- Step 4: Troubleshooting Common Issues
- Conclusion
- FAQs
Overview
Welcome to our guide on how to connect a Plantronics wireless headset! Plantronics is a leading brand known for its high-quality, user-friendly headsets that offer seamless connectivity and excellent audio performance. Whether you’re using it for work, gaming, or simply enjoying your favorite music, connecting your Plantronics wireless headset is a quick and easy process. In this article, we’ll walk you through the steps to get your headset up and running in no time.
Plantronics wireless headsets utilize Bluetooth technology, allowing you to connect them wirelessly to your smartphone, tablet, or computer. This eliminates the hassle of tangled wires and offers you the freedom to move around while wearing your headset. Whether you’re in a conference call, playing games with friends, or simply listening to music, connectivity is key, and Plantronics ensures a seamless experience.
Before we dive into the steps, make sure your Plantronics headset is fully charged. This ensures optimal performance and longevity of your battery. Most Plantronics headsets come with a charging cable and a charging dock, so you can conveniently charge your headset when needed. Once your headset is charged, you’re ready to connect it to your device and start enjoying wireless freedom!
Now, let’s get started with the step-by-step process of connecting your Plantronics wireless headset.
Step 1: Charging the Headset
Before you can start using your Plantronics wireless headset, it is crucial to ensure that it has enough battery power. Follow these simple steps to charge your headset:
1. Locate the charging port on your Plantronics wireless headset. This will typically be located either on the bottom or side of the device.
2. Connect one end of the charging cable or dock to the charging port of the headset. Ensure a secure connection to avoid any interruptions during the charging process.
3. Plug the other end of the charging cable into a power source, such as a wall outlet or USB port on your computer. If you are using a charging dock, place the headset securely onto the dock.
4. Allow the headset to charge for the recommended amount of time. This will vary depending on the model of your Plantronics headset. Refer to the user manual or manufacturer’s instructions for the specific charging time.
5. While the headset is charging, some models may display a charging indicator light. This light will typically change color or blink to indicate the charging status. Pay attention to these indicators to ensure that the headset is charging properly.
6. Once the headset has reached a full charge, unplug the charging cable from the power source and disconnect it from the headset. Your Plantronics wireless headset is now ready to be paired with a device.
It is important to note that overcharging the headset can reduce the battery’s overall lifespan. Therefore, avoid leaving the headset plugged in for an extended period after it has reached a full charge.
By following these steps, you can ensure that your Plantronics wireless headset is properly charged and ready to provide you with a seamless and uninterrupted audio experience.
Step 2: Pairing with a Device
Once you have charged your Plantronics wireless headset, the next step is to pair it with your device. Whether it’s a smartphone, tablet, or computer, the pairing process is relatively simple. Just follow these steps:
1. Turn on the Bluetooth function on your device. This can usually be done through the device’s settings menu.
2. Put your Plantronics headset into pairing mode. The exact steps may vary depending on the specific model, so refer to the user manual for instructions. Typically, this involves holding down a specific button or switch until the LED light on the headset starts flashing or changes color.
3. On your device, go to the Bluetooth settings and search for available devices. The headset should appear in the list of available devices. Select the headset to pair it with your device.
4. If prompted, enter the passcode or PIN number for your headset. This is usually provided in the user manual or can be found on the packaging. Follow the on-screen instructions to complete the pairing process.
5. Once the pairing is successful, you should see a notification on your device confirming the connection. You can now start using your Plantronics wireless headset to make calls, listen to music, or engage in other activities.
It’s important to note that the exact steps and instructions may vary slightly depending on the device and headset model. If you encounter any difficulties during the pairing process, refer to the user manual or contact Plantronics customer support for assistance.
Now that you have successfully paired your Plantronics wireless headset with your device, you can enjoy the convenience and freedom of hands-free communication and audio streaming. Whether you’re on the go or at your desk, your headset will provide you with crystal-clear sound quality and a comfortable fit.
Step 3: Adjusting the Headset Settings
After successfully pairing your Plantronics wireless headset with your device, the next step is to adjust the headset settings to ensure optimal performance. By customizing the settings, you can enhance the audio quality, adjust the volume, and control other features according to your preference. Here’s a simple guide on how to adjust the headset settings:
1. Activate the Settings Menu: Access the settings menu on your device. This can typically be done by swiping down on the screen and tapping on the Settings icon. Alternatively, you can find the settings menu in the app or system preferences, depending on your device.
2. Select Bluetooth Settings: Look for the Bluetooth settings option and tap on it. This will bring up a list of your paired devices.
3. Find Your Plantronics Wireless Headset: Locate your Plantronics wireless headset from the list of paired devices. It should be displayed with its model number or a customized name if you have previously assigned one.
4. Access the Headset Settings: Tap on the name or icon of your Plantronics wireless headset to access the specific settings for your device. This will open up a sub-menu with various options.
5. Adjust Audio Quality: Within the headset settings, you may have the option to adjust the audio quality. This feature allows you to optimize the sound output for better clarity or bass, depending on your preferences.
6. Control Volume: Most Plantronics wireless headsets have built-in volume controls. In the headset settings, you can customize the volume levels for both incoming audio and the headset’s voice prompts.
7. Enable/Disable Noise Cancellation: If your Plantronics wireless headset supports noise cancellation, you can toggle this feature on or off in the headset settings. This helps in blocking out background noise for clearer conversations.
8. Manage Call Routing: Depending on your device and headset model, you may be able to manage call routing in the headset settings. This allows you to choose whether calls should be automatically answered by the headset or directed to your phone’s speaker.
9. Other Customization Options: Explore the headset settings to discover any additional customization options available for your specific Plantronics wireless headset. This may include features like voice activation, power-saving modes, or language preferences.
10. Save and Apply Settings: Once you have adjusted the desired settings, save and apply the changes. This ensures that the headset operates according to your preferences.
By following these steps to adjust the headset settings, you can fine-tune your Plantronics wireless headset to deliver the best possible audio experience. Keep in mind that the available settings may vary depending on the model and compatibility with your device.
Step 4: Troubleshooting Common Issues
Even with the most advanced technology, occasional troubleshooting may be required. Here are some common issues that you may encounter with your Plantronics wireless headset and how to resolve them:
1. Connection Problems:
If you’re experiencing issues with your headset connecting to the device, try the following steps:
- Ensure that your headset is properly charged.
- Make sure the Bluetooth is enabled on the connecting device.
- Try repairing or re-pairing the headset with the device.
- If the problem persists, try resetting the headset by turning it off and on again.
- Contact Plantronics customer support if the issue still persists.
2. Poor Audio Quality:
If you’re experiencing issues with the audio quality of your wireless headset, consider the following solutions:
- Ensure that the headset’s microphone is positioned correctly, not obstructed, and facing your mouth.
- Make sure there are no other wireless devices causing interference.
- Adjust the sound settings on your connected device to optimize the audio quality.
- Check for any firmware updates for your headset and install them if available.
- If the issue persists, try using the headset with a different device to determine if the problem lies with the headset or the original device.
If your wireless headset is not charging, try the following troubleshooting steps:
- Check the charging cable for any damage and make sure it is securely connected to the headset.
- Try using a different charging cable or adapter to rule out any issues with the original charging accessories.
- Clean the charging port on the headset and ensure there is no debris blocking the connection.
- Try charging the headset on a different power source or charger to see if the issue is with the power source.
- If the headset still does not charge, contact Plantronics customer support for further assistance.
4. Inconsistent Bluetooth Connectivity:
If you’re experiencing inconsistent Bluetooth connectivity with your wireless headset, try the following solutions:
- Ensure that your headset is within the Bluetooth range of the connecting device.
- Turn off any other Bluetooth devices in close proximity that may be interfering with the connection.
- Try resetting the Bluetooth settings on your connecting device and repair the headset.
- If the issue continues, try updating the firmware on your headset and the connecting device to the latest version.
- If all else fails, contact Plantronics customer support for further assistance.
By following these troubleshooting steps, you should be able to resolve most common issues with your Plantronics wireless headset. Remember, if you’re still facing difficulties, don’t hesitate to reach out to the Plantronics customer support team for expert assistance.
Conclusion
Connecting a Plantronics wireless headset is a straightforward process that offers the convenience of hands-free communication. Whether you’re using a Bluetooth headset or a DECT headset, the steps are similar and can be easily followed. By ensuring that your headset is charged, in pairing mode, and within range of the device you wish to connect it to, you can enjoy the freedom of wireless communication.
With the ability to connect to a variety of devices, including smartphones, computers, and landline phones, Plantronics wireless headsets provide flexibility and convenience for both personal and professional use. The high-quality audio and ergonomic designs make them a popular choice among users. By following the steps outlined in this article, you can quickly and easily connect your Plantronics wireless headset and start enjoying the benefits of hands-free communication.
So, whether you’re using it for work calls, gaming sessions, or simply to enjoy your favorite tunes without the hassle of cords, connecting your Plantronics wireless headset is a quick and efficient process that opens up a world of convenience and freedom.
FAQs
1. How do I connect my Plantronics wireless headset to my device?
To connect your Plantronics wireless headset to your device, follow these steps:
1. Turn on your headset and put it in pairing mode.
2. On your device, go to the Bluetooth settings.
3. Enable Bluetooth if it’s not already turned on.
4. Scan for Bluetooth devices.
5. Look for your Plantronics headset in the list of available devices.
6. Select your headset and click on the “Pair” or “Connect” button.
7. Follow any on-screen prompts to complete the connection process.
Once connected, you can start using your wireless headset for calls, music, and other audio activities.
2. Can I connect my Plantronics wireless headset to multiple devices simultaneously?
It depends on the model of your Plantronics wireless headset. Some models support multi-point connectivity, allowing you to connect to two devices at the same time. This is useful if you want to switch between devices without the need for manual re-pairing. Check the product documentation or specifications of your specific Plantronics headset to see if it supports multi-point connectivity.
3. How do I ensure a stable and clear connection between my Plantronics wireless headset and my device?
To ensure a stable and clear connection between your Plantronics wireless headset and your device, follow these tips:
1. Keep the headset and the device within the recommended Bluetooth range, usually about 30 feet or 10 meters.
2. Avoid obstructions between the headset and the device, such as walls or other electronic devices.
3. Make sure both the headset and the device have sufficient battery power.
4. Keep the firmware of your headset and the device’s Bluetooth software up to date.
5. Minimize interference from other wireless devices that operate in the same frequency range, such as Wi-Fi routers or cordless phones.
4. Can I use my Plantronics wireless headset with non-Bluetooth devices?
In most cases, Plantronics wireless headsets are designed to work with devices that have built-in Bluetooth technology. However, some Plantronics headsets come with additional accessories, such as a Bluetooth adapter or a cable, that allows them to be connected to non-Bluetooth devices like desktop computers or landline phones. Make sure to check the product specifications or contact Plantronics support to see if there are suitable options for connecting your headset to non-Bluetooth devices.
5. How do I troubleshoot connection or pairing issues with my Plantronics wireless headset?
If you’re experiencing connection or pairing issues with your Plantronics wireless headset, try the following troubleshooting steps:
1. Ensure that the headset is fully charged or has sufficient battery power.
2. Turn off and on both the headset and your device’s Bluetooth.
3. Delete the existing pairing information for your headset on your device, and then try pairing again.
4. Reset your Plantronics headset to factory settings, if applicable.
5. Check if there are any firmware updates available for your headset, and install them if needed.
6. Try pairing your headset with a different device to check if the issue is specific to your original device.
If the problem persists, refer to the user manual or contact Plantronics support for further assistance.