
Are you looking to connect your Sigma 150-600 Sport lens to your monopod? If so, you’ve come to the right place. The Sigma 150-600 Sport is a powerful telephoto lens that allows photographers to capture stunning shots with exceptional clarity and detail. However, to fully maximize the capabilities of this lens, it’s important to have the right setup, including a sturdy and reliable monopod. In this article, we will guide you through the process of connecting your Sigma 150-600 Sport lens to your monopod, ensuring a secure and stable setup for your photography adventures. Whether you’re a professional photographer or an avid hobbyist, this guide will help you achieve the perfect balance of functionality and convenience while using your Sigma 150-600 Sport lens with a monopod.
Inside This Article
- Choosing the Right Monopod
- Attaching the Sigma 150-600 Sport to the Monopod
- Adjusting the Monopod for Stability
- Conclusion
- FAQs
Choosing the Right Monopod
When it comes to choosing a monopod for your Sigma 150-600 Sport lens, there are a few key factors to consider. The right monopod not only provides stability and support but also enhances your overall shooting experience. Here are some crucial points to keep in mind when selecting a monopod:
1. Weight Capacity: The first thing to consider is the weight capacity of the monopod. The Sigma 150-600 Sport lens is quite hefty, so you need a monopod that can handle its weight without any issues. Look for a monopod with a high weight capacity to ensure optimal stability.
2. Material and Build: The material and build quality of the monopod play a significant role in its durability and stability. Carbon fiber monopods are known for being lightweight yet sturdy, making them an excellent choice for photographers on the go. Aluminum monopods are also a reliable option if weight is not a primary concern.
3. Height and Portability: Consider the height range of the monopod and make sure it suits your shooting preferences. Furthermore, think about portability, especially if you often need to carry your equipment for long periods. Look for a monopod that collapses to a compact size and is lightweight, allowing for easy transportation.
4. Locking Mechanism: The locking mechanism of the monopod is crucial for stability. Look for monopods with secure and easy-to-use locking mechanisms, such as twist locks or flip locks. These will ensure that the monopod stays in place and doesn’t slide or wobble while shooting.
5. Additional Features: Some monopods come with additional features that can enhance your shooting experience. These may include built-in levels for perfect alignment, removable feet for different surfaces, or a quick-release plate for easy attachment and detachment of your camera/lens setup. Consider these extra features based on your specific needs.
By considering these factors and choosing a monopod that meets your requirements, you can ensure that your Sigma 150-600 Sport lens is properly supported, allowing you to capture stunning images with stability and ease.
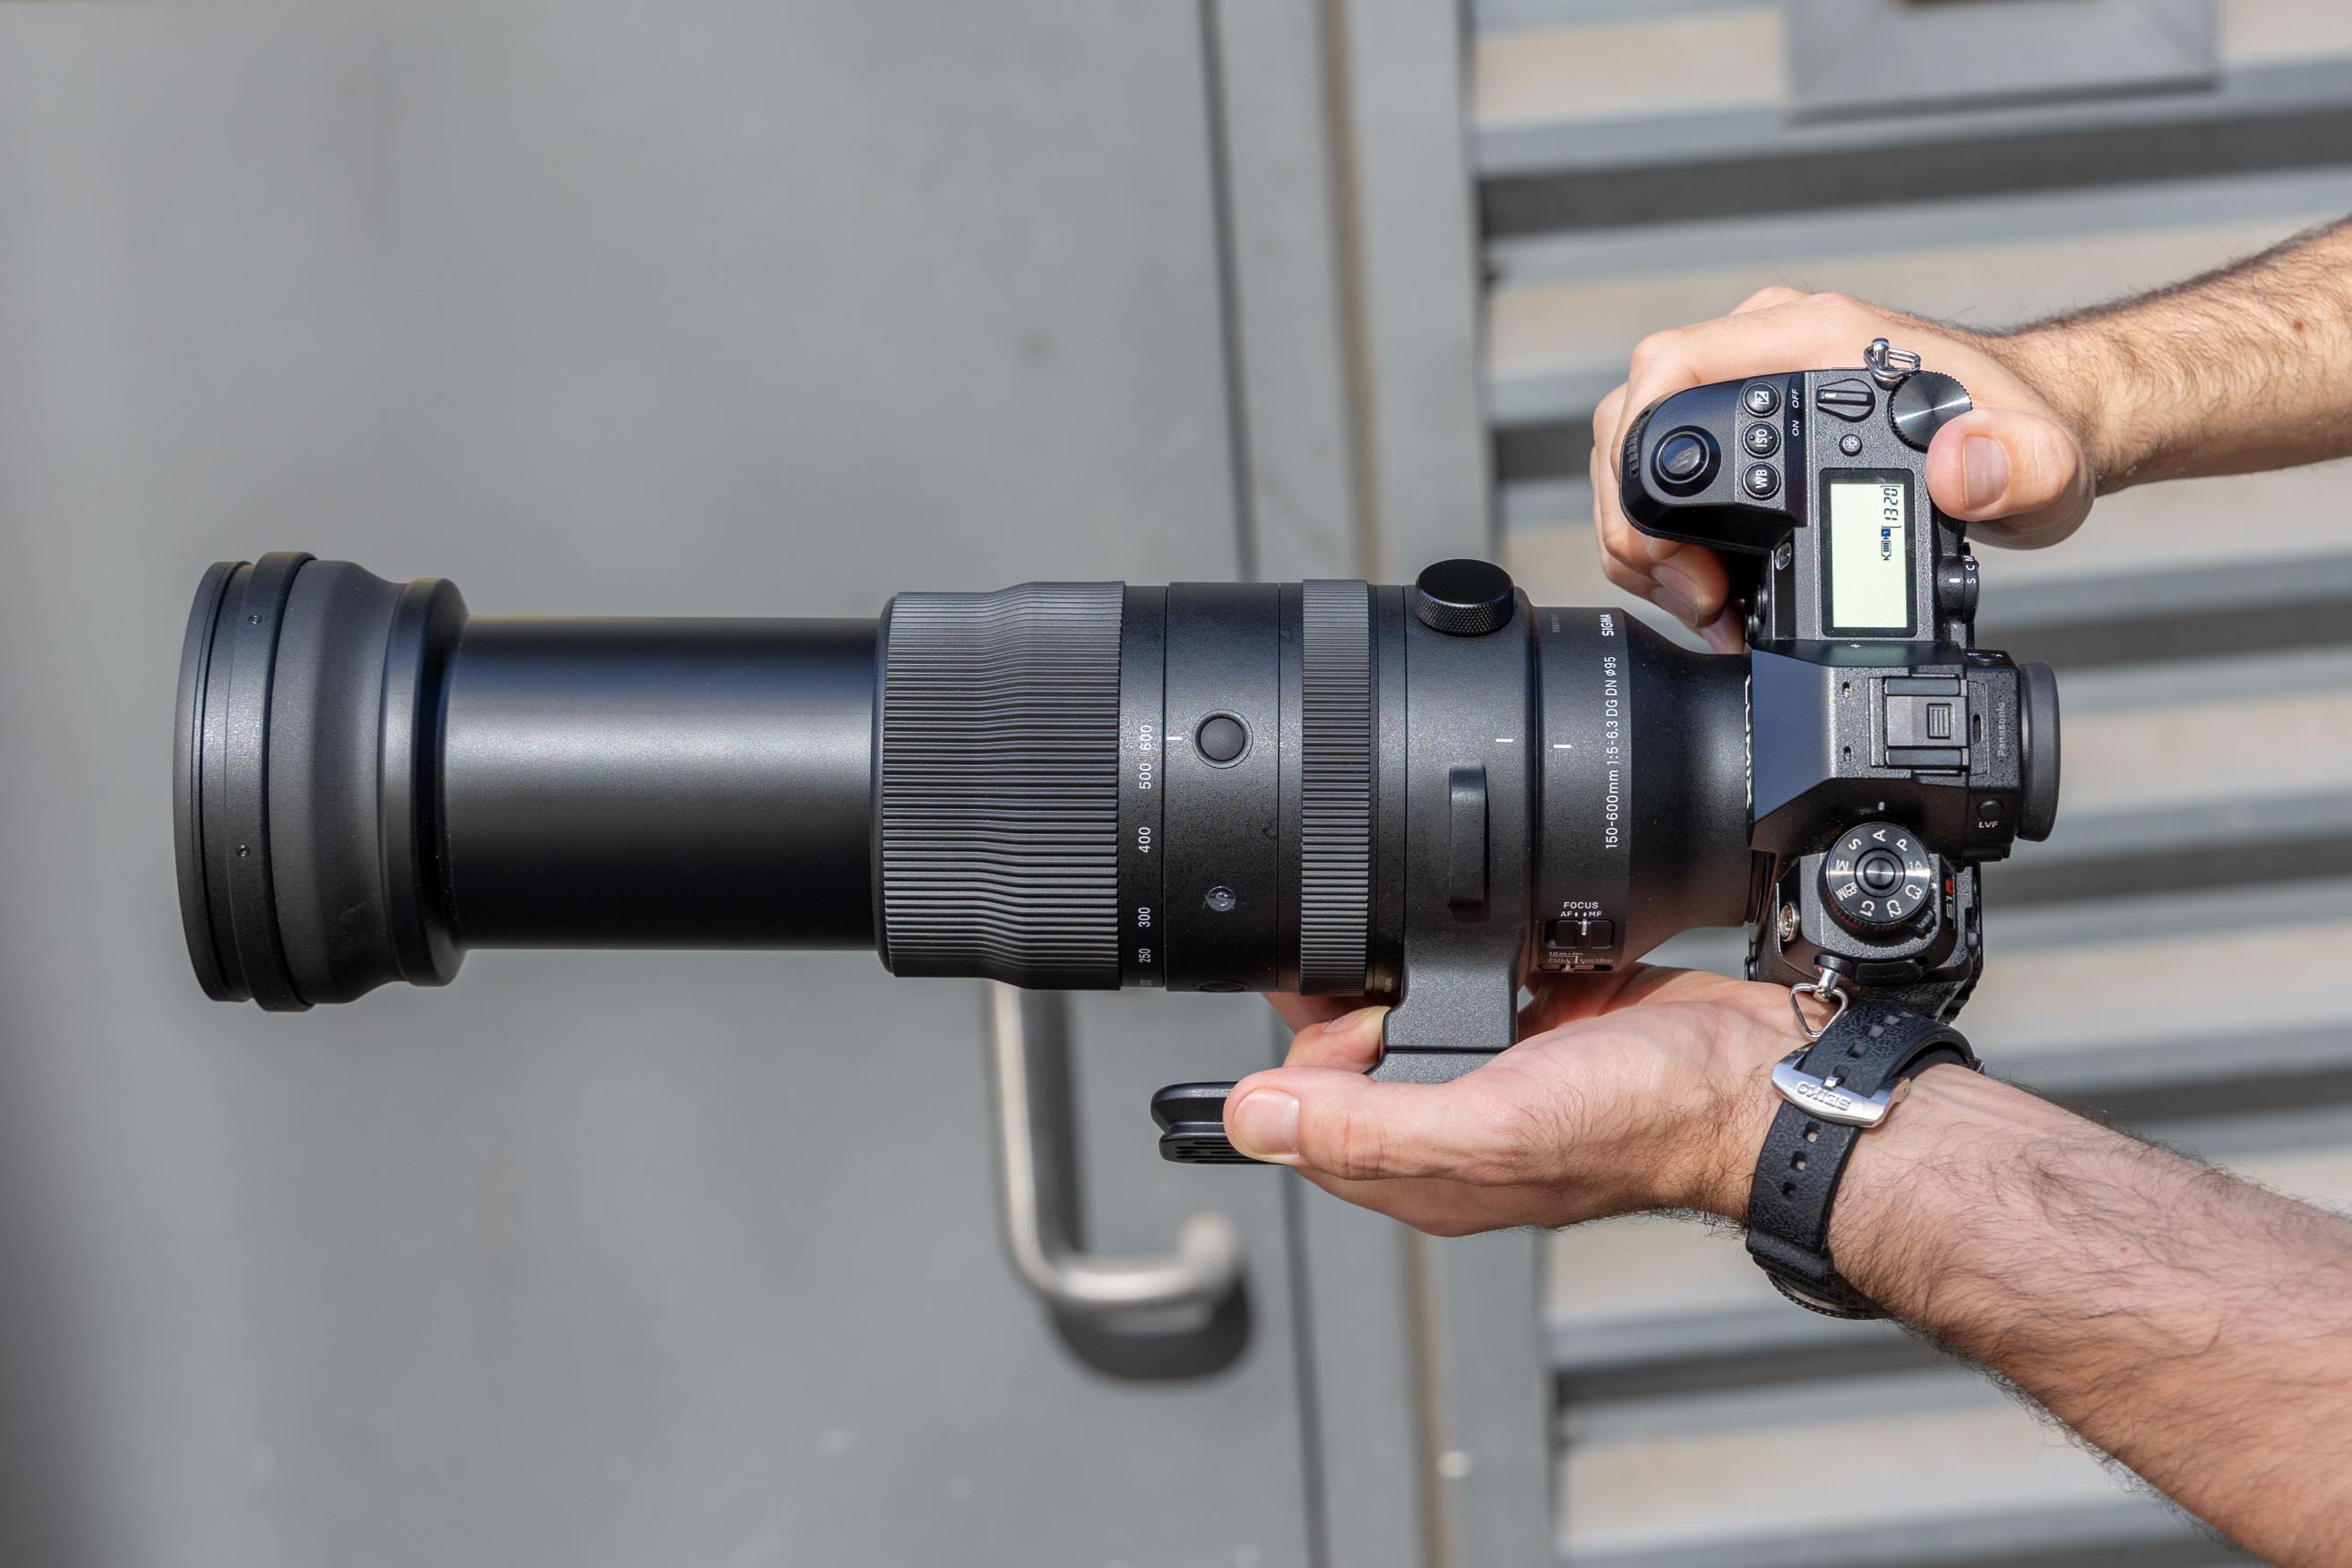
Attaching the Sigma 150-600 Sport to the Monopod
When it comes to capturing stunning wildlife or sports photography, having a stable support system is essential. A monopod is the perfect accessory to provide that extra stability and help you achieve sharp and blur-free images. If you have a Sigma 150-600 Sport lens, here’s a step-by-step guide on how to attach it to your monopod.
1. Start by extending the monopod to your desired height. You can do this by loosening the locking mechanism and pulling the sections of the monopod apart. Make sure the monopod is securely extended before moving on.
2. Next, locate the tripod mount on the Sigma 150-600 Sport lens. It is usually located near the base of the lens. Ensure the mount is free from any dirt or debris that could affect the attachment.
3. Align the tripod mount on the lens with the mounting plate on the monopod. The mounting plate is typically located at the top of the monopod and may have a screw or quick-release mechanism. Position the lens so that the mount slides smoothly onto the plate.
4. Once the lens mount and monopod’s plate are aligned, securely tighten the mounting screw or engage the quick-release mechanism. Ensure that the lens is tightly attached to the monopod to avoid any accidental detachment during use.
5. After attaching the lens to the monopod, test the stability by gently applying pressure and ensuring there is no wobbling or movement. If the setup feels unstable, double-check the attachment and tighten any loose connections.
6. It is also important to balance the weight distribution of the lens on the monopod. Adjust the position of the lens on the monopod’s plate until you find the optimal balance point. This will help reduce strain on the monopod and prevent it from tipping over.
7. Finally, check that all adjustments and connections are secure before using the monopod and lens combination for your photography. Always remember to handle your equipment with care and avoid placing excessive stress on the monopod.
Attaching your Sigma 150-600 Sport lens to a monopod can greatly improve your ability to capture stunning images while maintaining stability. By following these steps and ensuring a secure and balanced attachment, you can confidently explore and capture those challenging shots with ease.
Adjusting the Monopod for Stability
Now that you have successfully attached your Sigma 150-600 Sport lens to your monopod, it’s time to ensure optimal stability for capturing those crisp, shake-free images. Adjusting the monopod correctly can make a significant difference in the stability and balance of your setup. Here are a few steps to follow:
1. Adjust the monopod height: Start by extending the monopod to a height that is comfortable for you. It is advisable to keep it slightly shorter than your actual height to maintain better control. This will also prevent any strain on your arm while shooting.
2. Tighten the leg sections: Make sure all the leg sections of the monopod are securely tightened. Check for any loose joints and tighten them if necessary. A monopod with wobbly legs can cause instability, affecting the quality of your shots.
3. Spread the legs wide: Open the monopod legs wide for better stability. Keep them at a comfortable angle that allows you to maintain balance while shooting. This wider stance helps to distribute weight evenly and reduces the likelihood of the monopod tipping over.
4. Use a monopod foot: Some monopods come with a detachable foot or rubberized base. This additional accessory provides extra stability and grip on various surfaces. If your monopod includes a foot, attach it securely to the bottom to enhance stability, especially when shooting on uneven terrain.
5. Add a counterbalance weight: Depending on the weight distribution of your camera and lens setup, you may need to add a counterbalance weight to the monopod. This can be done by attaching a small weight, such as a sandbag or a pouch filled with beans, to the base of the monopod. This helps to offset the forward weight and improves stability.
6. Maintain a firm grip: While holding your monopod, ensure you have a firm grip to prevent any slipping or accidental movements. The grip should be strong but not excessively tight, allowing you to make smooth adjustments and pan the camera as needed.
7. Stabilize your body: Remember that stability starts with your own posture and body positioning. Stand with your feet shoulder-width apart and keep your non-shooting hand holding the lower part of the monopod for added support. Maintain a relaxed but sturdy stance to minimize any body movements that can introduce shake into your shots.
By following these steps, you can maximize the stability of your monopod setup and capture sharp, blur-free images with your Sigma 150-600 Sport lens. Experiment with different adjustments to find the perfect balance that suits your shooting style and environments. Happy shooting!
Conclusion
Connecting the Sigma 150-600 Sport to your monopod is a simple and effective way to improve your photography experience. By using the appropriate mounting plate, ensuring a secure connection, and applying proper balancing techniques, you can maximize the stability and control of your telephoto lens.
Remember to select a monopod that can handle the weight of your lens, and consider investing in a quality ball head for added versatility. With the Sigma 150-600 Sport securely attached to your monopod, you’ll be able to capture stunning, sharp images with ease, whether you’re photographing wildlife, sports, or other fast-paced subjects.
Experiment with different shooting positions and techniques to find the setup that works best for you. Don’t be afraid to adjust and refine your setup as needed, and always prioritize your safety and the protection of your equipment.
So, what are you waiting for? Connect your Sigma 150-600 Sport to your monopod and unlock a new level of photographic possibilities.
FAQs
Q: How do I connect the Sigma 150-600 Sport to my monopod?
A: Connecting the Sigma 150-600 Sport lens to a monopod is a simple process. First, make sure your monopod has a compatible mounting plate or quick-release system. Then, attach the mounting plate to the bottom of the lens using the corresponding mounting screw. Once securely attached, you can simply slide the mounting plate onto the monopod’s head or quick-release mechanism, ensuring it is locked in place. This will provide stability and support to your lens while shooting.
Q: Are there any specific monopods compatible with the Sigma 150-600 Sport lens?
A: The Sigma 150-600 Sport lens can be mounted on any monopod that has a standard 1/4″ or 3/8″ mounting screw. There are several monopod options available on the market that are compatible with this lens, such as the Manfrotto Compact Monopod or the Benro Adventure Series 3 Monopod. When choosing a monopod, make sure it is sturdy enough to support the weight of the lens and provides a secure grip for comfortable shooting.
Q: Can I use a tripod instead of a monopod for the Sigma 150-600 Sport lens?
A: While a tripod can be used with the Sigma 150-600 Sport lens, a monopod is generally more practical for shooting with this particular lens. The Sigma 150-600 Sport lens is a large and heavy telephoto lens, and using a monopod allows for better mobility, especially when capturing fast-moving subjects. However, if stability is your main concern and you don’t need the freedom of movement that a monopod offers, a tripod can still be used as long as it has a compatible mounting plate or quick-release system.
Q: Do I need any additional accessories to connect the Sigma 150-600 Sport lens to my monopod?
A: In most cases, you will not need any additional accessories to connect the Sigma 150-600 Sport lens to your monopod. The lens usually comes with a tripod collar or mount, allowing you to attach it directly to the monopod. However, it is always a good idea to double-check the contents of your lens package and consult the user manual for specific instructions. If your lens does not include a compatible mount, you may need to purchase one separately to ensure proper attachment to the monopod.
Q: Can I shoot handheld with the Sigma 150-600 Sport lens?
A: Yes, you can shoot handheld with the Sigma 150-600 Sport lens. However, due to its size and weight, it can become fatiguing to hold for extended periods of time, especially when shooting at the telephoto end of the zoom range. Using a monopod or tripod can significantly improve stability and reduce camera shake, resulting in sharper images. If shooting handheld, it is recommended to use a higher shutter speed and good handholding technique to minimize blur caused by camera shake.