
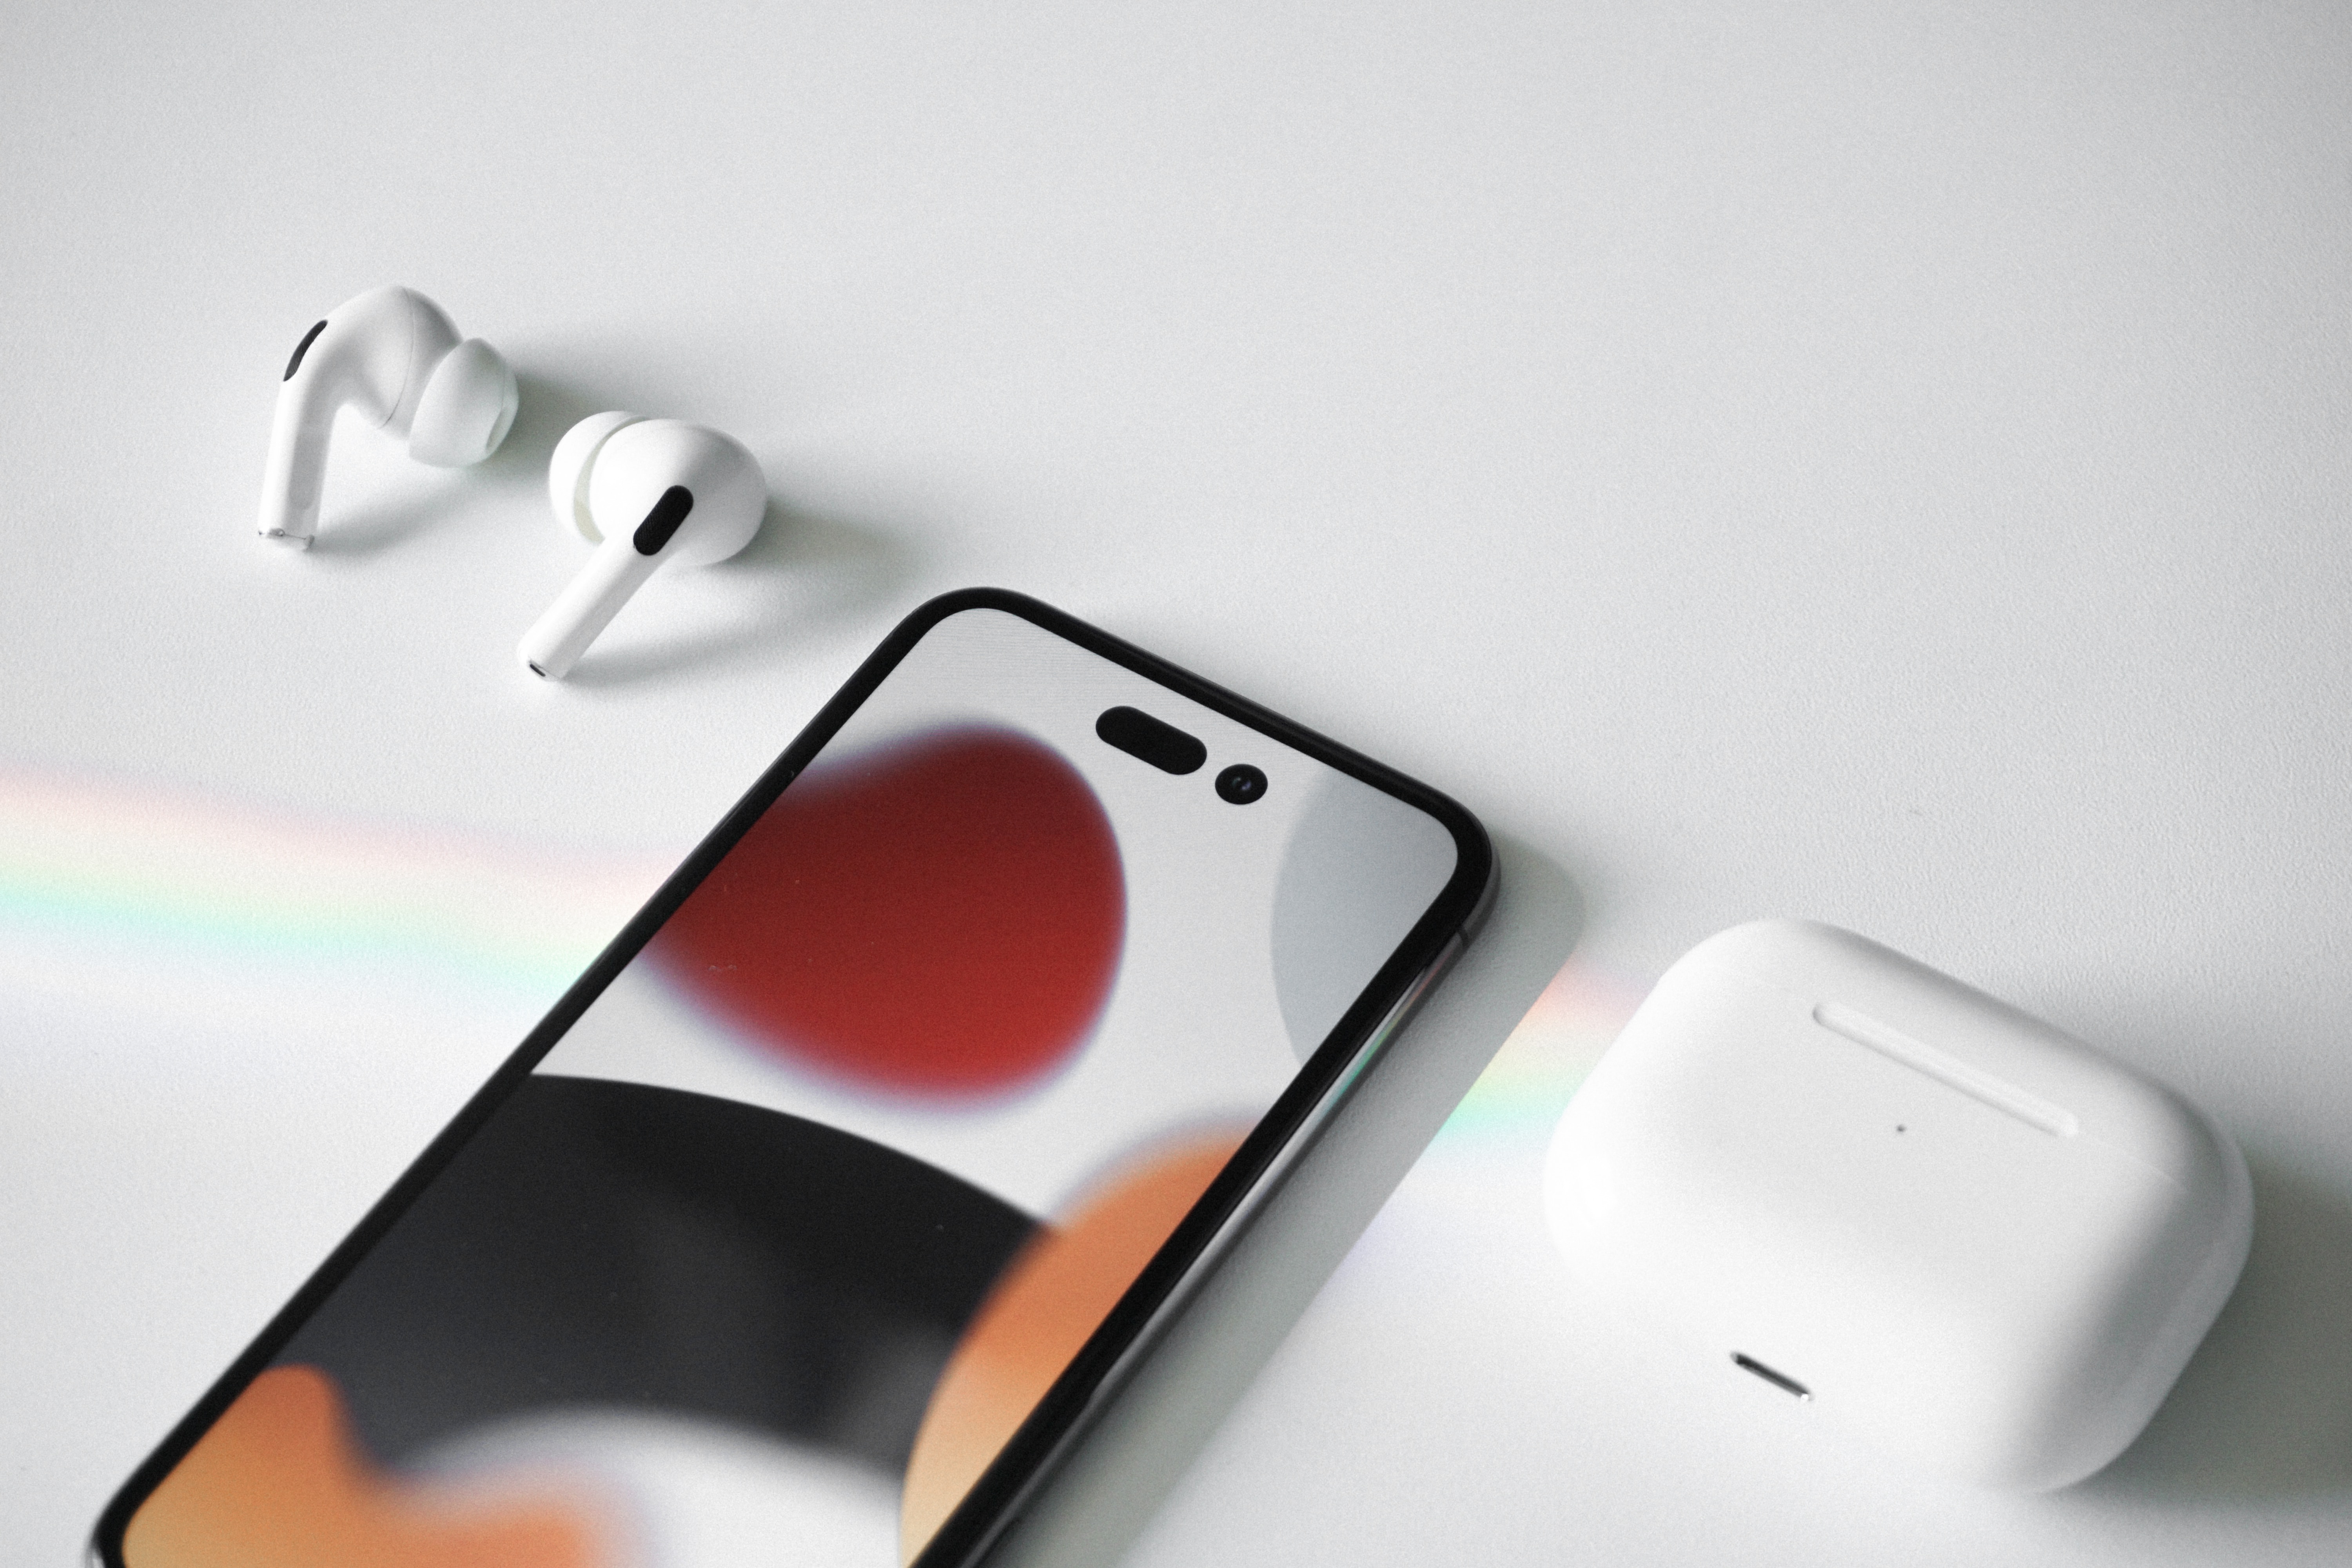
In today’s digital age, mobile phones have become an integral part of our lives. We rely on them for communication, entertainment, and so much more. However, one common issue that smartphone users often face is the dreaded cracked or scratched screen. Luckily, there is a solution that can help protect your phone’s screen from damage – liquid glass screen protectors. But what exactly are they and how can they fix your phone’s screen?
In this article, we will delve into the world of liquid glass screen protectors and explore how they can provide an effective and long-lasting solution to protect your phone’s screen. We will discuss the benefits of using liquid glass screen protectors, how to apply them correctly, and tips to maximize their effectiveness. So, if you’re tired of dealing with cracked screens and costly repairs, read on to learn how to fix your phone’s screen with a liquid glass screen protector.
Inside This Article
- Introduction
- How to Apply Liquid Glass Screen Protector
- How to Fix Bubbles in Liquid Glass Screen Protector
- Introduction
- How to Apply Liquid Glass Screen Protector
- How to Fix Bubbles in Liquid Glass Screen Protector
- How to Remove Scratches from Liquid Glass Screen Protector
- Conclusion
- FAQs
Introduction
In today’s fast-paced world, our cell phones have become an essential part of our lives. We rely on them for communication, entertainment, and staying connected with the world around us. With the constant advancements in technology, cell phone screens have become larger and more fragile, making them susceptible to scratches and cracks.
Fortunately, there are various protective measures available for safeguarding our cell phone screens. One such option is the liquid glass screen protector. Unlike traditional screen protectors that are made of plastic or tempered glass, the liquid glass screen protector uses nanotechnology to create an invisible layer of protection on your phone’s screen.
The liquid glass screen protector offers several advantages over its counterparts. It provides a high level of clarity, enhancing the visual experience by improving color vibrancy and increasing the screen’s brightness. Additionally, it is incredibly thin, which ensures that it does not interfere with the touch sensitivity or the responsiveness of your phone’s screen.
Applying a liquid glass screen protector is a simple process that can be done at home. It involves cleaning the screen, applying the liquid solution, and then allowing it to dry. Once dried, it creates a durable and protective layer that guards against scratches and minor impacts. However, in some cases, bubbles or scratches may appear on the screen protector, requiring additional steps to fix or remove them.
In this article, we will explore the step-by-step process of applying a liquid glass screen protector to your cell phone and address common issues such as bubbles and scratches. By following these guidelines, you can ensure that your cell phone screen remains protected and pristine.
How to Apply Liquid Glass Screen Protector
Applying a liquid glass screen protector is a simple and effective way to protect your smartphone or tablet screen. This innovative technology offers a clear, durable, and invisible layer of protection that safeguards your device from scratches, smudges, and other daily wear and tear. Here’s a step-by-step guide on how to apply a liquid glass screen protector:
- Clean the Screen: Start by cleaning the screen of your device thoroughly. Use a microfiber cloth and a screen cleaning solution to remove any dust, fingerprints, or oily residues. This step is crucial to ensure a smooth and bubble-free application.
- Prepare the Liquid Glass: Open the liquid glass screen protector kit and carefully follow the instructions on how to prepare the solution. This typically involves mixing the liquid components and allowing it to sit for a few minutes to activate.
- Apply the Solution: Using the applicator provided in the kit, apply the liquid glass solution evenly onto the screen of your device. Start from the center and gradually move towards the edges, ensuring complete coverage. Use gentle, sweeping motions to distribute the solution evenly.
- Spread the Solution: Once the solution is applied, use the microfiber cloth provided in the kit to spread it evenly across the screen surface. This step helps to fill in any microscopic imperfections and create a smooth protective layer.
- Allow it to Dry: After spreading the solution, allow it to dry completely. This can take anywhere from 5 minutes to an hour, depending on the specific product and instructions. Avoid touching or using the device during this time to prevent any disruptions in the drying process.
- Polish the Screen: Once the liquid glass screen protector is dry, use a clean microfiber cloth to gently polish the screen. This step helps to remove any excess residue and ensures a crystal-clear finish.
- Reapply if Necessary: In some cases, a second or third application may be needed to achieve optimal protection. Refer to the instructions provided with the kit for specific guidelines on reapplying the liquid glass solution.
Following these steps will help you effectively apply a liquid glass screen protector and enjoy enhanced protection for your device’s screen. Remember to always read and follow the instructions provided with the specific product you’re using for the best results.
How to Fix Bubbles in Liquid Glass Screen Protector
Bubbles can be a common issue when applying a liquid glass screen protector. But don’t worry, there are a few simple steps you can take to fix those pesky bubbles and ensure a smooth and flawless application. Here’s how:
- Identify the bubbles: Start by identifying the bubbles on your screen. Take a close look and determine if they are small air bubbles or if there are any larger debris trapped under the screen protector.
- Patience is key: If you have just applied the liquid glass screen protector, give it some time. Many bubbles will naturally disappear after a few hours or overnight as the liquid glass settles and cures. So, be patient and wait before taking any further action.
- Press and smooth out small bubbles: If you notice small air bubbles, you can try pressing on them gently with your finger or a microfiber cloth. Start from the center and slowly move towards the edges, applying even pressure to push the air out. Continue this process until the bubbles disappear.
- Use a credit card or a squeegee: For stubborn bubbles that refuse to go away, you can try using a credit card or a dedicated squeegee. Place the edge of the card or squeegee on top of the bubble, and gently push the air towards the nearest edge. Be careful not to apply too much pressure, as it can damage the screen protector or your device’s screen.
- Apply heat: If the above methods don’t work, you can try applying a gentle heat source, like a hairdryer on a low setting, to the screen protector. The heat will help to soften the adhesive, making it easier for the bubbles to escape. Remember to maintain a safe distance and avoid overheating your device.
- Contact the manufacturer: If none of the above methods work or if you have any concerns, it’s best to contact the manufacturer of the liquid glass screen protector. They will be able to provide you with specific instructions or offer a replacement if needed.
Remember, the key to fixing bubbles in a liquid glass screen protector is patience and gentle pressure. Take your time, and don’t rush the process. With a little effort and care, you can achieve a bubble-free and flawless screen protection for your device.
Introduction
Mobile accessories play a vital role in enhancing the functionality and protection of our phones. One crucial accessory that has gained popularity in recent years is the liquid glass screen protector. This innovative technology offers a clear and durable protective layer that guards against scratches, smudges, and even minor impacts. However, like any other protective accessory, it may encounter issues such as bubbles and scratches. In this article, we will explore how to apply a liquid glass screen protector correctly and address common problems like fixing bubbles and removing scratches.
How to Apply Liquid Glass Screen Protector
Applying a liquid glass screen protector requires a careful step-by-step process. Here’s a guide to doing it correctly:
- Begin by cleaning your phone’s screen thoroughly with a microfiber cloth to remove any dust, fingerprints, or smudges. Ensure that the screen is free from any debris as it may affect the adhesive quality of the protector.
- Open the liquid glass screen protector kit and follow the instructions provided. Many kits include a cleaning solution, an application tool, and the liquid glass solution itself.
- Apply a few drops of the included cleaning solution onto the microfiber cloth and gently clean the screen in circular motions to remove any remaining impurities.
- Once the screen is clean, use the application tool to apply the liquid glass solution evenly across the entire surface of the screen. Make sure to follow the recommended amount and spreading directions mentioned in the instructions.
- Allow the liquid glass solution to dry completely. This typically takes a few minutes, but it’s best to consult the instructions for the specific drying time recommended by the manufacturer.
- After the drying period, use a clean microfiber cloth to polish the screen, ensuring that the liquid glass protector is smooth and free from any visible streaks or smudges.
It’s important to note that the process may differ slightly depending on the specific brand or kit you are using. Always refer to the instructions provided in your particular package to ensure accurate application.
How to Fix Bubbles in Liquid Glass Screen Protector
Despite careful application, bubbles may occasionally appear underneath the liquid glass screen protector. Fortunately, there are a few methods you can try to fix this issue:
- Begin by gently pressing on the bubble with your finger or the edge of a credit card. Apply light, even pressure to try and push the bubble towards the nearest edge of the screen protector.
- If the bubble persists, try using a hairdryer on a low heat setting. Hold the hairdryer a few inches away from the bubble and move it in a circular motion for about 10 to 15 seconds. The heat can help soften the adhesive, allowing the bubble to escape.
- If the previous methods don’t work, you may need to remove the screen protector and reapply it. Carefully lift one corner of the protector using your fingernail or the edge of a credit card, and slowly peel it off. Clean the screen thoroughly and follow the steps outlined in the application guide. Be sure to check for any dust or debris that may have caused the bubble initially.
Remember to be patient and take your time when attempting to fix bubbles. Rushing or applying excessive force can potentially damage the screen protector or your device’s screen.
How to Remove Scratches from Liquid Glass Screen Protector
In some cases, despite the reliable protective properties of a liquid glass screen protector, scratches may occur. While the liquid glass can provide a level of resistance, it is not completely scratch-proof. However, there are a few methods you can try to minimize the visibility of scratches:
- Begin by cleaning the screen with a microfiber cloth to ensure it is free from any dirt or debris.
- Apply a small amount of toothpaste or baking soda to a soft, damp cloth and gently rub it into the scratched area using circular motions. These mild abrasive substances can help buff out minor scratches.
- Wipe away any excess toothpaste or baking soda and inspect the screen. If the scratches are still visible, repeat the process or consider using a specialized screen scratch repair kit.
- If the scratches are deep or extensive, you may need to replace the liquid glass screen protector. Follow the steps outlined in the removal section, clean the screen, and apply a new protector according to the instructions provided.
It’s important to note that while these methods may help reduce the appearance of scratches, they may not completely eliminate them. Prevention is always the best strategy, so consider taking additional precautions such as avoiding contact with sharp objects or abrasive surfaces.
By following these guidelines, you can effectively apply a liquid glass screen protector, fix any bubbles that may appear, and minimize the visibility of scratches. Remember to always refer to the specific instructions provided by the manufacturer of your chosen screen protector kit for the best results.
Conclusion
In conclusion, liquid glass screen protectors offer an innovative and effective solution for keeping your phone’s screen safe and scratch-free. With their easy application process, durability, and high level of protection, they have become a popular choice among smartphone users. By creating a strong and invisible barrier, liquid glass screen protectors can safeguard your device from scratches, smudges, and even minor impacts.
Furthermore, the added benefits of improved clarity, touch sensitivity, and anti-bacterial properties make it an attractive option for those looking to enhance their mobile experience. Whether you have a brand new phone or want to protect the screen of your beloved device, a liquid glass screen protector can provide a reliable and long-lasting solution.
However, it is important to note that liquid glass screen protectors may not offer the same level of impact protection as tempered glass protectors. If you are prone to dropping your phone or have a more rugged lifestyle, consider opting for a tempered glass protector for added security.
Overall, liquid glass screen protectors are a convenient and effective way to preserve the integrity of your smartphone’s screen. Keep your device looking as good as new and enjoy worry-free usage with a liquid glass screen protector today!
FAQs
1. Can a liquid glass screen protector fix a cracked screen?
A liquid glass screen protector is not designed to fix a cracked screen. Its primary function is to provide an additional layer of protection against scratches and shatters. If your screen is cracked, it is recommended to get it repaired or replaced by a professional.
2. How does a liquid glass screen protector work?
Liquid glass screen protectors are made of a silica-based liquid that bonds to the surface of the screen. When applied and cured, it forms an invisible layer that adds hardness and durability to the screen. It fills in microscopic scratches and creates a smooth surface, reducing the visibility of existing scratches and providing a higher level of resistance against future damage.
3. Is a liquid glass screen protector permanent?
Liquid glass screen protectors are not permanent. They typically last for about 6 to 12 months, depending on usage and the quality of the product. Over time, the protective coating will wear off, and the screen may become more prone to scratches and damage. To ensure continued protection, it is recommended to reapply a new layer of liquid glass after the previous one wears off.
4. Can a liquid glass screen protector be applied on any device?
Liquid glass screen protectors are compatible with most smartphones, tablets, and other electronic devices with glass screens. However, it is always recommended to check the specifications and compatibility of the product before applying it to your device. Some liquid glass protectors may not be suitable for curved screens or devices with special coatings, so it’s important to read the instructions carefully.
5. Can a liquid glass screen protector affect touch sensitivity?
In most cases, a liquid glass screen protector does not significantly affect the touch sensitivity of a device. However, some users may experience a minor decrease in sensitivity or a slightly different feel when using the touch screen after applying the liquid glass. This can vary depending on the brand and type of product. If you encounter any issues, adjusting the touch sensitivity settings on your device may help improve the responsiveness.