
Are you struggling to figure out how to insert a SIM card into your tablet? Don’t worry, you’re not alone. Many people are unsure about the process of inserting a SIM card into a tablet, especially if they are used to only using SIM cards in their smartphones. In this article, we will guide you through the steps to safely and correctly insert a SIM card into your tablet, whether it’s an Android tablet or an iPad. By the end of this article, you’ll have all the necessary knowledge to enjoy the benefits of mobile connectivity on your tablet, allowing you to make calls, send messages, and access the internet on the go. Let’s dive right in!
Inside This Article
- Purpose of the Article
- Step 1: Locate the SIM Card Slot
- Step 2: Power Off the Tablet
- Step 3: Inserting the SIM Card
- Step 4: Power On the Tablet
- Conclusion
- FAQs
Purpose of the Article
The purpose of this article is to provide a comprehensive guide on how to insert a SIM card into a tablet. As tablets continue to gain popularity and become an integral part of our daily lives, it’s essential to understand how to properly insert a SIM card to enable cellular connectivity.
Whether you’re a tech newbie or an experienced user, understanding the process of inserting a SIM card can be a bit confusing. That’s why we’ve put together this step-by-step guide to help simplify the process, ensuring that you can enjoy the benefits of cellular data on your tablet.
With the information provided in this article, you’ll have a clear understanding of where to locate the SIM card slot on your tablet, how to power off the device, the correct way to insert the SIM card, and finally, how to power it back on. We’ll cover all these steps in detail, making it easy for you to follow along.
Whether you need to insert a SIM card for making calls, sending texts, or accessing mobile data on your tablet, this article is designed to be your go-to resource. It will provide you with the knowledge you need to confidently insert a SIM card and enjoy the perks of cellular connectivity on your tablet.
So, let’s dive in and learn how to insert a SIM card into your tablet!
Step 1: Locate the SIM Card Slot
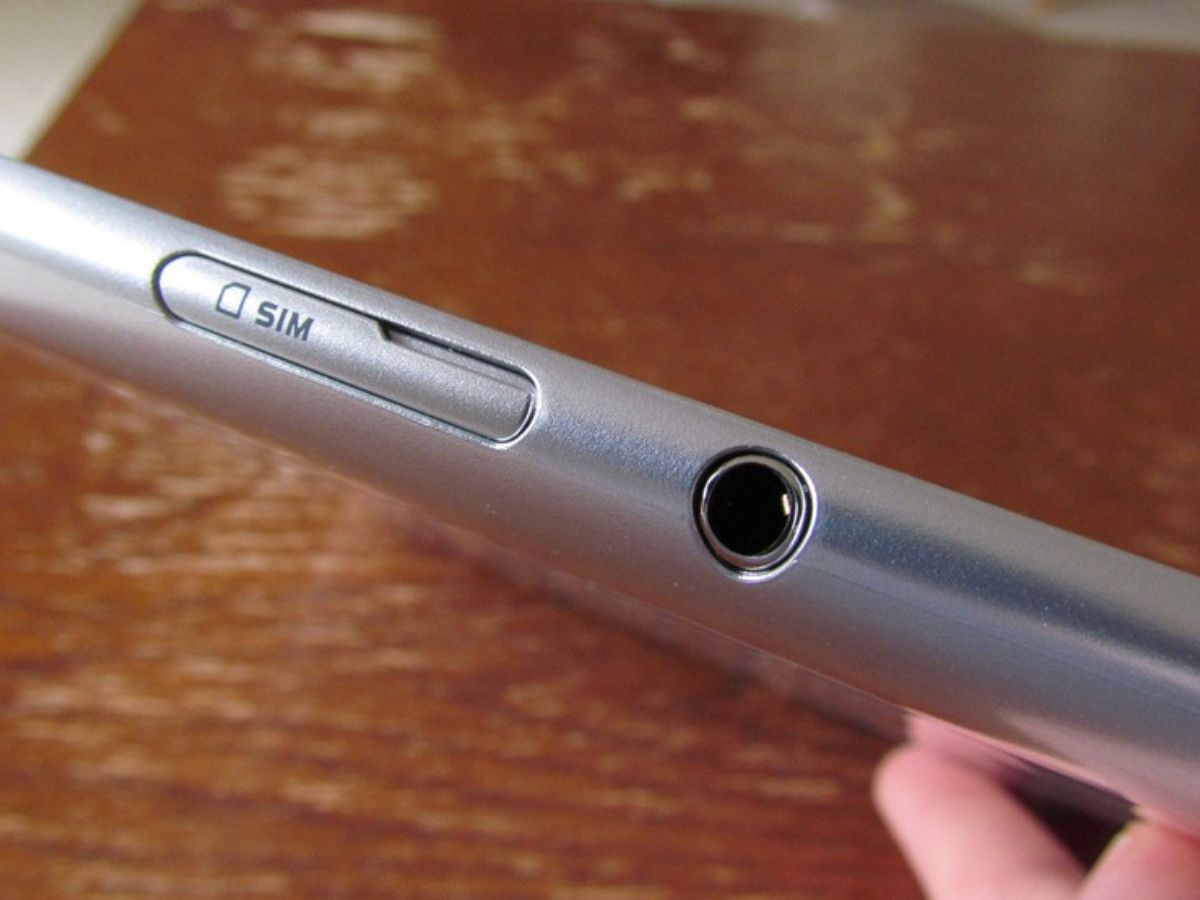
Before you can insert a SIM card into your tablet, you need to find the SIM card slot. The location of the SIM card slot may vary depending on the make and model of your tablet, but it is typically located on the side or back of the device.
Start by looking for a small tray or slot with a pinhole or a removable cover. Some tablets have a designated SIM card slot, while others may have a combined SIM and microSD card slot. Refer to the user manual or manufacturer’s website to determine the exact location of the SIM card slot on your tablet.
If you are unable to locate the SIM card slot, try carefully examining the edges of your tablet. Look for any markings or icons that indicate the location of the SIM card slot. Additionally, you can search online for your specific tablet model to find visual guides or videos that demonstrate where the SIM card slot is located.
Step 2: Power Off the Tablet
Once you have located the SIM card slot on your tablet, the next step is to power off the device. This is an essential step to prevent any potential damage to the tablet or the SIM card itself.
To power off the tablet, locate the power button. The location of the power button may vary depending on the model and brand of your tablet, but it is typically located either on the side or the top of the device. Press and hold the power button until you see a menu or options appear on the screen.
In this menu, you will find the option to power off the tablet. Tap on the “Power Off” or “Shut Down” option. This will initiate a process where the tablet will shut down all its functions and turn off completely. Wait for a few seconds until the tablet screen goes black, indicating that the device is now powered off.
It is important to note that powering off the tablet will also stop any ongoing processes and ensure that the SIM card can be safely inserted or removed without any interference. This step is crucial to protect the tablet and SIM card from any potential damage or data loss.
Once you have successfully powered off your tablet, you are now ready to proceed to the next step and insert the SIM card into the designated slot.
Step 3: Inserting the SIM Card
Now that you have located the SIM card slot and powered off the tablet, it’s time to insert the SIM card. Follow these simple steps to ensure a smooth process.
1. Take the SIM card out of its packaging and hold it with the gold contacts facing downwards.
2. Gently and carefully slide the SIM card into the SIM card slot. Make sure it is inserted in the correct orientation, aligning the notched corner of the SIM card with the corresponding notch in the slot.
3. Apply gentle pressure to push the SIM card all the way into the slot until it is securely in place. Ensure that the SIM card is fully inserted and there are no gaps between the card and the slot.
4. Once the SIM card is inserted correctly, you can close the SIM card slot cover if there is one. Securely fasten the cover to prevent any accidental dislodging of the SIM card.
5. Finally, power on the tablet and wait for it to detect the SIM card. Once detected, you will be prompted to enter your SIM card PIN or unlock code if necessary.
Congratulations! You have successfully inserted the SIM card into your tablet. Now you can enjoy the benefits of cellular connectivity, such as making calls, sending SMS, and accessing mobile data on your device.
Step 4: Power On the Tablet
Once you have successfully inserted the SIM card into the tablet, it’s time to power it on and start using it. Follow the steps below to power on your tablet:
1. Locate the power button: Look for a button or a combination of buttons on the side or top of your tablet. This is usually the power button that you need to press to turn on the device.
2. Press and hold the power button: Press and hold the power button for a few seconds until you see the tablet screen light up or the manufacturer’s logo appear. This indicates that the tablet is booting up.
3. Release the power button: Once you see the screen light up, release the power button. The tablet will continue to boot up and may display the manufacturer’s logo or a loading screen.
4. Wait for the tablet to finish booting: Depending on the tablet model and the software installed, it may take a few seconds or a couple of minutes for the tablet to complete the booting process. During this time, avoid pressing any buttons or interrupting the startup process.
5. Set up your tablet: Once the tablet has finished booting up, you may be prompted to set it up by following the on-screen instructions. This may involve selecting your language, connecting to Wi-Fi, and signing in with your Google or Apple ID.
6. Test the SIM card connectivity: After the initial setup, check if the SIM card is properly detected and if you have a cellular signal. You can do this by opening the settings on your tablet and navigating to the network or cellular settings. If everything is working correctly, you should see the network signal bars and the name of your cellular provider.
7. Enjoy your tablet with cellular connectivity: Once your tablet is powered on and the SIM card is recognized, you can now enjoy the benefits of cellular connectivity. This means you can make calls, send messages, browse the internet, and use any other features that require a cellular connection.
Remember to always follow the manufacturer’s instructions when it comes to powering on and setting up your tablet. The steps mentioned above are general guidelines, and there may be slight variations depending on the specific tablet model or operating system version.
Now that you have successfully powered on your tablet and set up the SIM card, you are ready to explore the world of mobile connectivity on your device. Enjoy the convenience and freedom that comes with having a tablet with cellular capabilities!
Conclusion
Inserting a SIM card into a tablet doesn’t have to be a complicated task. By following the steps outlined in this guide, you can quickly and easily enjoy mobile connectivity on your tablet device.
Remember to check the SIM card slot type and size compatibility with your tablet before purchasing a SIM card. Use a SIM card removal tool or a paperclip to safely eject the SIM card tray. Insert the SIM card into the tray, making sure it is properly aligned and secure. Finally, insert the tray back into the tablet and power it on to start using your mobile data.
With a functioning SIM card, you can enjoy various perks such as making calls, sending texts, and accessing the internet on the go. Whether it’s for work or leisure, having a SIM card in your tablet opens up a world of possibilities.
So, go ahead and insert that SIM card into your tablet and unlock the full potential of your device!
FAQs
1. Can I use any SIM card in my tablet?
Yes, most tablets are unlocked and can be used with any SIM card from a compatible network provider. However, some tablets may be locked to a specific carrier, so it’s best to check with the manufacturer or your carrier before purchasing a tablet.
2. How do I know which size SIM card my tablet supports?
Tablets can support different sizes of SIM cards, including standard SIM, micro SIM, or nano SIM. The supported size will depend on the specific tablet model. You can usually find this information in the tablet’s user manual or by checking the specifications on the manufacturer’s website.
3. Where is the SIM card slot located on my tablet?
The location of the SIM card slot can vary depending on the tablet model. In most cases, it is located on the side or the back of the tablet. Look for a small tray or a slot with a removable cover. If you are having trouble locating it, refer to the tablet’s user manual or consult the manufacturer’s website for assistance.
4. How do I insert a SIM card into my tablet?
To insert a SIM card into your tablet, follow these steps:
1. Power off your tablet.
2. Locate the SIM card slot on your tablet.
3. Use a SIM card ejector tool or a small paperclip to gently push into the small hole next to the SIM card slot and release the SIM card tray.
4. Place the SIM card into the tray, aligning the notched corner of the SIM card with the notch in the tray.
5. Push the tray back into the tablet until it is securely in place.
6. Power on your tablet and wait for it to recognize the SIM card.
It’s important to note that the exact procedure may differ slightly depending on the tablet model, so refer to the user manual or manufacturer’s instructions for more detailed information.
5. Can I use a tablet without a SIM card?
Yes, you can use a tablet without a SIM card. Tablets can connect to Wi-Fi networks, allowing you to browse the internet, use apps, and access services that do not require a cellular connection. However, without a SIM card, you won’t be able to use cellular data or make calls and send text messages using the tablet’s built-in cellular capabilities.