
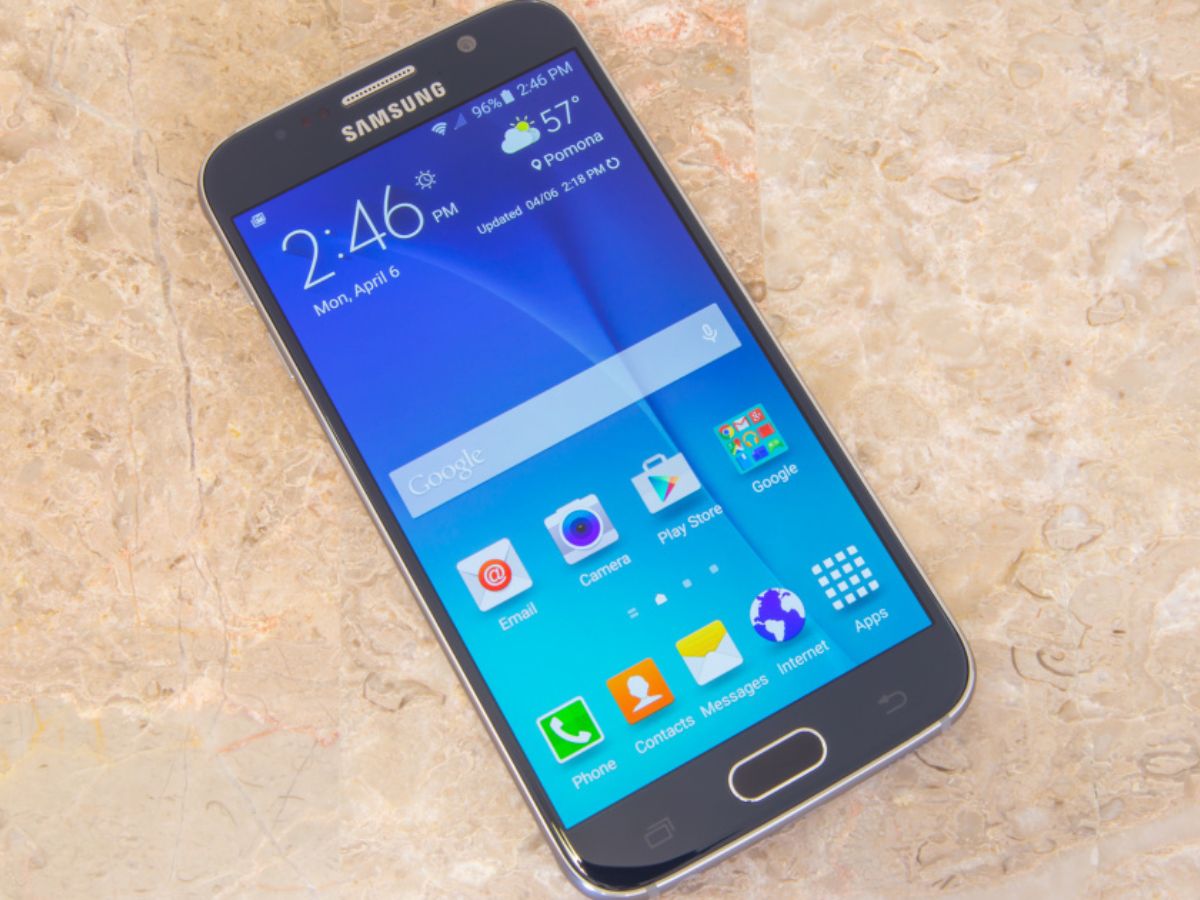
In the age of smartphones, the Samsung Galaxy S6 has emerged as a popular choice for tech-savvy individuals seeking a powerful and versatile device. However, in order to fully enjoy all the features and functionalities offered by the Galaxy S6, it is essential to install a SIM card.
Installing a SIM card in the Galaxy S6 is a relatively simple process, but for those who are new to the world of cell phones or have never performed this task before, it can be a bit confusing. In this article, we will guide you through the step-by-step process of installing a SIM card in the Galaxy S6, ensuring that you can seamlessly use your new device to make calls, send messages, and access the internet.
Whether you’re upgrading from an older phone or making the switch to the Galaxy S6, follow along as we unravel the mysteries of SIM card installation and get you up and running in no time!
Inside This Article
- Installing SIM Card in Galaxy S6
- Locate the SIM Card Tray
- Prepare the SIM Card and Tray
- Insert the SIM Card into the Tray
- Insert the SIM Card Tray back into the Galaxy S6
- Conclusion
- FAQs
Installing SIM Card in Galaxy S6
Inserting a SIM card into your Galaxy S6 is a straightforward process that allows you to connect to your mobile network and access all the features and services provided by your carrier. In this guide, we will walk you through the step-by-step process of installing a SIM card in your Galaxy S6.
1. Locate the SIM Card Tray
The first step is to locate the SIM card tray on your Galaxy S6. The SIM card tray is located on the top edge of the device, next to the power button. Look for a small pinhole or a small opening that can be used to access the SIM card tray.
2. Prepare the SIM Card and Tray
Before inserting the SIM card, ensure that it is compatible with your Galaxy S6. The Galaxy S6 uses a nano-SIM card, which is the smallest size available. If your SIM card is not already cut to this size, you may need to contact your carrier to obtain a proper-sized SIM card.
Next, take the SIM card tray ejector tool or a small paperclip and insert it into the pinhole or opening on the SIM card tray. Gently push to eject the tray.
3. Insert the SIM Card into the Tray
Once the tray is ejected, carefully remove it from the device. Place your nano-SIM card into the designated slot on the SIM card tray. The gold contacts on the SIM card should be facing downwards.
Take the SIM card tray and align it with the slot on the Galaxy S6. Insert the tray back into the device, ensuring a secure fit. Be gentle and make sure not to force the tray as it may damage the device.
4. Insert the SIM Card Tray back into the Galaxy S6
Once the SIM card tray is inserted, push it gently back into the Galaxy S6 until it is flush with the device. Ensure that the tray is securely in place.
Now, power on your Galaxy S6 and wait for it to establish a connection with your mobile network. You should see the signal bars indicating that your SIM card has been successfully installed and activated.
By following these simple steps, you can easily install a SIM card in your Galaxy S6 and enjoy all the benefits of cellular connectivity on your device.
Locate the SIM Card Tray
When it comes to installing a SIM card in your Galaxy S6, the first step is to locate the SIM card tray. The tray is usually located on the side of your device, either on the left or right side. It may be hidden behind a small cover or a flap, so you’ll need to find the appropriate opening to access it.
Take a close look at the sides of your Galaxy S6 and look for a small pinhole or a small rectangular slot. This is where the SIM card tray is housed. Use your fingernail or a SIM ejector tool to gently press into the pinhole or insert it into the rectangular slot. Apply a small amount of pressure and the tray should pop out.
Make sure to hold onto the SIM card tray once it pops out so that it does not fall or get lost. You’ll need it to insert the SIM card into the Galaxy S6.
Prepare the SIM Card and Tray
Before inserting the SIM card into the Galaxy S6, it is essential to prepare both the SIM card and the SIM card tray. This will ensure a smooth installation process and avoid any potential damage to the device.
The first step is to ensure that your SIM card is compatible with the Galaxy S6. The Galaxy S6 uses a nano-SIM card, so if your existing SIM card is not a nano-SIM, you will need to contact your mobile provider and request a nano-SIM card. Alternatively, you can also purchase a SIM card cutter to trim your existing SIM card to the appropriate size.
Once you have the correct nano-SIM card, gently remove it from its protective casing or card holder. Take care not to touch the golden metallic contacts on the SIM card, as this can disrupt the signal reception.
Next, locate the SIM card tray on your Galaxy S6. The SIM card tray is typically found on the side of the device, either on the top-left or bottom-right corner, depending on your specific model. To access the SIM card tray, you will need a SIM card eject tool or a small paperclip.
Take the SIM card eject tool or unfolded paperclip and insert it into the small hole next to the SIM card tray. Apply gentle pressure until the SIM card tray pops out. Use your fingers to fully remove the tray from the device.
Inspect the SIM card tray and ensure that it is free from any debris or dirt. If necessary, clean the tray with a soft cloth or compressed air. This will help prevent any interference with the SIM card and ensure a secure connection.
Once the SIM card tray is clean, you are ready to insert the SIM card. Carefully align the nano-SIM card with the designated slot on the SIM card tray. Make sure the golden metallic contacts on the SIM card are facing down towards the tray.
Gently place the SIM card onto the tray and ensure that it sits securely. It is essential to align the SIM card correctly to avoid any potential damage to the device’s SIM card slot.
Before reinserting the SIM card tray into the Galaxy S6, double-check that the SIM card is properly positioned and resting on the tray. Reinsert the tray back into the device, making sure it fits snugly.
You can now power on your Galaxy S6 and wait for the device to recognize the SIM card. Once the SIM card is detected, you will be able to enjoy all the features and functionalities of your phone.
Insert the SIM Card into the Tray
Now that you have located the SIM card tray and prepared the SIM card and tray, it’s time to insert the SIM card into the tray. Follow these steps:
- Hold the SIM card with the gold contacts facing downward.
- Align the notches on the SIM card with the notches on the SIM tray. Make sure the SIM card fits securely into the tray.
- Place the SIM tray back into the Galaxy S6, ensuring that it is inserted in the correct orientation. The tray should slide in easily without any force.
It is important to note that the SIM card should be inserted with caution. Applying excessive pressure or trying to force the tray into the device can damage the SIM card or the phone itself. Take your time and make sure the SIM card is properly aligned before inserting the tray.
Once the SIM card is inserted into the tray and the tray is securely placed back into the Galaxy S6, you can proceed to power on your device. The SIM card will be recognized, and you will be able to enjoy cellular connectivity on your phone.
Insert the SIM Card Tray back into the Galaxy S6
Once you’ve successfully placed the SIM card in the tray of your Galaxy S6, it’s time to reinsert the tray back into the phone. Follow these simple steps:
1. Take the SIM card tray and ensure that the metal contacts are facing down.
2. Align the tray with the SIM card slot located on the side of your Galaxy S6.
3. Gently slide the tray back into the slot until it is securely in place.
4. Make sure the tray is flush with the device, with no parts sticking out.
5. Give the tray a gentle push to ensure it is properly seated and won’t come loose.
6. Double-check that the tray is firmly inserted and won’t easily dislodge or fall out.
And there you have it! Your SIM card is now installed and securely placed in your Galaxy S6.
It’s important to note that if your SIM card tray is not inserted correctly, you may experience connectivity issues or be unable to make calls. So, make sure to follow the steps carefully and ensure a proper fit.
If you ever need to remove or replace the SIM card in your Galaxy S6, simply repeat the steps in reverse order: eject the tray, remove the old SIM card, insert the new SIM card into the tray, and reinsert the tray back into the phone.
With your SIM card properly inserted, you can now enjoy all the features and functionalities of your Galaxy S6, including making calls, sending texts, and accessing the internet.
Conclusion
In conclusion, installing a SIM card in your Galaxy S6 is a straightforward process that anyone can do. By following the simple steps outlined in this article, you can quickly and easily insert a SIM card and start using your device to its fullest potential.
Remember to ensure that you have the correct size SIM card for your device and that it is properly inserted into the SIM card slot. If you encounter any issues during the installation process, consult the user manual or reach out to the manufacturer for assistance.
Having a properly installed SIM card is essential for accessing cellular network services and enjoying all the features and capabilities of your phone. So, don’t hesitate to give it a try and start enjoying your Galaxy S6 to the fullest!
FAQs
1. How do I install a SIM card in the Galaxy S6?
To install a SIM card in your Galaxy S6, follow these steps:
- Power off your device if it’s on.
- Locate the SIM card tray, usually located on the right side of the phone.
- Using the SIM card removal tool provided with the phone or a small paperclip, carefully insert it into the small hole next to the SIM card tray.
- Gently push the tool in until the tray pops out.
- Remove the SIM card tray from the phone.
- Place your SIM card into the tray, ensuring that the gold contacts are facing down and the notched corner aligns with the designated slot.
- Insert the SIM tray back into the phone.
- Press the tray firmly until it clicks into place.
- Power on your device.
2. Can I use any SIM card with the Galaxy S6?
The Galaxy S6 is typically locked to a specific carrier, meaning you will need to use a SIM card from that carrier or have the device unlocked to use it with a different SIM card. It’s best to check with your carrier to determine if your SIM card is compatible with the Galaxy S6 or if you need to unlock the device.
3. What size SIM card does the Galaxy S6 use?
The Galaxy S6 uses a nano-SIM card, which is the smallest and most common SIM card size used in modern smartphones. Make sure your SIM card is cut to the appropriate size or obtain a new nano-SIM from your carrier if needed.
4. How do I remove the SIM card from the Galaxy S6?
To remove the SIM card from the Galaxy S6, follow these steps:
- Power off your device if it’s on.
- Locate the SIM card tray, usually located on the right side of the phone.
- Using the SIM card removal tool provided with the phone or a small paperclip, carefully insert it into the small hole next to the SIM card tray.
- Gently push the tool in until the tray pops out.
- Remove the SIM card tray from the phone.
- Remove the SIM card from the tray.
- Reinsert the empty tray back into the phone.
- Power on your device.
5. Can I use my SIM card from an older phone in the Galaxy S6?
If your older phone uses a nano-SIM card, then you can simply remove it from the old phone and insert it into the Galaxy S6. However, if your older phone uses a different SIM card size, such as micro-SIM or mini-SIM, you will need to either cut the SIM card down to nano-SIM size or obtain a new nano-SIM card from your carrier.