
Popsockets have become a popular mobile accessory, allowing users to get a better grip on their phones, take selfies with ease, and prop up their devices for convenient viewing. While these handy gadgets often come in various designs and styles, you might be wondering if it’s possible to make a popsocket without a water bottle. Well, the good news is that it is indeed possible! In this article, we’ll explore creative ways to make your own DIY popsocket using everyday items you may already have at home. Whether you want to add a personal touch or simply don’t have a water bottle on hand, we’ve got you covered. Stay tuned to discover some fun and innovative methods to make your very own popsocket without the use of a water bottle.
Inside This Article
- Materials Needed
- Step 1: Gather the Necessary Supplies
- Step 2: Prepare the Cardboard Base
- Step 3: Decorate the Cardboard Base
- Step 4: Attach the Grip
- Step 5: Test and Adjust
- Step 6: Finalize the Popsocket Design
- Step 7: Enjoy Your Homemade Popsocket!
- Conclusion
- FAQs
Materials Needed
Making a popsocket without a water bottle is a fun DIY project that allows you to personalize your phone accessory. To get started, you will need the following materials:
1. Cardboard: Opt for a sturdy piece of cardboard that is thick enough to provide support for your popsocket.
2. Craft paper or fabric: Choose a patterned craft paper or a piece of fabric that matches your style and adds a decorative touch to your popsocket.
3. Glue: You will need a strong adhesive glue, such as E6000 or a hot glue gun, to secure the materials together.
4. Scissors: A pair of sharp scissors will be essential for cutting the cardboard and craft paper/fabric.
5. Pen or pencil: This will be used to trace and mark the shapes on the cardboard and craft paper/fabric.
6. Ruler: A ruler will help you ensure precise measurements and straight lines when cutting the materials.
7. Decorative items: Optional decorative items such as rhinestones, sequins, or stickers can be added to further embellish your popsocket.
Now that you have gathered all the necessary materials, you are ready to move on to the next step of creating your own popsocket without a water bottle.
Step 1: Gather the Necessary Supplies
Before you begin making your own popsocket without a water bottle, you’ll need to make sure you have all the necessary supplies. Here’s a list of what you’ll need:
- Cardboard: Find some sturdy cardboard that you can use as the base for your popsocket. You can repurpose an old box or use cardboard from a packaging material.
- Scissors: Make sure you have a pair of scissors that can cut through cardboard. This will be useful when you’re shaping and trimming the materials.
- Grip Material: You’ll need some sort of grip material to provide the necessary traction and comfort for your popsocket. This could be foam, rubber, silicone, or any other material that can securely hold your phone.
- Adhesive: To attach the grip material to the cardboard, you’ll need a strong adhesive. Double-sided tape or glue will work well for this purpose.
- Decorative Materials (optional): If you want to personalize your homemade popsocket, gather any decorative materials you’d like to use. This could include stickers, markers, fabric, or even small trinkets.
Once you have gathered all these materials, you’re ready to move on to the next step: preparing the cardboard base for your popsocket!
Step 2: Prepare the Cardboard Base
To create a sturdy base for your homemade popsocket, you will need to prepare a cardboard base. Follow these steps:
- Find a piece of cardboard that is thick enough to provide support for your popsocket. You can use an old cereal box, a cardboard packaging material, or any other sturdy cardboard material you have on hand.
- Using a ruler and a pencil, measure and mark a square or rectangular shape on the cardboard. The size of the base will depend on your personal preference and the size of your phone.
- Once you have marked the shape, use a pair of scissors or a utility knife to carefully cut out the cardboard base. Make sure to follow the marked lines as accurately as possible to create a neat and symmetrical shape.
- After cutting out the base, inspect it for any rough edges or corners. Use sandpaper or a file to smooth out any uneven surfaces and give the cardboard base a polished look.
- At this point, your cardboard base is ready to be transformed into a functional and stylish popsocket for your phone. Proceed to the next step to learn how to decorate and customize your popsocket.
Step 3: Decorate the Cardboard Base
Now that you have your cardboard base ready, it’s time to get creative and decorate it to make your popsocket more personalized and visually appealing. Here are some ideas to inspire you:
- Use colorful markers or pens: This is a simple yet effective way to add some color to your popsocket. You can draw patterns, write your name, or create any design you like.
- Add stickers or decals: If you have any stickers or decals lying around, they can make great decorations for your popsocket. You can choose stickers with your favorite characters, logos, or designs to personalize it even further.
- Try Washi tape: Washi tape is a decorative tape that comes in various patterns and colors. It’s easy to use and can be applied to the edges of your cardboard base to give it a fun and unique look.
- Use fabric or scrapbook paper: If you’re feeling crafty, you can cut out a piece of fabric or scrapbook paper that fits the size of your cardboard base. Glue it onto the base and trim any excess for a textured and stylish finish.
- Get creative with glitter: If you want a popsocket that truly sparkles, you can use glitter to add some glam to your cardboard base. Apply glue to the areas you want to cover with glitter and sprinkle it on. Shake off the excess and let it dry for a dazzling effect.
Remember, the goal is to make your popsocket reflect your personality and style, so feel free to experiment with different materials, colors, and techniques. The possibilities are endless!
Step 4: Attach the Grip
Once you have decorated the cardboard base and allowed it to dry, it’s time to attach the grip to your DIY popsocket. The grip is what will securely hold your phone and provide you with a comfortable grip while using it.
To attach the grip, you will need the following materials:
- Adhesive glue
- Grip material (rubber, silicone, or any other material of your choice)
- Scissors
- Marker or pen
Follow these steps to attach the grip:
- Place the cardboard base on a flat surface and position your phone on top of it. Use a marker or pen to mark the position where you want the grip to be placed.
- Measure the length and width of the marked area on the cardboard base.
- Transfer the measurements to the grip material and use scissors to cut it to the appropriate size.
- Apply a small amount of adhesive glue to the back of the grip material.
- Carefully place the grip material onto the marked area on the cardboard base, ensuring it is centered and aligned properly.
- Press down firmly to secure the grip material to the cardboard base.
- Allow the adhesive glue to dry completely before using your DIY popsocket.
It’s important to choose a grip material that is durable and provides a good grip on your phone. Rubber or silicone materials are commonly used for popsocket grips because they offer a firm hold and are comfortable to use.
However, you can get creative with your grip material and choose something that matches your personal style or preferences. There are many different materials available, such as fabric, leather, or even decorative tape.
Once the grip material is securely attached, you can move on to the next step of testing and adjusting your DIY popsocket.
Step 5: Test and Adjust
Once you have attached the grip to your cardboard base, it’s time to test your homemade popsocket. Place it on the back of your phone and see how it fits and feels in your hand. Test the functionality by extending and collapsing the grip to ensure that it works smoothly. Pay attention to any areas that may need adjustments or refinement.
If you find that the grip is too loose or tight, you can make adjustments by adding or removing additional layers of foam or cardboard. Experiment with different thicknesses until you find the perfect fit for your phone. Additionally, if you feel that the grip is not securely attached to the base, you can use adhesive tape or glue to reinforce the connection.
Another factor to consider during testing is the overall stability and balance of your homemade popsocket. Ensure that the grip does not interfere with the camera or any buttons on your phone. It should be comfortable to use and not obstruct any functionality of your device.
During the testing phase, it’s also a good idea to show your creation to family and friends and ask for their feedback. They may notice things that you haven’t, and their input can help you make any necessary refinements.
Remember, the goal is to create a DIY popsocket that enhances your phone’s usability and personal style. So, take the time to test and adjust until you are satisfied with the final product.
Step 6: Finalize the Popsocket Design
Once you’ve decorated your cardboard base and attached the grip, it’s time to finalize the design of your DIY popsocket. Here are a few tips to help you make it look even more stylish:
- Apply a Top Coat: To protect your popsocket design and make it last longer, consider applying a layer of clear nail polish or clear adhesive spray to the decorated cardboard base. This will give it a glossy finish and prevent the design from smudging or fading over time.
- Add Embellishments: Get creative and add some additional embellishments to your popsocket. You can glue small gems, beads, or sequins onto the cardboard base to give it some extra sparkle and flair. Just make sure to use a strong adhesive that will securely hold the embellishments in place.
- Experiment with Shapes: Instead of sticking to the traditional round shape, you can cut the cardboard base into different shapes to create a unique popsocket design. Try cutting it into a heart, star, or any other shape that you like. Remember to size the shape according to the dimensions of your grip.
- Personalize with Initials or Monogram: If you want to add a personal touch to your popsocket, consider incorporating your initials or monogram into the design. You can use stickers, stamps, or even hand paint them onto the cardboard base.
- Experiment with Colors: Don’t be afraid to play around with different colors and patterns when decorating your popsocket. You can use markers, paint, or colored paper to create a vibrant and eye-catching design. Consider using colors that match your phone case or reflect your personal style.
- Protective Coating: To ensure that your popsocket design remains intact and protected, especially if you regularly use hand sanitizers or expose your phone to moisture, consider applying a clear protective coating. This will help prevent any damage to the decorated surface and make it easier to clean.
Remember, the goal is to make your DIY popsocket personalized and unique to your style. Take your time to experiment and have fun with different designs and embellishments. Once you are satisfied with the final design, your homemade popsocket is ready to be used and showcased on your phone.
Step 7: Enjoy Your Homemade Popsocket!
Congratulations! You have successfully completed the process of making your own popsocket without a water bottle. Now it’s time to enjoy the fruits of your labor and put your homemade popsocket to good use. Here are some tips for maximizing your popsocket experience:
- Securely attach your popsocket to the back of your phone: Make sure that the adhesive or grip you used to attach the popsocket to the cardboard base is secure. Test it out by gently pulling on the popsocket to ensure it doesn’t come off easily.
- Find the perfect position for your popsocket: Experiment with different positions and angles to find the most comfortable and convenient spot on the back of your phone for your popsocket. You want it to be easily accessible while holding your phone, but also not in the way when you’re not using it.
- Utilize the popsocket for various purposes: The primary function of a popsocket is to provide a secure grip for your phone, but it can also be used in other ways. You can use it as a stand to prop up your phone for watching videos or video chatting. It can also be used to wrap your earphone cords around for tangle-free storage.
- Care for your popsocket: While homemade popsockets may not be as durable as commercial ones, you can still take steps to ensure its longevity. Avoid excessive bending or twisting of the popsocket, as this can weaken the adhesive or attachment. Keep it clean by wiping it regularly with a soft cloth and mild soap if necessary.
- Experiment with different designs: One of the advantages of making your own popsocket is the ability to customize it to your liking. Feel free to experiment with different decorations, colors, and patterns to create a unique and personalized popsocket that reflects your style and personality.
Remember, making your own popsocket can be a fun and creative project, but it may not have the same durability and longevity as a commercially manufactured one. However, with proper care and maintenance, your homemade popsocket can still provide you with a functional and stylish accessory for your phone. Enjoy the benefits of having a secure grip and a versatile stand, all thanks to your own creativity!
Conclusion
Creating a DIY popsocket without a water bottle is not only possible but also a fun and creative project. By following the steps outlined in this article, you can make a customized and functional popsocket using materials that you already have at home.
Whether you prefer a minimalist design or a more vibrant and colorful popsocket, the possibilities are endless. It allows you to showcase your personality and style while enhancing the usability of your device. Plus, the satisfaction of crafting something with your own hands adds an extra touch of pride.
So, next time you find yourself in need of a popsocket but without a water bottle at your disposal, don’t fret. Just gather a few simple household items and get creative. Within no time, you’ll have a handy and unique popsocket that will make using your phone even more enjoyable.
Now go ahead and give it a try – your DIY popsocket awaits!
FAQs
Here are some frequently asked questions about making a popsocket without a water bottle:
- Can I make a popsocket without a water bottle?
- What materials can I use to make a popsocket without a water bottle?
- How do I make a popsocket using foam sheets or craft clay?
- Can I customize my DIY popsocket?
- Are there any risks or disadvantages of making a popsocket without a water bottle?
Yes, it is possible to make a popsocket without a water bottle. There are alternative materials and techniques you can use to create a DIY popsocket
There are several materials you can use to make a popsocket without a water bottle. Some popular options include foam sheets, craft clay, fabric, and even recycled materials like cardboard or plastic
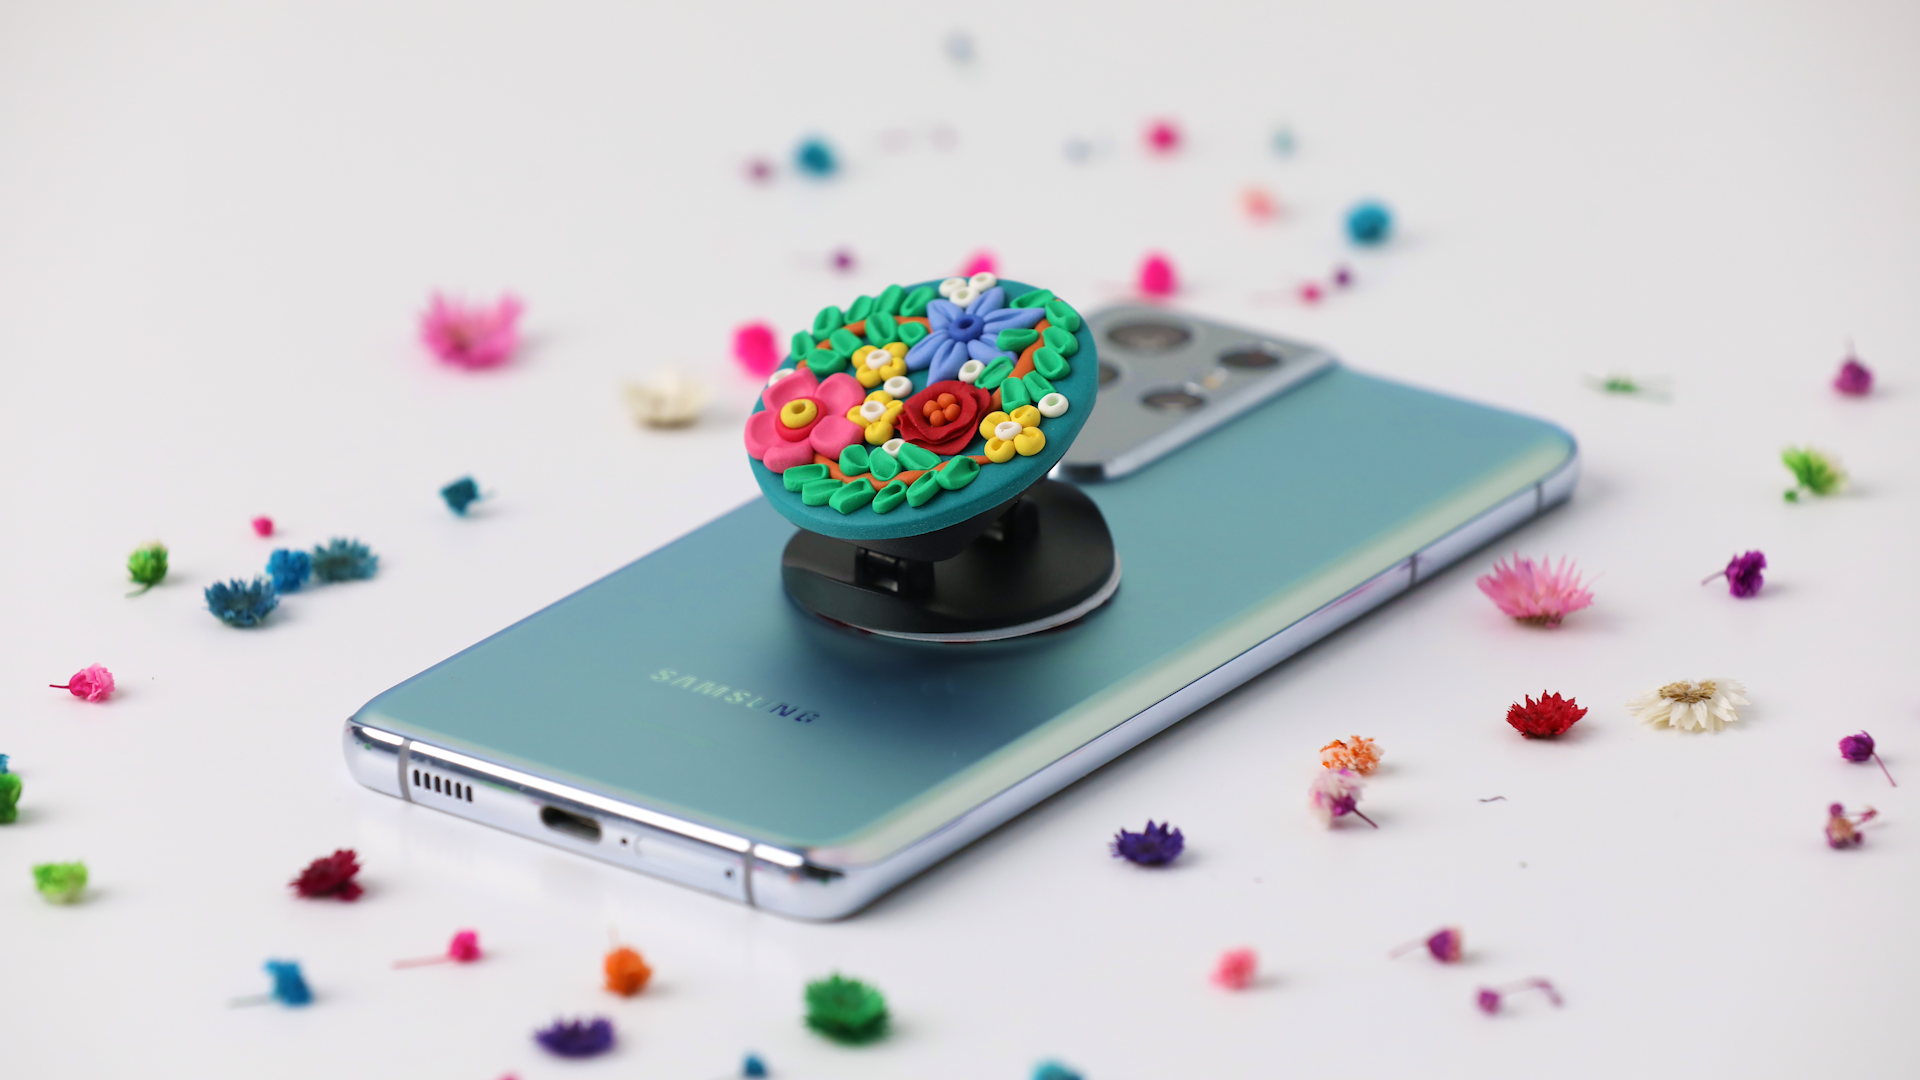
To make a popsocket using foam sheets or craft clay, you will need to cut out a shape that is similar in size to a water bottle cap. You can then attach it to the back of your phone case using strong adhesive or a hot glue gun. Allow it to dry completely before using
Yes, one of the great things about making your own popsocket is the ability to customize it. You can use markers, paints, or stickers to decorate your popsocket and make it unique to your style
While making a popsocket without a water bottle can be a fun and creative DIY project, there are a few potential downsides to consider. The alternative materials may not be as durable or sturdy as a water bottle, and they may not provide the same level of grip. Additionally, if not securely attached, the DIY popsocket may fall off or become damaged over time. It’s important to experiment and find the right materials and techniques that work best for you