
In Minecraft, you’re free to explore the world the way you want it. In fact, you can go anywhere in the game with an empty inventory; however, that does not make the adventure safe and fun. You will need tools and potions to experience better battles and resource gathering. The former is easy to craft, but the latter requires Minecraft brewing and knowledge of recipes.
Minecraft potion brewing can be complicated if you do not know what to do or what you need. Furthermore, there is no alchemy book or guide within the game, so players have to scour the web for one. So whether you just started playing this top contender for the best open-world games on mobile devices or not, you’ll find our guide helpful. Let’s start with the basics, shall we?
Inside This Article
- Types of Potions Minecraft Brewing Yields
- Equipment and Items for Minecraft Brewing
- How to Brew Potions in Minecraft
- How to Use Minecraft Brewing Modifiers
- Best Potions Made via Minecraft Brewing
- A Special Potion to Brew
Types of Potions Minecraft Brewing Yields
It will be your advantage to understand the kinds of potions generated via Minecraft brewing, especially if you are a beginner. To elaborate, the know-how will help you use potions wisely, depending on your situation in the game.
Potions in Minecraft are classified into how they are consumed and their effects. You’ll learn more about the types in detail below.
Based on Consumption:
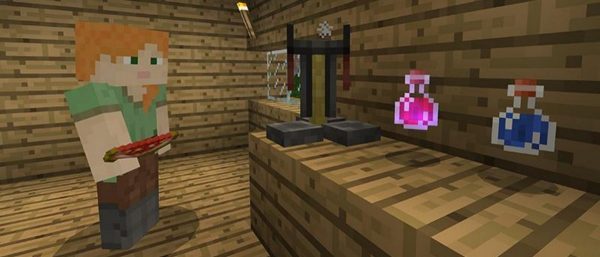
1. Drinkable Potion
A drinkable potion can give status boosts or negative effects but only to your character. To elaborate, it does not have a direct effect on nearby enemies when ingested. It is great to consume right before a tough battle, so you can jump into the action strong.
2. Splash Potion
A splash potion is thrown on the ground or to enemies for you or them to feel its effects. This type of potion is great to quickly replenish your strength or to fend off hostile creatures and players once you’ve triggered a fight.
3. Lingering Potion
A lingering potion is used the same way as a splash potion but there is a noticeable difference between the two types. This potion lingers as a status effect fog compared to a splash potion that does not stay in effect at a specific place and time. You or the enemies just need to step into the area of coverage to be affected by the potion.
Based on Effect:
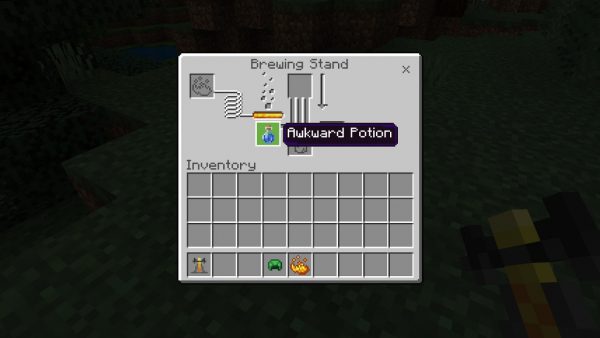
1. Awkward Potion
An awkward potion is the base potion created from Minecraft brewing. In fact, it remains as water in a bottle until a secondary ingredient is added in the next round of brewing. Additionally, all potions, except for the Potion of Weakness, originate from awkward potions.
2. Thick Potion
A thick potion is a concoction that is more potent than regular variants. Also, it is called version two of the original potion; for instance, Potion of Strength II or Potion of Healing II. There is one downside to using it, which is a lessened effect in terms of duration.
3. Mundane Potion
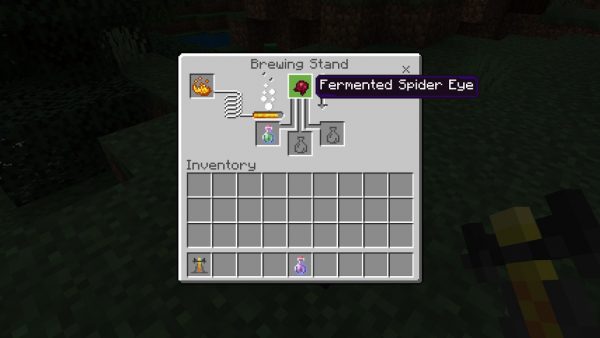
A mundane potion is the base concoction required to brew a Potion of Weakness in Minecraft because of its negative effect. Furthermore, it is the result of combining a water-filled bottle and Redstone dust, spider dust, glistering melon, magma cream, sugar, blaze powder, or ghast tear.
Equipment and Items for Minecraft Brewing
Smithing weapons and tools require a workstation and equipment. Likewise, Minecraft brewing needs those.
For the workshop, you can be creative by setting up an underground room filled with your resource crates or a messy space near your backyard, pond, or farm to place your equipment on. In fact, experienced players advise placing your workstation alongside the source of your materials for quick Minecraft brewing.
In terms of equipment, make sure you have the following things:
1. Brewing Stand
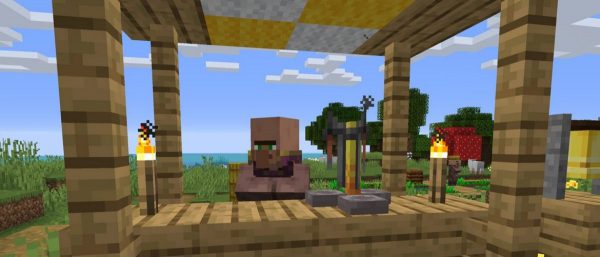
The brewing stand is the main equipment used for making potions in Minecraft. The easiest way to obtain it is to look for one in temples, igloos, or ships. Alternatively, it can be crafted from three cobblestones and one blaze rod you can gather from a perilous Nether Fortress.
2. Cauldon
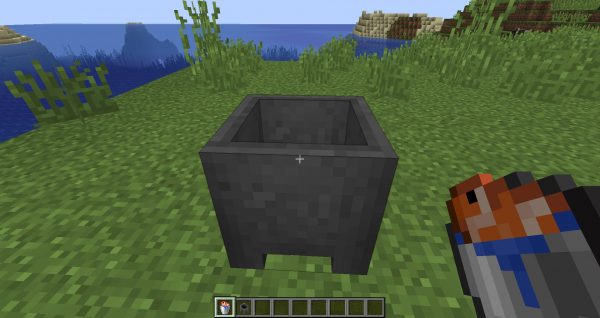
The cauldron was originally meant to be the brewing stand when the latter was not yet added to the game, per the game’s official website. Currently, the equipment serves as a holder for liquid or powder. You can scoop three times from it via glass bottles even if you do not have water, lava, or snow source nearby. Also, you can craft it from seven iron ingots. If you are close to a body of water, tundra, or the Nether, then the cauldron is just optional.
3. Glass Bottle
A glass bottle in Minecraft is as it is in the real world – a container for liquid. It can be reused or broken when you drink or throw a potion, respectively. Also, you can make a glass bottle from three pieces of glass from your crafting menu. Glass comes from smelted sand and coal in the game, in case you do not know.
4. Blaze Powder
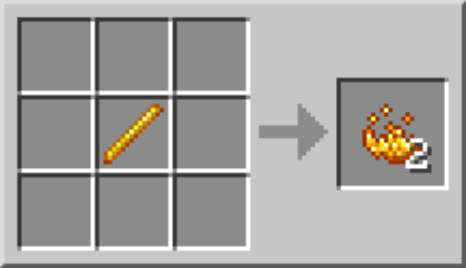
Just like a stove, a brewing stand will not work without fire. In Minecraft, fire’s counterpart is blaze powder. But, it is quite challenging to obtain this because you need to defeat the Blaze, a hostile monster in the Nether that drops the blaze rod when slain. Blaze powder comes from blaze rods you break down in your crafting menu.
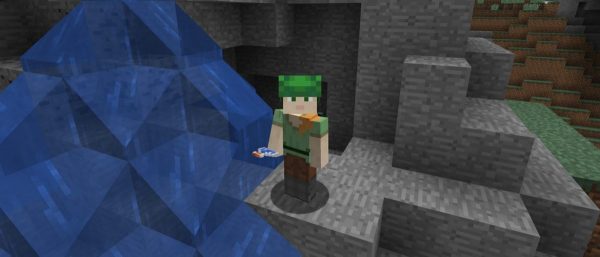
5. Nether Wart
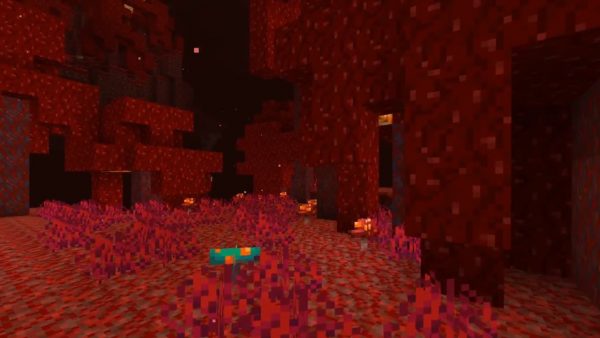
A Nether Wart is useful in brewing any potion, except the Potion of Weakness. It resembles red overgrown fungi, and you’ll find it thriving in Minecraft’s Nether realm, particularly in soul sand gardens of the fortresses. To elaborate, it can be harvested instantly like any shrub but you can opt to cultivate it elsewhere when you take home some soul sand from the Nether with you. Soul sand can be mined from a few blocks deep the ground in the Nether world.
How to Brew Potions in Minecraft
Now that you have everything on hand, you can experience Minecraft brewing. Let’s focus first on the generic way to make your potions. You can proceed to the next section about enhanced potions afterward.
While you can process one potion at a time, it is more convenient to work on three bottles simultaneously to save time in Minecraft brewing.
Follow these instructions to brew basic potions in Minecraft:
1. Use three glass bottles to take water from a pond, container, or your cauldron.
2. Approach and click on your brewing stand to see its user interface.
3. Put some blaze powder on the top left slot of the UI.
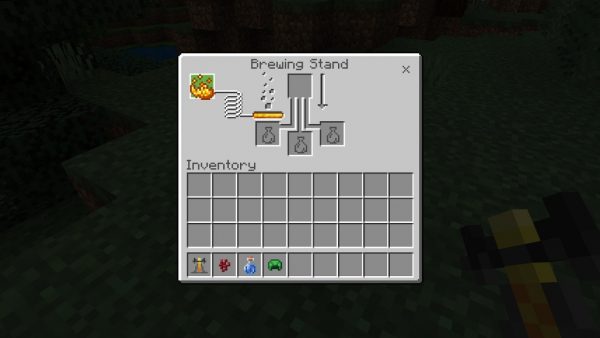
4. Place three water bottles on the three bottom slots of the UI.

5. Drag the Nether Wart to the top central slot afterward.
6. Wait for the arrow icon on the right to be filled; bottles turn into awkward potions once brewed.
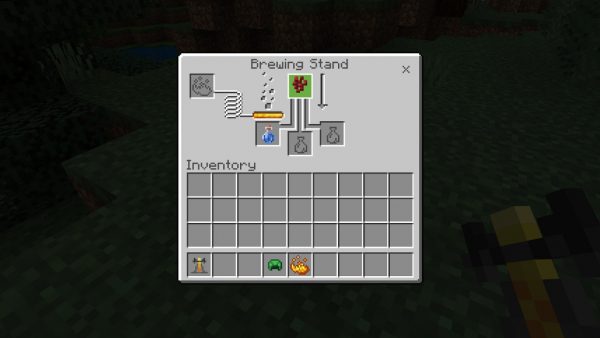
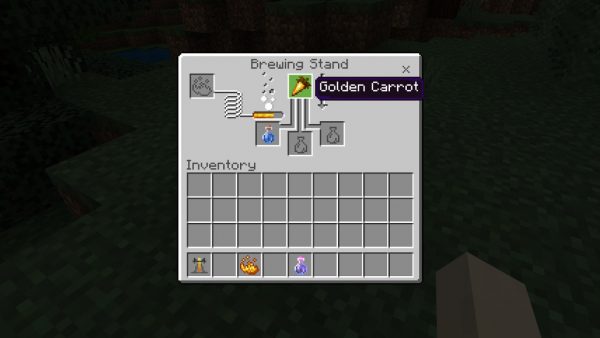
7. Put the secondary ingredient for the specific potion you’re making on the vacant top center slot (e.g., blaze powder for a Potion of Strength, golden carrot for a Potion of Night Vision, etc.)
8. Wait for the arrow icon to be fully highlighted afterward.
9. Drag to your inventory the three potions, which now have an effect, or proceed to enhance them.
How to Use Minecraft Brewing Modifiers
Minecraft brewing can improve the existing potions you’ve crafted. Additionally, the essential ingredients for accomplishing that are called modifiers.
Modifiers can enhance a potion’s potency and working duration, or change its type and effect. They can also be used for further improving enhanced potions afterward. They come in the form of resources or enemy loot, which you can gather from all around the Minecraft world. Below is a table of Minecraft brewing modifiers, their effects, and other relevant information you need to know:
| Modifier | Source | Potion Type Result | Effect |
|---|---|---|---|
|
Glowstone Dust
|
Glowstone block | Thick Potion | Makes potions stronger |
|
Redstone Dust
|
Redstone ore | Mundane Potion | Makes potions last longer |
|
Gunpowder
|
Creepers, Ghasts, Witches | Splash Potion | Potion bottles explode when thrown |
|
Dragon’s Breath
|
Scoop Ender Dragon breath attack or fireball clouds via glass bottle | Lingering Potion | Potions emit a lingering fog when thrown |
|
Fermented Spider Eye
|
Craft from Spider Eye and Mushroom | Potion of Weakness | Reversed potion effect |
To use any of the modifiers, you need to take off from the last step of the potion brewing guide we’ve discussed previously. That is when you’ve modified the base or awkward potions into potions with effect.
Follow these steps to enhance the potions afterward:
1. Place the three potions (e.g. Potions of Strength) on the bottom slots of the brewing stand UI.
2. Add new blaze powder on the left slot if it went empty.
3. Put the modifier ingredient on the top center slot.
4. Wait for the arrow icon to be filled afterward.
5. Drag your enhanced potions to your inventory to store those.
Best Potions Made via Minecraft Brewing
Minecraft brewing is complex if you think of all the available ingredients and resulting potions. Also, there are so many combinations to mention, so let’s zero into the best Minecraft potions beginners and experts should brew:
| Potion | Effect | Ingredients | Ideal Modifiers & Results |
|---|---|---|---|
|
Potion of Healing
|
Replenishes health | Awkward Potion + Glistering Melon | Glowstone dust (Potion of Healing II)
Fermented Spider Eye (Potion of Harming I & II) |
|
Potion of Regeneration
|
Replenishes health over 45 sec. | Awkward Potion + Ghast Tear | Glowstone dust (Potion of Regeneration II: Faster for 21 sec.)
Redstone dust (1 min. 30 sec. effect) |
|
Potion of Strength
|
Boosts attack power for 3 min. | Awkward Potion + Blaze Powder | Glowstone dust (Potion of Strength II: Stronger for 1 min. 30 sec.)
Redstone dust (8 min. effect) |
|
Potion of Night Vision
|
Enhances vision in the dark for 3 min. | Awkward Potion + Golden Carrot | Redstone dust (8 min. effect) |
|
Potion of Poison
|
Damages health every 1.25 sec. for 40 sec. | Awkward Potion + Spider Eye | Glowstone dust (Potion of Poison II: More damage in 21 sec.)
Redstone dust (1 min. 30 sec. effect) |
|
Potion of Water Breathing
|
Prevents drowning for up to 3 min. | Awkward Potion + Pufferfish | Redstone dust (8 min. effect) |
|
Potion of Fire Resistance
|
Gives immunity to burning for 3 min. | Awkward Potion + Magma Cream | Redstone dust (8 min. effect) |
A Special Potion to Brew
The table below contains everything you need to know about the unique Potion of Weakness that can only be made when you have a Mundane Potion. We’ve already mentioned previously the exact ingredients for brewing that base potion, so feel free to go back to the Potion Types section of this article in case you forgot.
| Special Potion | Effect | Ingredients | Ideal Modifiers & Results |
|---|---|---|---|
|
Potion of Weakness
|
Makes the attack weaker by 0.5 points for 1 min. 30 secs. | Mundane Potion + Fermented Spider Eye | Redstone dust (4 min. effect) |
Minecraft Brewing Is Fun
Minecraft brewing makes the game enjoyable and dynamic because you can make any potion that matches your play style. For instance, if you are more of a fighter than an explorer, you can brew Potions of Strength to enhance your chances of winning against hostile creatures or mobs anytime. If the other way around, you might want the Potion of Night Vision or Water Breathing because you can navigate to more places with those. Additionally, brewing is more convenient compared to scouring places for potions or randomly waiting for those to drop as loot from fallen enemies.
Do you want to enjoy Minecraft even more? Try the best Minecraft shaders for enhancing your sandbox world on your mobile device.