
Welcome to the fascinating world of Virtual Reality! If you’ve ever dreamed of immersing yourself in a virtual world and experiencing jaw-dropping adventures, then you’re in the right place. In this article, we will show you how to make your very own Cardboard VR headset, unlocking a world of endless possibilities.
Cardboard VR is an affordable and accessible way to enter the realm of virtual reality. By utilizing your smartphone and a simple cardboard construct, you can transform your device into a full-fledged virtual reality experience. Not only is it a fun and engaging project, but it also allows you to explore a wide range of virtual reality apps and games, bringing a whole new level of excitement to your mobile device.
So, if you’re ready to embark on this DIY adventure and dive into the immersive world of virtual reality, let’s get started on creating your very own Cardboard VR headset!
Inside This Article
- Materials Needed
- Cutting and Assembling the Cardboard VR
- Adding Lenses and Straps
- Using the Cardboard VR
- Troubleshooting Tips
- Conclusion
- FAQs
Materials Needed
Are you excited to embark on a journey into the world of virtual reality? Making your own Cardboard VR headset is easier than you might think. To get started, gather the following materials:
- Cardboard: Look for sturdy corrugated cardboard or repurpose an old cardboard box. Ensure it’s large enough to cut out the necessary pieces.
- Google Cardboard Kit: This can be purchased online or from local retailers. The kit includes lenses, magnets, and other essential components.
- Scissors: A sharp pair of scissors will help you cut through the cardboard with precision.
- Craft knife: A craft knife is handy for more intricate cuts and details.
- Ruler: Use a ruler to measure and mark the dimensions of the various cardboard pieces.
- Adhesive: Choose a strong adhesive like glue or double-sided tape to secure the cardboard pieces together.
- Velcro strips: These will be used to attach the straps to the cardboard headset, ensuring a comfy fit.
- Elastic bands: Elastic bands are great for attaching the VR headset straps and holding the lenses in place.
- Decorative materials (optional): Get creative and personalize your Cardboard VR headset with paints, markers, stickers, or any other decorative materials you like.
With these materials in hand, you’re ready to start crafting your very own Cardboard VR headset. Let’s move on to the next step, cutting and assembling the cardboard pieces!
Cutting and Assembling the Cardboard VR
Now that you have gathered all the necessary materials, it’s time to start cutting and assembling your very own Cardboard VR headset. Follow these steps to create a functional and immersive virtual reality experience:
- Step 1: Measure and Mark
- Step 2: Cut Out the Pieces
- Step 3: Fold and Assemble
- Step 4: Insert the Lenses
- Step 5: Attach the Straps
- Step 6: Customize your Cardboard VR
Begin by measuring and marking the areas on the cardboard where you will need to make cuts. Use a ruler and a pencil to ensure precise measurements. You will need to create holes for the lenses, a slot for your smartphone, and additional openings for the straps.
Using a sharp utility knife or scissors, carefully cut along the marked lines to create your cardboard VR pieces. Take your time to ensure clean cuts and smooth edges. You may want to score the lines with the utility knife before cutting to make the process easier.
Next, fold the cardboard along the designated fold lines to create the shape of the Cardboard VR headset. Use a ruler or a straight edge to achieve crisp folds. Holding the pieces together, use adhesive or glue to attach the edges securely. Allow the glue to dry completely before moving on to the next step.
Once the glue has dried, carefully insert the lenses into the holes you cut earlier. Make sure they fit snugly and sit at the correct distance from the screen of your smartphone. Adjust as needed and secure the lenses in place with adhesive or tape. Take care not to scratch or damage the lenses during this process.
Now it’s time to attach the straps to your Cardboard VR headset. Use strong adhesive or tape to secure the straps on the designated openings. Ensure that the straps are comfortable and adjustable, allowing for a secure and snug fit on your head.
Once the basic assembly is complete, you can take your Cardboard VR headset to the next level by customizing and personalizing it. You can paint it, add stickers, or even attach additional accessories to enhance your VR experience. Let your creativity run wild!
With these steps, you can successfully cut and assemble your very own Cardboard VR headset. Once you are done, you can move on to the next step of adding lenses and straps to further enhance your virtual reality experience.
Adding Lenses and Straps
Now that you’ve successfully cut and assembled your cardboard VR headset, it’s time to take it to the next level by adding lenses and straps. These components are essential for improving the overall immersive experience and ensuring the headset stays securely in place during use. Let’s dive in and learn how to do it.
1. Lenses: The lenses are a crucial part of any VR headset as they help create the illusion of depth and enhance the overall visual quality. To add lenses to your cardboard VR, you will need a pair of 25-30mm focal length biconvex lenses, preferably with a diameter of 35mm or larger.
Start by measuring the distance between the lens holder cutouts in your cardboard VR headset. Then, mark the center point on each of the cutouts. Carefully place the lenses on the marked spots and secure them in place using adhesive or hot glue. Make sure they are centered and securely attached.
2. Straps: Adding straps to your cardboard VR headset will provide a more comfortable and secure fit, allowing you to enjoy the immersive experience without worrying about the headset slipping or falling off. For this, you’ll need a pair of adjustable head straps or elastic bands.
After deciding the position of the straps, make small holes on the sides of the cardboard VR headset using a hole punch or a sharp object. Thread the straps or bands through the holes and adjust their length to fit comfortably around your head. Make sure the straps are not too tight or too loose.
Once you’ve added the lenses and straps, your cardboard VR headset is now ready for an incredible virtual reality experience. Put it on, adjust the straps for the perfect fit, and dive into the world of immersive 360-degree videos, games, and virtual tours.
Remember to take breaks during extended VR sessions, as they can be physically and mentally engaging. And always follow the manufacturer’s guidelines for using your specific cardboard VR headset model.
Now that you’ve successfully added the lenses and straps, you’re one step closer to an amazing VR adventure. Enjoy the immersive world that awaits you!
Using the Cardboard VR
Now that you have successfully assembled your Cardboard VR, it’s time to delve into the exciting world of virtual reality. Follow these simple steps to start using your Cardboard VR:
- Install a VR App: Begin by downloading a virtual reality app on your smartphone. Whether it’s a gaming app, a 360-degree video viewer, or an educational experience, the options are endless. Look for apps that are compatible with your smartphone’s operating system, such as iOS or Android.
- Launch the App: Open the virtual reality app you installed and familiarize yourself with its interface. Many apps use a “split screen” format to create the immersive VR experience.
- Insert Your Smartphone: Slide your smartphone into the designated slot on the front of the Cardboard VR. Ensure that your phone is securely positioned and aligned with the lenses for optimal viewing.
- Adjust the Straps: Fasten the straps of the Cardboard VR around your head, ensuring a comfortable and secure fit. The straps will hold the VR headset in place, allowing you to move freely without worrying about it slipping off.
- Insertion and Removal of VR Apps: In some cases, the app may require you to insert your smartphone into the Cardboard VR after launching the app. Pay attention to any instructions provided on the app’s interface regarding the insertion and removal process.
- Calibrate the Lenses: Once your smartphone is securely inserted, adjust the position of the lenses if needed. The Cardboard VR usually has a mechanism that allows you to move the lenses closer or farther from your eyes, optimizing the focus and field of view.
- Explore and Interact: Now that everything is set up, immerse yourself in the virtual reality experience. Move your head to look around, interact with objects or characters, and explore the virtual environment as if you were really there.
- Navigation: Depending on the app, you may be able to navigate through the virtual space using the built-in controls on the Cardboard VR itself. These controls can be in the form of buttons, touchpads, or even a Bluetooth controller. Refer to the app’s instructions or on-screen prompts for guidance on how to navigate.
- Taking Breaks: Virtual reality can be an immersive and intense experience. Remember to take breaks and rest your eyes if you start to feel discomfort. It’s important to listen to your body and avoid prolonged usage if it becomes uncomfortable.
- Experiment and Enjoy: Lastly, don’t be afraid to experiment with different virtual reality apps and experiences. From gaming to educational simulations to exploring new locations, the possibilities are vast. Discover the worlds that await you and enjoy the marvels of virtual reality!
Troubleshooting Tips
While making your own cardboard VR can be a fun and rewarding experience, occasionally you may encounter some issues. Here are some troubleshooting tips to help you overcome any challenges:
1. Blurry Image: If you find that the image in your cardboard VR is blurry, try adjusting the distance between the lenses. Move them closer or farther apart until you achieve a clear focus.
2. Lenses Not Aligned: It’s important to ensure that the lenses are properly aligned for an optimal viewing experience. If you notice double vision or overlapping images, adjust the position of the lenses until they are aligned perfectly.
3. Smartphone Compatibility: Not all smartphones are compatible with cardboard VR. Make sure that your phone meets the necessary requirements, such as having a gyroscope and the ability to run virtual reality apps.
4. Calibration Issues: Sometimes, the cardboard VR may need to be calibrated to ensure accurate tracking of head movements. Use the cardboard app on your smartphone to perform the calibration process, following the instructions provided.
5. App Compatibility: If you’re experiencing issues with specific VR apps, it’s possible that they may not be optimized for your cardboard VR setup. Try using different apps and exploring user forums to find recommended apps for your specific cardboard VR configuration.
6. Phone Overheating: Engaging in prolonged VR experiences can cause your phone to overheat. To prevent this, make sure your phone is fully charged, close unnecessary background applications, and take breaks during long VR sessions to allow your device to cool down.
7. Straps and Fit: Ensure that the cardboard VR is securely attached to your head using the straps. Adjust the straps for a comfortable fit, making sure it’s not too tight or loose. This will prevent the headset from slipping or causing discomfort during use.
8. Compatibility with Glasses: If you wear glasses, you may need to adjust the distance between the lenses to accommodate for your prescription glasses. Experiment with different positions to find the most comfortable fit for your vision needs.
9. Insufficient 3D Effect: If you find that the 3D effect is not as pronounced as you would like, try increasing the screen brightness on your smartphone. Additionally, make sure the VR app you are using is configured for a 3D viewing experience.
10. Physical Damage: If your cardboard VR has been physically damaged, such as bent or torn cardboard, it may impact the overall functionality. In such cases, consider repairing or replacing the damaged components to restore optimal performance.
By following these troubleshooting tips, you can overcome common issues and maximize your enjoyment while using your homemade cardboard VR. Remember, experimentation and persistence are key to achieving the best possible virtual reality experience!
Conclusion
In conclusion, making a cardboard VR headset is a cost-effective and accessible way to experience virtual reality. With just a few materials and a little bit of time, you can create a functional and immersive VR device. Whether you are a tech enthusiast, a gaming enthusiast, or simply curious about the possibilities of VR, building your own cardboard VR headset is a fun and rewarding project.
Not only can you dive into virtual worlds and 3D experiences, but you can also customize and enhance your headset with additional accessories. From adjustable straps to lenses and even headphones, there are various mobile accessories available to upgrade your VR experience.
With the widespread availability of smartphones and the growing popularity of VR applications and games, having a cardboard VR headset opens up a whole new world of entertainment and exploration. So grab your materials, follow the instructions, and start enjoying the exciting world of virtual reality from the comfort of your own home!
FAQs
Q: What is a VR headset?
A: A VR (Virtual Reality) headset is a device that allows you to experience a virtual reality environment by wearing it over your eyes. It typically consists of a head-mounted display and sometimes includes additional sensors and controllers for a more immersive experience. VR headsets are used for gaming, entertainment, and even educational purposes.
Q: What are the benefits of using a VR headset?
A: VR headsets offer a wide range of benefits. They can transport you to a virtual world, providing a truly immersive experience. They can also enhance gaming by adding an extra layer of realism. VR headsets can also be used for training simulations or educational purposes, allowing users to learn and interact in a virtual environment. Additionally, VR headsets can be a source of entertainment, offering a unique and captivating experience.
Q: Can I make a VR headset using cardboard?
A: Yes, you can make a VR headset using cardboard. This type of headset is commonly known as a Cardboard VR headset. It is a simple and affordable option for experiencing virtual reality. You can find numerous tutorials and templates online that show you how to create your own Cardboard VR headset using cardboard, lenses, and other simple materials. It’s a fun DIY project that allows you to enjoy VR without spending a lot of money.
Q: Is a Cardboard VR headset compatible with all smartphones?
A: Most Cardboard VR headsets are designed to be compatible with a wide range of smartphones. As long as your smartphone has a compatible screen size and operating system, it should work with a Cardboard VR headset. However, it’s always a good idea to check the specifications and compatibility requirements of the specific Cardboard VR headset you are planning to use before making a purchase or constructing your own.
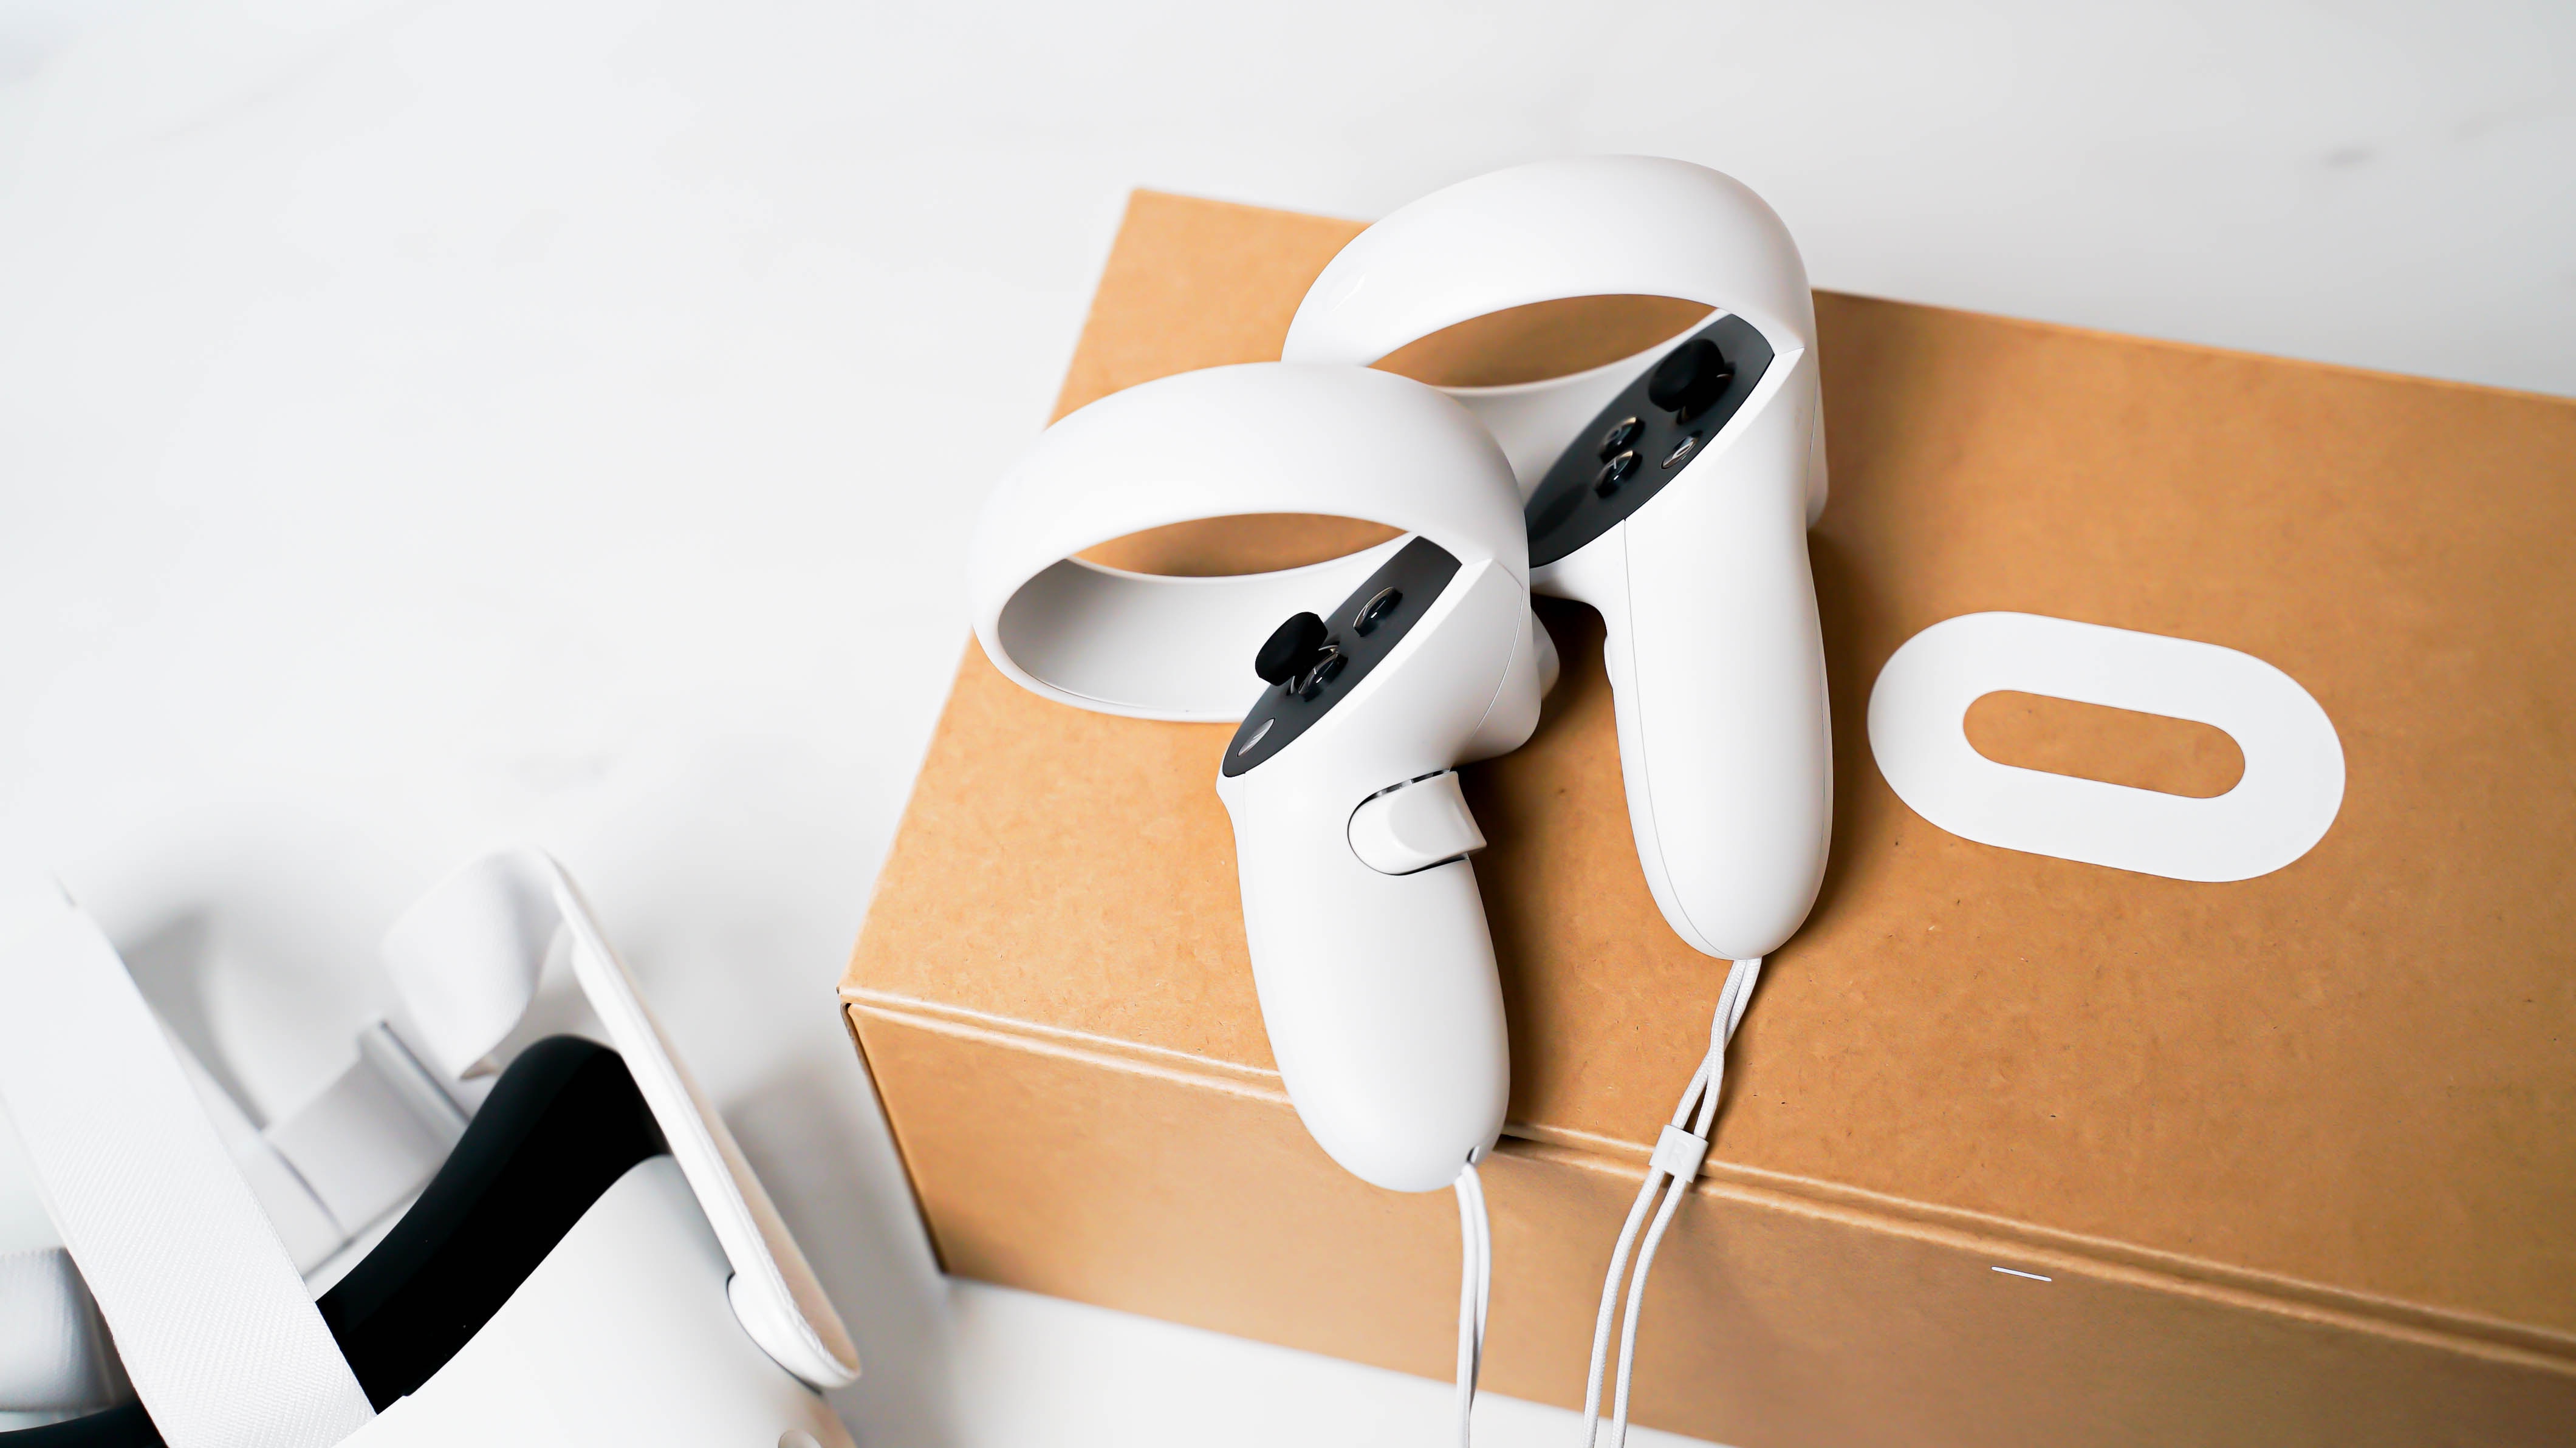
Q: Are Cardboard VR headsets as good as high-end VR headsets?
A: Cardboard VR headsets offer a more affordable and accessible entry into the world of virtual reality, but they do not provide the same level of functionality and immersion as high-end VR headsets. High-end VR headsets, such as those from Oculus or HTC, have more advanced technologies, better graphics, and more precise tracking systems. They are designed for a more immersive and interactive experience. However, Cardboard VR headsets can still offer a fun and introductory VR experience at a fraction of the cost.