
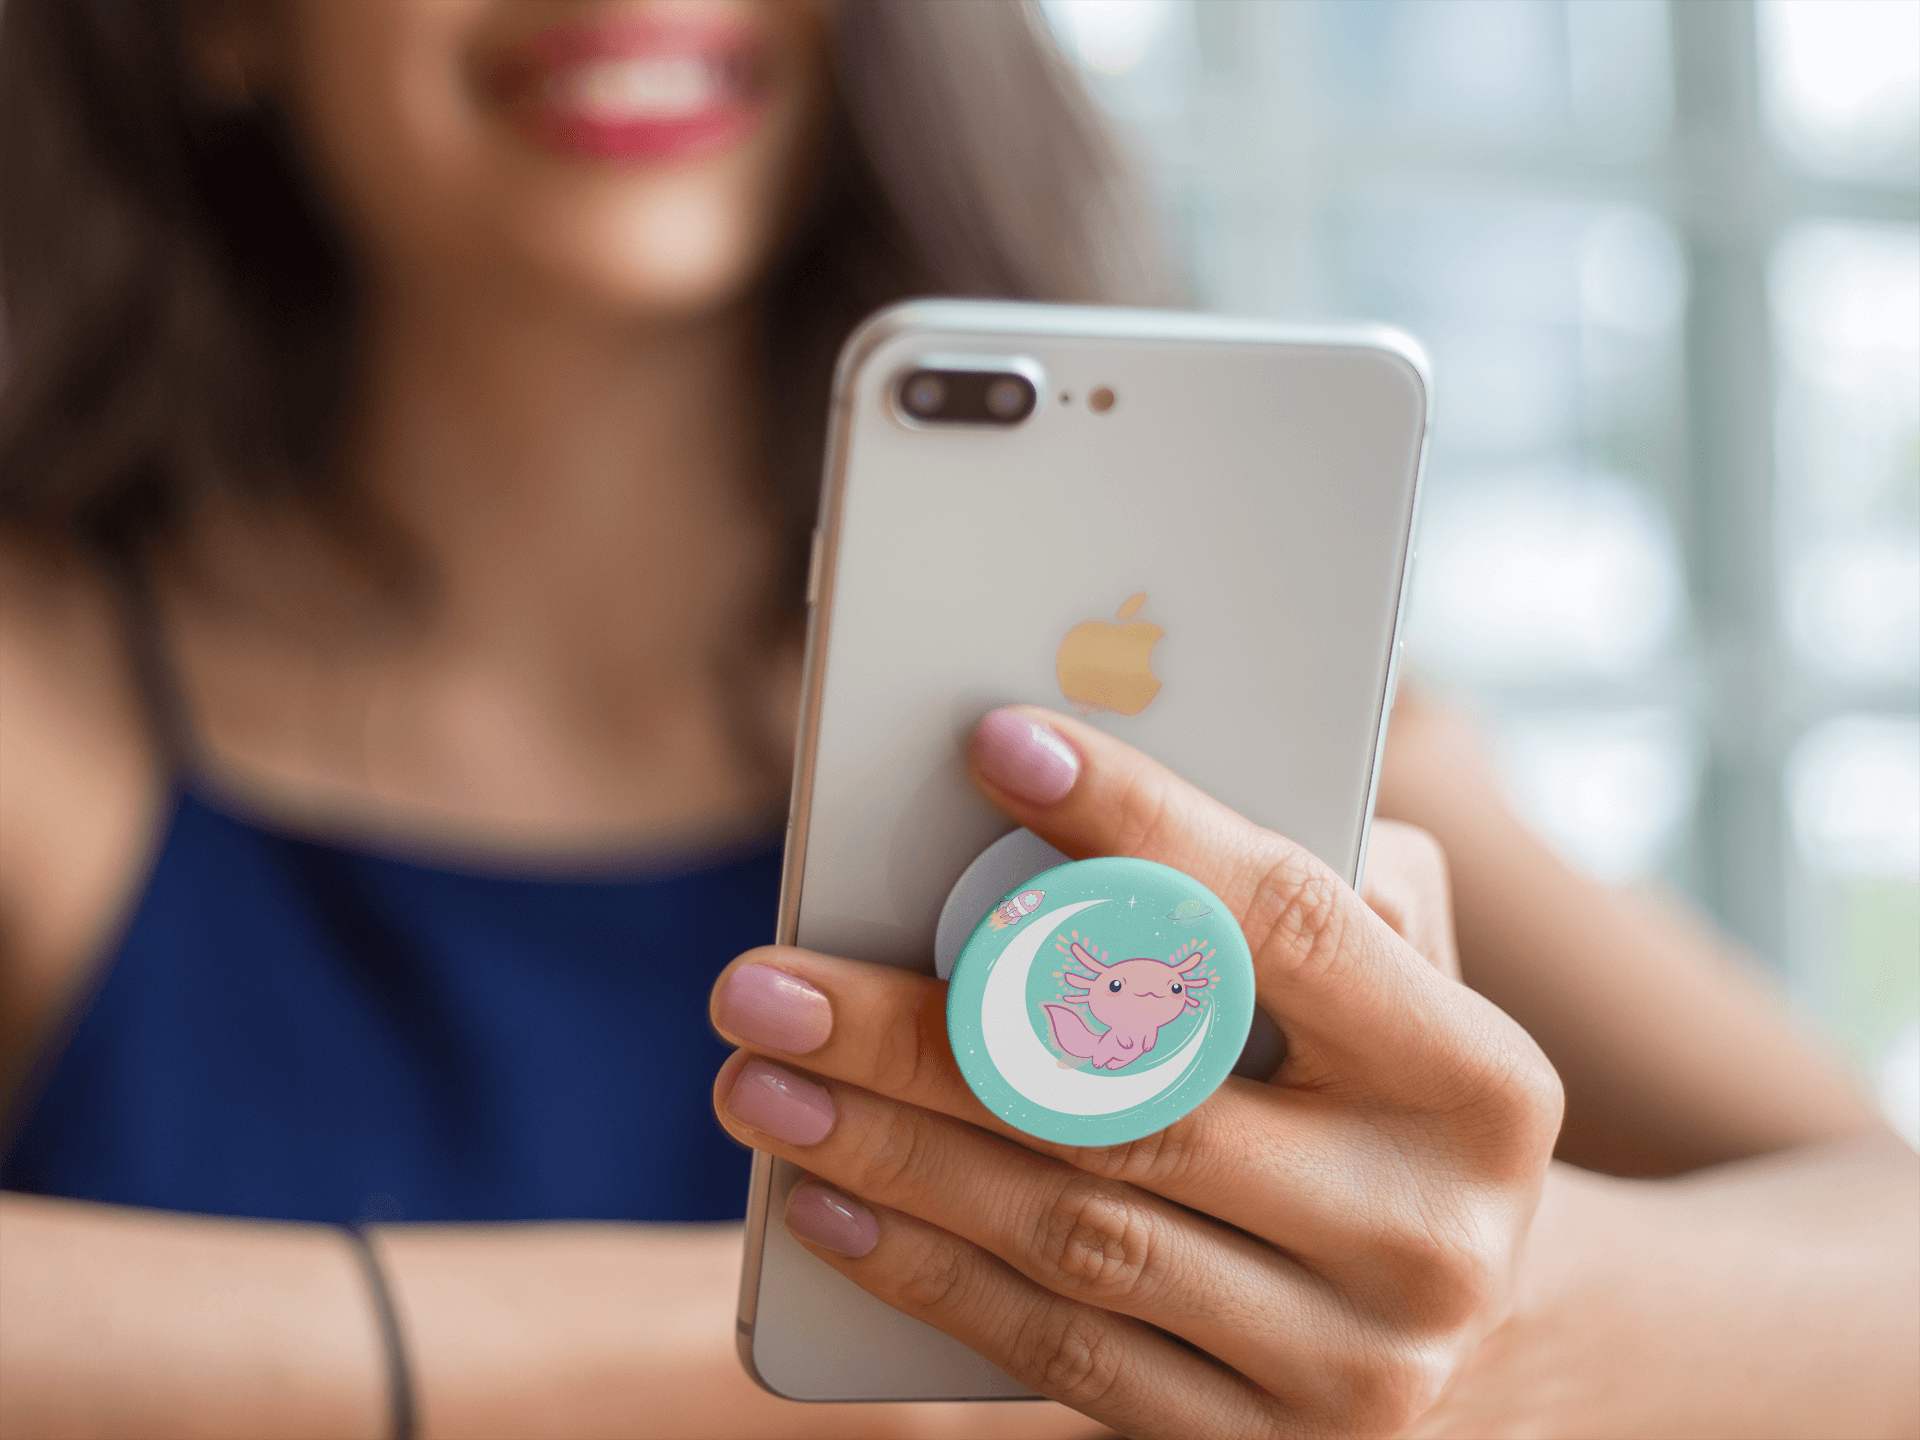
When it comes to phone accessories, few items have gained as much popularity as the Popsocket. This handy little device has revolutionized the way we hold and use our smartphones. With its adhesive backing and expandable grip, the Popsocket offers added stability and convenience, making it easier to text, take photos, and watch videos on your phone.
But what happens when you get a new phone? Do you have to say goodbye to your beloved Popsocket and start from scratch? Fear not! In this article, we will guide you through the process of moving your Popsocket to another phone. Whether you’re upgrading to a newer model or simply switching devices, we’ve got you covered.
In the following sections, we will provide step-by-step instructions on how to safely remove your Popsocket from your old phone and transfer it to your new device. So, let’s get started and keep the convenience of your trusty Popsocket going strong, no matter what phone you have!
Inside This Article
- How To Move Popsocket To Another Phone
- Gather the Necessary Tools
- Remove the PopSocket from the current phone
- Clean and prepare the adhesive
- How to Move Popsocket to Another Phone
- Gather the necessary tools
- Remove the PopSocket from the current phone
- Clean and prepare the adhesive
- Attach the PopSocket to the new phone
- Conclusion
- FAQs
How To Move Popsocket To Another Phone
Popsockets have become a popular accessory for mobile phones, providing a secure grip and allowing for more comfortable use. If you are looking to change your phone but want to keep your beloved Popsocket, you’ll be pleased to know that it’s a relatively simple process to transfer it to your new device. In this article, we will guide you through the steps on how to move a Popsocket to another phone.
1. Removing the Popsocket from your current phone
The first step in transferring your Popsocket is to carefully remove it from your current phone. Start by sliding your fingernail or a plastic card between the Popsocket and the back of your phone. Gently lift the adhesive base of the Popsocket and continue to pry it off, being cautious not to damage the phone or the Popsocket itself.
2. Cleaning the adhesive on the Popsocket
Once you have successfully removed the Popsocket from your old phone, you may notice that there is some residue left on the adhesive base. It is crucial to clean this residual adhesive before attaching it to your new phone. You can use a mild adhesive remover or rubbing alcohol along with a clean cloth or cotton swab to wipe away any sticky residue. Make sure to let it dry completely before moving on to the next step.
3. Preparing the new phone for the Popsocket
Before attaching the Popsocket to your new phone, it is essential to ensure that the surface is clean and free from any dust or oils. Use a microfiber cloth or a screen cleaning wipe to thoroughly clean the area where you plan to attach the Popsocket. This will help to create better adhesion and ensure a secure fit.
4. Attaching the Popsocket to the new phone
Once the surface of your new phone is clean and dry, it’s time to attach the Popsocket. Peel off the protective film on the adhesive base of the Popsocket and align it with the desired location on the back of your phone. Press down firmly and hold for a few seconds to ensure a strong bond is formed. It is important to note that once the Popsocket is attached, it is best to leave it undisturbed for at least one hour to allow the adhesive to fully set.
And there you have it! Your Popsocket has been successfully transferred to your new phone. Now you can enjoy the comfort and convenience it provides without the hassle of purchasing a new one.
Remember, while Popsockets are designed to be reusable, excessive reattachment and removal can affect the adhesive’s effectiveness. If you need to change phones frequently, it is recommended to get additional adhesive backing from the Popsocket manufacturer to ensure a reliable grip.
We hope this guide has been helpful in assisting you in moving your Popsocket to another phone. Enjoy your securely gripped and stylishly accessorized mobile device!
Gather the Necessary Tools
If you’re looking to move your Popsocket from one phone to another, you’ll need a few tools to ensure a successful transfer. Here’s what you’ll need:
- Small Pry Tool: This is useful for gently removing the Popsocket from the current phone without causing any damage.
- Clean Cloth or Alcohol Wipes: These will come in handy for cleaning any residue left behind by the adhesive.
- New Adhesive: In case the adhesive on the Popsocket loses its stickiness, it’s always good to have some fresh adhesive ready for the transfer.
- Patience: Moving a Popsocket may require some patience and a steady hand, so make sure you’re prepared to take your time during the process.
Once you have these tools at the ready, you’ll be well-equipped to successfully move your Popsocket to another phone. Let’s move on to the next step.
Remove the PopSocket from the current phone
Now that you have gathered the necessary tools, it’s time to remove the PopSocket from your current phone. The process may vary slightly depending on the type of PopSocket you have, but the general steps are as follows:
- Start by gently pulling the edges of the PopSocket away from the phone. It’s important to be careful and not to apply too much force, as you don’t want to damage your phone or the PopSocket.
- If the PopSocket has a adhesive base, use a thin, flat object like a credit card or a plastic opener to gently lift the edges of the adhesive. Start from one side and work your way around, applying gentle pressure to release the adhesive bond.
- Once the adhesive has been loosened, continue pulling the PopSocket away from the phone slowly and evenly. If you encounter any resistance, stop and check if there are any remaining adhesive residue or other obstructions.
- If the PopSocket is attached with a removable adhesive, simply twist the PopSocket counterclockwise until it detaches from the base. Be careful not to twist too forcefully, as you may damage the PopSocket or the adhesive base.
Once the PopSocket has been successfully removed from your current phone, set it aside for now. It’s important to clean the adhesive residue on both the PopSocket and the phone before attaching it to another device. This will ensure a secure and long-lasting bond.
Clean and prepare the adhesive
Once you have successfully removed the PopSocket from your current phone, the next step is to clean and prepare the adhesive for attaching it to your new phone. Follow these steps to ensure a secure placement:
- Inspect the adhesive: Check the adhesive surface of the PopSocket for any dirt, dust, or residue from your previous phone. If you notice any debris, gently wipe it off using a soft cloth or tissue.
- Clean the adhesive: If the adhesive is dirty or has lost its stickiness, you can clean it with isopropyl alcohol. Dampen a cotton pad or swab with the alcohol and gently rub it over the adhesive surface. This will help remove any oils or dirt that may affect the adhesive strength.
- Dry the adhesive: After cleaning, allow the adhesive to air dry completely. This will ensure that any remaining alcohol evaporates, leaving the adhesive ready for use.
- Prepare the new phone: Before attaching the PopSocket, make sure the surface of your new phone is clean and free of any dirt, oils, or residue. Use a mild cleaner or wipe specifically designed for electronic devices to clean the area where you plan to attach the PopSocket. Dry the surface thoroughly with a lint-free cloth.
- Peel off the protective film: Once the adhesive surface is clean and dry, peel off the protective film from the back of the PopSocket. Be careful not to touch the adhesive itself, as oils from your fingers can affect its stickiness.
By cleaning and preparing the adhesive properly, you are ensuring a strong bond between the PopSocket and your new phone. This will help prevent any accidental detachment and ensure a secure and reliable grip.
How to Move Popsocket to Another Phone
Popsockets have become a popular mobile phone accessory, providing a secure grip and stand functionality. If you’ve decided to upgrade to a new phone or simply want to transfer your Popsocket to another device, you can easily do so with a few simple steps. In this guide, we will walk you through the process of moving your Popsocket to another phone.
Gather the necessary tools
Before you begin, make sure you have the following tools handy:
- Clean, lint-free cloth
- Rubbing alcohol or adhesive remover
- Blow dryer or heat gun (optional)
Having these tools ready will help ensure a smooth and efficient transfer process.
Remove the PopSocket from the current phone
To remove the Popsocket from your current phone, follow these steps:
- Start by collapsing the Popsocket. Hold the base firmly and gently push the top down until it lays flat.
- Use your fingernail or a small tool to lift one of the adhesive tabs on the back of the Popsocket.
- Gently peel the adhesive tab away from the phone, taking care not to damage the phone’s surface.
- Repeat the process for the remaining adhesive tabs until the Popsocket is completely detached from the phone.
If the adhesive is particularly strong or stubborn, you can use a blow dryer or heat gun to warm up the adhesive. This will make it easier to remove without leaving any residue on your phone.
Clean and prepare the adhesive
Once the Popsocket is removed from your old phone, it’s important to clean and prepare the adhesive for reattachment. Here’s what you need to do:
- Take a clean, lint-free cloth and dampen it with rubbing alcohol or adhesive remover.
- Gently wipe the adhesive side of the Popsocket to remove any dirt, oil, or residue.
- Allow the adhesive to dry completely before moving on to the next step.
Preparing the adhesive ensures a strong and secure bond when attaching the Popsocket to your new phone.
Attach the PopSocket to the new phone
Now that the adhesive is clean and dry, you’re ready to attach the Popsocket to your new phone:
- Choose the desired location on the back of your new phone where you want to place the Popsocket. Make sure it’s centered and aligned properly.
- Remove the protective backing from the adhesive side of the Popsocket.
- Position the Popsocket over the chosen location and press down firmly to secure it in place.
- Give it a few minutes to settle and create a strong bond with the phone.
Once the Popsocket is attached, you can extend and collapse it as needed, enjoying the added grip and functionality on your new phone.
By following these simple steps, you can easily move your Popsocket from one phone to another, allowing you to keep using this practical accessory without any hassle. So go ahead and give your new phone the benefits of a Popsocket!
Conclusion
In conclusion, moving a Popsocket to another phone is a simple and convenient process that allows you to continue enjoying the benefits of this popular mobile accessory. By following the steps outlined in this article, you can seamlessly transfer your Popsocket from one device to another without any hassle.
Remember, proper preparation is key to ensuring a smooth transition. Make sure to clean the surface of your new phone thoroughly before attaching the Popsocket. This will ensure a strong and secure grip.
Additionally, it is essential to follow the manufacturer’s instructions and recommendations when removing the existing Popsocket from your old phone. Taking your time and being gentle will prevent any damage to the device or the accessory.
Once you have successfully moved the Popsocket, you can continue to enjoy its functionality, such as grip support, cable management, and propping up your phone for video viewing.
So don’t worry about leaving your beloved Popsocket behind when upgrading to a new phone. With these simple steps, you can easily bring your favorite accessory along and enhance your mobile experience.
FAQs
1. Can I move my PopSocket to another phone?
Absolutely! Moving your PopSocket to another phone is easy. Simply remove the adhesive backing from the PopSocket, carefully lift it off your current phone, and stick it onto the desired spot on your new phone. Make sure to press firmly to ensure a secure attachment.
2. Can I reuse the adhesive on my PopSocket?
Unfortunately, the adhesive on PopSockets is designed for one-time use only. Once you remove the PopSocket, you will need to replace the adhesive with a new one before sticking it to another device. Replacement adhesives are readily available, ensuring you can easily transfer your PopSocket to a new phone.
3. Will removing the PopSocket damage my phone?
PopSockets are designed to be removable without causing damage to your phone or its surface. However, it is essential to follow the removal instructions provided by PopSocket to minimize any potential risks. Take care not to apply excessive force or pull on the PopSocket abruptly to avoid any damage to your phone or case.
4. Can I adjust the position of my relocated PopSocket?
Yes, you can adjust the position of your transferred PopSocket on the new phone. The adhesive allows for some flexibility, making it possible to reposition the PopSocket until you find the perfect spot. Just peel it off gently and stick it again in the desired position, taking care not to damage the adhesive.
5. Can I remove the PopSocket from my old phone and use it as a stand on the new one?
Certainly! PopSockets are not only great for holding your phone securely but also for using as a stand. Once you’ve moved your PopSocket to your new phone, you can extend the accordion-like mechanism and use it to prop up your device in landscape mode, making it easier to watch videos, make video calls, or take hands-free selfies.