
Are you tired of your phone slipping out of your hands? Do you want to add some style and functionality to your phone? Look no further than a PopSocket. PopSockets have become increasingly popular as a way to improve the grip and overall usability of your phone. These collapsible phone grips adhere to the back of your device, allowing you to securely hold it without fear of dropping it. Plus, they can also serve as a stand to prop up your phone for hands-free viewing. Putting in a PopSocket is a simple process, but it’s important to do it correctly to ensure a secure attachment. In this article, we will guide you through the steps of how to put in a PopSocket and give you some useful tips to make the installation process even easier.
Inside This Article
- Introduction
- Choosing the Right Popsocket
- Preparing Your Phone
- Applying the Popsocket
- Conclusion
- FAQs
Introduction
Popsockets have become increasingly popular as mobile accessories in recent years. Designed to enhance your mobile experience, a Popsocket is a small circular device that can be attached to the back of your phone or tablet. It acts as a grip, stand, and cord wrap, offering numerous benefits to users.
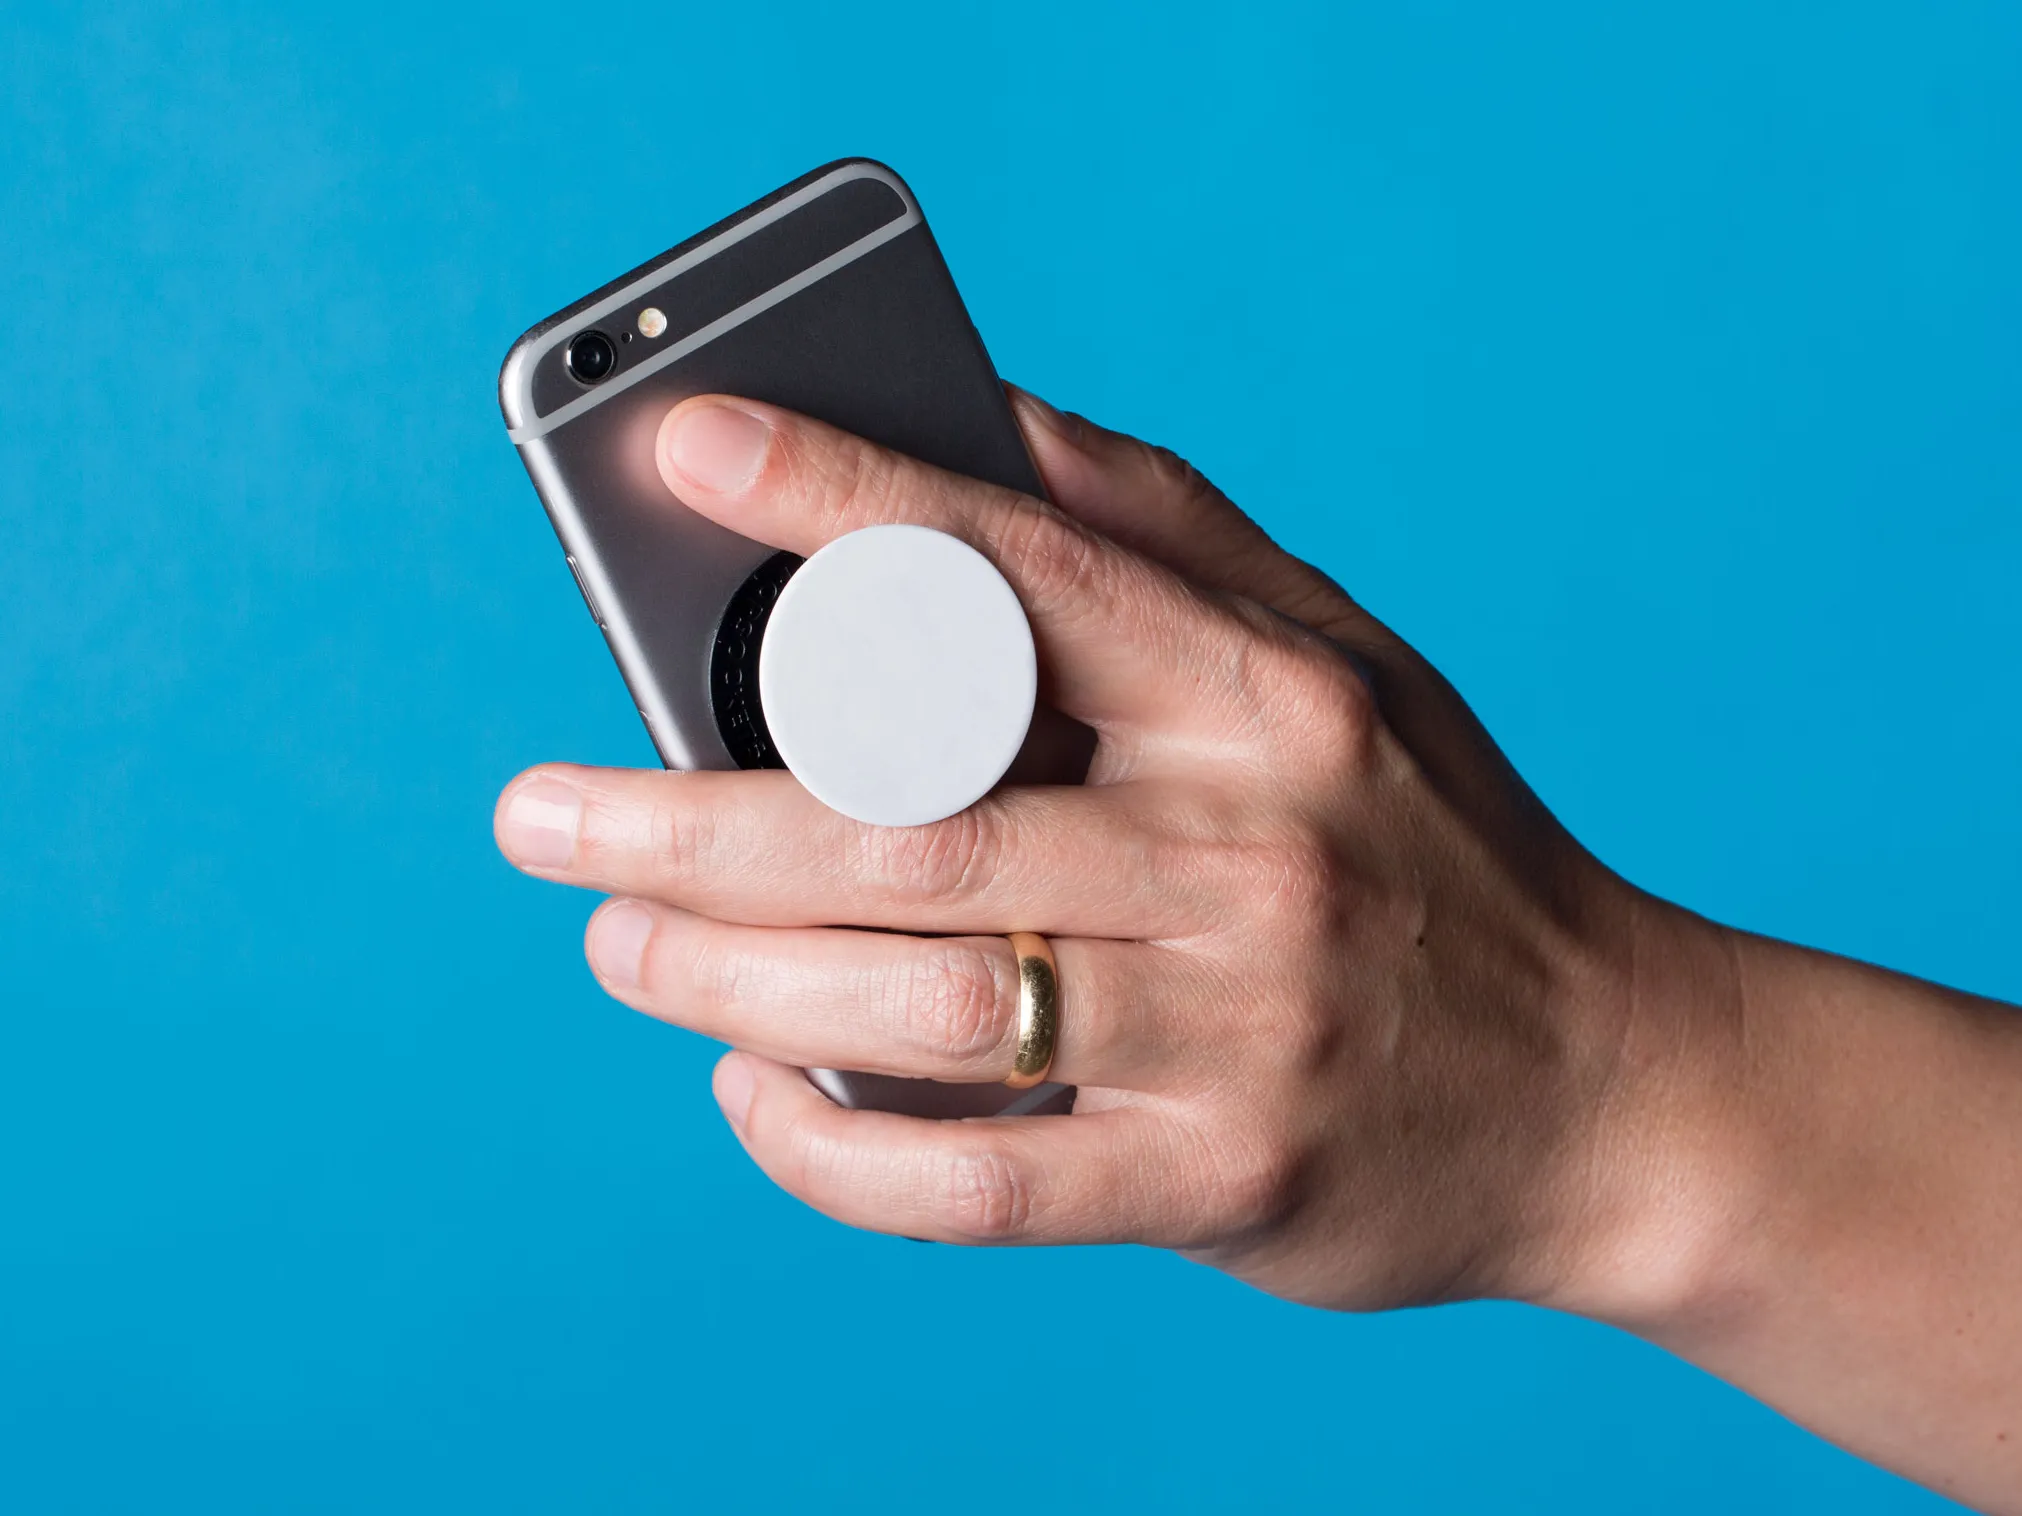
One of the main advantages of a Popsocket is that it improves your grip on your device, reducing the chances of accidental drops. With a Popsocket attached, you can securely hold your phone with one hand and comfortably reach all corners of the screen. This is especially useful for larger devices, where one-handed use can be challenging.
Additionally, a Popsocket can function as a stand, allowing you to prop up your device at an ideal viewing angle. Whether you want to watch movies, video chat, or follow recipes while cooking, a Popsocket provides the stability you need, without the need for bulky stands or cases.
Another benefit of using a Popsocket is its cord-wrapping functionality. Tangled headphone or charging cables can be a nuisance, but with a Popsocket, you can neatly wrap your cables around it, keeping them organized and tangle-free. This feature is especially useful for frequent travelers, as it allows for easy storage and accessibility of cables.
With its versatility and practicality, a Popsocket has become a must-have mobile accessory for many. Whether you’re an avid smartphone user, a frequent traveler, or someone who values convenience and functionality, a Popsocket can greatly enhance your mobile experience.
Choosing the Right Popsocket
When it comes to selecting the perfect Popsocket for your device, you’ll find an array of options to choose from. From different colors and patterns to various materials and designs, here are some factors to consider before making your choice:
- Style: Popsockets come in a wide range of styles and designs, including patterns, prints, and textures. Consider your personal taste and the overall aesthetics of your device when choosing a Popsocket that complements your style.
- Functionality: While Popsockets primarily serve as a grip and stand for your phone, many also offer additional features. Some Popsockets come with mounts for your car, while others have built-in wallets or even headphone cord organizers. Determine which functions are important to you and choose accordingly.
- Size: Popsockets come in different sizes to accommodate various devices. Ensure that you select the right size that fits securely and comfortably on the back of your phone or case.
- Durability: Consider the durability of the Popsocket before making your purchase. Look for materials that are sturdy and long-lasting to ensure that your Popsocket will withstand daily use.
- Compatibility: If you’re planning to use a Popsocket with wireless charging or a magnetic car mount, make sure to choose a Popsocket that is compatible with these features. Some Popsockets are specifically designed to work seamlessly with these technologies.
By taking these factors into consideration, you’ll be able to choose a Popsocket that not only adds style to your device but also enhances its functionality. Whether you opt for a sleek and minimalist design or a vibrant and eye-catching pattern, there’s a perfect Popsocket out there to suit your needs and personal style.
Preparing Your Phone
Before you can successfully install a Popsocket on your phone, it’s important to properly prepare your device. This ensures that the Popsocket adheres securely and does not cause any damage to your phone.
The first step in preparing your phone is to clean the surface where you plan to attach the Popsocket. Use a microfiber cloth or a gentle screen cleaning solution to remove any dirt, oil, or residue that may be present. This will help create a clean and smooth surface for the Popsocket adhesive to adhere to.
Next, make sure to dry the surface completely to avoid any moisture that could affect the adhesive. You can use a lint-free cloth or allow it to air dry for a few minutes.
It’s also important to consider the placement of the Popsocket on your phone. Take into account the size and shape of your device and identify the best location for the Popsocket. Generally, it is recommended to place it in the center of the back of your phone, aligning it with your natural grip position.
Once you have determined the ideal placement, make sure to check if there are any obstructions like camera lenses, buttons, or fingerprint sensors that may interfere with the Popsocket’s functionality. Make any necessary adjustments to ensure a smooth installation.
By properly preparing your phone, you ensure that the Popsocket installation process goes smoothly and that your device remains in optimal condition.
Applying the Popsocket
Now that you have chosen the ideal placement for your Popsocket and prepared your phone, it is time to apply the Popsocket to your device. Follow these steps to ensure a secure and long-lasting attachment:
- Peel off the adhesive backing: Once you have determined the placement, carefully peel off the protective backing from the adhesive side of the Popsocket. Be cautious not to touch the adhesive surface with your fingers as it may reduce its stickiness.
- Attach the Popsocket: Align the Popsocket with the chosen spot on your phone and gently press it down. Apply even pressure to ensure a strong bond between the Popsocket and your device. Make sure to avoid any obstructions such as camera lenses or buttons.
- Secure the Popsocket: After attaching the Popsocket, firmly press down on the adhesive for about 15 seconds. This will help activate the adhesive and increase its grip on your phone.
- Allow time for adhesive to set: It is crucial to give the adhesive enough time to set properly. This usually takes around an hour, but it is best to refer to the manufacturer’s instructions for specific guidance. Avoid applying excessive force or strain on the Popsocket during this time.
Once the adhesive has set, you should test the stability of the Popsocket. Gently try to wiggle it or pull on it to ensure that it is securely attached to your phone. If the Popsocket feels loose or unstable, you may need to reapply it using a new adhesive disc.
It is important to note that the adhesive used on Popsockets may not adhere well to certain materials or finishes. Before applying the Popsocket, make sure to clean the surface of your device with a mild alcohol-based cleaner or wipe to remove any dirt, oil, or residue that may hinder the adhesive’s performance.
Additionally, some phone cases may interfere with the placement or attachment of a Popsocket. Thick or textured cases may not provide a smooth surface for the Popsocket to adhere to. In such cases, you may consider using a Popsocket-compatible case or attaching the Popsocket directly to your device without a case.
By following these steps and considering the compatibility of your phone and case, you can ensure that your Popsocket is securely attached and ready to enhance your mobile experience.
Conclusion
In conclusion, learning how to put in a Popsocket is a simple and convenient way to enhance your mobile phone experience. This handy accessory not only provides a secure grip on your device, but also serves as a stand and cable management tool.
By following the step-by-step instructions outlined in this article, you can easily attach a Popsocket to the back of your phone and adjust it to your desired position. Remember to clean the surface of your phone before applying the adhesive for optimal grip.
With a Popsocket in place, you can confidently hold your phone with one hand, take better selfies, and enjoy hands-free viewing of videos and pictures. It’s a small accessory that makes a big difference in your daily smartphone use.
So, whether you’re a frequent texter, avid photographer, or someone who loves watching videos on the go, adding a Popsocket to your phone will undoubtedly enhance your mobile experience. Give it a try and discover the convenience and functionality it brings to your device.
FAQs
1. What is a PopSocket?
A PopSocket is a small, collapsible accessory that sticks to the back of your phone or other mobile devices. Its primary function is to provide a secure grip while holding your phone, making it easier to text, take photos, or watch videos.
2. How to put on a PopSocket?
To put on a PopSocket, follow these steps:
– Clean the back of your device to ensure it is free from any dirt or oil.
– Remove the adhesive cover from the PopSocket’s base.
– Firmly press the adhesive side of the PopSocket onto the back of your device, in the desired position.
– Allow the adhesive to bond for at least 30 minutes before using the PopSocket.
3. Can I reposition my PopSocket?
Yes, PopSockets are designed to be repositioned. If you want to change the placement of your PopSocket, simply peel it off slowly, starting from one side. Be careful not to apply too much force, as it may damage your device. Once removed, you can reposition the PopSocket by cleaning the back of your device and following the steps mentioned earlier.
4. Can I remove the PopSocket?
Yes, PopSockets can be removed from your mobile device. To remove a PopSocket, gently lift one side using your fingernail or a small flat object, such as a credit card. Slowly peel it off from one corner, being cautious not to damage your device. If there is any adhesive residue left behind, you can clean it with isopropyl alcohol.
5. Can I reuse a PopSocket?
PopSockets are designed to be adhesive and reusable. However, repeated removal and reapplication may reduce the adhesive strength over time. If you want to reuse a PopSocket, ensure that the adhesive side is clean and free from any residue before applying it to your device again.