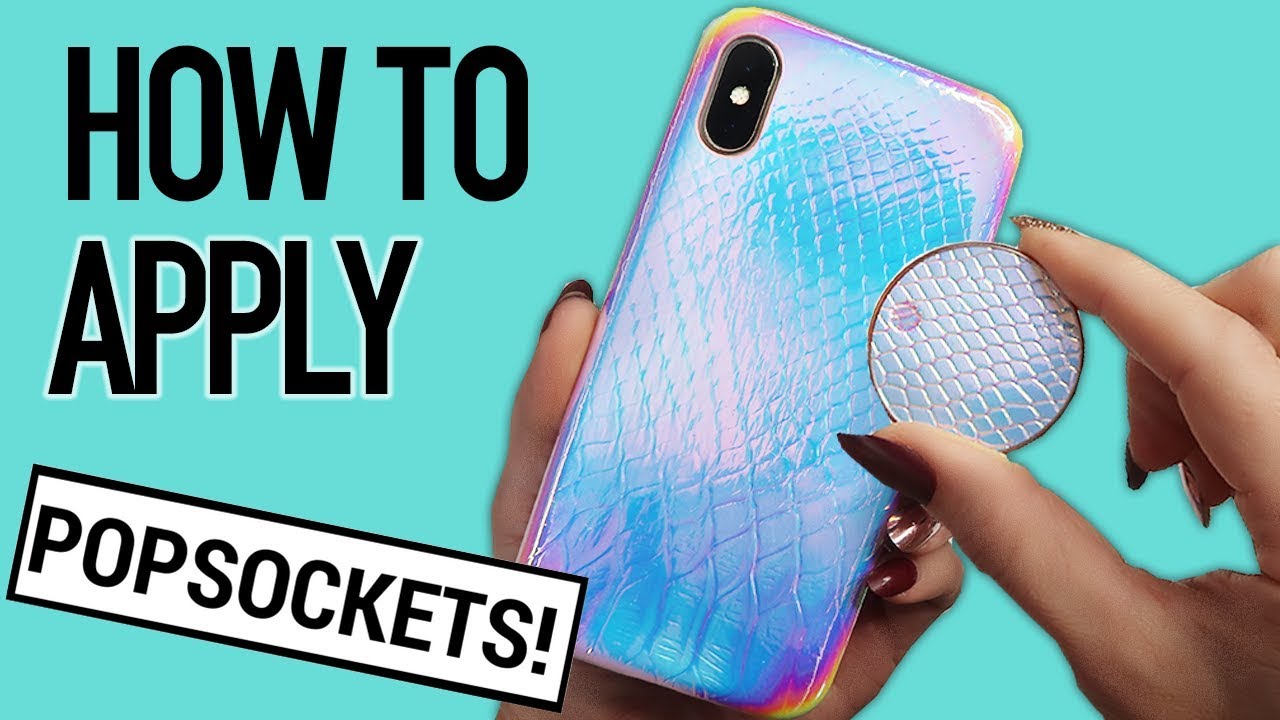
To install a Popsocket on your phone, you clean the case surface, align the guide, peel off the base liner, center the base on the guide, and press firmly.
How to install a Popsocket on your phone
Installing a Popsocket adhesive base takes only a few steps and works the same way on any smooth, hard phone case or phone back. The process is identical for iPhone and Android devices because the documented installation steps do not differ between platforms. Follow the steps below to secure your grip and stand.
What surfaces work with a Popsocket base
PopSockets documents that the adhesive base sticks firmly to smooth, hard cases made of plastic, metal, or glass. The company lists compatibility as “any smooth hard plastic case.” The adhesive will not stick to silicone, highly textured surfaces, or many soft cases. Check your case material before starting to ensure a strong bond. For extra strength, you can optionally use a 3M adhesive disk.
Step 1: Clean the case surface and align the guide
Wipe the area where you want to place the Popsocket with a clean, lint-free cloth to remove dust, dirt, and oils. A clean surface helps the adhesive bond properly. After cleaning, align the included positioning guide with your case or phone back. The guide ensures the base ends up centered and straight.
Step 2: Peel off the base liner
- Locate the protective liner on the adhesive base.
- Peel the liner off carefully without touching the exposed adhesive. Touching the adhesive can reduce its stickiness.
Step 3: Center the base on the guide
Place the adhesive base directly onto the center of the aligned guide. The guide keeps the base in the correct position so it is straight and evenly placed.
Step 4: Press firmly to secure the base
- Apply firm, even pressure across the entire base. Press from the center outward to avoid air bubbles.
- Hold the pressure for several seconds to help the adhesive bond to the case surface.
Letting the adhesive set
However, leaving the base undisturbed for a period after pressing helps the adhesive bond more securely. Avoid removing or repositioning the base immediately after installation.
Frequently Asked Questions
Can I use a Popsocket on any type of phone?
Yes, the adhesive base works on any phone with a compatible smooth, hard case or back. The installation process is the same for all smartphone models.
Can I reuse a Popsocket base after removing it?
No. Once a Popsocket adhesive base is removed from a surface, the adhesive loses its stickiness. The base is designed for a single installation. For a new device or case, use a fresh adhesive base.
Will a Popsocket base interfere with wireless charging?
In most cases, a standard Popsocket base does not block wireless charging. However, if the base is thick or positioned where the phone sits on the charger, you may need to remove the Popsocket temporarily. Check your specific charger and base combination for compatibility.
How do I remove adhesive residue from my phone case?
If residue remains after removing a Popsocket base, gently clean it with isopropyl alcohol or a mild adhesive remover. Test on a small area first to avoid damaging the case finish.
Can I install a Popsocket on a silicone or textured case?
For these materials, consider a Popsocket designed for grip or a case that is smooth and hard.
Do I need a different installation process for iPhone vs. Android?
No. The documented installation steps are the same for all smartphones. PopSockets does not provide separate instructions for iPhone or Android models for adhesive base installation.
For the wider topic, see Popsocket installation and repair.