
Welcome to our guide on how to put a SIM card into an iPhone 5S. If you’ve recently purchased a new iPhone 5S or received one as a gift, you may be eager to get it up and running. One of the first steps in setting up your iPhone is inserting a SIM card, which allows you to connect to a cellular network and make calls, send messages, and access the internet. While the process may seem a bit daunting at first, we’re here to help simplify it for you. In this article, we’ll provide you with step-by-step instructions on how to insert a SIM card into your iPhone 5S. So, let’s get started and have your iPhone 5S ready to go in no time!
Inside This Article
- Getting Started: Checking your iPhone 5S model, Gathering necessary tools, Turning off your iPhone 5S
- Locating the SIM Tray – Identifying the location of the SIM tray – Using the SIM removal tool
- Inserting the SIM Card: Removing the SIM card from its holder, Aligning the SIM card correctly, Inserting the SIM card into the SIM tray
- Activating the SIM Card- Turning on your iPhone 5S- Completing the setup process- Checking SIM card activation status
- Conclusion
- FAQs
Getting Started: Checking your iPhone 5S model, Gathering necessary tools, Turning off your iPhone 5S
Before you can insert a SIM card into your iPhone 5S, it’s important to ensure that you have the correct model and gather all the necessary tools. Additionally, you’ll need to turn off your iPhone 5S to safely insert the SIM card. Let’s get started!
To check the model of your iPhone 5S, you can go to the Settings app and navigate to “General” and then “About”. Here, you’ll find details about your iPhone, including the model number. Make sure your iPhone is indeed the iPhone 5S model.
Next, gather the tools you’ll need to insert the SIM card. The main tool you’ll need is a SIM removal tool, also known as a SIM ejector tool. This tool is usually provided by Apple in the iPhone box. If you don’t have the SIM removal tool, you can use a paperclip or a thin needle as an alternative.
Before proceeding, it’s crucial to turn off your iPhone 5S. Simply press and hold the power button located on the top or side of your device. When the power slider appears on the screen, slide it to power off your iPhone 5S. It’s important to turn off your device to prevent any damage while inserting the SIM card.
Locating the SIM Tray – Identifying the location of the SIM tray – Using the SIM removal tool
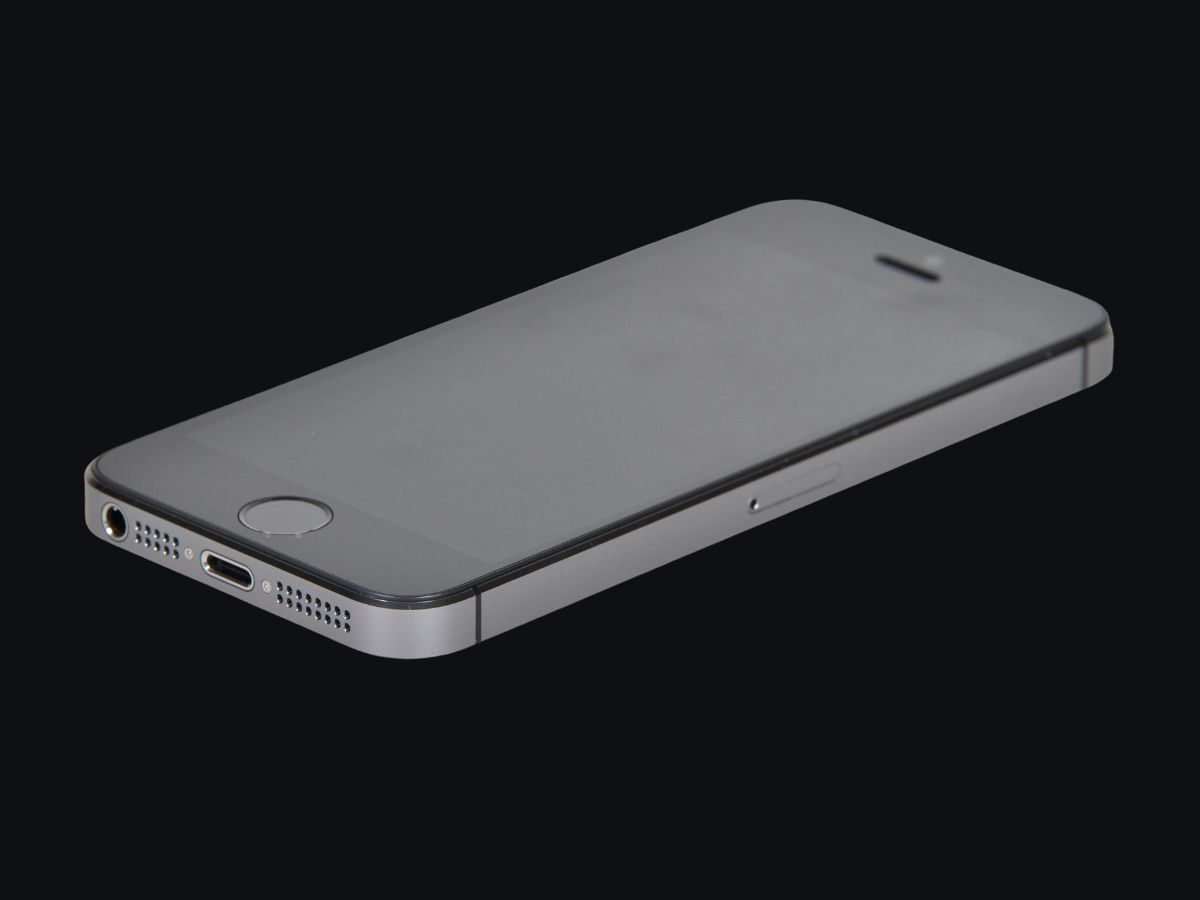
When it comes to inserting a SIM card into your iPhone 5S, the first step is to locate the SIM tray. The SIM tray is where you will be able to insert and remove your SIM card. To find the SIM tray, simply look at the sides of your iPhone 5S. It is typically located on the right-hand side of the device.
Once you have located the SIM tray, you will need to use a SIM removal tool to access it. The SIM removal tool is a small, metal pin-like object that comes included with your iPhone. It is designed specifically to remove and insert SIM cards. If you cannot find the SIM removal tool, you can also use a paperclip or a thin straight pin as a substitute.
To use the SIM removal tool, insert the narrow end of the tool into the small hole next to the SIM tray. Apply gentle pressure until the tray pops out. Be careful not to apply excessive force, as this could damage your iPhone. If you are using a paperclip or pin, make sure it is straight before inserting it into the hole.
Once the SIM tray is released, you can remove it from the iPhone by pulling it out using your fingers. Be sure to handle it carefully to avoid dropping or damaging the SIM card already inserted inside.
Remember to keep the SIM tray and removal tool in a safe place for future use.
Inserting the SIM Card: Removing the SIM card from its holder, Aligning the SIM card correctly, Inserting the SIM card into the SIM tray
Once you have located the SIM tray on your iPhone 5S, it’s time to insert the SIM card. Here’s a step-by-step guide to help you through the process:
1. Removing the SIM card from its holder: To begin, use the SIM removal tool provided with your iPhone or a small paperclip to eject the SIM card tray. Insert the tool into the small hole on the side of the device and apply slight pressure. The tray should pop out gently.
2. Aligning the SIM card correctly: Take a moment to inspect the SIM card and ensure it is free from any dust or debris. Hold the SIM card in your hand, ensuring the metal contact area is facing downwards. Look for the specifically shaped notch in the corner of the SIM tray – this indicates the correct orientation for the SIM card.
3. Inserting the SIM card into the SIM tray: Carefully align the SIM card with the notch in the corner of the SIM tray. Gently slide the SIM card into the tray, making sure it fits securely and isn’t sticking out. Ensure that the metal contacts on the SIM card are facing downwards and in contact with the corresponding pins in the tray.
4. Reinserting the SIM card tray: Once the SIM card is properly inserted into the tray, carefully reinsert the tray into the designated slot on the side of the iPhone 5S. Push it in until it clicks into place, ensuring it is flush with the device.
With the SIM card successfully inserted, you can now proceed to activate it and start using your iPhone 5S to make calls, send messages, and access mobile data.
Activating the SIM Card- Turning on your iPhone 5S- Completing the setup process- Checking SIM card activation status
Once you have successfully inserted the SIM card into your iPhone 5S, it’s time to activate it. Follow the steps below to turn on your iPhone 5S, complete the setup process, and check the activation status of your SIM card.
1. Turning on your iPhone 5S: To turn on your iPhone 5S, press and hold the power button located on the top or side of the device. Release the button when you see the Apple logo appear on the screen. This indicates that your iPhone is powering on.
2. Completing the setup process: After turning on your iPhone 5S, you will be prompted to complete the setup process. Follow the on-screen instructions to select your language, connect to a Wi-Fi network, and enable location services. You will also have the option to restore your iPhone from a previous backup or set it up as a new device.
3. Checking SIM card activation status: Once you have completed the setup process, go to the Settings app on your iPhone 5S. Scroll down and tap on “Cellular” or “Mobile Data.” Look for the “Carrier” or “Mobile Network” option and check if your carrier’s name is displayed. If your carrier’s name is visible, it means your SIM card has been successfully activated.
If you don’t see your carrier’s name or if you encounter any issues with activation, try the following troubleshooting steps:
- Make sure your iPhone 5S is connected to a stable Wi-Fi network.
- Restart your iPhone 5S by holding down the power button and sliding the power off button. Then, press and hold the power button again to turn it back on.
- Ensure that your SIM card is inserted correctly in the SIM tray.
- Contact your carrier’s customer support for further assistance.
By following these steps, you should be able to activate your SIM card, turn on your iPhone 5S, complete the setup process, and check the activation status of your SIM card. Enjoy using your iPhone 5S with your new activated SIM card!
Conclusion:
With the advancements in technology, it has become easier than ever to put a SIM card into an iPhone 5S. By following the simple steps outlined in this guide, you can ensure a seamless and hassle-free installation process. Whether you are activating a new iPhone or swapping out your current SIM card, the procedure remains straightforward and user-friendly. Remember to handle the SIM card with care, align it properly, and observe the correct insertion method. By doing so, you can enjoy uninterrupted network connectivity and take full advantage of the features and capabilities of your iPhone 5S. So go ahead, confidently put that SIM card into your iPhone 5S and embark on an exciting mobile experience!
FAQs
Q: How do I put a SIM card into an iPhone 5S?
A: Putting a SIM card into an iPhone 5S is a simple process. First, locate the SIM card tray on the side of the phone. Use the SIM card removal tool or a paperclip to gently push into the small hole next to the tray, and the tray will pop out. Place the SIM card into the tray, ensuring that it aligns with the designated spot. Finally, carefully push the tray back into the phone until it is flush with the device.
Q: Can I use any SIM card in an iPhone 5S?
A: The iPhone 5S is compatible with nano-SIM cards, so you will need to make sure you have the correct size. The iPhone 5S does not support larger SIM cards such as micro-SIM or standard SIM cards without an adapter. It’s always a good idea to check with your mobile carrier to ensure that your SIM card is compatible with your iPhone 5S.
Q: What if my iPhone 5S doesn’t recognize my SIM card?
A: If your iPhone 5S doesn’t recognize your SIM card, there are a few troubleshooting steps you can try. First, make sure the SIM card is inserted correctly and securely. If it still doesn’t work, try restarting your iPhone. You can also go to Settings > General > Reset > Reset Network Settings to reset your network settings, which may help resolve the issue. If none of these steps work, it’s best to contact your mobile carrier for further assistance.
Q: Can I change my SIM card while my iPhone 5S is on?
A: It is generally recommended to turn off your iPhone 5S before changing the SIM card. This ensures that the device recognizes the new SIM card properly. While it is possible to change the SIM card while the phone is on, it may result in issues with network connectivity. To avoid any potential problems, it’s best to power off your iPhone 5S before swapping out the SIM card.
Q: What do I do if my iPhone 5S says “No SIM”?
A: If your iPhone 5S displays “No SIM” even though you have a SIM card inserted, there are a few troubleshooting steps you can try. First, make sure the SIM card is inserted correctly and securely. If it still shows the error, try removing the SIM card and cleaning the metal contacts on both the card and the tray with a soft cloth. After cleaning, reinsert the SIM card and see if the error message disappears. If the issue persists, it’s best to contact your mobile carrier for further assistance.