
Welcome to our comprehensive guide on how to remove the Ford heater hose connector. If you’re experiencing issues with your vehicle’s heating system or need to replace a faulty heater hose connector, you’re in the right place. The heater hose connector is an essential component that connects the heater hoses to the engine, allowing the flow of coolant to regulate the temperature inside the cabin. Removing the heater hose connector may be necessary for repairs, maintenance, or upgrades. In this article, we will provide you with step-by-step instructions and tips to help you successfully remove the Ford heater hose connector with ease. Whether you’re a DIY enthusiast or an automotive professional, this guide will assist you in completing the job efficiently and effectively.
Inside This Article
- Tools and Materials Needed
- Step-by-Step Guide
- Safety Precautions
- Additional Resources (Optional)
- Conclusion
- FAQs
Tools and Materials Needed
When removing a Ford heater hose connector, there are several tools and materials you will need to have on hand. These essential items will help you complete the task efficiently and safely. Here is a list of what you will need:
- Pliers: Pliers are versatile tools that can be used to grip and hold parts while you work on them. They will come in handy when removing hose clamps and disconnecting the heater hose connector.
- Screwdriver: A screwdriver is necessary for loosening and removing any screws or fasteners that may be holding the connector in place.
- Hose clamp pliers: These specialized pliers are designed to specifically work with hose clamps. They have a unique shape that allows you to easily compress and release the clamps without damaging them.
- Container for coolant: It’s important to have a container ready to catch any coolant that may spill out when you disconnect the heater hose connector. This will prevent coolant from leaking onto the ground or other parts of the vehicle.
- Safety goggles: Safety goggles are an essential safety precaution when working with any type of automotive fluid. They will protect your eyes from any splashes or spills that may occur during the removal process.
- Gloves: Wearing gloves is important to protect your hands from any sharp edges or hot surfaces you may encounter while removing the heater hose connector. They will also provide a barrier between your skin and any coolant that may come into contact with it.
Having these tools and materials ready before you start the removal process will ensure that you can work efficiently and safely. It’s always better to be prepared and have everything you need within reach.
Step-by-Step Guide
Removing the heater hose connector in your Ford vehicle requires a systematic approach. Follow these steps carefully to ensure a successful removal process:
Step 1: Prepare the vehicle
Before starting any work on your vehicle, it’s essential to take some necessary precautions. Ensure that the engine is cool, as working on hot components can lead to injury. Park the vehicle on a level surface and engage the parking brake for added safety.
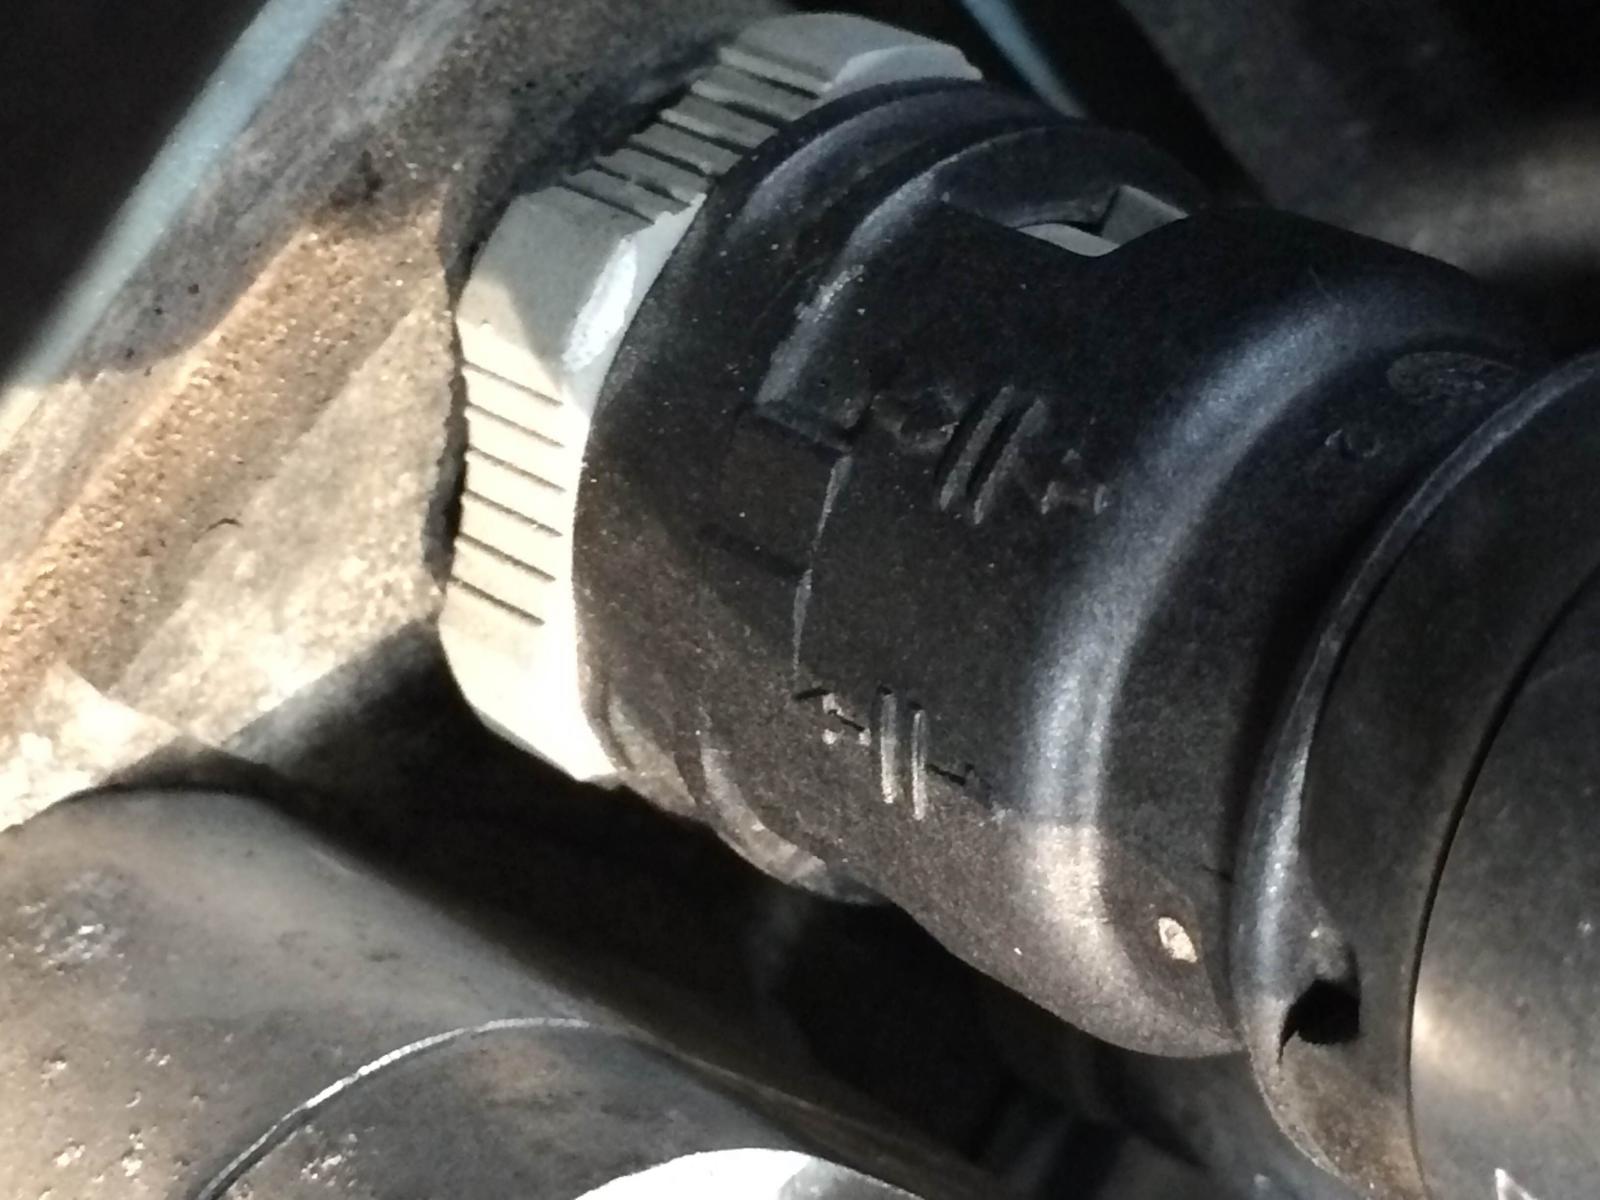
Step 2: Locate the heater hose connector
The heater hose connector is usually located near the engine block or firewall. It connects the heater core to the engine cooling system. Refer to your vehicle’s manual or consult an online resource to determine the exact location of the connector.
Step 3: Remove the hose clamps
Using pliers or hose clamp pliers, loosen and remove the clamps securing the heater hoses to the connector. This will allow you to detach the hoses effectively. Place a container beneath the hoses to catch any coolant that may leak out.
Step 4: Disconnect the heater hose connector
Once the clamps are removed, carefully disconnect the heater hose connector from the heater core. This may require some gentle twisting or pulling, depending on the type of connector used in your vehicle. Be cautious not to damage the connector or surrounding components.
Step 5: Replace or repair the connector (optional)
If the connector is damaged or corroded, this step may involve replacing the connector entirely. Consult with your vehicle’s manual or seek advice from a professional if you are unsure about how to proceed. If the connector is in good condition, skip to the next step.
Step 6: Reinstall the hose and clamps
Once the connector is repaired or replaced, carefully reattach the hoses to the heater hose connector. Ensure that they are properly aligned and then tighten the clamps securely using pliers or hose clamp pliers.
Step 7: Refill the coolant
Before refilling the coolant, check the condition of the old coolant in the container. If it appears dirty or contaminated, it’s recommended to flush the system and use fresh coolant. Follow the manufacturer’s guidelines for the appropriate type and quantity of coolant required.
Step 8: Test for leaks
After completing the previous steps, start the engine and let it run for a few minutes. Monitor the heater hose connector and surrounding area for any signs of leaks. If you notice any leakage, immediately turn off the engine and recheck the connections and clamps.
By following these step-by-step instructions, you can effectively remove the heater hose connector in your Ford vehicle. However, if you are not confident in your abilities or require assistance, it is always advisable to consult a professional mechanic.
Safety Precautions
Safety is of utmost importance when working on any automotive maintenance task, and removing a heater hose connector is no exception. To ensure a safe and successful procedure, it is essential to follow these safety precautions:
Safety Precaution 1: Work in a well-ventilated area
Before starting the process, make sure you are working in a well-ventilated area. This will help to prevent the buildup of harmful fumes from the coolant as you disconnect the heater hose connector.
Safety Precaution 2: Let the engine cool down completely
Prior to beginning any work, let the engine cool down completely. This is crucial to avoid the risk of burns from hot coolant when removing the heater hose connector. Give it enough time so that the engine is no longer releasing heat.
Safety Precaution 3: Wear safety goggles and gloves
Protecting your eyes and hands is essential when working with coolant. Wear safety goggles to shield your eyes from any potential splashes or spills during the removal process. Additionally, wearing gloves will help to keep your hands clean and protected from any chemicals or sharp objects.
Safety Precaution 4: Dispose of coolant properly
After removing the heater hose connector, you will likely encounter coolant that needs to be drained. It is crucial to dispose of this coolant properly. Avoid pouring it down the drain or into the environment, as it can be harmful to the ecosystem. Instead, collect the coolant in a container and take it to a recycling or disposal center that handles automotive fluids.
By following these safety precautions, you can minimize the risk of accidents and ensure the successful removal of the Ford heater hose connector. Always prioritize safety when working on any automotive repair or maintenance task.
Additional Resources (Optional)
Here are some additional resources that may be helpful for you as you tackle the task of removing the Ford heater hose connector:
1. Ford Owner’s Manual: Consult your vehicle’s owner’s manual for specific instructions and diagrams related to your particular Ford model. It will provide you with valuable information about the location and removal process of the heater hose connector.
2. Online Forums and Communities: Engaging with online communities and forums dedicated to Ford vehicles can be a great way to connect with other Ford owners who have faced similar challenges. You can ask questions, seek advice, and learn from their experiences in removing heater hose connectors.
3. YouTube Tutorials: Video tutorials on platforms like YouTube can provide a visual guide to help you understand and navigate the process of removing the Ford heater hose connector. Many automotive enthusiasts and professionals create detailed step-by-step videos that you can follow along with.
4. Automotive Repair Manuals: Professional repair manuals specific to your Ford model can provide in-depth instructions, illustrations, and troubleshooting tips for various repairs, including removing and replacing the heater hose connector. These manuals are often available for purchase or can be accessed at your local library.
Remember, it’s important to gather as much information as possible before attempting any repairs on your vehicle. By utilizing these additional resources, you can gain the knowledge and confidence needed to successfully remove the Ford heater hose connector.
Conclusion
In conclusion, removing a Ford heater hose connector is a relatively straightforward process that can be done with the right tools and a little bit of know-how. Whether you’re dealing with a clogged connector or simply need to replace a faulty one, following the steps outlined in this guide will help you get the job done smoothly.
Remember to always take proper safety precautions, such as allowing the engine to cool down before starting and wearing protective gloves. And if you’re unsure about any step or encounter any difficulties, it’s always best to consult a professional or refer to your vehicle’s manual for specific instructions.
By removing the old connector and installing a new one, you can ensure that your Ford’s heating system is functioning optimally, keeping you and your passengers warm and comfortable during those cold winter months. So don’t let a faulty connector stand in the way of your driving experience – take action and get your heater hose connector replaced today!
FAQs
1. What are some common signs of a failing heater hose connector in a Ford?
If you notice coolant leaks, overheating, a loss of heater function, or a sweet smell in the cabin, these can all be signs of a failing heater hose connector in a Ford vehicle.
2. How do I know if I need to replace my Ford heater hose connector?
If you have observed any of the signs mentioned above or notice visible cracks or damage on the connector, it is a good indication that it needs to be replaced.
3. Can I replace the Ford heater hose connector myself?
Yes, it is possible to replace the Ford heater hose connector yourself if you have some mechanical knowledge and the right tools. However, if you are not confident in your abilities, it is always recommended to seek professional assistance.
4. What tools do I need to replace the heater hose connector in my Ford?
The specific tools required may vary depending on the model and year of your Ford vehicle. In general, you will likely need a socket set, pliers, a screwdriver, and a hose clamp removal tool.
5. Are there any tips for replacing the Ford heater hose connector?
Before attempting to replace the heater hose connector, be sure to allow the engine to cool down completely. It is also essential to properly drain the coolant and relieve any pressure in the system before disconnecting any hoses. Additionally, it is recommended to consult the vehicle’s repair manual or online resources for detailed instructions specific to your Ford model.