
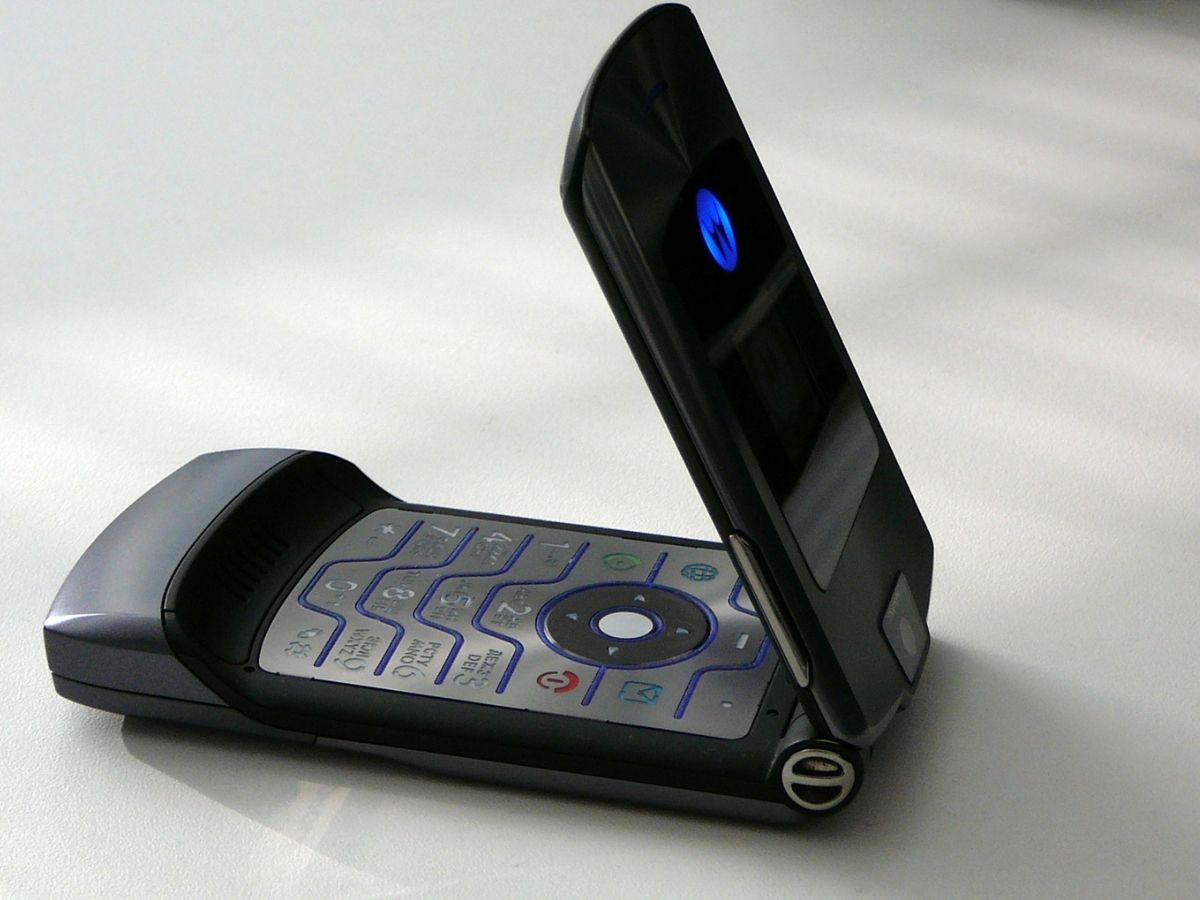
Welcome to our guide on how to remove the SIM card from a Droid Razr! The Droid Razr is a popular Android smartphone known for its sleek design and powerful performance. If you’re looking to upgrade your SIM card or switch to a different network provider, knowing how to properly remove the SIM card is essential. In this article, we will walk you through the step-by-step process of removing the SIM card from your Droid Razr, ensuring that you can effortlessly make the switch without any hassle. So, whether you’re a seasoned smartphone user or a newbie, let’s dive in and master the art of removing the SIM card from a Droid Razr!
Inside This Article
- Step 1: Power off the Droid Razr
- Step 2: Locate the SIM card tray
- Step 3: Insert the SIM card removal tool
- Step 4: Remove the SIM card from the tray
- Step 5: Re-insert the SIM card tray
- Conclusion
- FAQs
Step 1: Power off the Droid Razr
Before you can safely remove the SIM card from your Droid Razr, you need to power off the device. This step is crucial to avoid any potential damage to the SIM card or the phone itself.
To power off your Droid Razr, press and hold the power button located either on the top or side of the phone, depending on the model. A menu will appear on the screen with options to “Power off” or “Restart”. Tap on “Power off” and confirm the action if prompted.
Give the phone a few seconds to shut down completely. You will know that the phone is powered off when the screen goes black, and any LED indicators or lights on the device are turned off.
Once the Droid Razr is powered off, you can proceed to the next step of removing the SIM card. It’s important to follow this process to ensure the safety of both your phone and the SIM card itself.
Step 2: Locate the SIM card tray
Now that your Droid Razr is powered off, it’s time to locate the SIM card tray. The SIM card tray is a small opening on the side of your device, typically near the top or bottom. It may be covered by a small flap or be easily accessible without any additional covering. Most devices have a SIM card tray that can be accessed using a SIM card removal tool or a small pin-like object.
First, inspect the sides of your Droid Razr for any visible openings or flaps. Look for a small hole that matches the size of the SIM card removal tool or pin. If you don’t see any openings on the sides, check the top or bottom of your device. Some models may have the SIM card tray located on the top, while others may have it on the bottom.
Once you have located the SIM card tray, take a moment to familiarize yourself with its shape and size. This will help ensure that you insert the SIM card removal tool or pin correctly, minimizing the risk of damage to your device or SIM card. The tray will typically be rectangular or oval in shape, with a small notch or groove that allows you to easily slide it open.
If you’re having trouble finding the SIM card tray, consult the user manual or manufacturer’s website for specific instructions. These resources often provide detailed diagrams or images that can help you locate the tray more easily.
Step 3: Insert the SIM card removal tool
Once you have powered off your Droid Razr and located the SIM card tray, it’s time to insert the SIM card removal tool. The SIM card removal tool is a small, metal pin-like object that usually comes included with your phone or can be purchased separately. It is specifically designed to safely eject the SIM card tray without causing any damage to the device.
To insert the SIM card removal tool, hold it between your fingers, making sure the pointed end is facing downwards. Look for a small hole on the side of the SIM card tray, usually near the top or the bottom. Gently insert the pointed end of the tool into the hole until you feel some resistance.
Apply a slight amount of pressure and push the tool firmly but carefully into the hole. You will feel a subtle click or release as the tool engages with the internal mechanism of the SIM card tray. This indicates that the tray is being unlocked and ready to be ejected.
Using the SIM card removal tool, gently pull the tray outwards. Be careful not to use excessive force or twist the tool while pulling out the tray, as it may cause damage to the tray or the device. The SIM card tray will slide out smoothly, revealing the SIM card resting on it.
Take a moment to observe the position and orientation of the SIM card in the tray. It is important to remember how the SIM card is inserted, as it will help you properly reinstall it later. Make sure to handle the SIM card with care, avoiding any contact with the metal contacts or any other components.
Once you have successfully removed the SIM card tray and retrieved the SIM card, set aside the removal tool in a safe place, as you will need it later when reinserting the tray. Keep the SIM card in a secure place to prevent loss or damage.
Step 4: Remove the SIM card from the tray
Now that you have successfully inserted the SIM card removal tool into the tray, it’s time to remove the SIM card from your Droid Razr. Follow the steps below to safely remove the SIM card:
1. Gently push the SIM card removal tool inwards until you feel resistance. This indicates that the SIM card is being released from the tray.
2. Once you feel the resistance, press down on the tool and simultaneously pull it outwards. This action will pull the SIM card out of the tray.
3. Carefully remove the SIM card from the SIM card removal tool. Handle it with care, ensuring that you do not bend or damage it in any way.
4. Take a moment to inspect the SIM card for any visible damage or dirt. If necessary, clean it using a soft, lint-free cloth to ensure optimal performance.
5. Once you have removed the SIM card, you can either insert a new SIM card or re-insert the same one if you were just performing a temporary removal.
Remember to handle the SIM card with care as it is a sensitive component of your Droid Razr. Avoid touching the metal contacts on the SIM card and store it in a safe place when not in use.
Step 5: Re-insert the SIM card tray
Now that you have successfully removed the SIM card from your Droid Razr, it’s time to re-insert the SIM card tray back into the device. Follow the steps below to ensure a smooth and secure re-insertion:
- Position the SIM card tray: Hold the SIM card tray in your hand with the metal contacts facing downwards. Align the notch on the SIM card tray with the corresponding notch in the SIM card slot.
- Slide the SIM card tray into the slot: Carefully insert the SIM card tray back into the SIM card slot, making sure it fits snugly. Avoid applying excessive force as it may damage the tray or the device.
- Push the tray into place: Use your thumb or finger to gently push the SIM card tray further into the slot until it is fully seated. Ensure that the tray is flush with the surface of the device.
- Power on your Droid Razr: Press and hold the power button until the device turns on. Wait for it to boot up completely before proceeding.
- Verify SIM card functionality: Once the device is powered on, check if the SIM card is recognized. You can do this by going to the settings menu and looking for the SIM card status information.
It’s important to note that if the SIM card is not recognized or you encounter any issues, you may need to repeat the process and ensure that the SIM card is properly inserted. If problems persist, it’s recommended to contact your mobile service provider for further assistance.
With the SIM card successfully re-inserted, you can now enjoy the full functionality of your Droid Razr, including making calls, sending messages, and accessing mobile data. Remember to keep the SIM card tray securely in place to avoid any accidental ejections while using the device.
Now that you are familiar with how to remove and re-insert the SIM card tray on your Droid Razr, you can confidently handle any SIM card-related tasks that may arise. Enjoy your uninterrupted mobile experience!
Conclusion
In conclusion, removing the SIM card from your Droid Razr is a simple process that can be done in a few easy steps. By following the instructions provided in this article, you can safely remove the SIM card and make any necessary changes to your mobile device. Whether you need to switch to a new device, upgrade your SIM card, or troubleshoot any issues, knowing how to remove the SIM card is essential.
Remember to always handle the SIM card with care, as it is a delicate component of your phone. Take your time and be gentle when inserting or removing the SIM card to avoid any damage. If you encounter any difficulties or have further questions, consult the manufacturer’s manual or contact customer support for assistance.
With this guide, you now have the knowledge and confidence to remove the SIM card from your Droid Razr. Enjoy the flexibility and convenience that comes with being able to access and manage your SIM card, allowing you to stay connected and in control of your mobile experience.
FAQs
1. How do I remove the SIM card from my Droid Razr?
To remove the SIM card from your Droid Razr, follow these steps:
- Power off your phone.
- Locate the SIM card tray on the side of your device.
- Insert the SIM card ejection tool into the small hole beside the tray or use a paperclip.
- Push gently to eject the SIM card tray.
- Take out the SIM card from the tray by pulling it gently.
- Reinsert the tray into the phone.
- Power on your device.
2. Can I use a different SIM card in my Droid Razr?
Yes, you can use a different SIM card in your Droid Razr as long as it is compatible with your carrier’s network. However, you may need to unlock your phone if it is currently locked to a specific network provider. Contact your carrier for more information on unlocking your device and using a different SIM card.
3. How do I know if my SIM card is damaged?
If you suspect that your SIM card is damaged, look out for the following signs:
- No signal or poor signal strength.
- Inability to make or receive calls.
- Failure to connect to the internet.
- Error messages related to the SIM card.
If you experience any of these issues, try inserting the SIM card into another compatible device to determine if the problem lies with the card itself. If the issues persist, you may need to contact your carrier for a replacement SIM card.
4. Can I use my Droid Razr without a SIM card?
No, you cannot use your Droid Razr without a SIM card. The SIM card is essential for connecting to your carrier’s network, making and receiving calls, and accessing data services. Without a SIM card, your phone will not function as a mobile device.
5. How can I protect my SIM card from damage?
To protect your SIM card from damage, consider the following precautions:
- Avoid bending or scratching the SIM card.
- Avoid exposing the SIM card to extreme temperatures.
- Handle the SIM card with care when inserting or removing it from your device.
- Store the SIM card in a safe and dry place when not in use.
- Avoid placing the SIM card near strong magnets or electronic devices that emit strong magnetic fields.
By following these guidelines, you can help prolong the lifespan of your SIM card and ensure its proper functioning.