
Are you struggling to figure out how to remove the memory card from your Motorola Razr smartphone? Don’t worry, we’ve got you covered! The Motorola Razr is a sleek and innovative smartphone that offers users a range of exciting features. However, when it comes to removing the memory card, some users may find themselves at a loss. Whether you want to transfer files, upgrade the memory card, or simply remove it for any reason, it’s important to know the proper steps to ensure you don’t accidentally damage the card or the device. In this article, we will guide you through the process of removing the memory card from a Motorola Razr, making the entire procedure quick and hassle-free. So, let’s dive in and learn how to remove the memory card from your Motorola Razr smartphone!
Inside This Article
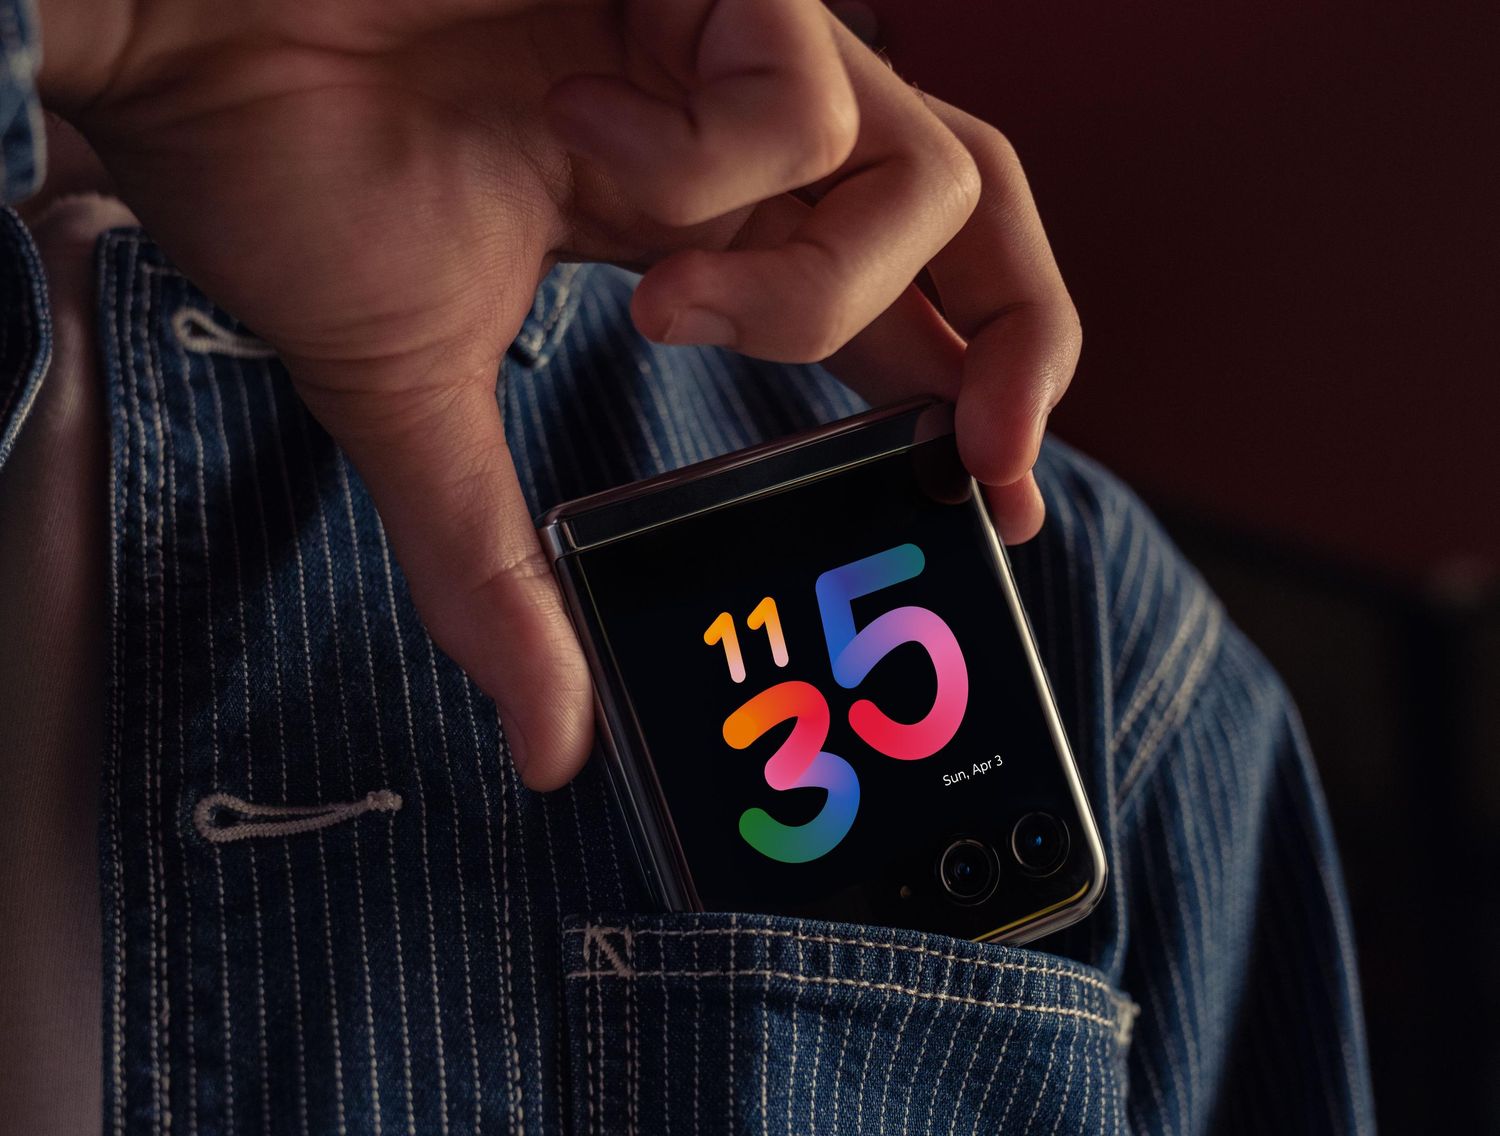
Overview
Removing the memory card from your Motorola Razr is a simple process that allows you to transfer data or replace the memory card. Whether you want to upgrade to a larger capacity card or keep your data secure by removing the card, this guide will walk you through the steps to remove the memory card with ease.
Before you begin the process, make sure to back up any important data stored on the memory card. This will ensure that you don’t lose any valuable information during the removal process.
The memory card in the Motorola Razr is located underneath the back cover of the device. You will need to remove the back cover in order to access the memory card slot. Once the back cover is removed, you can safely remove the memory card without causing any damage to the device.
It is important to note that removing the memory card while the device is still powered on can result in data loss or damage to the card. It is always recommended to power off the device before removing the memory card to ensure a safe removal process.
Now, let’s dive into the step-by-step process of removing the memory card from your Motorola Razr.
Tools Needed
Before you begin the process of removing the memory card from your Motorola Razr, there are a few essential tools you will need to ensure a successful and safe removal. These tools include:
1. SIM ejector tool: This small pin-like tool is often included with your smartphone. It is used to eject the SIM card tray, but it can also be used to safely remove the memory card.
2. Microfiber cloth: Having a microfiber cloth on hand will help you keep your smartphone and memory card clean during the removal process. It will gently remove any dust or debris that may have accumulated.
3. Small container: It’s a good idea to have a small container, such as a pillbox or a small ziplock bag, to store the memory card safely after removing it from your Motorola Razr. This will help prevent loss or damage to the card.
By gathering these tools before you start, you’ll be well-equipped to carry out the memory card removal process with ease and precision.
Previously known for its iconic flip design, the Motorola Razr has evolved into a sleek and advanced smartphone. One of the key features of the Razr is its expandable storage capability through a memory card. If you’re wondering how to remove the memory card from your Motorola Razr, we’ve got you covered. In this step-by-step guide, we will walk you through the process.
Step-by-Step Guide
Step 1: Preparing to Remove the Memory Card
Before you begin removing the memory card, make sure that your Motorola Razr is powered off. This is crucial to prevent any data loss or damage to the card or the device. It is also a good idea to remove the phone from its charger if it is plugged in.
Step 2: Removing the Back Cover of the Motorola Razr
To access the memory card slot, you will need to remove the back cover of the Motorola Razr. Begin by locating the small notch at the bottom of the phone. With your fingernail or a small tool, gently pry open the back cover upwards until it completely detaches from the phone. Take care not to force it or apply excessive pressure to avoid damaging the cover.
Step 3: Locating and Accessing the Memory Card Slot
With the back cover removed, you will now have access to the memory card slot. The slot is typically located in the upper section of the device, near the battery compartment. Look for a small rectangular opening with a tiny icon indicating the memory card position. It may also be labeled as “SD Card” or “Memory Card.”
Step 4: Safely Removing the Memory Card
To remove the memory card, gently push it inward until you feel a slight click. This will release the card from its locked position. Once released, carefully pull the memory card out of the slot by gripping the card’s edges. Avoid touching the metal contacts on the card to prevent any damage.
Congratulations! You have successfully removed the memory card from your Motorola Razr. Now you can transfer it to another device or replace it with a new one. Before reinserting the memory card or installing a new one, make sure it is compatible with your device and follows the recommended specifications.
FAQs:
1. Can I remove the memory card without turning off my Motorola Razr?
No, it is essential to power off your Motorola Razr before removing the memory card. This minimizes the risk of data loss or damage to the card or device.
2. What should I do if I can’t locate the memory card slot on my Motorola Razr?
If you’re unable to locate the memory card slot, consult the user manual or contact Motorola customer support for assistance. They will be able to guide you through the process.
3. Is it necessary to remove the back cover to access the memory card slot?
Yes, removing the back cover is necessary to access the memory card slot on a Motorola Razr. This allows you to safely remove or insert the memory card without causing damage to the device.
4. Can I use any type of memory card with my Motorola Razr?
No, it’s important to use a memory card that is compatible with your Motorola Razr. Consult the device’s specifications or user manual to determine the supported memory card types and capacity.
Tips for Removing the Memory Card
If you’re using a Motorola Razr and need to remove the memory card, follow these simple tips to ensure a smooth and hassle-free process:
1. Power off your device: Before attempting to remove the memory card, it’s essential to power off your Motorola Razr. This step will prevent any potential data loss or damage to the card.
2. Eject the SIM tray: The first thing you’ll need to do is locate the SIM tray on your device. Most Motorola Razr models have the SIM tray on the same side as the memory card slot. Use a SIM card ejector tool or a small pin to gently press into the small hole next to the SIM tray. This will pop open the tray, allowing you to access the memory card slot.
3. Remove the back cover: Once the SIM tray is ejected, you’ll need to remove the back cover of your Motorola Razr. Hold the device firmly and use your fingertips or a small opening tool to carefully pry open the back cover from the designated spot. Be patient and gentle, as excessive force can damage the cover or the device itself.
4. Locate the memory card slot: With the back cover removed, you’ll now have access to the memory card slot. It is usually located near the SIM tray, typically on the same side of the device. Look for a small slot with a “MicroSD” label next to it.
5. Remove the memory card: Once you’ve located the memory card slot, gently push the memory card inward to release it from the slot. Be cautious while doing this to avoid bending or damaging the card. Once released, you can easily pull it out using your fingers.
6. Safely store the memory card: If you plan to reinsert the memory card later or transfer the data to a new device, it’s crucial to store it in a safe and secure place. Use a protective case or a small storage container to prevent any physical damage or loss of data.
7. Replace the back cover: After removing the memory card, make sure to align the back cover correctly with the device. Press it gently but firmly until you hear a click, indicating that it’s securely in place. Double-check that all edges are properly aligned to ensure the device is fully protected.
By following these tips, you can easily remove the memory card from your Motorola Razr without any complications. Remember to handle the card delicately and keep it protected during the removal process to avoid any potential damage or data loss.
Conclusion
In conclusion, removing the memory card for your Motorola Razr is a simple and straightforward process. Just follow the steps outlined in this guide, and you’ll be able to remove your memory card without any hassle. Whether you need to transfer files, upgrade your memory card, or troubleshoot any issues, having the knowledge to safely remove and insert a memory card is essential.
Remember to always power off your device before removing the memory card, and handle it with care to avoid any damage. Additionally, make sure to store your memory card in a safe place when not in use.
With the steps provided in this article, you can confidently manage your memory card on the Motorola Razr and ensure that your device is functioning optimally. So go ahead, follow the instructions, and enjoy hassle-free memory management on your Motorola Razr!
FAQs
1. How do I remove the memory card from my Motorola Razr?
To remove the memory card from your Motorola Razr, follow these steps:
- Switch off your phone.
- Locate the SIM card tray on the side of your device.
- Insert the SIM card removal tool into the small hole next to the SIM card tray.
- Gently push the tool into the hole until the tray pops out.
- Remove the tray from the phone.
- Take out the memory card from the tray.
2. Can I remove the memory card while my Motorola Razr is still powered on?
It is recommended to switch off your Motorola Razr before removing the memory card. This helps prevent any potential data loss or damage to the card. Removing the card while the device is powered on may disrupt ongoing operations or corrupt the data stored on the card.
3. What should I do if my memory card gets stuck during removal?
If your memory card gets stuck while trying to remove it from your Motorola Razr, do not force it out. Instead, follow these steps:
- Switch off your phone.
- Ensure the SIM card tray is completely pushed in.
- Apply gentle pressure to the tray and try ejecting it again with the SIM card removal tool.
- If the memory card still does not come out, consider seeking professional assistance or contacting the manufacturer for guidance.
4. How do I insert a memory card into my Motorola Razr?
To insert a memory card into your Motorola Razr, follow these steps:
- Switch off your phone.
- Locate the SIM card tray on the side of your device.
- Insert the SIM card removal tool into the small hole next to the SIM card tray.
- Gently push the tool into the hole until the tray pops out.
- Place the memory card into the designated slot on the tray.
- Re-insert the tray into the phone.
5. Can I access the content on my memory card while it is removed from my Motorola Razr?
No, you cannot access the content on your memory card while it is removed from your Motorola Razr. The content on the memory card can only be accessed when it is properly inserted into the device. If you need to transfer or manage the content on your memory card, it is recommended to do so while the card is inserted in your phone.