
Are you the proud owner of a Motorola Droid phone, but finding yourself struggling to figure out how to open it? Look no further! In this article, we will guide you through the step-by-step process of opening your Motorola Droid phone with ease. Whether it’s to replace the battery, insert a new SIM card, or access the internal components, understanding how to open your phone is essential. With our expert knowledge of Motorola Droid phones, we will provide you with all the necessary information and tips to ensure a smooth and hassle-free experience. So, without further ado, let’s dive in and discover the secrets of opening your Motorola Droid phone!
Inside This Article
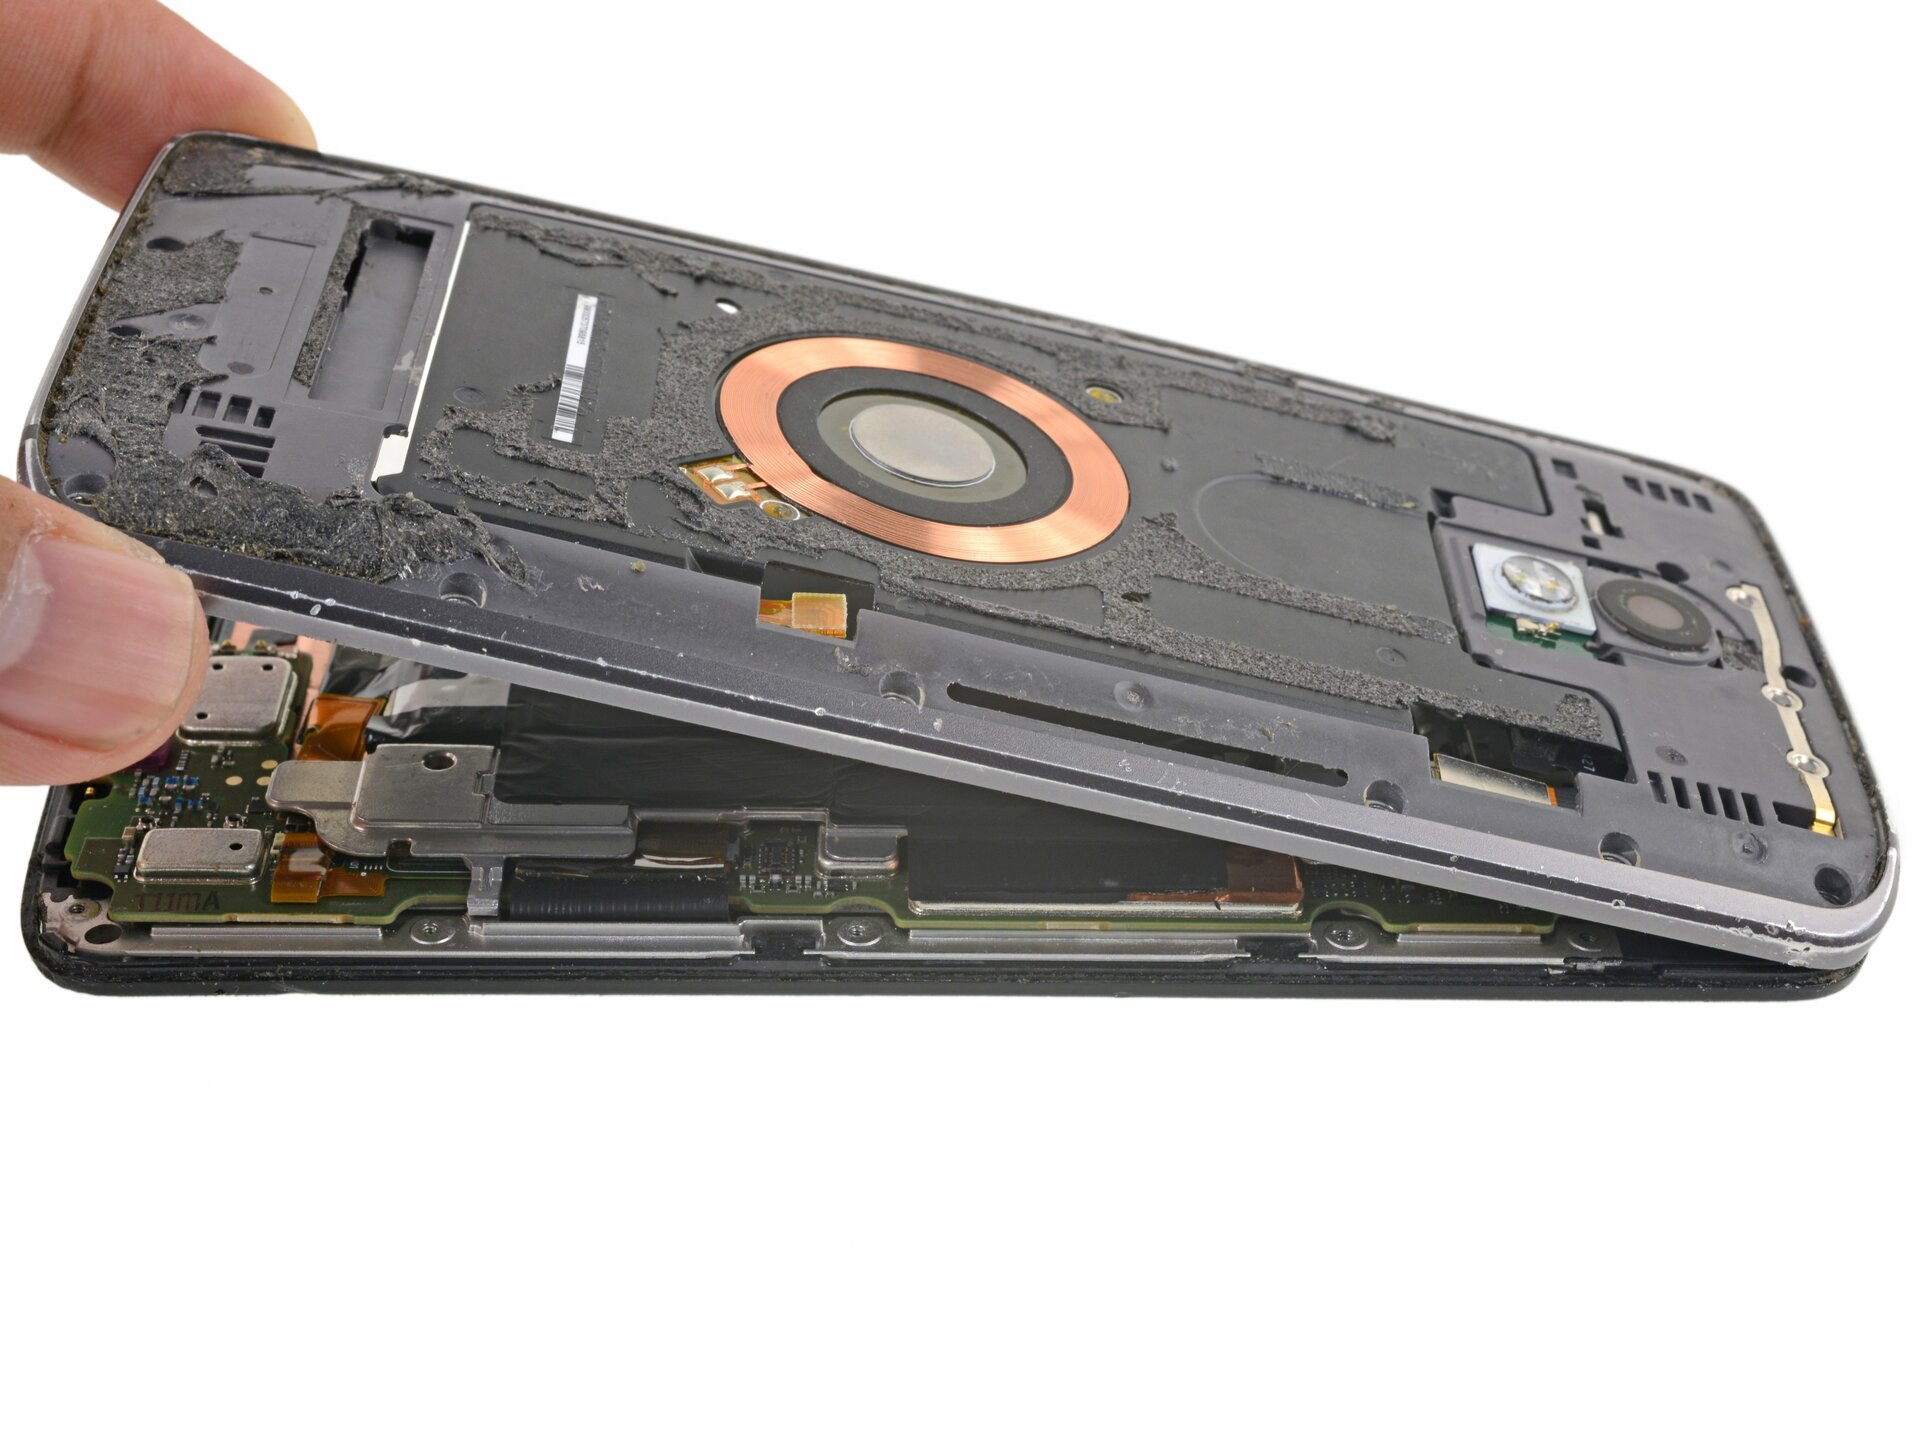
- Overview
- Step 1: Power on the Motorola Droid Phone
- Step 2: Set up the initial settings
- Step 3: Unlock the Motorola Droid Phone
- Conclusion
- FAQs
Overview
If you’re looking to open your Motorola Droid phone, you’ve come to the right place. In this article, we’ll guide you through the process of opening your Motorola Droid phone step-by-step.
Whether you’ve just purchased a new phone or you need to replace your SIM card, opening your Motorola Droid phone is a simple and straightforward process. By following the instructions provided, you’ll be able to access the internals of your phone safely and efficiently.
Opening your phone can allow you to perform various tasks such as inserting or removing a SIM card, replacing the battery, or accessing the internal storage. It’s important to note that opening your phone may void your warranty, so proceed with caution.
Before we begin, it’s essential to gather the necessary tools for the process. You’ll typically need a small screwdriver, a SIM card ejector tool (if applicable), and a clean, flat surface to work on. Once you have these items ready, you’re all set to begin opening your Motorola Droid phone.
Now, let’s move on to the step-by-step instructions on how to open your Motorola Droid phone.
Step 1: Power on the Motorola Droid Phone
Turning on your Motorola Droid Phone is the first step in getting started with your device. Follow these simple steps to power it on:
1. Locate the power button: The power button on the Motorola Droid Phone is typically positioned on the side or top of the device. It is usually marked with a power icon or the word “Power”.
2. Press and hold the power button: Firmly press and hold the power button for a few seconds until you feel a vibration or see the Motorola logo appear on the screen. This indicates that the device is turning on.
3. Release the power button: Once the Motorola logo appears, release the power button. The phone will continue to boot up, and you will be taken to the lock screen or the home screen, depending on your device’s settings.
4. Unlock the device (if necessary): If your Motorola Droid Phone has a lock screen, swipe, or enter your passcode or pattern to unlock the device and gain access to the home screen.
5. Set up the initial settings: Once your device is successfully powered on and unlocked, you can proceed to set up the initial settings, such as connecting to a Wi-Fi network, signing in with your Google account, and customizing preferences.
Now that you have successfully powered on your Motorola Droid Phone and completed the first step of the setup process, you are ready to explore and enjoy the full potential of your device!
Step 2: Set up the initial settings
After powering on your Motorola Droid Phone, the next step is to set up the initial settings. This will ensure that your phone is personalized to your preferences and ready to use. Here’s a simple guide to help you through this process:
1. Language and Region: The first setting you’ll encounter is selecting your language and region. Choose your desired language from the available options, and then select your region or country.
2. Wi-Fi: Connecting to a Wi-Fi network is an essential step in the initial setup. Tap on the Wi-Fi option and select your home or office network from the list of available networks. Enter the password if required, and your Motorola Droid Phone will connect to the Wi-Fi network.
3. Google Account: To use all the features and services of your Motorola Droid Phone, you’ll need to sign in with a Google account or create a new one. If you already have a Google account, enter your credentials to sign in. If you don’t have an account, tap on “Create account” to set up a new one.
4. Backup and Restore: The next step is to choose whether you want to enable backup and restore functionality. This feature allows you to back up your data to Google servers and restore it later if needed. It’s a good idea to enable this option to safeguard your important data.
5. Set up Screen Lock: Protecting your phone with a screen lock is crucial for ensuring the security of your personal information. You can choose between various screen lock options like a PIN, password, pattern, or biometric unlock (if supported by your device). Select the option that suits you best and follow the prompts to set it up.
6. Additional Settings: Aside from the aforementioned settings, you may also be prompted to configure additional options such as automatic date and time settings, device name, privacy settings, etc. Follow the prompts and customize these settings according to your preferences.
7. Update Firmware: It’s advisable to check for any available firmware updates for your Motorola Droid Phone. These updates often contain bug fixes, performance improvements, and new features. Navigate to the “System Updates” section and follow the instructions to update your device, if necessary.
By following these steps to set up the initial settings on your Motorola Droid Phone, you can ensure that your device is ready for use and aligned with your preferences. Once you’ve completed the set-up process, you can begin exploring all the amazing features and capabilities that your Motorola Droid Phone has to offer.
Step 3: Unlock the Motorola Droid Phone
Unlocking your Motorola Droid phone allows you to use it with any compatible carrier. This can be useful if you want to switch to a different provider or travel internationally. Here’s how you can easily unlock your Motorola Droid phone:
1. Contact your carrier: The first step in unlocking your phone is to contact your current carrier. They will provide you with the necessary information and instructions to unlock your device. Some carriers may require you to fulfill certain conditions, such as completing your contract or paying any outstanding fees.
2. Obtain an unlocking code: Once you have contacted your carrier, they will provide you with an unlocking code. This code is specific to your unique device and will allow you to unlock it. Make sure to note down this code as you will need it later in the process.
3. Insert a non-carrier SIM card: To proceed with the unlocking process, you need to insert a non-carrier SIM card into your Motorola Droid phone. This can be a SIM card from a different carrier or a prepaid SIM card that you purchased for international use.
4. Enter the unlocking code: When you power on your phone with the non-carrier SIM card inserted, your Motorola Droid phone will prompt you to enter the unlocking code. Use the keypad to enter the code provided by your carrier. Make sure to enter it correctly, as an incorrect code may result in your phone remaining locked.
5. Complete the unlocking process: Once you have successfully entered the unlocking code, your Motorola Droid phone will verify the code and unlock itself. You will then be able to use your phone with any compatible SIM card from any carrier.
Congratulations! You have successfully unlocked your Motorola Droid phone. You can now enjoy the flexibility of using different carriers or traveling with your phone internationally without any limitations.
Conclusion
Opening a Motorola Droid phone may seem like a daunting task, but with the right knowledge and tools, it can be done successfully. Whether you need to change a battery, replace a broken screen, or simply explore the inner workings of your device, following the proper steps is essential to avoid causing any damage. Remember to conduct thorough research, gather the necessary tools, and proceed with caution.
By following the step-by-step guide provided in this article, you can confidently open your Motorola Droid phone without any hassle. However, it’s important to note that opening your phone may void its warranty, so proceed at your own risk. If you’re not confident in your DIY skills, it’s always best to consult a professional or contact the manufacturer for assistance.
Overall, opening your Motorola Droid phone can give you a deeper understanding of its components and allow you to perform repairs or modifications. Just remember to exercise caution, take your time, and seek professional help if needed. Happy exploring!
FAQs
1. How do I unlock my Motorola Droid phone?
Unlocking your Motorola Droid phone is a straightforward process. Follow these steps:
– Step 1: First, power off your phone.
– Step 2: Locate the SIM card tray on the side of your phone and use a SIM ejector tool or a small paperclip to open it.
– Step 3: Remove the existing SIM card and replace it with a SIM card from a different carrier.
– Step 4: Power on your phone. If prompted, enter the unlock code provided by your new carrier. If you don’t have an unlock code, you can contact your carrier or a third-party unlocking service.
– Step 5: Once the unlock process is complete, your Motorola Droid phone will now be able to work with different carriers.
2. How can I transfer data from my old phone to a Motorola Droid phone?
Transferring data from your old phone to a Motorola Droid phone can be done in a few different ways:
– Option 1: Use a data transfer cable or adapter: Most smartphones come with a USB data transfer cable. Connect your old phone to your Motorola Droid using this cable, and follow the on-screen prompts to transfer your data.
– Option 2: Use cloud services: If both your old phone and Motorola Droid are connected to the same cloud service (such as Google Drive or iCloud), you can sync your data across devices.
– Option 3: Use a third-party app: There are various third-party apps available on app stores that can help you transfer data between different phones. Install the app on both devices, follow the instructions, and transfer your data.
3. Can I use my Motorola Droid phone internationally?
Yes, you can use your Motorola Droid phone internationally, but you may need to check a few things beforehand:
– Check if your phone is unlocked: If your Motorola Droid is locked to a specific carrier, you may need to unlock it before using it with a different carrier’s SIM card internationally.
– Check for international compatibility: Make sure your phone supports the radio frequency bands used by the international carrier you plan to use.
– Purchase an international SIM card: Consider getting an international SIM card, often available at airports or local stores in the destination country, for better rates on calls, texts, and data.
4. How do I take a screenshot on my Motorola Droid phone?
Taking a screenshot on a Motorola Droid phone is a simple process:
– Press and hold the Power button and the Volume Down button simultaneously. If done correctly, you will see an animation or hear a sound indicating that a screenshot has been taken.
– The screenshot will be saved in the Photos or Gallery app on your phone, depending on the model and software version.
5. How can I extend the battery life of my Motorola Droid phone?
To extend the battery life of your Motorola Droid phone, consider the following tips:
– Adjust screen brightness: Lower the screen brightness or enable auto-brightness to conserve battery power.
– Close unused apps: Close apps running in the background that you’re not actively using to save battery life.
– Disable unnecessary features: Turn off Wi-Fi, Bluetooth, and GPS when not in use to minimize battery drain.
– Enable power-saving mode: Activate the power-saving mode on your phone to optimize battery usage.
– Limit background activity: Restrict certain apps from running in the background to save battery power.