
Welcome to our guide on how to remove a steel joint connector nut! Whether you’re working on a DIY project or repairing a piece of furniture, knowing how to remove this type of nut is essential. The steel joint connector nut is commonly used in various applications, such as assembling wooden furniture, connecting metal structures, or securing plumbing fixtures. While it may seem challenging at first, with the right tools and techniques, removing a steel joint connector nut can be a breeze. In this article, we will walk you through the step-by-step process of safely removing a steel joint connector nut, ensuring that you can smoothly complete your project without any hassle.
Inside This Article
- Method 1: Using a Wrench
- Method 2: Using Pliers
- Method 3: Applying Lubricant
- Method 4: Using a Power Drill
- Conclusion
- FAQs
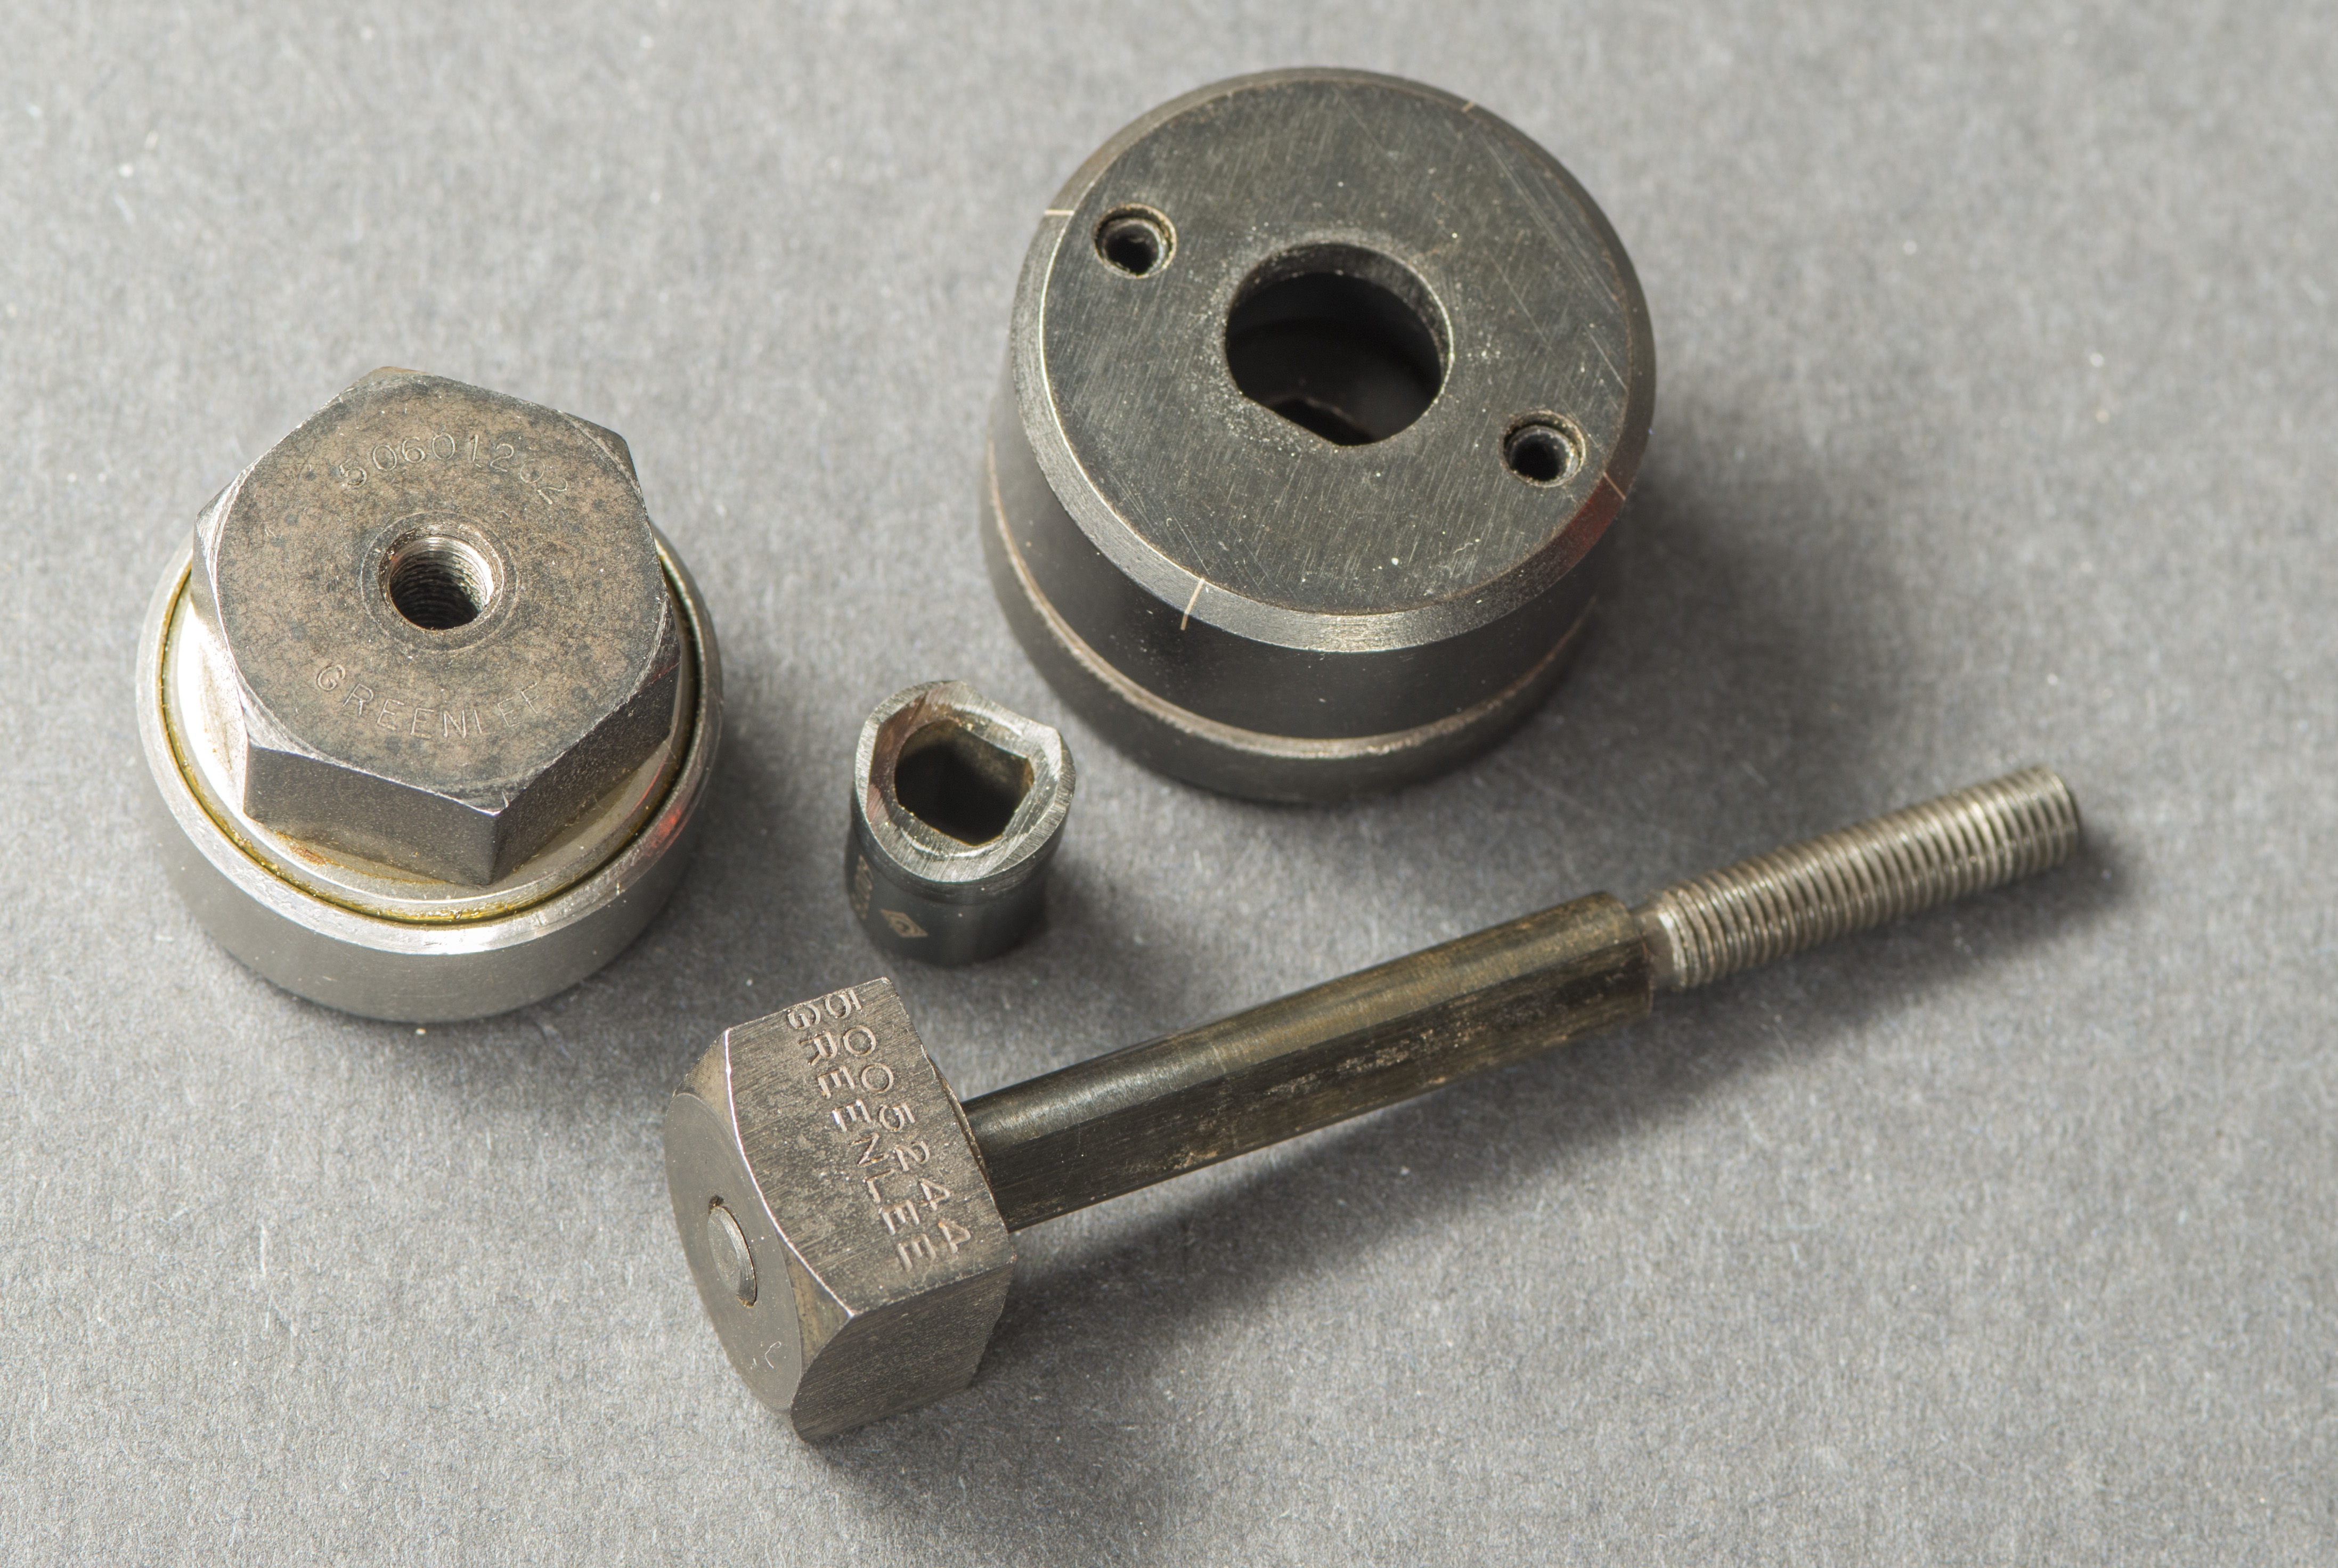
Method 1: Using a Wrench
If you’re looking to remove a stubborn steel joint connector nut, using a wrench can be an effective method. Here’s a step-by-step guide on how to do it:
- Start by selecting an adjustable wrench that matches the size of the connector nut. It’s crucial to use the right size to avoid damaging the nut.
- Position the wrench’s jaw onto the flat sides of the connector nut. Ensure a firm grip on the nut to prevent slipping during the removal process.
- Apply steady pressure in a counterclockwise direction. Remember, “lefty loosey, righty tighty.” The goal is to loosen the nut by turning it in the opposite direction in which it was tightened.
- If the nut seems stuck, try applying a gentle tap with a hammer on the wrench handle. This can help create vibrations that loosen the nut’s grip.
- Continue turning the wrench counterclockwise until the nut is fully released. You may need to exert more force if the nut is particularly tight.
- Once the nut is removed, inspect the joint or threaded area for any signs of damage. If necessary, clean the threads or replace the nut before reassembling the connection.
Using a wrench is a straightforward and widely accessible method for removing steel joint connector nuts. However, it’s crucial to exercise caution and use the correct size wrench to avoid damaging the nut or other components. If you encounter any challenges during the process, consider seeking professional assistance.
Method 2: Using Pliers
If you find yourself faced with a stubborn steel joint connector nut that won’t budge, using pliers can be an effective method to remove it. Pliers are a versatile tool that can provide the necessary grip and leverage needed to loosen and unscrew the nut.
Here’s a step-by-step guide on how to use pliers for removing a steel joint connector nut:
- Start by selecting the appropriate size of pliers. It’s best to use adjustable slip-joint pliers or locking pliers, as these provide a firm grip on the nut.
- Position the jaws of the pliers around the nut, ensuring a tight grip.
- Apply gentle pressure in a counterclockwise direction to loosen the nut. If the nut is particularly tight, you may need to use more force, but be cautious not to overtighten and risk damaging the nut or the surrounding materials.
- Use the leverage provided by the pliers to loosen the nut further. If needed, place a piece of cloth or rubber between the pliers and the nut to prevent scratching or damaging the surface of the nut.
- Continue turning the nut counterclockwise until it is fully loosened and can be removed by hand.
Using pliers allows for a secure grip and greater control, making it easier to overcome resistance and remove the steel joint connector nut. However, it is important to exercise caution and avoid using excessive force, as this can lead to damage or injury. If the nut remains stuck or if you encounter any difficulties, it may be necessary to seek professional assistance.
Remember, safety should always be a priority when working with tools, so be sure to wear appropriate protective gear, such as gloves and safety glasses, when attempting to remove a steel joint connector nut.
Method 3: Applying Lubricant
When it comes to removing a stubborn steel joint connector nut, applying lubricant can be a game-changer. Lubricants not only help to loosen the nut but also reduce friction, making the removal process much easier. Here’s a step-by-step guide on how to use lubricant to remove a steel joint connector nut:
- Gather the tools: Before you begin, make sure you have the necessary tools at hand. This includes a penetrating oil or lubricant of your choice, a wrench or adjustable pliers, and a rag or paper towel to clean up any excess lubricant.
- Prepare the area: Ensure that the area surrounding the steel joint connector nut is clean and free from any debris or dirt. This will help prevent contamination of the lubricant and allow for a smoother removal process.
- Apply the lubricant: Using a nozzle or spray, apply the lubricant generously onto the steel joint connector nut. Make sure to coat all sides of the nut and allow the lubricant to penetrate into the threads.
- Let it sit: After applying the lubricant, give it some time to work its magic. Depending on the type of lubricant used, this could range from a few minutes to several hours. Refer to the manufacturer’s instructions for the specific waiting time.
- Attempt removal: Once the lubricant has had enough time to work, try turning the steel joint connector nut with the wrench or adjustable pliers. Start by applying gentle pressure and gradually increase it if needed. The lubricant should have loosened the nut, making it easier to turn.
- Repeat if necessary: If the nut doesn’t budge, repeat the process of applying lubricant and letting it sit for a longer duration. Sometimes, multiple applications may be required for stubborn nuts.
- Clean up: After successfully removing the steel joint connector nut, clean up any excess lubricant using a rag or paper towel. This will help prevent slippery surfaces and ensure that the area is safe and tidy.
Remember, when using lubricant to remove a steel joint connector nut, it’s important to choose a high-quality penetrating oil or lubricant that is suitable for the job. Additionally, always follow the manufacturer’s instructions for the specific product you are using. With the right lubricant and technique, removing even the most stubborn steel joint connector nut can be a hassle-free task.
Method 4: Using a Power Drill
If you’re dealing with a stubborn steel joint connector nut and the previous methods haven’t worked, using a power drill can provide the extra force needed to remove it. This method requires a power drill with a compatible socket or a drill bit that fits the size of the nut.
Follow these steps to remove the steel joint connector nut using a power drill:
- Begin by selecting the appropriate socket or drill bit for the nut size. Make sure it fits securely.
- Attach the socket or drill bit to the power drill, ensuring it is properly tightened.
- Set the power drill to the reverse or counterclockwise direction.
- Position the drill bit or socket onto the nut and apply gentle pressure.
- Start the power drill at a low speed and gradually increase the speed to generate more torque.
- Hold the power drill steady and allow it to rotate the nut in the opposite direction.
- If the nut doesn’t budge, you can try applying some penetrating oil or lubricant to loosen it up.
- Continue running the power drill at a higher speed until the nut comes loose.
- Once the nut starts to turn, you can switch the power drill to the forward or clockwise direction to remove it completely.
It is crucial to handle the power drill with care and wear appropriate safety gear, such as gloves and goggles, to protect yourself from any flying debris. Remember to maintain a steady hand and avoid applying excessive force that may damage the surrounding area or strip the nut.
If you encounter any resistance or difficulties, it may be worth seeking professional assistance to avoid further complications or damage.
Using a power drill can be an effective method for removing steel joint connector nuts, especially when other techniques have failed. However, it’s important to exercise caution and follow the steps carefully to ensure a safe and successful removal process.
Conclusion
Removing a steel joint connector nut can be a challenging task, but with the right tools and techniques, it can be done successfully. By following the steps outlined in this guide, you can safely and effectively remove the steel joint connector nut without causing any damage to the surrounding structure. Remember to always use caution when working with potentially hazardous materials, and if you’re unsure about your abilities, it’s best to seek professional assistance. With the right knowledge and a bit of practice, you’ll be able to tackle any steel joint connector nut removal with confidence. So, roll up your sleeves, grab your tools, and get ready to conquer the challenge!
FAQs
1. How do I remove a steel joint connector nut?
To remove a steel joint connector nut, you will need a few tools. First, make sure to disconnect any power source that may be connected to the joint. Then, use an adjustable wrench or pliers to grip the nut firmly. Apply steady pressure in a counterclockwise direction to loosen the nut. If the nut is difficult to remove, you can try using penetrating oil to help loosen any rust or debris that may be causing resistance. Remember to be patient and careful when removing a steel joint connector nut to avoid damaging the surrounding parts.
2. Can I reuse a steel joint connector nut once it has been removed?
In most cases, it is recommended to replace a steel joint connector nut once it has been removed. Steel nuts can experience wear and tear over time, especially if they have been exposed to elements like moisture or extreme heat. Reusing an old nut could potentially compromise the integrity of the joint, leading to issues such as instability or leaks. It is best to invest in a new steel joint connector nut to ensure optimal performance and safety.
3. What should I do if the steel joint connector nut is not coming loose?
If the steel joint connector nut is stubborn and refuses to loosen, there are a few steps you can take. First, ensure that you are using the appropriate size and type of wrench or pliers for the job. Applying too much force with the wrong tool can cause damage. If the nut still won’t budge, try using a penetrating oil or rust dissolver to break down any corrosion that may be causing the resistance. If all else fails, it may be necessary to consult a professional or seek assistance from a knowledgeable individual to ensure the nut is removed safely and correctly.
4. Are there any safety precautions I should take when removing a steel joint connector nut?
Yes, there are a few safety precautions to keep in mind when removing a steel joint connector nut. Always make sure to disconnect any power sources or energy sources that may be connected to the joint. This will prevent any accidents or unexpected movement while you are working. Additionally, wear protective gloves and goggles to prevent any injuries from flying debris or sharp edges. It is also important to use the correct tools and follow the manufacturer’s instructions or guidelines to avoid any unnecessary accidents or damage.
5. What is the purpose of a steel joint connector nut?
A steel joint connector nut is commonly used in various applications where two or more components need to be securely connected. These nuts provide a threaded connection that enables the joint to be tightened or loosened as needed. They are commonly used in automotive, construction, and industrial settings where strong and reliable connections are essential. Steel joint connector nuts are designed to withstand high levels of torque and provide stability to the joint, ensuring that it remains secure and resistant to loosening over time.