
Are you struggling with removing the wireless dongle from your Dell C2660Dn printer? Don’t worry, you’re not alone. The wireless dongle is a small accessory that allows your printer to connect to a wireless network, giving you the freedom to print wirelessly from your devices. However, there may be times when you need to remove the dongle, whether it’s for troubleshooting or to replace it with a new one. In this article, we will guide you through the process of removing the wireless dongle from your Dell C2660Dn printer step by step. From disconnecting the dongle to safely removing it, we’ve got you covered. So, let’s dive in and get your printer ready for the next wireless printing adventure!
Inside This Article
- Overview of the Dell C2660Dn Printer
- Step 1: Powering off the Printer
- Step 2: Locating the Wireless Dongle
- Step 3: Removing the Wireless Dongle
- Step 4: Reassembling the Printer
- Conclusion
- FAQs
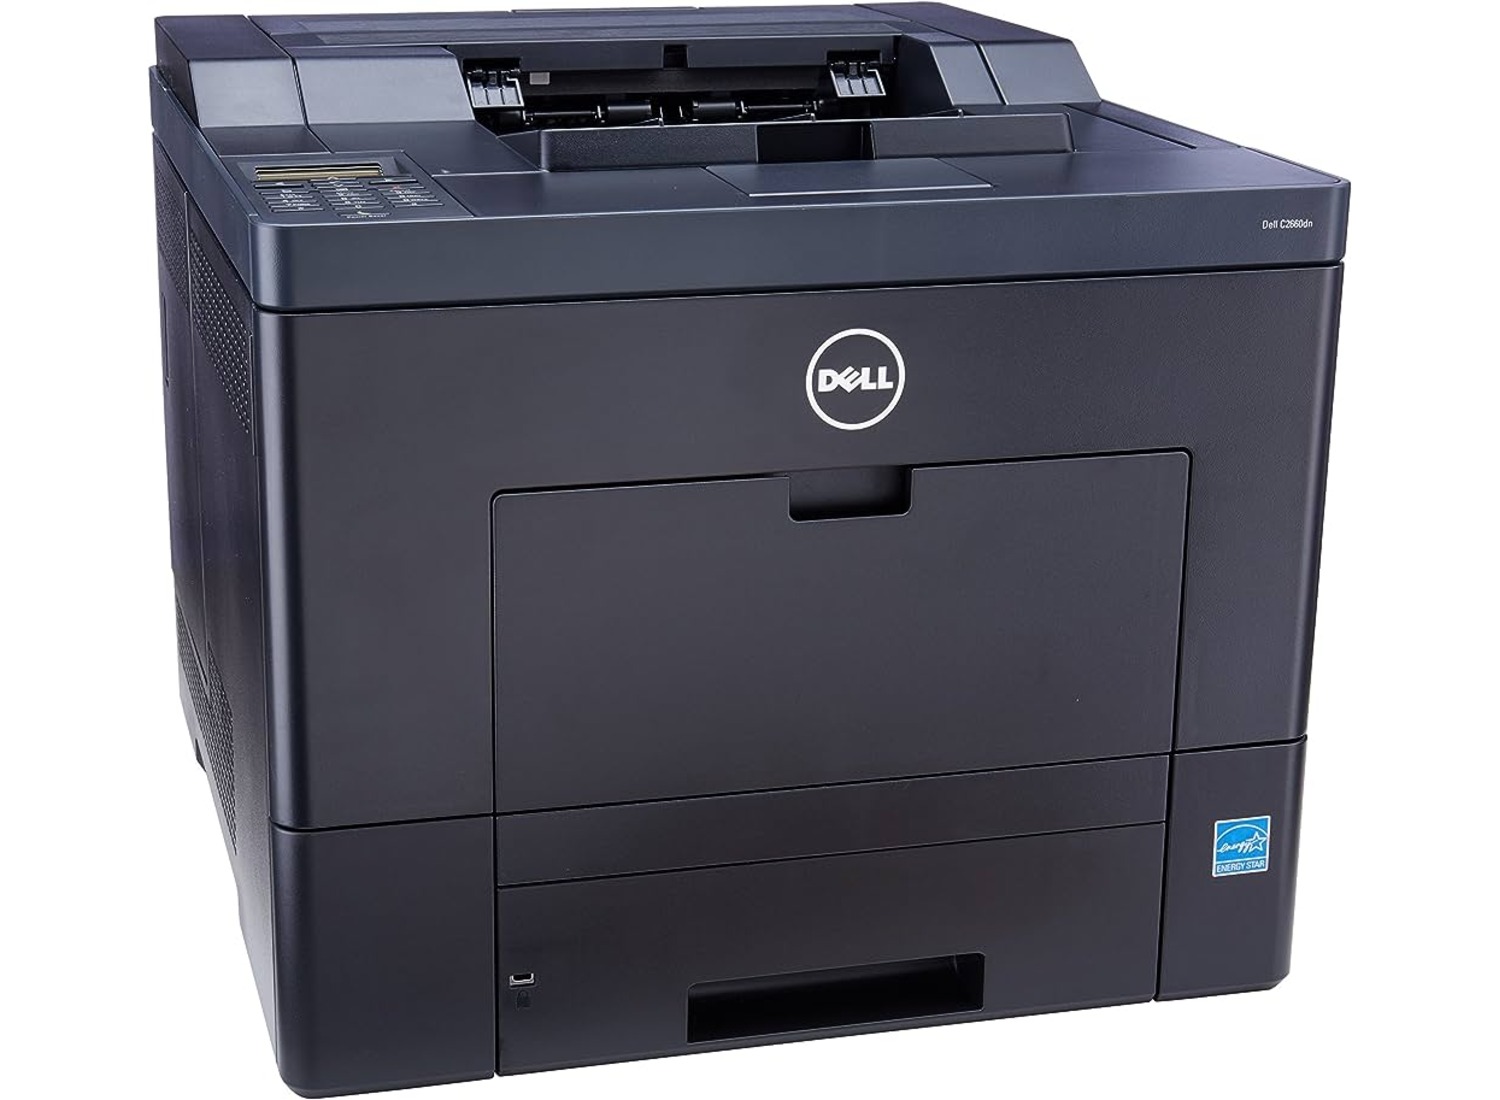
Overview of the Dell C2660Dn Printer
The Dell C2660Dn is a versatile and high-performance printer designed to meet the printing needs of small to medium-sized businesses. With its advanced features and reliable performance, this printer stands out in the market.
Equipped with advanced printing technology, the Dell C2660Dn delivers professional-quality prints with crisp and vibrant colors. Whether you need to print documents, marketing materials, or graphics, this printer can handle it all with ease.
In terms of speed and efficiency, the Dell C2660Dn does not disappoint. It boasts impressive print speeds of up to 28 pages per minute for both color and black-and-white prints. This makes it ideal for busy work environments where quick and efficient printing is a priority.
One of the standout features of the Dell C2660Dn is its wireless connectivity options. It comes equipped with a built-in wireless dongle that allows you to connect and print wirelessly from your computer, laptop, or even mobile device. This eliminates the hassle of dealing with tangled cables and provides the flexibility to print from anywhere in your office.
Another key feature of this printer is its spacious paper tray, which can hold up to 550 sheets of paper. This means less frequent paper refills and more uninterrupted printing. Additionally, it supports automatic duplex printing, allowing you to print on both sides of the paper, reducing paper wastage and saving costs.
The Dell C2660Dn also offers a user-friendly interface, making it easy to navigate through the printer’s settings and options. With its intuitive control panel and clear display, you can easily select the desired print settings, such as paper size, print quality, and color options.
In terms of durability and longevity, the Dell C2660Dn is built to last. Its robust construction ensures that it can withstand heavy use and demanding printing tasks. This makes it a reliable choice for businesses that require consistent and high-quality printing.
Overall, the Dell C2660Dn is a feature-packed and reliable printer that offers excellent print quality, fast speeds, wireless connectivity, and user-friendly operation. Whether you need to print documents, marketing materials, or graphics, this printer is sure to meet your needs and exceed your expectations.
Step 1: Powering off the Printer
Before you remove a wireless dongle from your Dell C2660Dn Printer, it is essential to power off the printer properly. Follow these steps to ensure a safe and successful removal process:
- Step 1: Locate the power button on the printer. It is usually located on the front or top panel. Press and hold the power button until the printer turns off completely.
- Step 2: Once the printer is powered off, unplug the printer’s power cord from the electrical outlet. This will guarantee that there is no power running through the printer while the dongle is being removed.
- Step 3: It’s always a good idea to wait for a few minutes to allow any residual power to dissipate before proceeding to the next step. This step helps to ensure the safety of the removal process.
By powering off the printer and disconnecting it from the power source, you minimize the risk of electrical shock or damage to the printer’s electronic components. Taking these precautionary steps is crucial before delving into the process of removing the wireless dongle from your Dell C2660Dn Printer.
Step 2: Locating the Wireless Dongle
The wireless dongle in the Dell C2660Dn printer is a small device that enables wireless connectivity and allows you to print documents directly from your mobile devices. Locating the wireless dongle is an essential step before removing it from the printer.
To locate the wireless dongle, you’ll need to identify the access panel on the printer. This panel usually resides on the backside of the printer. Look for a small cover that can be easily opened and closed.
Once you have located the access panel, gently lift it up or slide it to one side to reveal the internal components of the printer. Take a moment to examine the various parts inside, as this will help you identify the wireless dongle.
The wireless dongle is typically a small rectangular device, similar in shape to a USB flash drive. It may be connected to a USB port or located in a dedicated slot within the printer. Look for a small plastic or metal device that protrudes slightly from the printer’s internal components.
If you are having trouble locating the wireless dongle, refer to the printer’s user manual. The manual will provide detailed instructions and illustrations to help you find the exact location of the wireless dongle in your specific printer model.
Remember to handle the internal components of the printer with care to avoid damaging any delicate parts. Use gentle movements and avoid applying excessive force when locating the wireless dongle.
Once you have successfully located the wireless dongle, you are ready to proceed to the next step of removing it from the printer. This will allow you to disconnect the wireless functionality and make any necessary changes or upgrades.
Step 3: Removing the Wireless Dongle
Once you have powered off your Dell C2660Dn printer and located the wireless dongle, you can now proceed with removing it. Follow the steps below to successfully remove the wireless dongle.
1. Carefully disconnect any cables or wires connected to the wireless dongle. This may include USB cables or power cables. Take your time to ensure a smooth disconnection without causing any damage to the dongle or the printer.
2. Use a small screwdriver or a similar tool to gently pry the wireless dongle out of its slot. Be cautious not to apply too much force, as you don’t want to break or damage any components of the printer. Proceed with slow and deliberate movements to safely remove the dongle.
3. Once the dongle is loosened, carefully pull it out of the slot. Be mindful of any resistance, and avoid any sudden movements that could potentially damage the dongle or the printer. Take your time and proceed with patience to ensure a successful removal.
4. After removing the wireless dongle, set it aside in a safe place. It’s a good idea to keep it in a protective cover or bag to prevent any accidental damage or misplacement. This will also help to keep the dongle clean and free from any dust or debris.
5. Inspect the slot where the wireless dongle was inserted. Ensure that there are no obstructions or debris that could hinder the installation of a new wireless dongle in the future. Use a lint-free cloth or compressed air to clean the slot if necessary.
By following these steps, you will be able to successfully remove the wireless dongle from your Dell C2660Dn printer. Always exercise caution and take your time to prevent any accidental damage. Once the dongle is safely removed, you can proceed with the next steps to complete your printer maintenance or replace the dongle with a new one, if needed.
Step 4: Reassembling the Printer
Now that you have successfully removed the wireless dongle from your Dell C2660Dn printer, it’s time to start reassembling the printer. Follow these steps to ensure the process goes smoothly:
- Step 1: Replace the Cover
- Step 2: Insert the Ink Cartridges
- Step 3: Connect the Power Cable
- Step 4: Power on the Printer
- Step 5: Connect to Wi-Fi (Optional)
Begin by placing the cover back onto the printer. Align it properly and make sure it snaps back into place securely. This will protect the internal components of the printer.
Open the ink cartridge compartment and carefully insert the ink cartridges back into their respective slots. Make sure they are fully seated and properly aligned.
Reconnect the power cable to both the printer and the power outlet. Ensure that the cable is securely plugged in on both ends.
Press the power button to turn on the printer. Wait for it to go through its startup process, and be patient as it may take a few moments.
If you had previously connected your printer to a Wi-Fi network, reconnect it by navigating through the printer’s settings menu. Follow the prompts to enter your Wi-Fi network credentials and establish a connection.
And there you have it – your Dell C2660Dn printer is now fully reassembled and ready to use. Take some time to print a test page to ensure everything is functioning properly. If you encounter any issues, double-check the connections and consult the printer’s user manual for troubleshooting guidance.
Conclusion
Removing the wireless dongle from the Dell C2660Dn printer is a simple process that can be accomplished in just a few steps. By following the instructions provided and taking the necessary precautions, you can safely detach the dongle and restore your printer to its original state.
Whether you need to replace the dongle or no longer require wireless connectivity, removing the dongle is a straightforward task that does not require any technical expertise. Remember to turn off the printer and unplug it from the power source before proceeding. Take your time to carefully disconnect the dongle from the USB port, being cautious not to force it or damage any components.
By understanding how to remove the wireless dongle from your Dell C2660Dn printer, you can easily manage your printer’s connectivity options and ensure optimal performance. This simple process allows you to seamlessly switch between wired and wireless setups, giving you the flexibility to adapt your printing needs to your specific requirements.
FAQs
1. Why would I need to remove the wireless dongle from my Dell C2660Dn printer?
There can be various reasons why you may need to remove the wireless dongle from your Dell C2660Dn printer. One common reason is when you want to connect your printer directly to a computer or a different device using a USB cable instead of using a wireless connection. Another reason could be to troubleshoot connectivity issues or if you are planning to replace the wireless dongle with a new one.
2. How do I know if my Dell C2660Dn printer has a wireless dongle?
To determine if your Dell C2660Dn printer has a wireless dongle, you can check its specifications or refer to the user manual. Additionally, you can look for indicators or buttons related to wireless connectivity on the printer itself. If your printer supports wireless printing, it is likely to have a wireless dongle installed.
3. What is the process to remove the wireless dongle from a Dell C2660Dn printer?
To remove the wireless dongle from your Dell C2660Dn printer, follow these steps:
– Turn off the printer and unplug it from the power source.
– Locate the position of the wireless dongle on the printer. It is usually located at the back or side of the printer.
– Gently unplug the wireless dongle from the corresponding port on the printer.
– Once the wireless dongle is unplugged, you can store it safely or replace it with a new one if needed.
4. Can I use my Dell C2660Dn printer without the wireless dongle?
Yes, you can still use your Dell C2660Dn printer even without the wireless dongle. However, you will need to connect the printer directly to a computer or a device using a USB cable. This eliminates the wireless printing capability, but you can still print documents and perform other functions as usual.
5. Can I reuse the wireless dongle after removing it from my Dell C2660Dn printer?
In most cases, the wireless dongle that comes with a Dell C2660Dn printer is specific to that model and cannot be reused with other devices. However, if you are replacing the dongle with a new one, you can reuse the original dongle on the same printer if it is in working condition. It is advisable to refer to the printer’s documentation or contact Dell support for further guidance on reusing the dongle.