
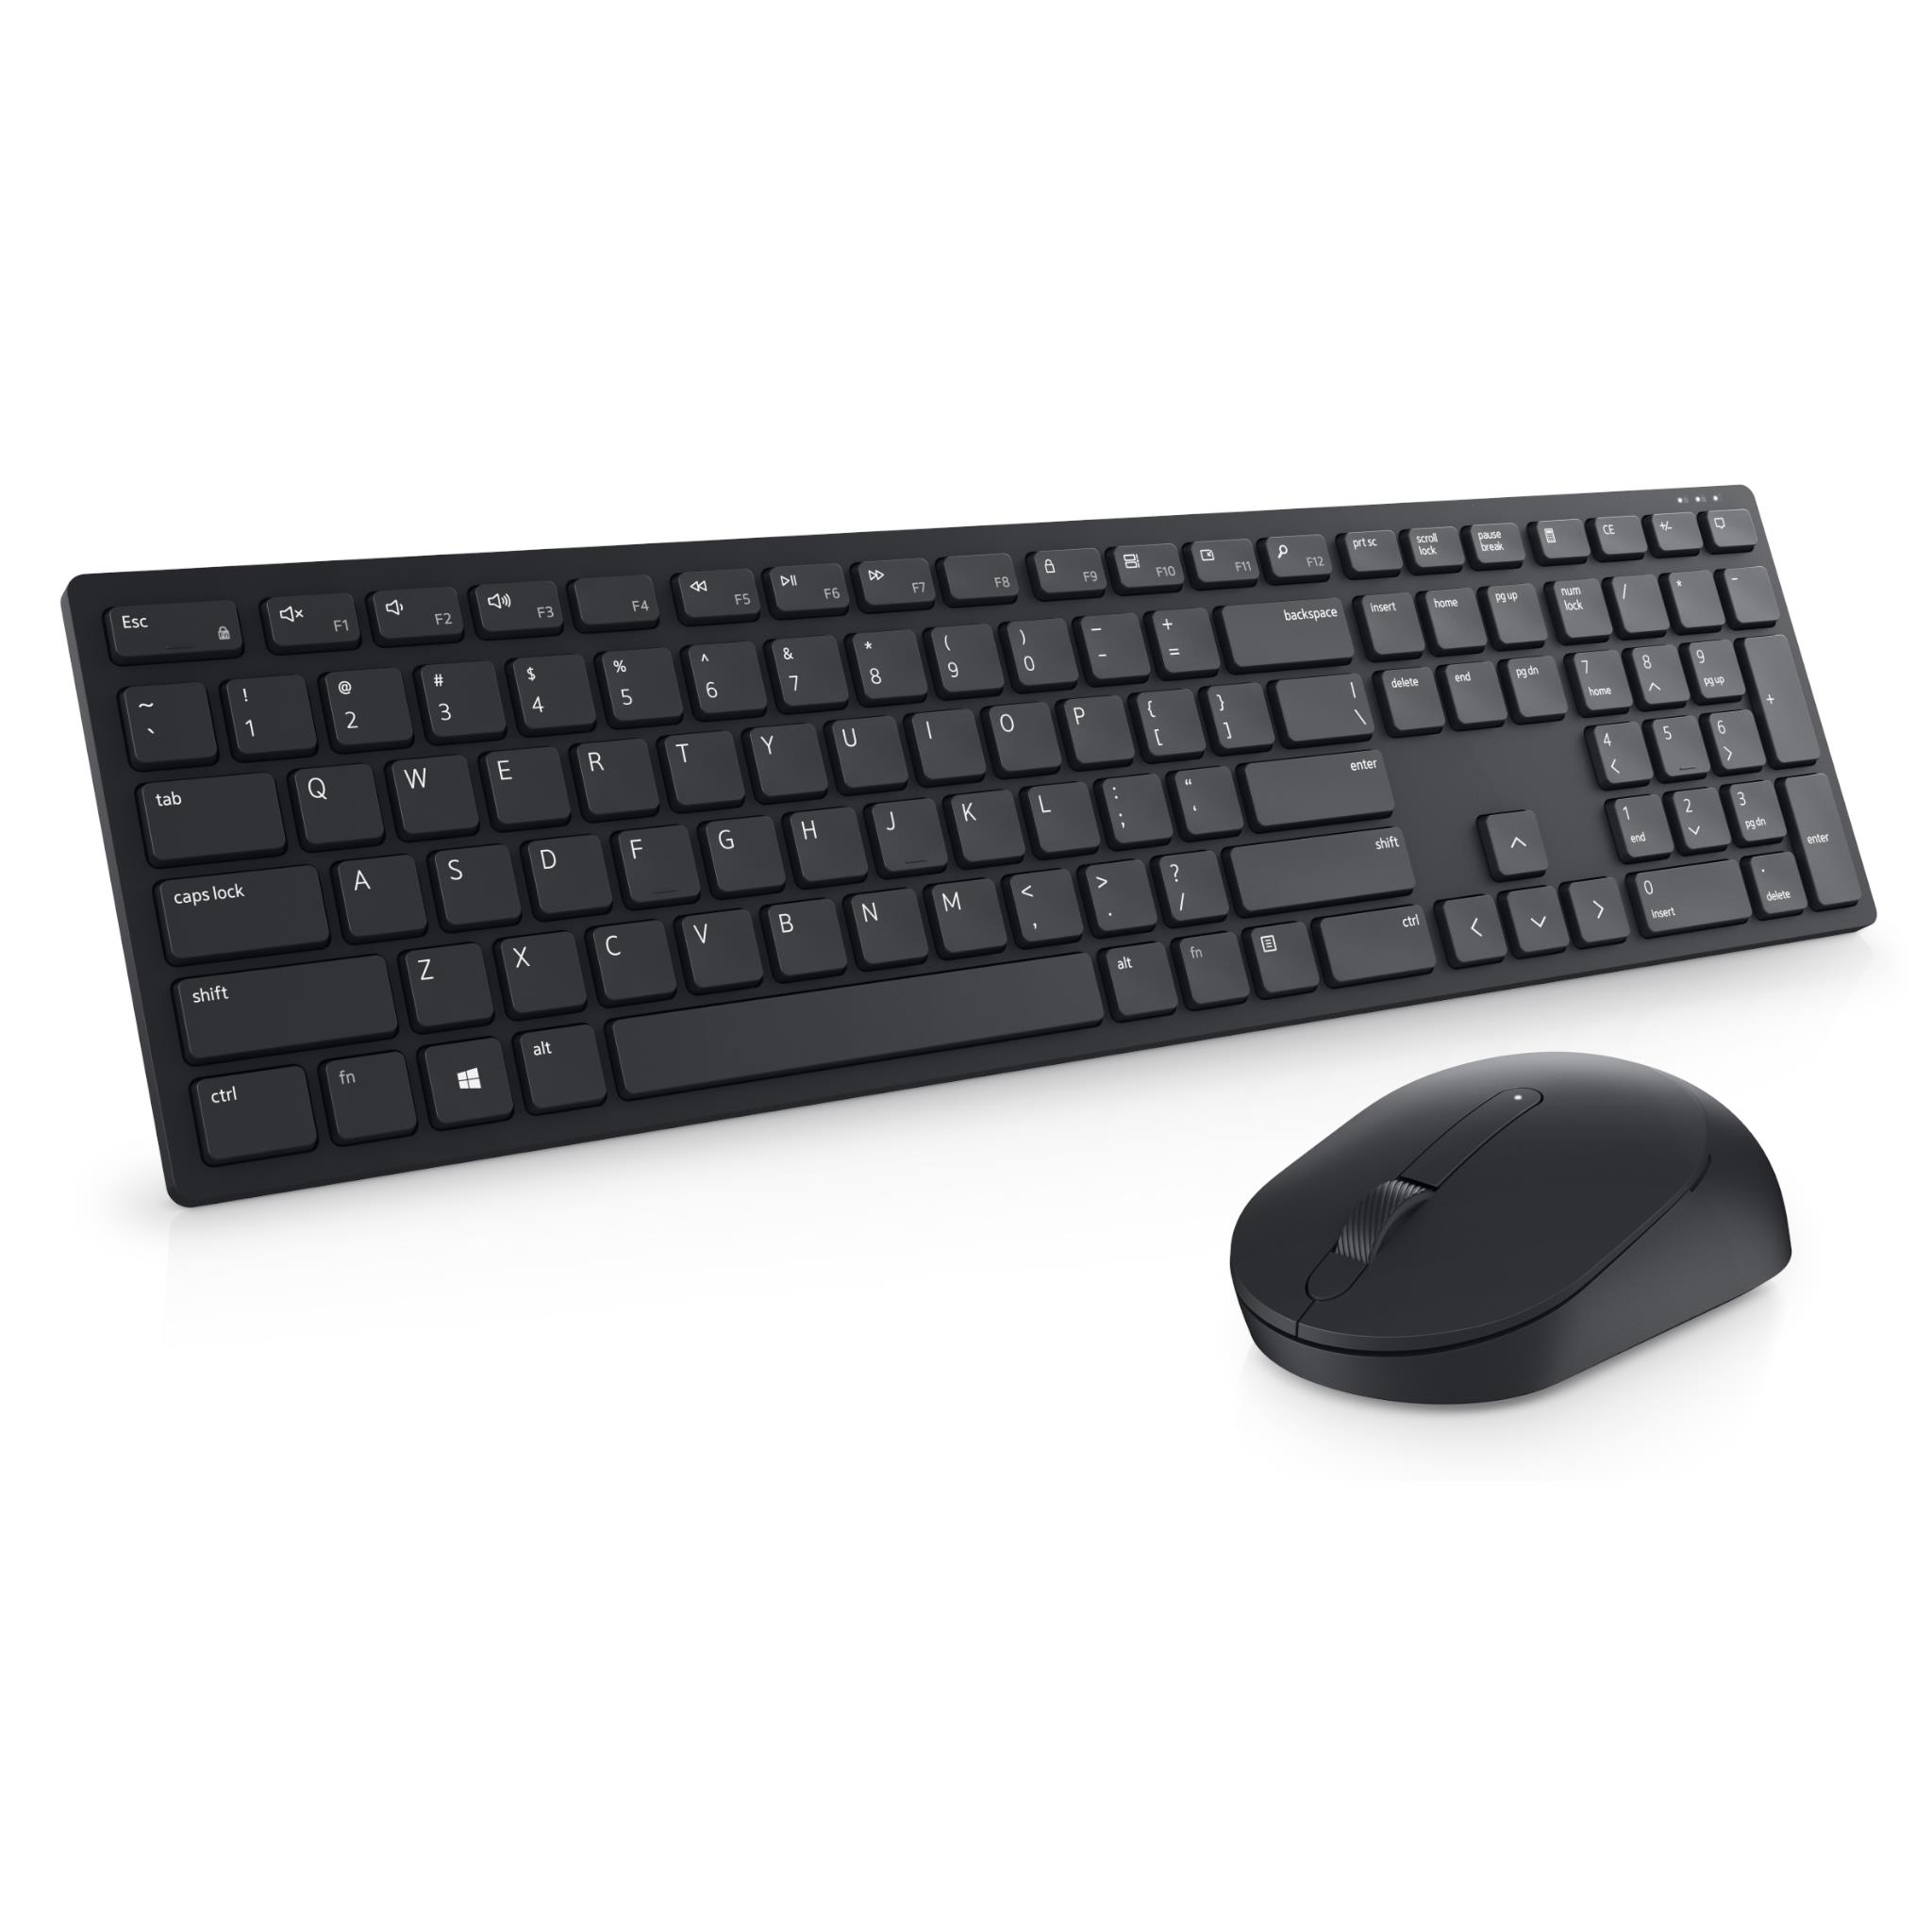
Setting up your Dell wireless keyboard and mouse is a breeze, and in this comprehensive guide, we will walk you through the process step by step. Whether you’re upgrading to a new Dell keyboard and mouse or simply need to connect them for the first time, we’ve got all the information you need to get started.
With Dell’s wireless keyboard and mouse, you can enjoy the freedom of a clutter-free workspace while maintaining optimal productivity. Say goodbye to tangled wires and hello to seamless connectivity. In this article, we will cover everything from unpacking your new peripherals to pairing them with your device. So, let’s dive in and get your Dell wireless keyboard and mouse set up in no time!
Inside This Article
- Connecting the Wireless Keyboard and Mouse to the Computer
- Installing the Batteries in the Keyboard and Mouse
- Synchronizing the Wireless Keyboard and Mouse to the Receiver
- Troubleshooting Wireless Connectivity Issues between the Keyboard and Mouse and the Computer
- Conclusion
- FAQs
Connecting the Wireless Keyboard and Mouse to the Computer
Setting up your Dell wireless keyboard and mouse is a simple process that allows you to enjoy the convenience of a wire-free computing experience. Follow these steps to connect your wireless keyboard and mouse to your computer:
1. Check the package contents: Before you begin, ensure that you have received all the necessary components. The package should include the wireless keyboard, wireless mouse, USB receiver, and any required batteries.
2. Insert the batteries: Depending on the model of your Dell wireless keyboard and mouse, you may need to insert batteries into each device. Check the user manual for instructions on how to properly insert the batteries. It is important to use the correct type and size of batteries as indicated in the manual.
3. Plug in the USB receiver: Locate an available USB port on your computer and insert the USB receiver that came with your wireless keyboard and mouse. Make sure the receiver is securely plugged in to establish a connection between the computer and the peripherals.
4. Turn on the power: Once the USB receiver is inserted, turn on the power for both the wireless keyboard and mouse. Most devices have a power switch located on the underside or side of the device. Flip the switch to the “On” position to activate the keyboard and mouse.
5. Wait for the connection: After turning on the power, it may take a few moments for the wireless keyboard and mouse to synchronize with the USB receiver and establish a connection with the computer. Allow some time for the devices to establish the connection. Once the connection is established, the keyboard and mouse should be ready to use.
6. Test the keyboard and mouse: To confirm that the connection is successful, test the functionality of the wireless keyboard and mouse. Open a document or browser window on your computer and start typing on the keyboard. Move the mouse around and check if the cursor responds accordingly. If everything is working properly, you have successfully connected the wireless keyboard and mouse to your computer.
Now you can enjoy the convenience and freedom of a wire-free computing experience with your Dell wireless keyboard and mouse. If you encounter any issues during the setup process, refer to the troubleshooting section or consult the user manual for further instructions.
Installing the Batteries in the Keyboard and Mouse
Before you can start using your Dell wireless keyboard and mouse, you need to install the batteries. Here’s a step-by-step guide on how to do it:
1. Begin by flipping the keyboard and mouse over, so the bottom side is facing up.
2. Locate the battery compartments on both the keyboard and the mouse. The compartments are usually marked with icons or labels indicating the direction in which the batteries should be inserted.
3. Use a small coin or your fingers to unscrew or slide open the battery compartments. Be careful not to apply too much force to avoid damaging the compartments.
4. Insert the batteries into the compartments, making sure to follow the correct polarity (+/-). Most keyboards and mice require AA or AAA batteries. Refer to the user manual or the markings on the devices to confirm the battery type.
5. Once the batteries are in place, screw the compartments closed or slide them back into position until they click into place securely.
6. Now, flip the keyboard and mouse back over and place them on a flat surface. Make sure they are within range of the wireless receiver.
7. Finally, turn on the keyboard and mouse by pressing the power button or switch usually located on the top or side of the devices. You may need to hold down the button for a few seconds for them to turn on.
That’s it! Your Dell wireless keyboard and mouse are now ready to be used. Ensure that the batteries are replaced as needed to maintain optimal performance.
Synchronizing the Wireless Keyboard and Mouse to the Receiver
Once you have successfully installed the batteries in your Dell wireless keyboard and mouse, the next step is to synchronize them with the receiver. The receiver is usually a small USB dongle that needs to be plugged into a USB port on your computer.
To begin the synchronization process, make sure the receiver is plugged in and your computer is turned on. Then, locate the sync button on the receiver. It is typically located on the bottom or side of the receiver.
Next, look for the sync button on your wireless keyboard and mouse. The location may vary depending on the model, but it is usually found on the bottom of the devices. Press and hold the sync button on the receiver, and then press and hold the sync button on the keyboard and mouse simultaneously.
Keep holding both buttons for a few seconds and then release them. The LED lights on the receiver, keyboard, and mouse should start blinking, indicating that they are in sync mode.
Wait for a few moments while the devices establish a connection. The blinking LED lights should stop blinking and remain solid, indicating that the synchronization process is complete. Your wireless keyboard and mouse are now successfully synchronized with the receiver.
If you have multiple wireless devices connected to your computer, it is possible that they may interfere with each other’s signals. In such cases, you may need to repeat the synchronization process to ensure a reliable connection.
If the synchronization process is not successful, try the following troubleshooting steps:
- Ensure that the batteries in the keyboard and mouse are properly inserted and have sufficient charge.
- Make sure the receiver is securely plugged into a USB port on your computer.
- Try moving the receiver to a different USB port, as the current port may be causing interference.
- Restart your computer and try the synchronization process again.
If none of the above steps work, refer to the user manual or contact Dell support for further assistance.
Troubleshooting Wireless Connectivity Issues between the Keyboard and Mouse and the Computer
If you’re experiencing wireless connectivity issues between your Dell keyboard and mouse and your computer, don’t worry. There are several troubleshooting steps you can take to resolve the problem and get your input devices working again. Here are some common issues and their solutions:
1. Distance between the devices: Make sure that there are no obstructions or interference between the wireless receiver and the keyboard and mouse. It’s advisable to keep them within the recommended range for optimal performance.
2. Check the batteries: The first step is to check the batteries in both the keyboard and mouse, as low battery power can cause connectivity issues. Replace the batteries if necessary and ensure they are inserted correctly.
3. Restart the computer: Sometimes, a simple restart can solve the problem. Turn off your computer, wait for a few seconds, and then power it back on. This will refresh the system and may resolve any temporary connectivity issues.
4. Re-sync the devices: If restarting the computer doesn’t work, try re-syncing the keyboard and mouse with the wireless receiver. Press the connect button on the receiver, followed by the connect buttons on the keyboard and mouse. Wait for the devices to establish a connection.
5. Update device drivers: Outdated or incompatible device drivers can cause connectivity problems. Visit the Dell support website and download the latest drivers for your keyboard and mouse. Install them on your computer and see if the issue is resolved.
6. Remove other wireless devices: If you have other wireless devices connected to your computer, such as a wireless headset or speakers, try disconnecting them temporarily. Sometimes, multiple wireless devices can interfere with each other and cause connectivity issues.
7. Reset the wireless receiver: If none of the above solutions work, you can try resetting the wireless receiver. Locate the reset button on the receiver and press it using a paperclip or a similar tool. Then, re-sync the devices as mentioned in step 4.
If you’ve followed these troubleshooting steps and are still experiencing wireless connectivity issues between your Dell keyboard and mouse and your computer, it may be time to contact Dell support for further assistance. They will be able to help you troubleshoot the issue and provide any necessary repairs or replacements.
Conclusion
In conclusion, setting up a Dell wireless keyboard and mouse is a straightforward process that allows you to enhance your productivity and freedom of movement while using your computer. By following the step-by-step guide provided in this article, you can seamlessly connect your wireless keyboard and mouse to your Dell computer or laptop.
Remember to ensure that your devices are powered on, in range, and properly paired to establish a stable connection. Additionally, be mindful of battery levels and replace them as needed to prevent any interruptions while using your wireless peripherals.
With the convenience and versatility offered by a wireless keyboard and mouse, you can enjoy a clutter-free workspace and improved comfort during your daily computer tasks. So, go ahead and take advantage of the wireless capabilities of your Dell peripherals to enhance your computing experience.
FAQs
1. How do I connect my Dell wireless keyboard and mouse to my computer?
To connect your Dell wireless keyboard and mouse to your computer, start by ensuring that the keyboard and mouse are turned on and have batteries installed. Then, locate the USB receiver that came with your keyboard and mouse. Insert the USB receiver into an available USB port on your computer. The computer should recognize the connected keyboard and mouse automatically. If not, press the connect button on both the receiver and the keyboard/mouse to establish a connection. Follow the on-screen prompts, if any, to complete the setup process.
2. Can I use my Dell wireless keyboard and mouse with multiple devices?
Yes, most Dell wireless keyboards and mice can be used with multiple devices. However, this will typically require manually switching the connection between devices. Some models may have specific buttons or features to facilitate this process, such as a switch or a multi-device pairing feature. Refer to your specific keyboard and mouse’s user manual for instructions on how to connect to multiple devices and switch between them.
3. How do I troubleshoot connection issues with my Dell wireless keyboard and mouse?
If you are experiencing connection issues with your Dell wireless keyboard and mouse, try the following troubleshooting steps:
- Make sure the keyboard and mouse have fresh batteries installed.
- Check that the USB receiver is properly inserted into an available USB port on your computer.
- Try connecting the receiver to a different USB port on your computer.
- Ensure there are no obstructions or interference between the receiver and the keyboard/mouse.
- If your keyboard or mouse has a power switch, ensure it is in the “on” position.
- Restart your computer and try reconnecting the keyboard and mouse.
- If all else fails, consult the user manual or contact Dell support for further assistance.
4. Can I use my Dell wireless keyboard and mouse with a laptop?
Yes, Dell wireless keyboards and mice are compatible with laptops as long as the laptop has an available USB port for connecting the USB receiver. Simply follow the same connection process mentioned earlier to set up the keyboard and mouse with your laptop. Some Dell laptops may also have built-in Bluetooth connectivity, allowing you to connect your wireless keyboard and mouse without the need for a USB receiver.
5. Do Dell wireless keyboards and mice come with warranties?
Yes, Dell wireless keyboards and mice typically come with warranties. The length and terms of the warranty may vary depending on the specific model and region. It is advisable to check the product’s documentation or contact Dell support to determine the warranty coverage for your particular keyboard and mouse.