
Popsockets have become a popular mobile accessory, providing a unique and convenient way to grip and handle your phone. These handy little gadgets also serve as phone stands, allowing you to prop up your device for easy viewing. However, there may come a time when you need to remove your Popsocket, whether it’s to change its position, clean your phone, or swap it out for a different design.
In this article, we will guide you through the process of removing your Popsocket safely and effectively. We’ll cover different methods, tips, and precautions to ensure that you can easily detach your Popsocket without damaging your phone or the accessory itself. So, if you’re ready to say goodbye to your current Popsocket and embrace a new one, or simply want to explore how to remove it temporarily, read on!
Inside This Article
- Introduction
- Preparing for Removal
- Removing the Popsocket
- Cleaning and Reusing the Popsocket
- Conclusion
- FAQs
Introduction
Popsockets have quickly become a popular accessory for mobile phones, offering a convenient way to hold, stand, and mount your device. However, there may come a time when you need to remove your Popsocket. Whether you want to change the design, clean it, or simply no longer need it, knowing how to properly remove a Popsocket is essential to avoid any damage to your phone or the Popsocket itself. In this article, we will guide you through the process of removing your Popsocket safely and effectively.
Before we dive into the step-by-step process, it’s important to note that each Popsocket model may have slight variations in design and attachment method. Therefore, it’s always recommended to follow the specific instructions provided by the manufacturer. However, the general principles discussed here should apply to most Popsockets.
So, if you’re ready to remove your Popsocket, let’s get started!
Preparing for Removal
If you’re tired of the look of your Popsocket or simply need to remove it for any reason, don’t worry – it’s a straightforward process. However, before you jump right into removing your Popsocket, it’s important to prepare properly to ensure a smooth and successful removal. Here are a few steps you should take before getting started:
- Choose a clean, flat surface: Find a clean and stable place to work on removing your Popsocket. A table or desk with ample space will provide a stable surface for the removal process.
- Gather the necessary tools: While removing a Popsocket doesn’t require any specialized tools, having a thin, flat object such as a credit card or a plastic spudger can be helpful. These tools can be used to gently pry the Popsocket away from the surface.
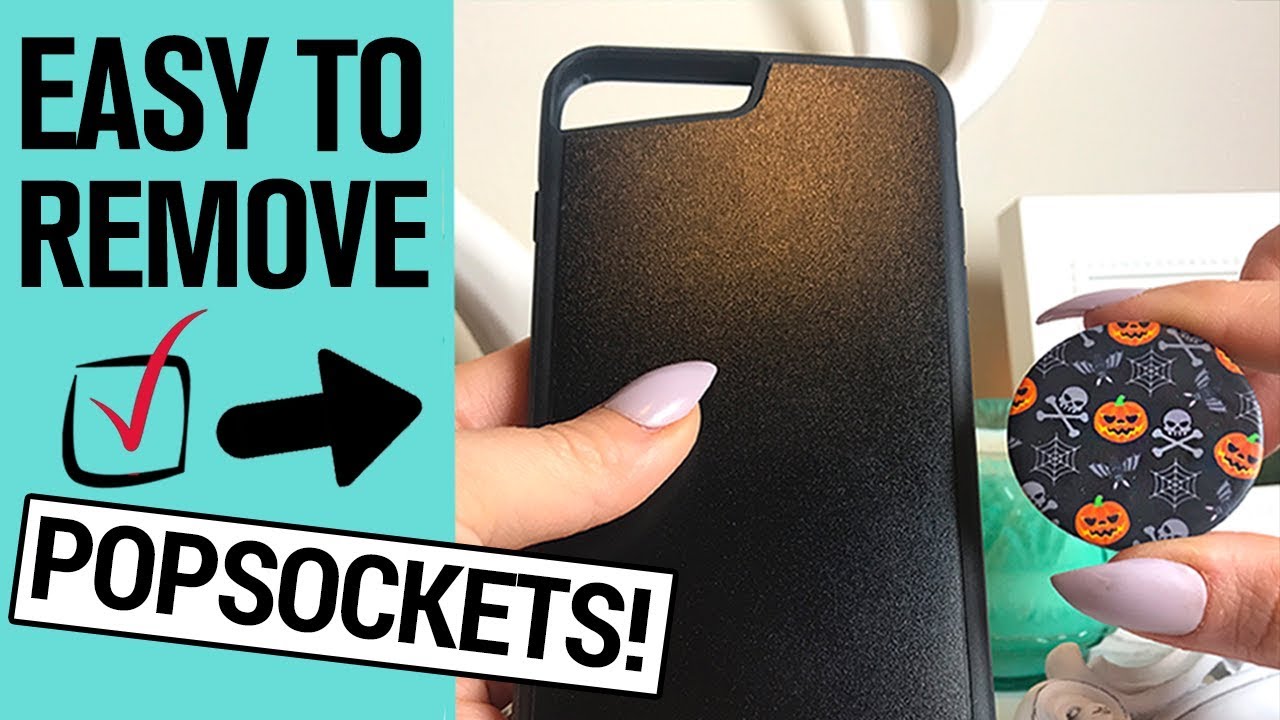
- Remove any phone case: If your Popsocket is attached to a phone case, it’s best to remove the case before attempting to remove the Popsocket. This will allow you to have better access to the adhesive base and make the removal process easier.
- Take note of the Popsocket location: Before removing the Popsocket, take a moment to observe its placement. This will help you align it properly if you decide to reattach it or replace it with a new Popsocket later on.
By following these preparatory steps, you’ll ensure a more efficient and successful Popsocket removal process. With everything in order, you’re now ready to move on to the next step: removing the adhesive base.
Removing the Popsocket
Now that you’ve prepared for the removal of your Popsocket, it’s time to actually remove it from your phone or phone case. Here’s a step-by-step guide to help you through the process:
- Take a breath and be patient: Removing a Popsocket might require a bit of patience and finesse. Don’t rush the process, as you don’t want to damage your phone or the Popsocket itself.
- Find a good grip: Start by identifying a good spot to grip the Popsocket for removal. Ideally, you want to grip it from the base or the collapsible grip, depending on the type of Popsocket you have.
- Apply gentle and consistent pressure: Once you have a good grip, start applying gentle and consistent pressure to loosen the bond between the Popsocket and your phone or phone case. You can use your fingers or a small, flat tool like a credit card to help with the process.
- Use a twisting motion: As you apply pressure, try twisting the Popsocket in a clockwise or counterclockwise motion. This twisting motion can help break the adhesive bond and make it easier to remove the Popsocket.
- Avoid excessive force: It’s important not to use excessive force when removing the Popsocket. If it’s not budging, take a step back and try a different angle or technique. Using too much force can damage your phone or the Popsocket.
- Continue with gentle pulling and twisting: If the Popsocket starts to loosen, continue with gentle pulling and twisting until it’s completely removed. Take your time and be patient throughout the process.
Once you’ve successfully removed the Popsocket, you can move on to the next step – cleaning and reusing your Popsocket, which we’ll cover in the following section.
Cleaning and Reusing the Popsocket
After successfully removing your Popsocket, you may be wondering if it’s possible to clean and reuse it. The good news is that with proper care, you can extend the life of your Popsocket and continue to enjoy its functionality. Here are some steps to clean and reuse your Popsocket:
- Remove any adhesive residue: Before cleaning your Popsocket, make sure to remove any leftover adhesive from the base. Use a mild adhesive remover or rubbing alcohol to gently wipe away any residue. Be careful not to soak the Popsocket in the liquid, as it may damage the collapsible grip mechanism.
- Clean the surface: If the surface of your Popsocket is dirty, use a damp cloth or sponge to gently wipe it clean. Avoid using harsh abrasives or chemicals that could damage the surface. Allow the Popsocket to air dry completely before using or storing it.
- Inspect the collapsible grip: Take a closer look at the collapsible grip to ensure it is in good condition. If you notice any damage or signs of wear, such as cracks or loosening of the joints, it’s best to replace the grip for optimal functionality and security.
- Reapply the adhesive base: If you wish to reuse the Popsocket on a different device, you’ll need to reapply the adhesive base. Make sure the surface of your device is clean and dry before attaching the Popsocket. Peel off the backing from the adhesive base and carefully align it with the desired position. Press firmly to secure it in place.
- Allow the adhesive to set: It’s important to give the adhesive base enough time to set before using your Popsocket. Follow the manufacturer’s instructions for the recommended curing time. This will ensure a strong and durable bond between the Popsocket and your device.
- Enjoy your refreshed Popsocket: Once the adhesive has fully set, you can start using your Popsocket again. Whether you’re using it for a better grip, as a stand, or simply for style, your clean and refreshed Popsocket is ready to serve you.
By following these steps, you can clean and reuse your Popsocket, prolonging its lifespan and getting the most out of this versatile mobile accessory. Remember to handle the Popsocket with care and regularly inspect it for any signs of damage or wear. With proper maintenance, your Popsocket can continue to enhance your mobile experience for a long time to come.
Conclusion
Removing a Popsocket from your phone can be a simple and straightforward process if you follow the right steps. By carefully loosening the adhesive and gently pulling the Popsocket away from your device, you can remove it without causing any damage. It’s important to take your time and be patient during this process to ensure a smooth removal.
Once the Popsocket is removed, you can clean the adhesive residue using household items like rubbing alcohol or a magic eraser. This will help prepare your phone for a new Popsocket or any other mobile accessory you may want to attach.
Remember, it’s always a good idea to read the instructions provided by the Popsocket manufacturer for specific removal guidelines. Additionally, if you encounter any difficulties or are unsure about the removal process, it’s recommended to seek assistance from a professional.
With the right approach and a little bit of care, you can easily remove your Popsocket and customize your phone with a new accessory that reflects your personal style.
FAQs
Q: Why would I want to remove my Popsocket?
A: There can be several reasons why you might want to remove your Popsocket. It could be because you want to change the design or position of your Popsocket, or perhaps you need to apply a new screen protector or case to your phone.
Q: How do I remove a Popsocket without damaging my phone?
A: To remove a Popsocket without causing any damage to your phone, start by gently pulling up on one side of the Popsocket until you can see a small gap. Then, use a plastic card or your fingernail to slide under the adhesive disc and gradually lift it from your phone. Avoid using excessive force to prevent any potential damage.
Q: Can I reuse my Popsocket after removing it?
A: The adhesive used on Popsockets is generally designed for one-time use. However, if you remove the Popsocket carefully without damaging the adhesive, you may be able to reapply it to a different phone or surface. Keep in mind that the adhesive may not be as strong after being removed and reapplied.
Q: Will removing my Popsocket leave any residue on my phone?
A: While Popsockets are designed to be easily removable, there may be a small amount of adhesive residue left on your phone. You can often remove this residue by gently wiping it with a microfiber cloth or using a small amount of rubbing alcohol. Avoid using excessive force or harsh cleaning agents that could potentially damage your phone’s surface.
Q: Do I need to remove my Popsocket before wireless charging my phone?
A: It is generally recommended to remove your Popsocket before wireless charging your phone. The metal disc in the center of the Popsocket can interfere with the wireless charging process, resulting in slower charging speeds or even preventing your phone from charging altogether. To ensure optimal charging performance, it’s best to remove the Popsocket before placing your phone on a wireless charger.