
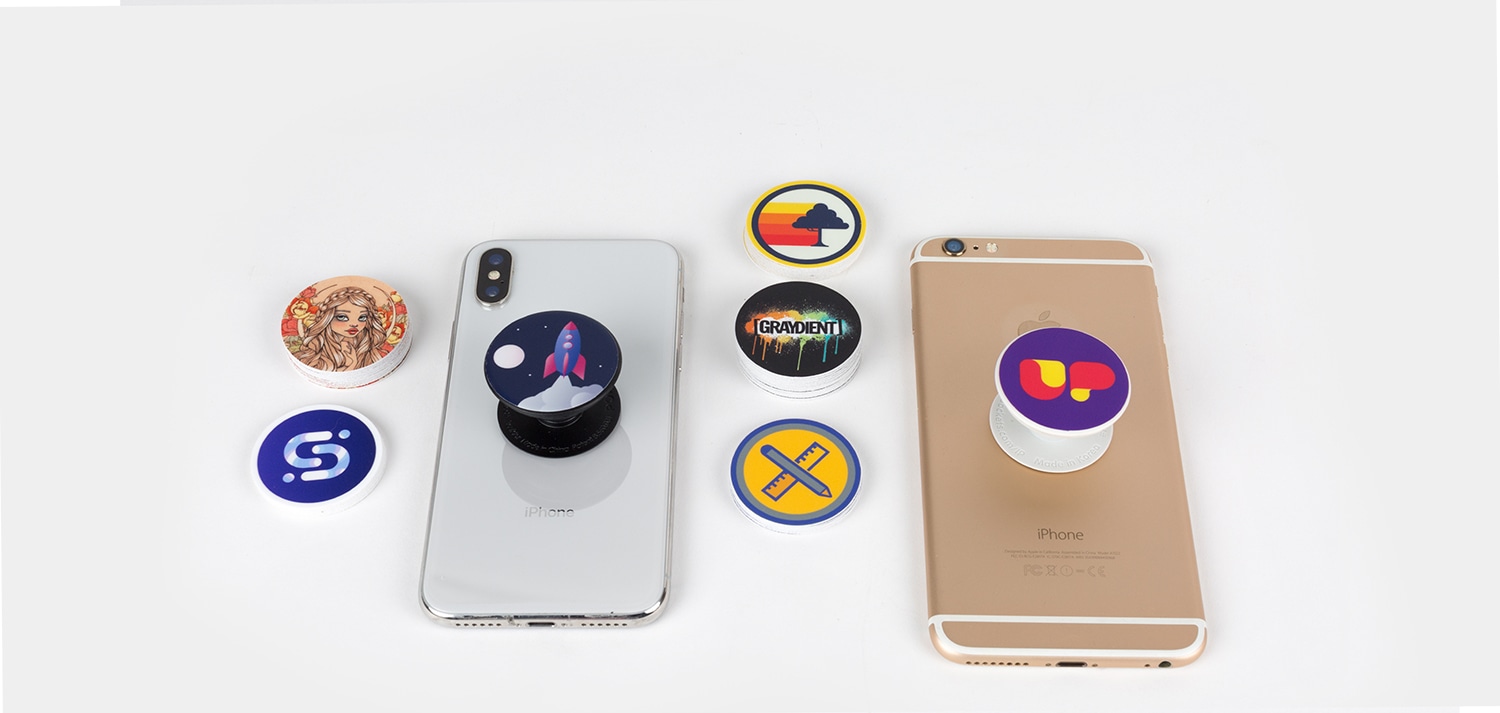
PopSockets have become a popular accessory for smartphones, offering a convenient way to grip your device and even prop it up for hands-free viewing. However, there may come a time when you want to remove your PopSocket, whether it’s to replace it with a new design or if you no longer have a need for it. One common concern when removing a PopSocket is how to deal with the adhesive residue left behind. In this article, we will guide you through the step-by-step process of removing a PopSocket from your phone and ensuring that any adhesive residue is effectively cleaned up. So, if you’re looking to switch up your phone’s look or are simply curious about the process, read on to discover how to remove PopSocket adhesive with ease.
Inside This Article
- Introduction
- Getting Started
- Preparing the Popsocket
- Removing the Adhesive
- Introduction
- Getting Started
- Preparing the Popsocket
- Removing the Adhesive
- Cleaning and Final Steps
- Introduction
- Getting Started
- Preparing the Popsocket
- Removing the Adhesive
- Cleaning and Final Steps
- Conclusion
- Conclusion
- FAQs
Introduction
Popsockets have become increasingly popular as mobile accessories, offering a convenient way to hold and use your phone. However, there may come a time when you want to remove the Popsocket from your device for various reasons. Whether you’re looking to replace it with a new design or simply want a cleaner look, knowing how to remove the Popsocket adhesive is essential.
In this article, we will guide you through the step-by-step process of safely and effectively removing the adhesive from your Popsocket. You don’t have to worry about damaging your device or leaving any residue behind. With the right techniques and materials, you can remove the Popsocket adhesive easily and restore your device’s original appearance.
Before diving into the specifics of removing the adhesive, it’s crucial to understand the nature of the Popsocket adhesive. Popsockets typically use a strong sticky adhesive that allows them to securely attach to the back of your mobile device. This adhesive is designed to provide a firm grip and withstand everyday use, but it can present a challenge when it comes to removal.
To successfully remove the Popsocket adhesive, you’ll need a few essential materials. These include:
- A hairdryer or heat gun
- Rubbing alcohol or adhesive remover
- Microfiber cloth or cotton swabs
- Optional: a plastic card or spatula
Having these materials ready will make the process much smoother and more efficient. Now that you’re equipped with the necessary knowledge and materials, let’s dive into the step-by-step guide for removing the Popsocket adhesive.
Getting Started
Before you can remove the adhesive from your Popsocket, it’s important to understand how it works and gather the necessary materials to safely remove it. Let’s dive in!
Understanding the Popsocket adhesive:
Popsockets have a strong adhesive that allows them to securely attach to the back of your phone or phone case. This adhesive is designed to be durable and long-lasting, so removing it can require some effort.
Gathering the necessary materials:
Before you begin the removal process, it’s essential to gather a few materials that will make the process easier and more efficient:
- Heat source: You will need a hairdryer or a heat gun to help loosen the adhesive.
- Rubbing alcohol or adhesive remover: These substances will help dissolve the adhesive and make it easier to remove.
- Clean cloth or microfiber cloth: This will be used to wipe away any residue left behind after removing the Popsocket.
- Optional: If you are planning to reuse the Popsocket, have some extra adhesive strips handy to reattach it.
Once you have gathered these materials, you are ready to proceed with the removal process.
Preparing the Popsocket
Before you can remove the adhesive from your Popsocket, you need to properly prepare it. This involves removing the Popsocket from your device and cleaning its surface.
– Removing the Popsocket from the device:
To remove your Popsocket, firmly hold the base of the expanding disc. Gently twist and pull it away from your device. Apply mild pressure if needed, but be careful not to damage your device or the Popsocket.
– Cleaning the Popsocket surface:
Once the Popsocket is removed, you may notice some dirt or residue on the surface. To clean it, use a damp microfiber cloth or a cotton ball soaked in warm, soapy water. Gently wipe the surface of the Popsocket until it is clean and free from any debris. Dry it thoroughly with a clean cloth before proceeding.
By properly preparing your Popsocket, you ensure that the subsequent steps will be more effective in removing the adhesive.
Removing the Adhesive
Now that you have successfully prepared the Popsocket, it’s time to tackle the adhesive removal process. There are a few effective methods you can use to remove the adhesive without causing any damage to your device. Here are two popular techniques:
Using heat to loosen the adhesive
One of the most common methods for removing adhesive is by using heat. This can be done using a hairdryer or a heat gun. Here’s how you can do it:
- Start by applying heat to the adhesive. Hold the hairdryer or heat gun a few inches away from the Popsocket and move it around in a circular motion. The heat will soften the adhesive, making it easier to remove.
- Once the adhesive feels warm and pliable, gently pry the Popsocket away from the device using a plastic card or your fingertips. Be careful not to use excessive force to avoid damaging the surface.
- Continue applying heat as needed to loosen any remaining adhesive. Repeat the prying process until the Popsocket is completely detached.
Applying rubbing alcohol or adhesive remover
If using heat doesn’t work effectively or if you prefer an alternative method, you can try using rubbing alcohol or adhesive remover. Here’s how:
- Moisten a clean cloth or cotton ball with rubbing alcohol or adhesive remover.
- Hold the cloth or cotton ball against the adhesive for a few minutes, allowing the liquid to penetrate and dissolve the glue.
- Gently rub the adhesive in a circular motion until it starts to loosen. You can use a soft cloth or sponge to aid in the removal process.
- Once the adhesive has been removed, clean the surface with a damp cloth to remove any remaining residue.
It’s important to remember that both the heat and adhesive remover methods may vary in effectiveness depending on the strength of the adhesive and the type of surface it is bonded to. Always exercise caution and test the method on a small, inconspicuous area before proceeding.
By following these steps, you should be able to effectively remove the adhesive from your Popsocket without causing any damage to your device.
Introduction
Popsockets have become popular mobile accessories, offering a convenient way to grip, stand, and style your phone. However, there may come a time when you need to remove the Popsocket adhesive, whether to reposition it or replace it with a new design. In this article, we will guide you through the process of safely and effectively removing the Popsocket adhesive.
Getting Started
Before you begin, it’s important to understand the nature of the Popsocket adhesive. The adhesive used on Popsockets is strong and designed to hold firmly to your device, but it is also removable. To remove the adhesive, you will need a few basic materials:
- Isopropyl alcohol or adhesive remover
- Cotton swabs or a soft cloth
- Heat source (hair dryer or heat gun)
- Optional: Replacement adhesive or alternative mounting solution
Preparing the Popsocket
Start by removing the Popsocket from the device. Gently pry the edges of the base away from your phone or phone case. Avoid applying too much force to prevent any damage to your device. Once the Popsocket is detached, place it aside for cleaning.
Next, focus on cleaning the Popsocket surface. Use a soft cloth or cotton swab dipped in isopropyl alcohol or adhesive remover to wipe away any dirt, grime, or residue. Ensure that the surface is clean and dry before proceeding to the next step.
Removing the Adhesive
One method to loosen the Popsocket adhesive is by using heat. Hold a hair dryer or heat gun about 4-6 inches away from the adhesive and apply heat for about 30 seconds. The heat will soften the adhesive, making it easier to remove. Once heated, use a firm grip and twist the Popsocket in a clockwise or counterclockwise motion until the adhesive starts to separate from the device.
If the heat method doesn’t work or you prefer an alternative, you can try using isopropyl alcohol or adhesive remover. Apply a small amount of alcohol or adhesive remover to a cotton swab or soft cloth. Gently rub the adhesive in a circular motion, allowing the liquid to dissolve the adhesive. Continue this process until the adhesive is completely removed.
Cleaning and Final Steps
After removing the adhesive, it’s essential to clean any residue left on the device or phone case. Dampen a cloth or cotton swab with isopropyl alcohol and gently wipe the surface. This will ensure a clean and smooth finish.
Now, you have the option to reapply the Popsocket or explore alternative mounting solutions. If you choose to reapply the Popsocket, make sure the surface is dry before attaching it. Press firmly and hold for at least 15 seconds to ensure it adheres properly.
If you prefer an alternative mounting solution, there are various options available such as adhesive tapes, magnetic mounts, or phone grips. Research and choose the one that suits your needs and preferences.
By following these steps, you can safely remove the Popsocket adhesive without causing any damage to your device. Remember to clean the surface thoroughly and choose a reliable replacement solution if necessary. Enjoy the flexibility of customizing your Popsocket while keeping your device securely adorned!
Introduction
Popsockets have gained popularity as a convenient mobile accessory, allowing users to have a better grip on their phones while adding a touch of personal style. However, there may come a time when you want to remove your Popsocket – whether it’s to change the design, switch to a different location, or replace it altogether. In this article, we will guide you through the process of safely removing the Popsocket adhesive, ensuring that your device remains in pristine condition.
Getting Started
Before you begin the process of removing the Popsocket adhesive, it is important to understand how the Popsocket attaches to your device. The adhesive used is strong enough to hold the Popsocket securely, but it is designed to be removable without leaving behind any residue or causing damage. It is also important to gather the necessary materials, including a hairdryer or heat gun, rubbing alcohol or adhesive remover, and a clean cloth.
Preparing the Popsocket
To remove the Popsocket from your device, start by gently twisting and pulling the Popsocket in a circular motion. This will loosen the adhesive and make it easier to remove. If you find it difficult to twist, you can use a plastic pry tool or a credit card to gently lift the edges of the Popsocket and release the adhesive grip. Once the Popsocket is removed, set it aside for cleaning.
Cleaning the Popsocket surface is an important step to ensure its reusability. Using a mild soap and warm water, gently scrub the adhesive side of the Popsocket using a soft-bristled brush. Rinse it thoroughly and pat it dry with a clean cloth. This will remove any dirt, oils, or debris that may have accumulated, allowing for better adhesion later on.
Removing the Adhesive
If the adhesive residue is still intact on your device, you can use heat to loosen it. Set your hairdryer or heat gun to a low setting and apply gentle heat to the area where the Popsocket was attached. Move the heat source in a sweeping motion to distribute the heat evenly. The heat will soften the adhesive, making it easier to remove without causing any damage to your device’s surface.
After heating the adhesive, you can start removing it by gently scraping with a plastic tool or using your fingers. Be careful not to apply too much pressure or use sharp objects that could scratch your device. If there is any stubborn residue left, you can apply a small amount of rubbing alcohol or adhesive remover to a clean cloth and gently rub the affected area until it is completely clean.
Cleaning and Final Steps
With the adhesive residue removed, it is important to clean your device’s surface. Dampen a clean cloth with rubbing alcohol or a mild cleanser and gently wipe the area where the Popsocket was attached. This will remove any remaining traces of adhesive or dirt.
Once the surface is clean and dry, you can choose to reapply the Popsocket or explore alternative solutions. If you want to reuse the same Popsocket, make sure the surface is completely dry before applying it again. Press firmly on the adhesive side of the Popsocket for a few seconds to ensure a secure attachment. If you decide not to use the Popsocket anymore, there are various phone grip alternatives available in the market that you can explore.
Conclusion
Removing the Popsocket adhesive may seem like a daunting task, but with the right approach, it can be done effectively and without causing any damage to your device. By understanding the adhesive, preparing the Popsocket, using heat, and applying the appropriate cleaning methods, you can easily remove the Popsocket and restore your device to its original state. Remember to handle the process with care, and soon you’ll be ready to change your Popsocket design or try out different mobile accessories for a refreshed look and feel.
Conclusion
In conclusion, removing the adhesive from a Popsocket can be a straightforward process if you follow the right steps. It is important to ensure that you have the necessary tools and materials before starting the process. Taking your time and being gentle while removing the adhesive will help prevent any damage to your phone or Popsocket.
Remember to use a mild adhesive remover or rubbing alcohol to dissolve the adhesive, and gently peel it off using a plastic card or your fingers. If there are any residual adhesive left on your phone or Popsocket, you can use a clean cloth or cotton swab dipped in alcohol to remove it.
By properly removing the adhesive, you can easily replace your Popsocket or clean it for reattachment without leaving any sticky residue. With the right techniques and a little bit of patience, you can safely remove the adhesive from your Popsocket and keep your phone looking clean and sleek.
FAQs
1. Can I reuse a Popsocket after removing the adhesive?
Yes, you can reuse a Popsocket after removing the adhesive. However, keep in mind that the adhesive may not be as strong as before, so it’s recommended to replace it with a new adhesive disc for better stability.
2. How do I remove a Popsocket adhesive without damaging my phone?
To remove the adhesive of a Popsocket without damaging your phone, start by gently peeling off the Popsocket from the surface. If the adhesive is still sticky, use a blunt and non-abrasive tool like a credit card or a plastic scraper to carefully scrape off the remaining adhesive. Avoid using sharp objects that may scratch or damage your phone.
3. What should I do if the Popsocket adhesive doesn’t come off easily?
If the Popsocket adhesive doesn’t come off easily, try heating it with a hairdryer on low heat for a few seconds. The heat will soften the adhesive, making it easier to remove. Be cautious not to overheat or direct the hot air too close to your phone to prevent any damage.
4. Can I remove the Popsocket and reuse it on a different phone case?
Yes, you can remove the Popsocket from one phone case and reuse it on a different case. The adhesive can be easily removed and replaced with a new adhesive disc, allowing you to transfer the Popsocket to a different phone case as needed.
5. Where can I find replacement adhesive discs for my Popsocket?
You can find replacement adhesive discs for your Popsocket from various sources. They are available for purchase on the official Popsocket website, as well as on online marketplaces like Amazon. Additionally, some retail stores that sell mobile phone accessories may also carry replacement adhesive discs for Popsockets.