
If you’re an avid user of touch screen devices, chances are you’ve experienced the frustration of a worn-out or damaged stylus tip. A stylus tip is an essential part of any stylus pen, as it allows for precise touch input and helps protect your device’s screen from scratches. Fortunately, replacing a stylus tip is a relatively simple process that can breathe new life into your favorite accessory. In this article, we’ll guide you through the step-by-step process of replacing a stylus tip. Whether you’re using a stylus for note-taking, drawing, or any other task, you’ll find this guide helpful in ensuring your stylus is always in tip-top shape. So, let’s dive in and learn how to replace a stylus tip and get back to enjoying smooth and accurate touch input.
Inside This Article
- Why Replace a Stylus Tip?
- Tools and Materials Needed
- Step-by-Step Guide to Replace a Stylus Tip
- Tips for Proper Stylus Maintenance
- Conclusion
- FAQs
Why Replace a Stylus Tip?
Over time, the stylus tip on your device can wear down, become damaged, or lose its sensitivity. This can greatly affect the accuracy and performance of your mobile device, especially when it comes to tasks that require precise touch input, such as drawing or writing. In such cases, replacing the stylus tip becomes essential to restore the functionality and optimize the user experience.
A worn-out or damaged stylus tip can lead to frustrating issues, including inconsistent touch response, skipped or inaccurate strokes, and a decrease in overall control. If you notice these symptoms, it’s a clear indication that it’s time to replace the stylus tip.
By replacing the stylus tip, you can enjoy a smooth and precise touch experience once again. It allows you to effortlessly navigate through apps, take notes with accuracy, and create detailed artwork on your mobile device. Plus, replacing the stylus tip is a cost-effective alternative to purchasing a brand new stylus.
Moreover, keeping your stylus in optimal condition ensures the longevity of your device. A worn-down or damaged stylus tip can potentially scratch or damage the screen, compromising its functionality and aesthetics. So, by regularly replacing the stylus tip, you can protect both your device and the screen.
Ultimately, replacing a stylus tip is a simple and effective way to maintain the performance and user experience of your mobile device. It allows you to continue using your device with precision, accuracy, and peace of mind, ensuring that you make the most out of its features and functionalities.
Tools and Materials Needed
Replacing a stylus tip requires a few essential tools and materials. Here is a list of what you will need:
- New Stylus Tip: Make sure to purchase a replacement tip that is compatible with your specific stylus model. This is crucial to ensure proper functionality and performance.
- Tweezers: A pair of fine-tipped tweezers will be necessary to safely and accurately handle the delicate stylus tip.
- Cleaning Solution: It is advisable to have a cleaning solution specifically designed for stylus maintenance. This will help remove any debris or residue from the stylus tip and prolong its lifespan.
- Cleaning Cloth: A soft microfiber cloth or lint-free cloth will be needed to gently clean the stylus and remove any smudges or fingerprints.
- Isopropyl Alcohol: In case the stylus tip is stubbornly dirty or has sticky residue, isopropyl alcohol can be used as a cleaning agent. However, exercise caution and ensure proper ventilation when using it.
- Protective Gloves: You may want to wear protective gloves to prevent damage to the stylus tip and to keep your hands clean during the replacement process.
- Guide or Manual: Check if your stylus manufacturer provides a guide or manual for replacing the stylus tip. It can provide valuable instructions and tips specific to your stylus model.
- Work Surface: Find a clean and well-lit work surface to perform the stylus tip replacement. A flat and stable surface will ensure better control and accuracy while working.
By gathering these tools and materials beforehand, you will be well-prepared to replace the stylus tip and maintain the performance of your stylus.
Step-by-Step Guide to Replace a Stylus Tip
Replacing the stylus tip on your device is a relatively straightforward process. Just follow these simple steps to ensure a successful replacement:
- Identify the type of stylus: Before you begin, determine the type of stylus tip you need to replace. There are various types of stylus tips available such as rubber, fiber mesh, or disc tips. Make sure to purchase the correct replacement tip for your specific stylus.
- Gather the necessary tools and materials: To replace the stylus tip, you’ll need a few basic tools such as tweezers, a small screwdriver (if applicable), and the replacement tip itself. Ensure that you have everything on hand before you begin.
- Prepare your device: Turn off your device and remove any protective cases or covers. This will make it easier to access the stylus and safely replace the tip without causing any damage.
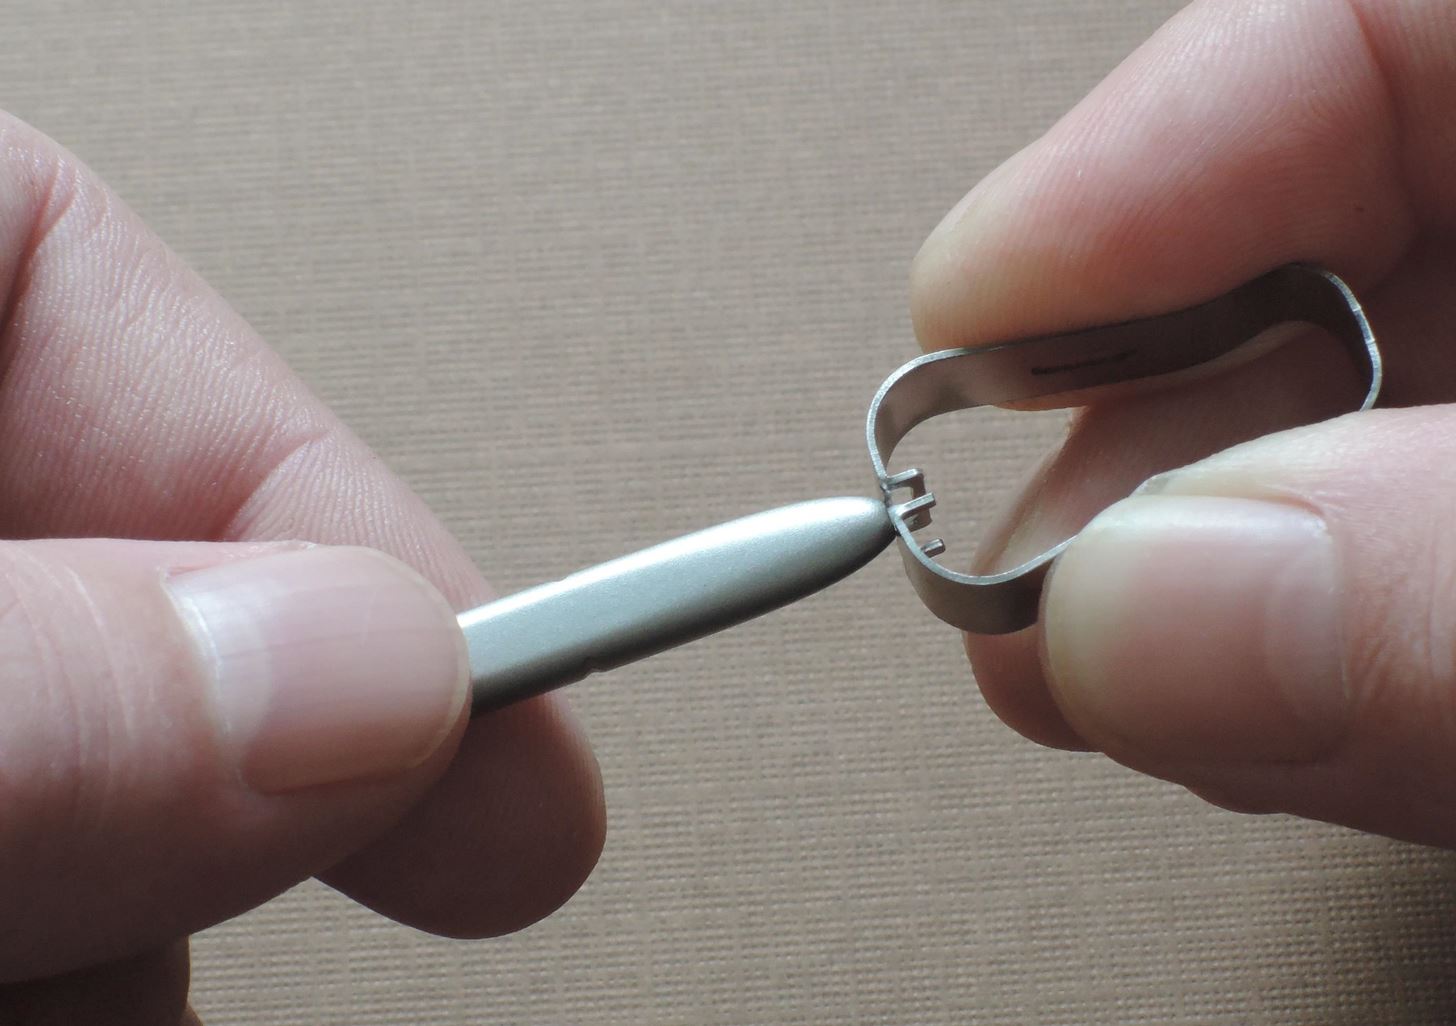
- Remove the old stylus tip: If your stylus has a removable tip, carefully unscrew or detach it from the body of the stylus. Use the tweezers if necessary to avoid damaging the tip or the stylus itself.
- Insert the new stylus tip: Take the replacement tip and insert it into the stylus body. Make sure it fits securely and is aligned properly. If necessary, refer to the manufacturer’s instructions for proper placement.
- Secure the new tip: If your stylus tip requires screwing or fastening, use the appropriate tool to secure it tightly. This will ensure that the tip stays in place during regular use and does not become loose or unstable.
- Test the stylus: Once the new tip is securely in place, turn on your device and test the stylus. Ensure that it is working properly and that the new tip is responsive to touch or pressure depending on the type of stylus you have.
- Reassemble your device: If you removed any protective cases or covers, reattach them securely. This will help protect both your device and the newly replaced stylus tip from any potential damage.
- Maintain your stylus: To prolong the life of your new stylus tip, it’s essential to properly maintain it. Keep it clean by wiping it with a soft cloth or using a stylus cleaning solution. Avoid excessive force or pressure while using the stylus tip to prevent any unnecessary wear or damage.
By following these step-by-step instructions, you can easily replace the stylus tip on your device. Remember, it’s important to use the correct replacement tip and handle the process with care to avoid any damage to your stylus or device.
Tips for Proper Stylus Maintenance
Proper maintenance is essential to ensure the longevity and optimal performance of your stylus. By following these tips, you can keep your stylus in excellent condition:
1. Clean your stylus regularly: Dust, dirt, and debris can accumulate on the stylus tip over time, affecting its sensitivity and accuracy. Use a soft, lint-free cloth or a stylus cleaning solution to gently wipe the tip. Be careful not to apply excessive pressure or use abrasive materials that could damage the surface.
2. Avoid using the stylus on dirty surfaces: It’s important to ensure that the screen or surface you’re using the stylus on is clean. Dust, dirt, or particles can get trapped between the stylus tip and the screen, leading to scratches and reduced performance. Keep your screen clean to prevent any unwanted damage to the stylus tip.
3. Store the stylus properly: When not in use, it’s best to store the stylus in a protective case or holder. This helps prevent any accidental damage or dirt from coming into contact with the tip. Avoid placing the stylus in a pocket or bag with other objects that could potentially scratch or damage it.
4. Do not expose the stylus to extreme temperatures: Extreme heat or cold can affect the performance and lifespan of the stylus. Avoid leaving your stylus in direct sunlight or in freezing temperatures for an extended period. Optimal operating temperatures for most styluses are between 0°C and 40°C (32°F and 104°F).
5. Be mindful of the pressure applied: While using the stylus, apply gentle and consistent pressure. Avoid pressing too hard on the screen as it can strain the stylus tip and potentially damage it. Let the stylus glide smoothly across the screen without excessive force.
6. Replace the stylus tip when necessary: Over time, the stylus tip may wear out or become damaged. If you notice a decrease in sensitivity or accuracy, it may be time to replace the tip. Most stylus brands offer replacement tips that are easy to install.
7. Keep the stylus away from liquids: Liquids can seep into the stylus and damage its internal components. To keep your stylus in optimal condition, avoid using it near water or other liquids. If you accidentally spill a liquid on the stylus, immediately disconnect it from the device and allow it to dry thoroughly before using it again.
By following these simple maintenance tips, you can ensure that your stylus remains in excellent condition, providing you with accurate touch responsiveness and a seamless digital experience.
Conclusion
In conclusion, replacing a stylus tip is a relatively simple and cost-effective solution to restore the functionality of your stylus. Whether you have a scratched or worn-out tip, following the steps outlined in this guide will enable you to replace it with ease. Remember to choose a compatible and durable replacement tip to ensure optimal performance.
By maintaining proper care and regularly replacing the stylus tip, you can enjoy a smooth and precise experience when using your mobile device. So, don’t let a worn-out stylus tip hinder your creativity or productivity—take matters into your own hands and replace it yourself. With a few simple steps and the right tools, you’ll be back to enjoying the full capabilities of your stylus in no time!
FAQs
Q: What is a stylus tip?
A: A stylus tip is the small, pointed end of a stylus pen that is used to interact with touch screens on devices such as smartphones, tablets, and touchscreen laptops. It allows for precise control and accuracy when navigating, drawing, or writing on the screen.
Q: Why would I need to replace a stylus tip?
A: Over time, the stylus tip can become worn out or damaged from regular use, leading to a decrease in its performance. Replacing the stylus tip can restore its functionality and ensure smooth and accurate interactions with your device’s touch screen.
Q: How do I know if the stylus tip needs to be replaced?
A: If you notice that the stylus is not as responsive or accurate as it used to be, or if you observe visible damage or wear on the tip, it is a good indication that it requires replacement. Additionally, if the stylus tip has become loose or is missing, it is important to replace it to avoid scratching your screen.
Q: Can I replace the stylus tip myself?
A: Yes, in most cases, replacing the stylus tip is a simple, do-it-yourself process. Many stylus pens come with replacement tips included, and you can easily unscrew or detach the old tip and attach the new one. However, it is important to refer to the manufacturer’s instructions or specific guidelines for your stylus pen to ensure proper installation.
Q: Where can I purchase replacement stylus tips?
A: Replacement stylus tips can be found at various electronic stores, online retailers, or even directly from the manufacturer of your stylus pen. Make sure to check the compatibility of the replacement tip with your specific stylus model to ensure a proper fit and functionality.