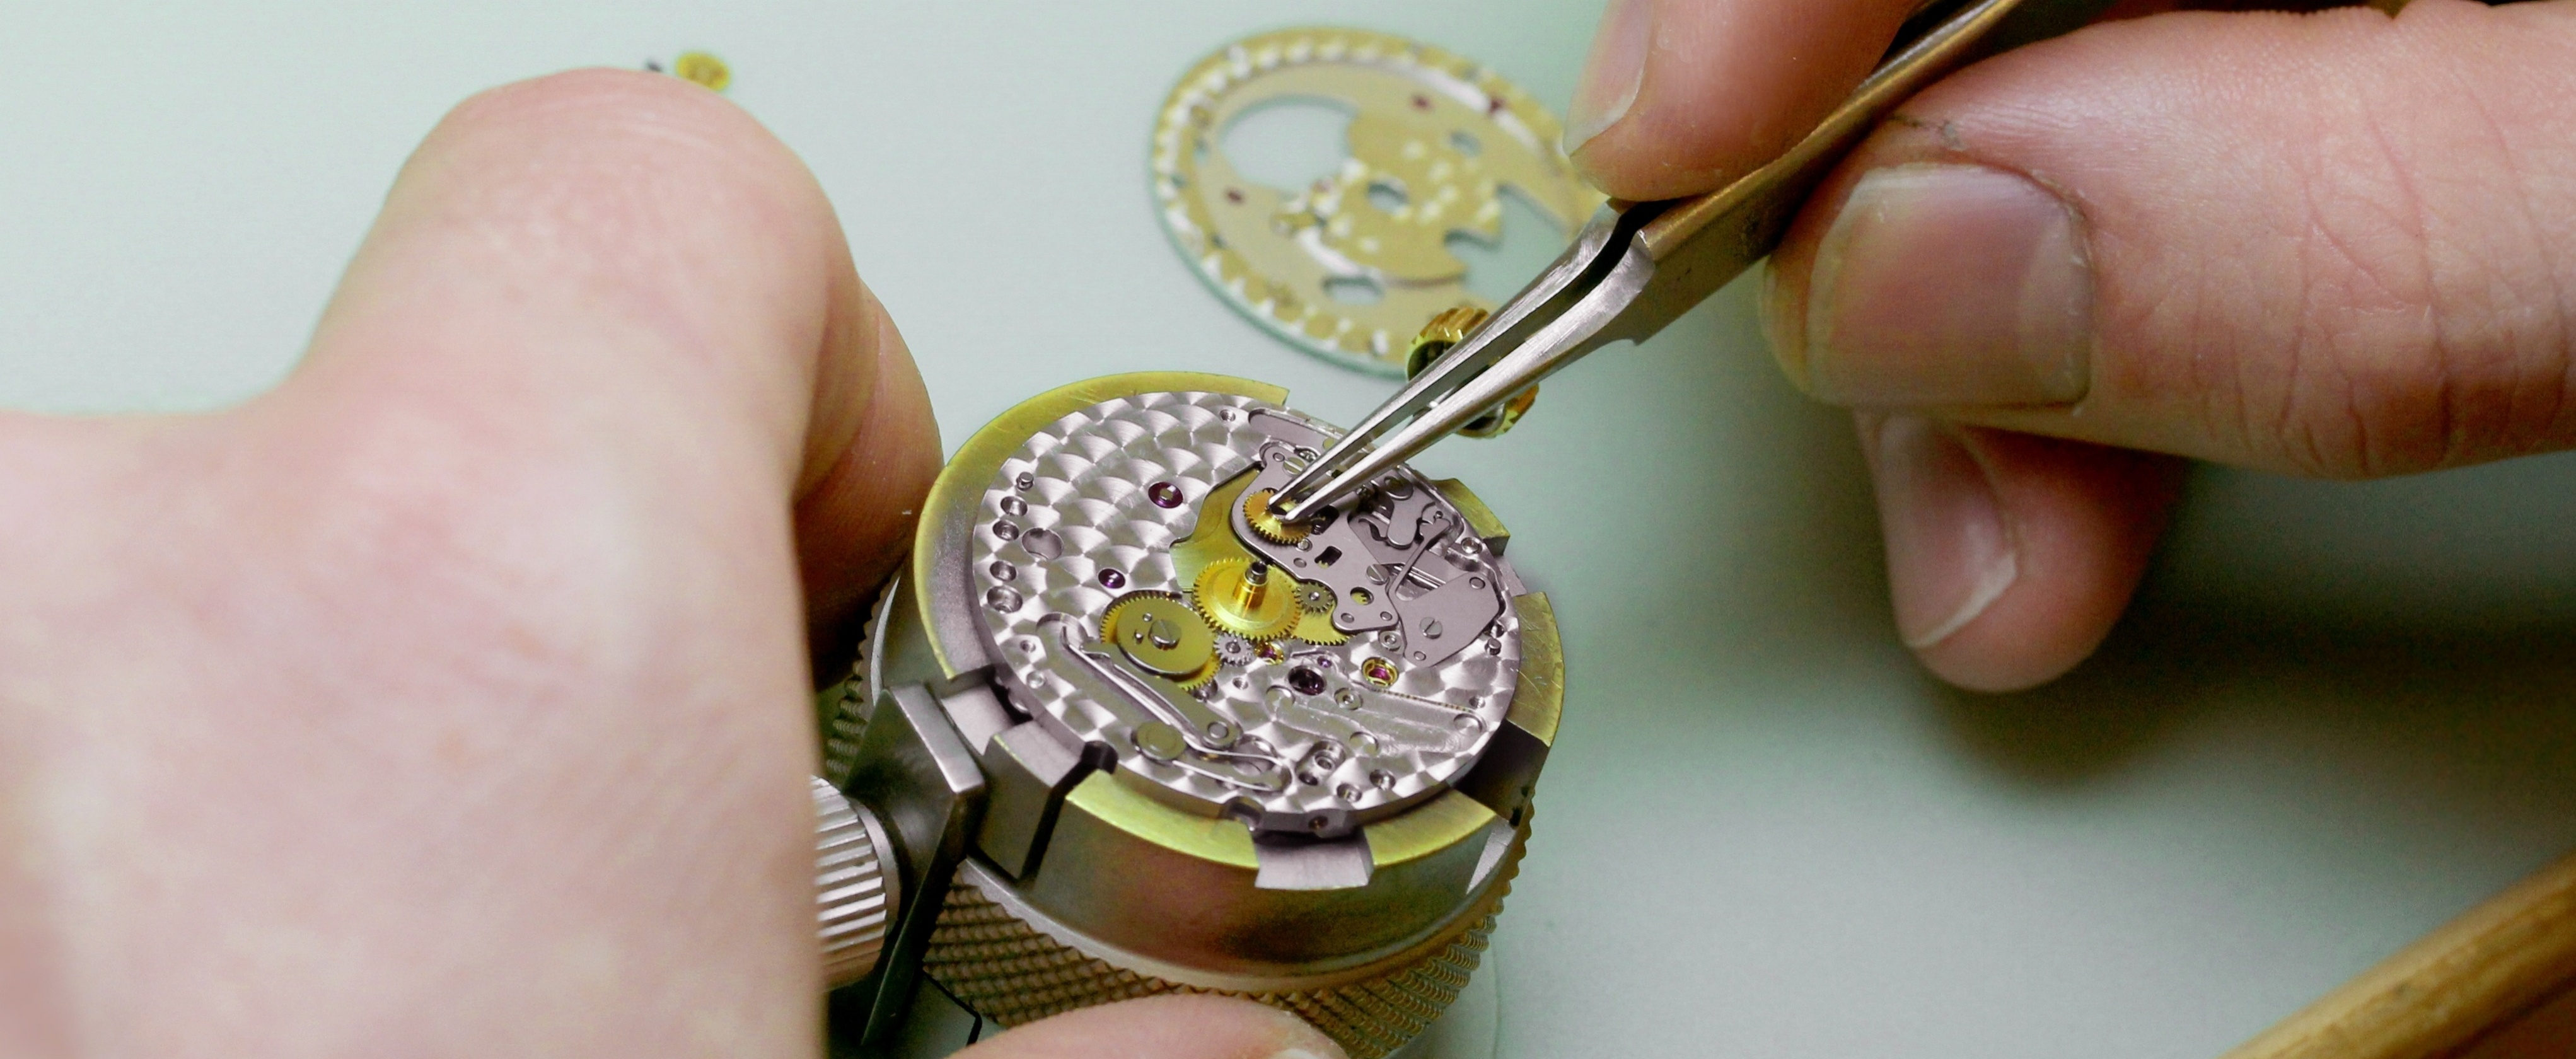
To replace a Fossil watch battery yourself, you need to carefully open the case back, remove the old battery, and install a new one of the exact correct type. However, Fossil strongly advises against do-it-yourself replacement because of the high risk of damaging the watch's internal movement, accidentally ingesting small components, and losing water resistance, which can also void your warranty.
Before you replace your Fossil watch battery: A critical disclaimer
Fossil officially recommends having the battery replaced by a professional at a local Fossil store or a reputable jeweler. This ensures the watch is properly resealed and its water resistance is maintained. Battery replacements performed at a Fossil store typically cost $25. Attempting a DIY replacement may void the warranty and can easily damage the delicate movement or the case seal, leading to costly repairs that far exceed the professional replacement fee.
Tools and materials needed
Having the correct tools ready before you start is essential for a safe and successful replacement. You will need the correct battery for your specific model, non-metal tweezers, a watch case opener tool (either a wrench for screw-on backs or a case knife for snap-on backs), a watch case holder to prevent slipping, a lint-free cleaning cloth, and a dust blower. A watch press is often necessary to securely close snap-on backs, and a magnifying glass can help you see small details.
Step 1: Find the exact battery type for your Fossil watch
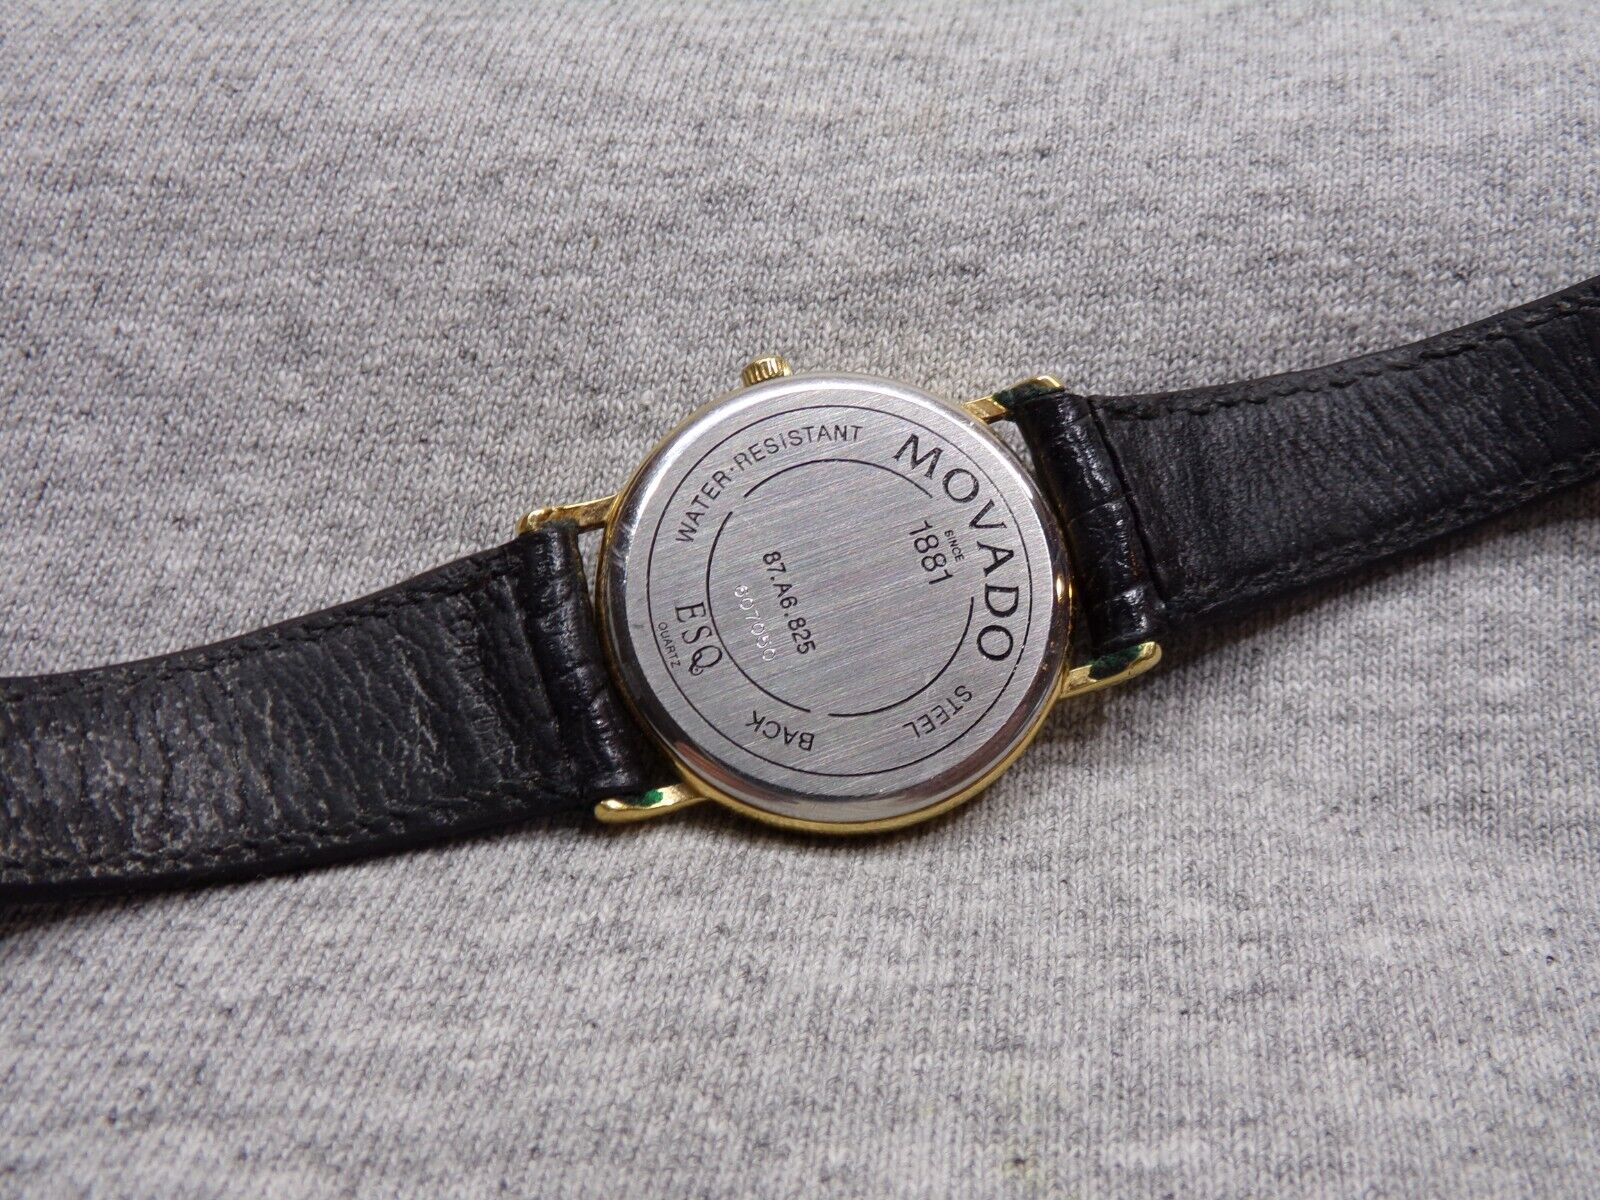
Using the wrong battery can damage your watch. To find the correct battery type for your specific Fossil watch, use the tool available on Fossil's official support page by entering your watch's style number. The style number is usually engraved on the case back. As a secondary option, you can check the old battery itself for markings (such as CR2016 or SR621SW) after you remove it, or consult the user manual that came with your watch.
Step 2: Prepare a clean, safe work area
Set up a well-lit, clean work surface. Place a soft cloth or mat on the table to prevent scratches and to catch any tiny parts that might fall. A clutter-free space with good visibility will help you avoid losing screws, springs, or the battery itself.
Step 3: Remove the watch back (screw-on vs. snap-on)
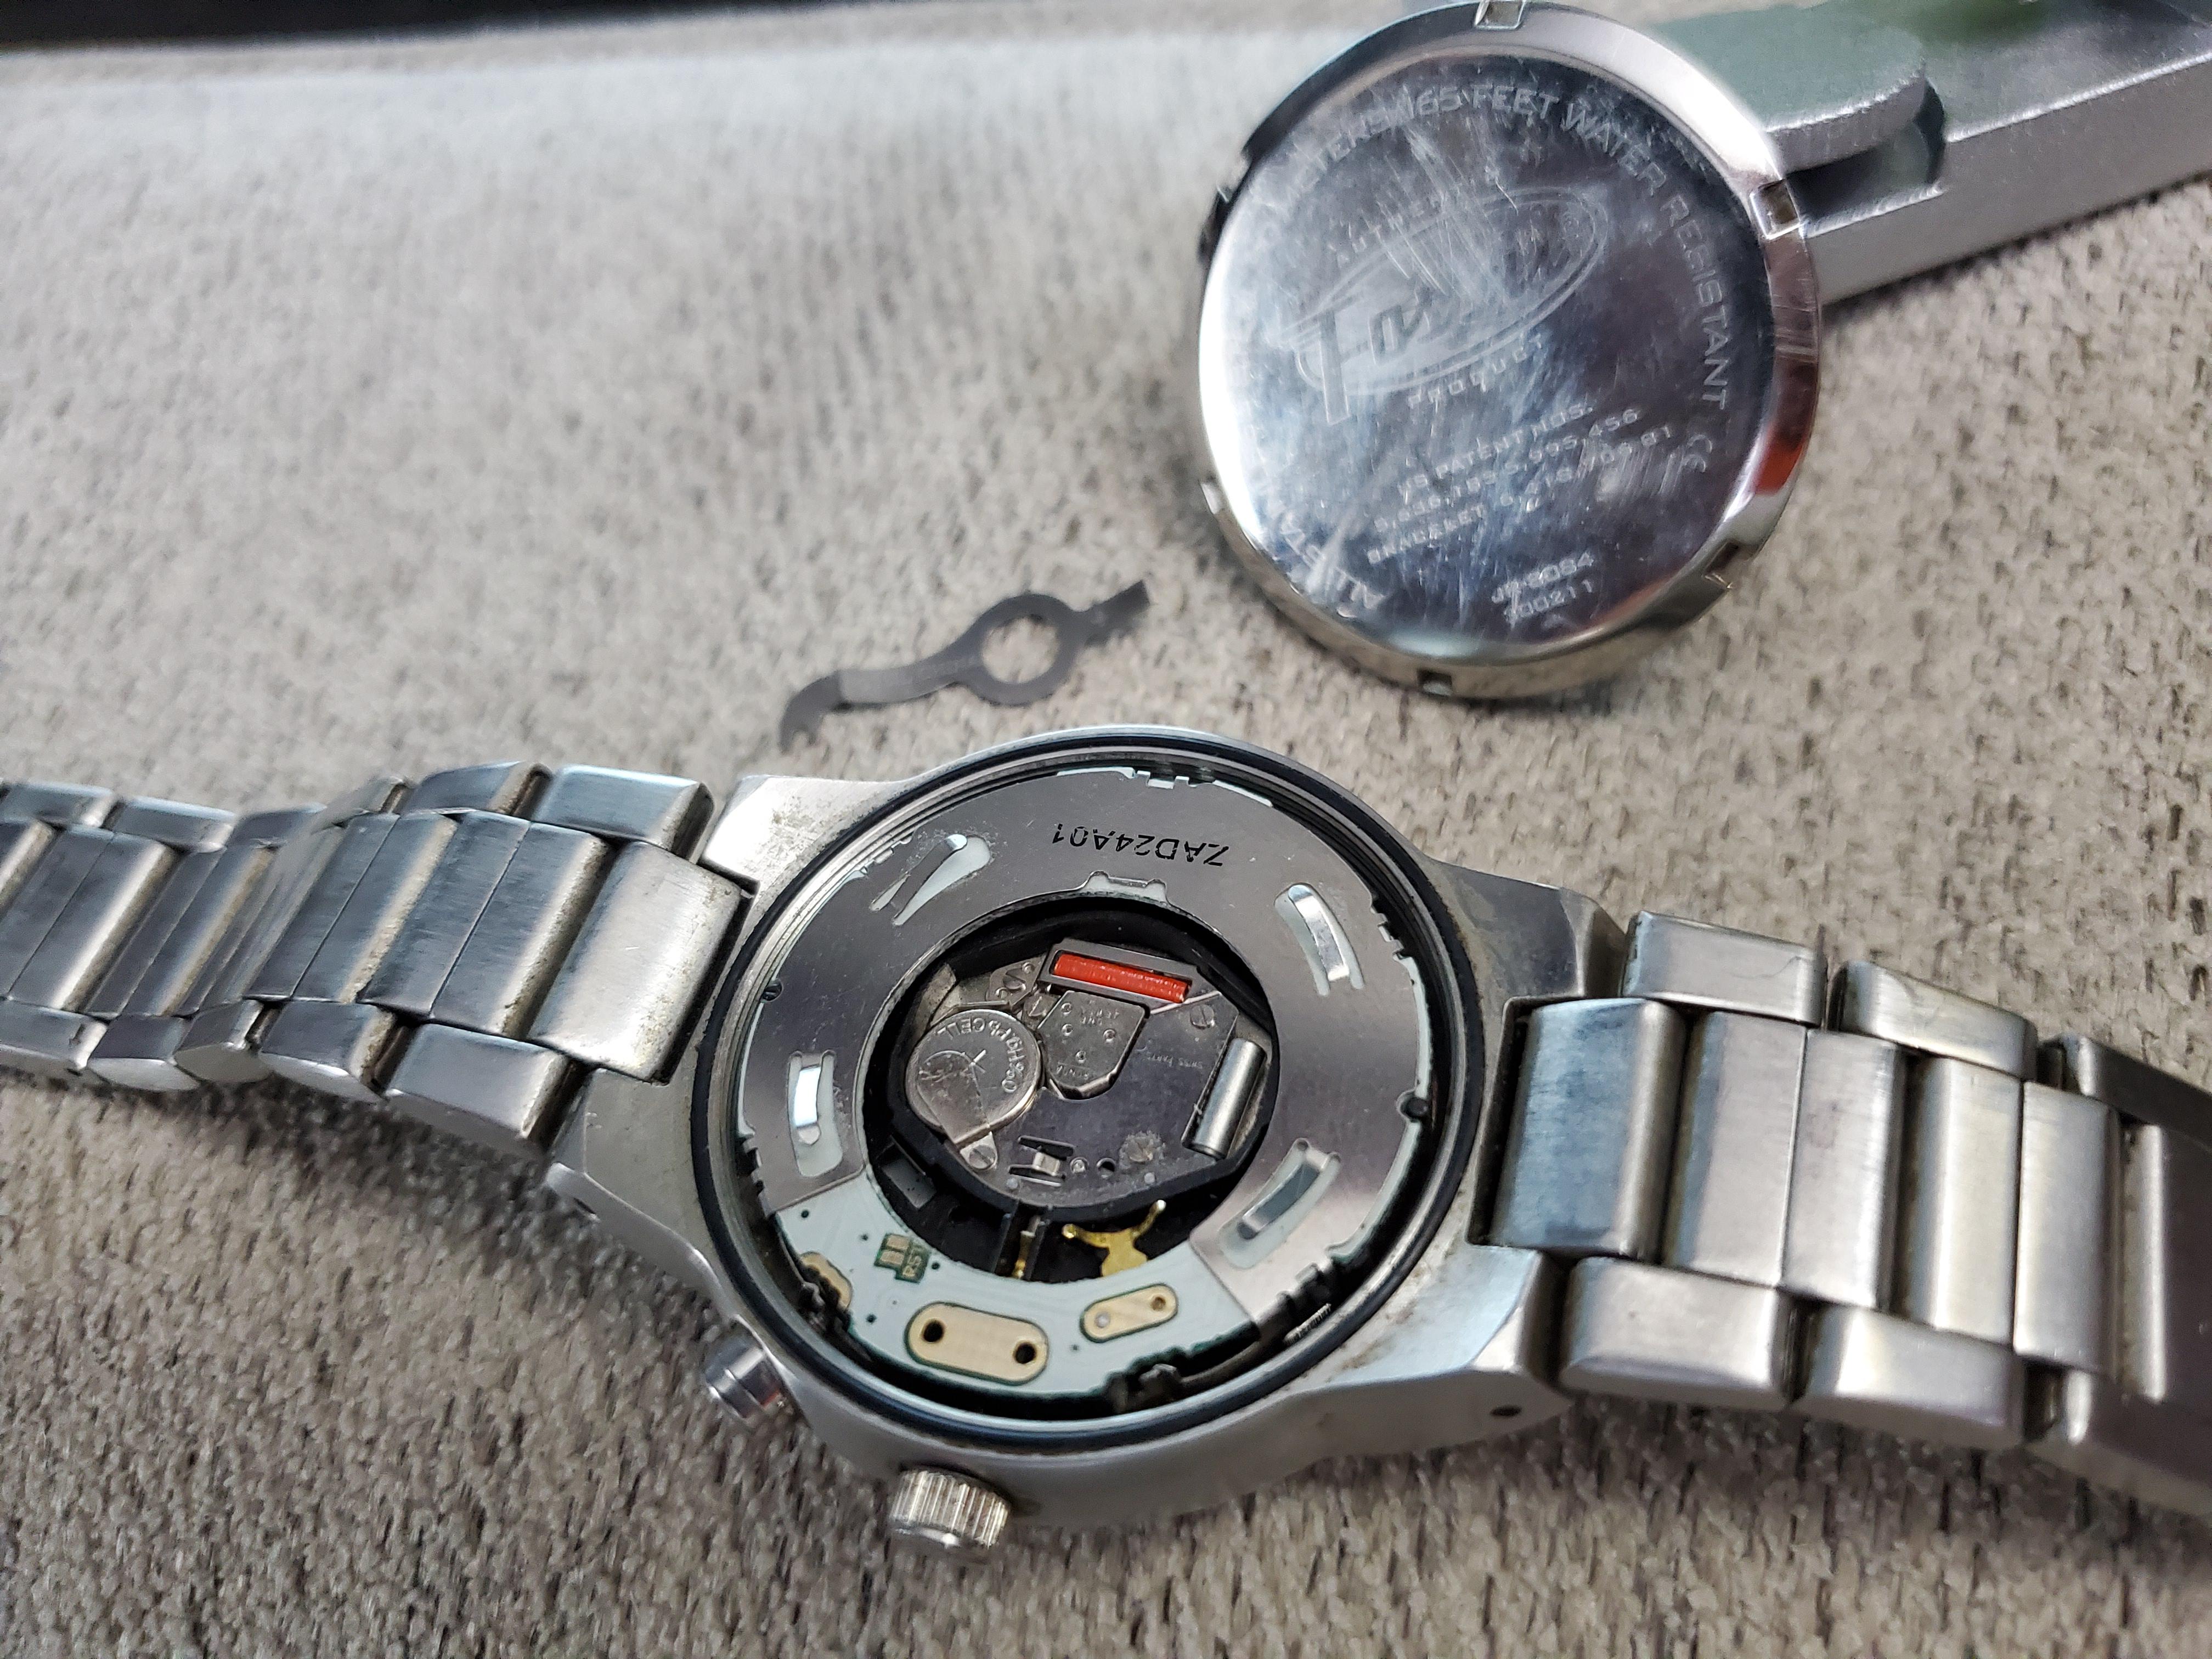
First, identify which type of back your Fossil watch has. Fossil watch backs can be screw-on or snap-on; screw-on backs require twisting counterclockwise with a watch back removal tool, while snap-on backs are typically pried open with a watch case knife. Use steady, even pressure and the correct tool for your back type to avoid scratching the case or damaging the seal.
Step 4: Remove the old battery safely
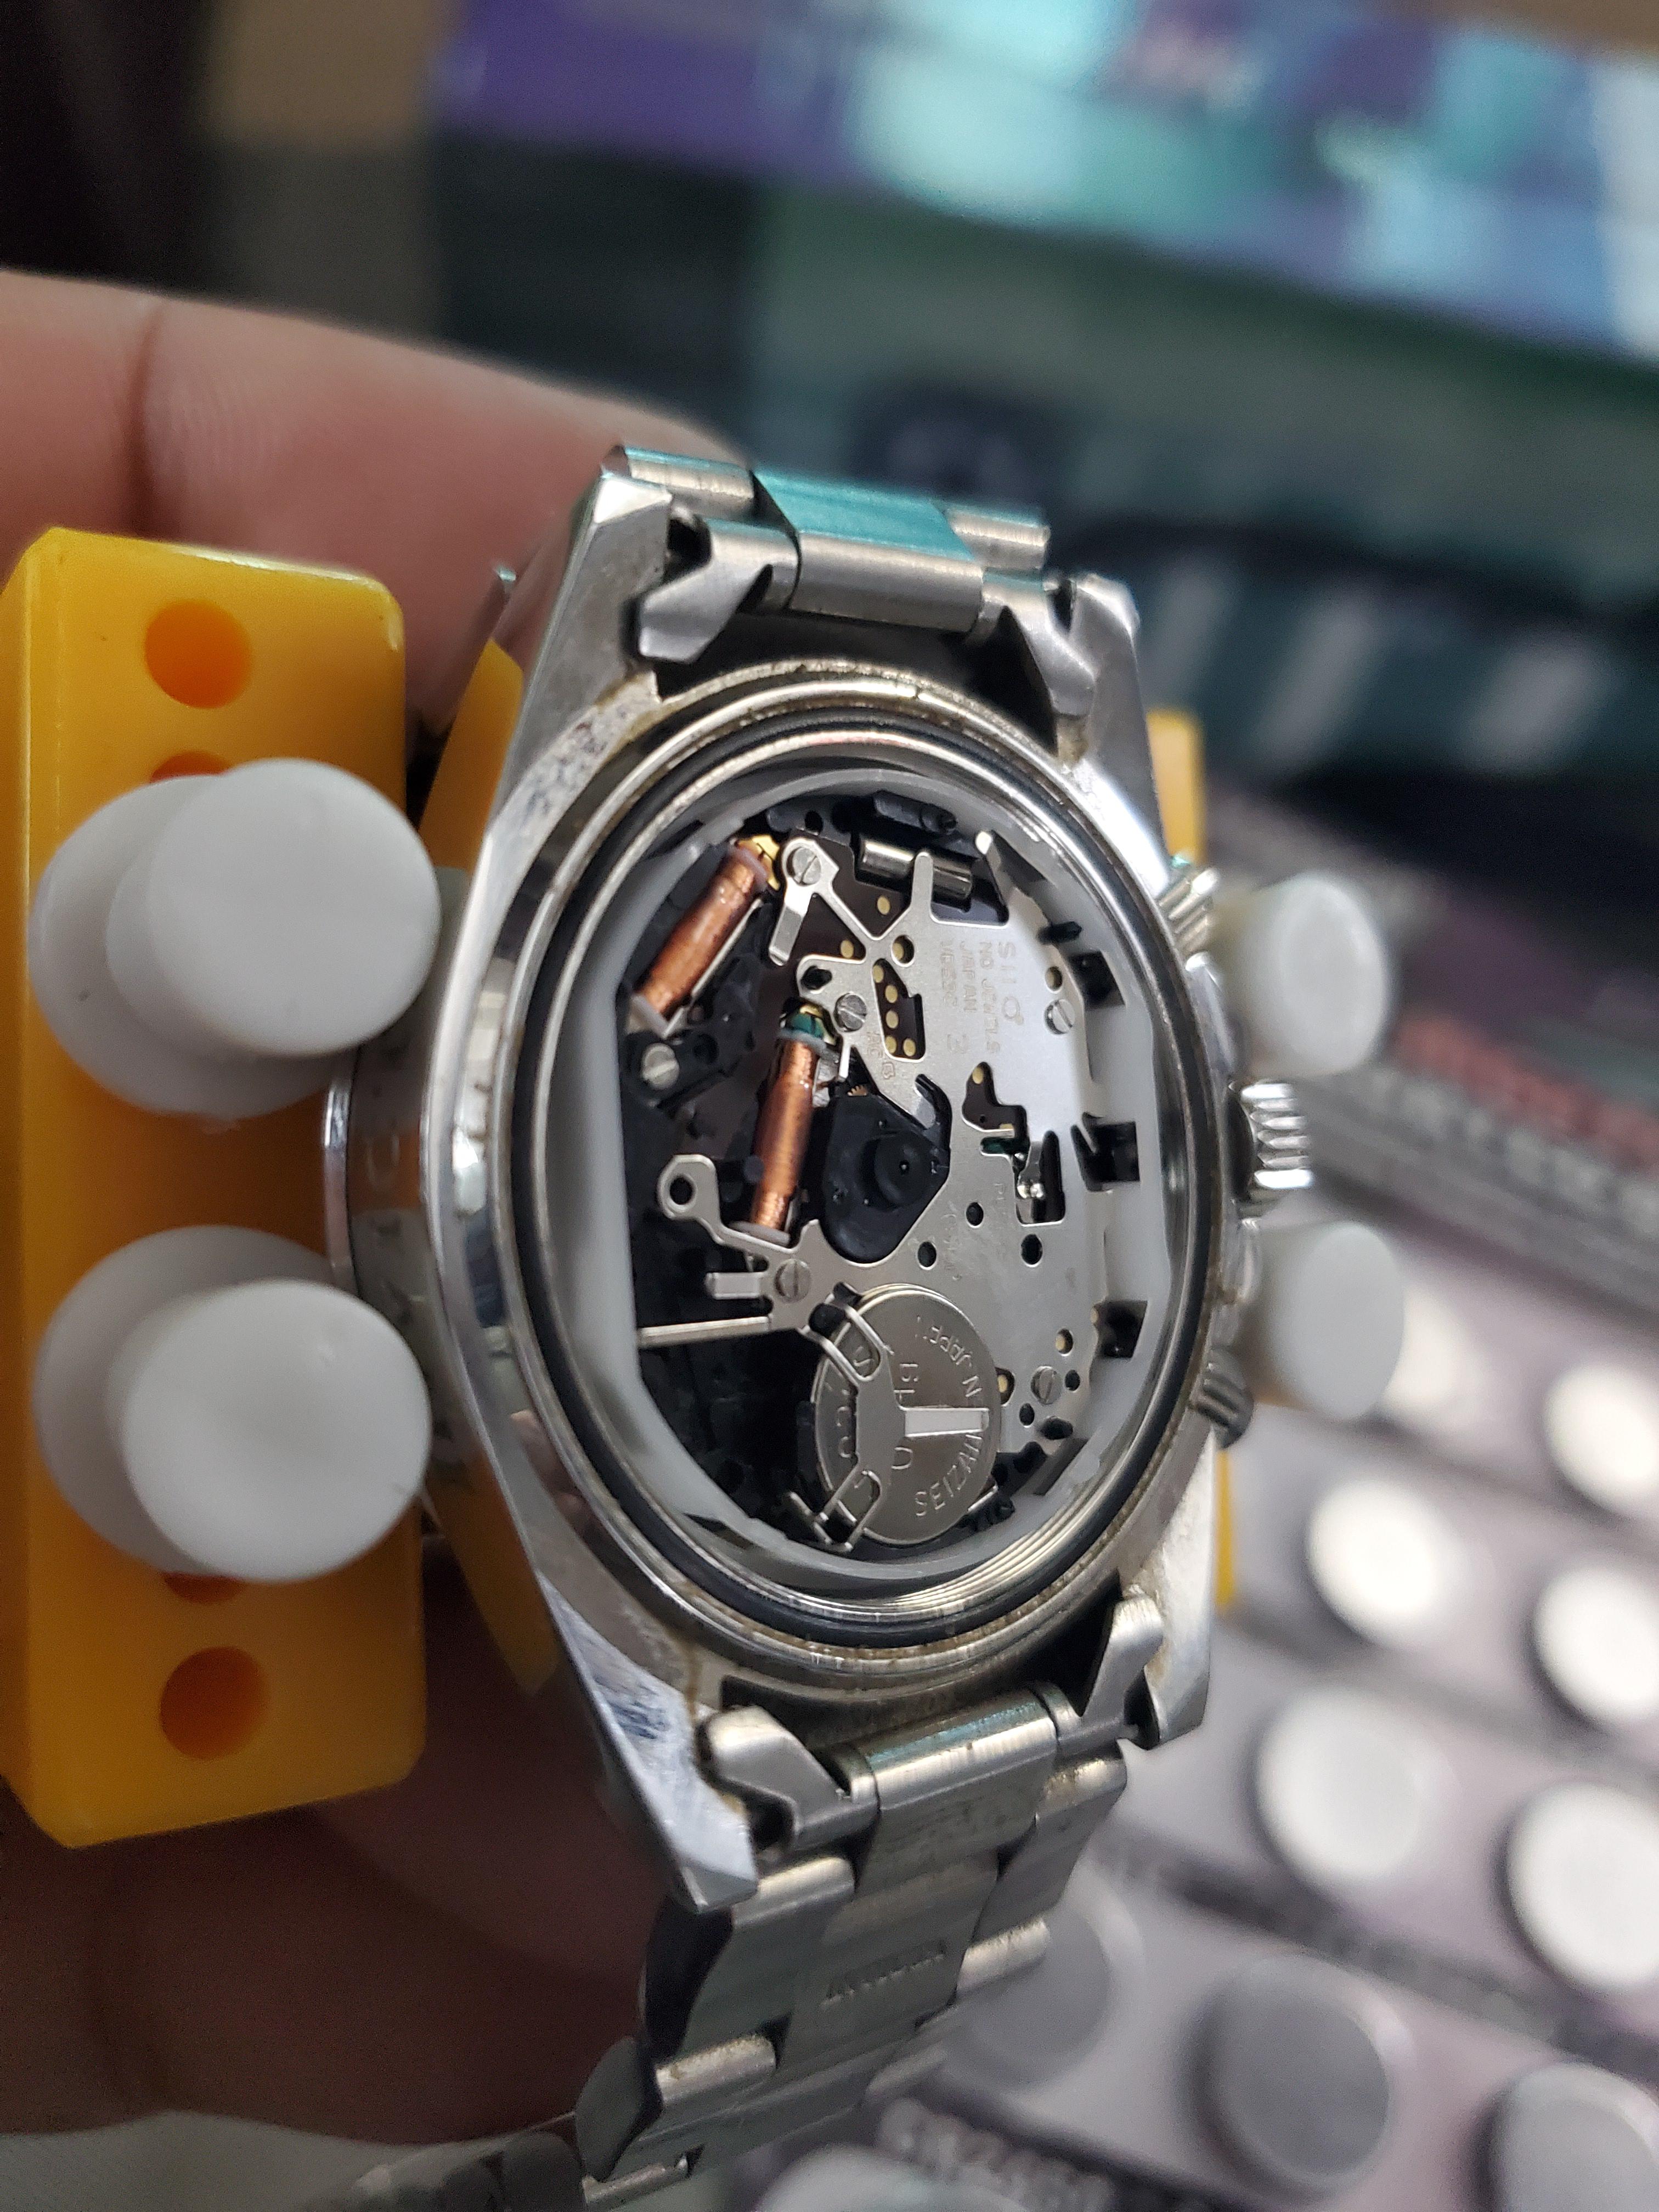
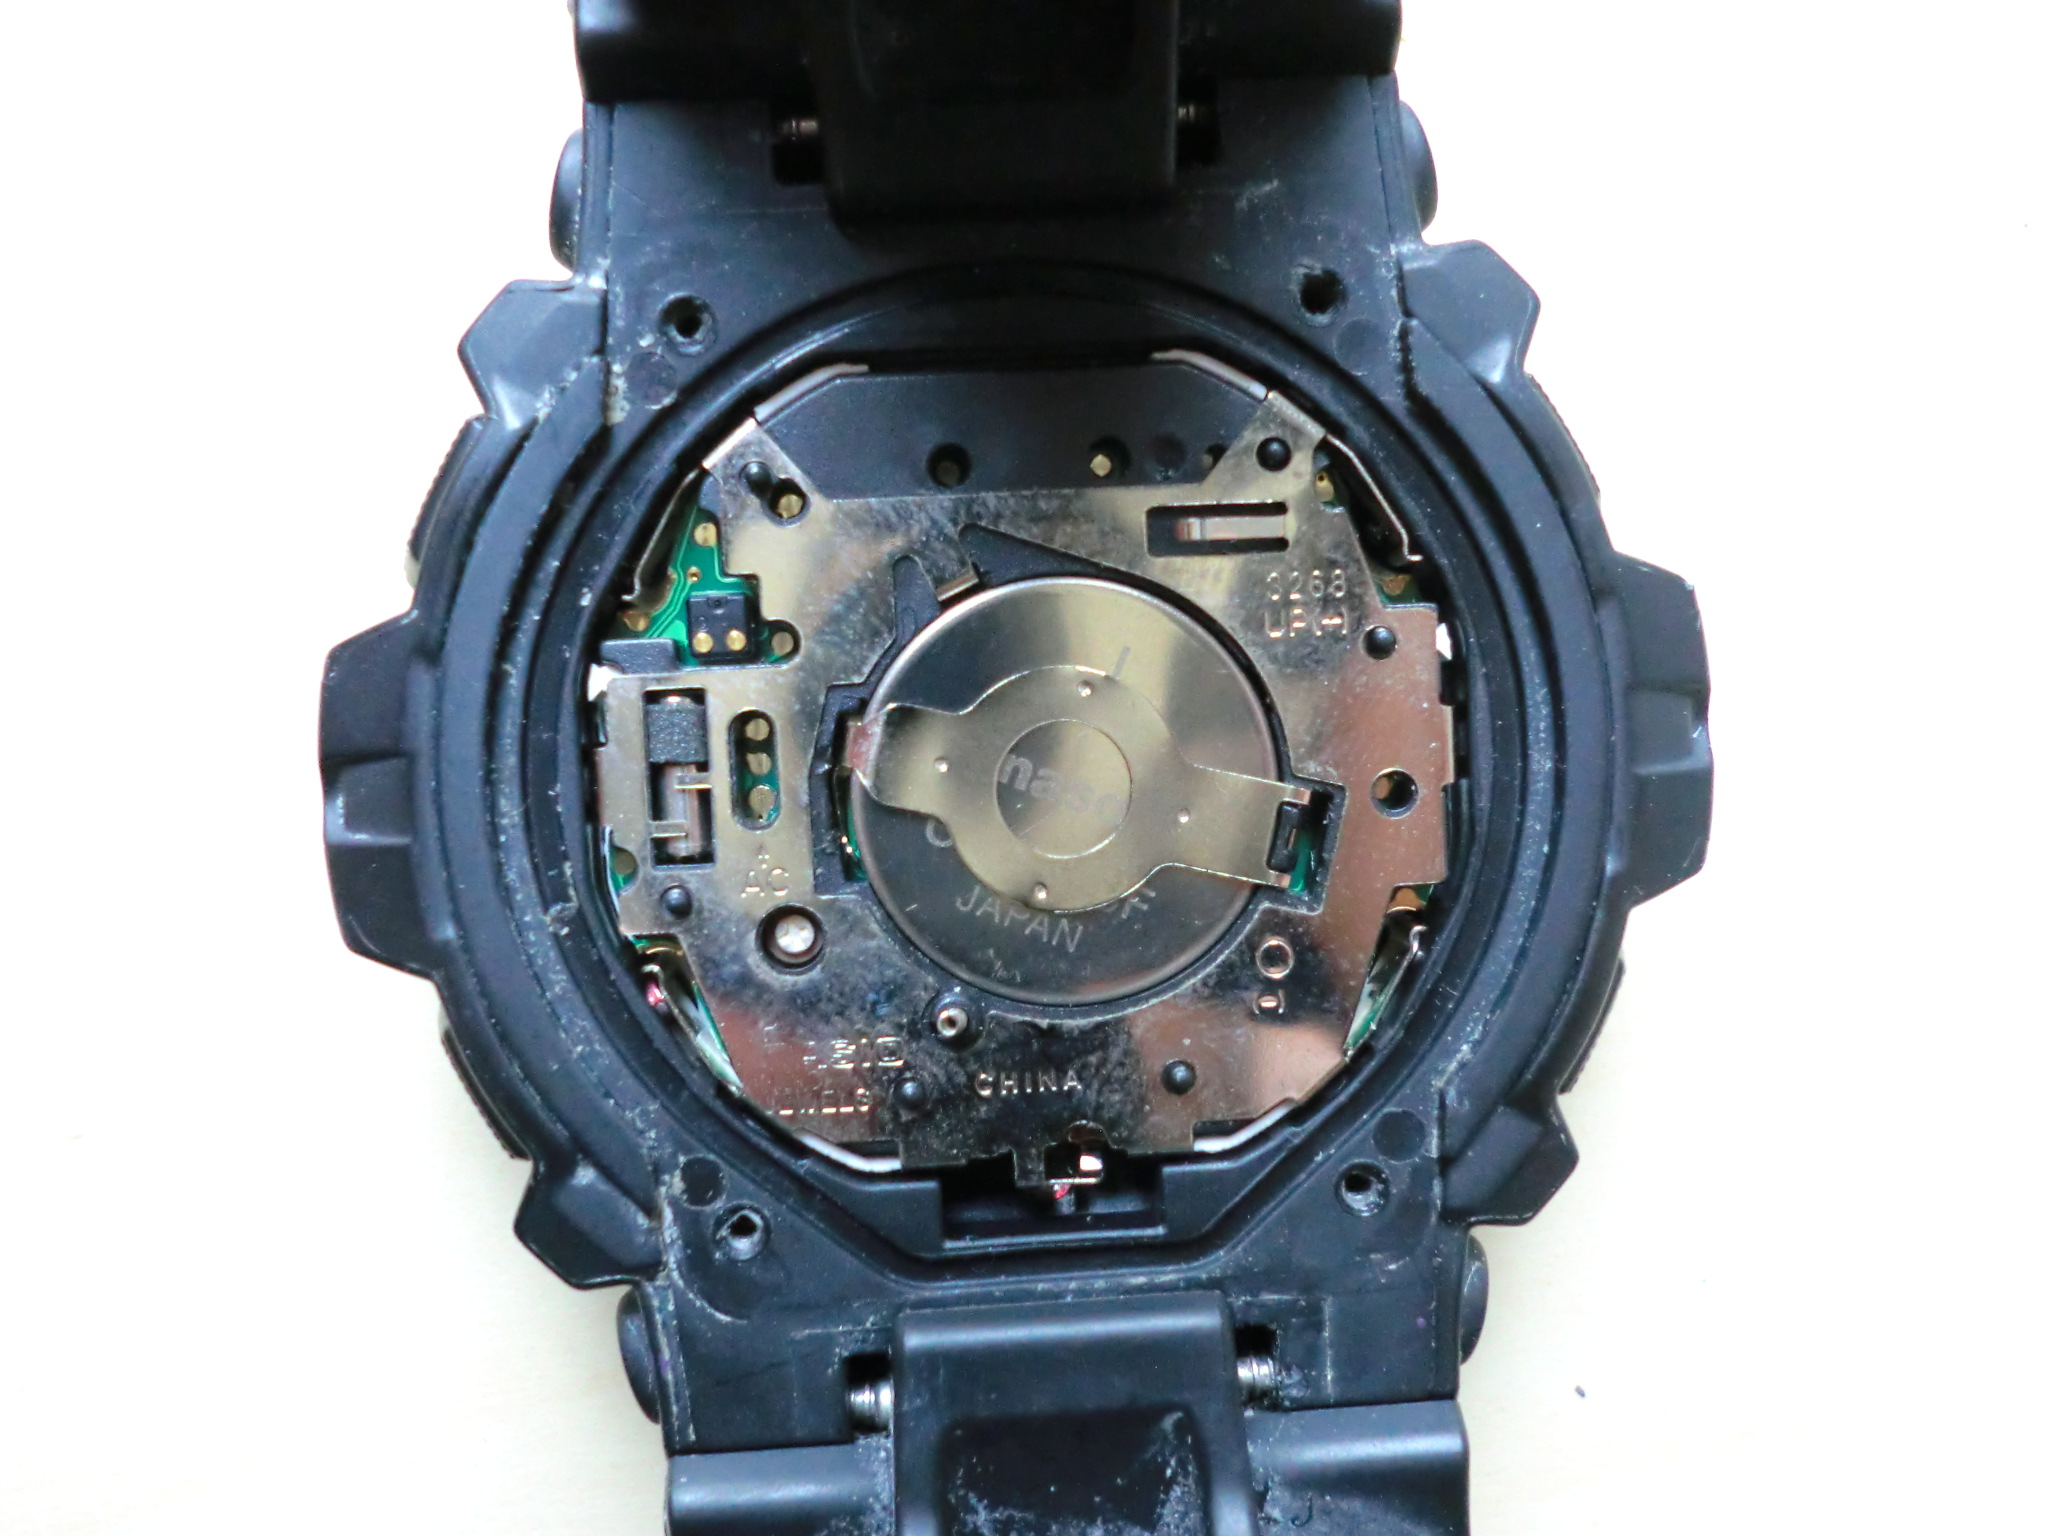
- Locate the battery inside the watch. It is a small, round disc held in place by a metal clip or spring.
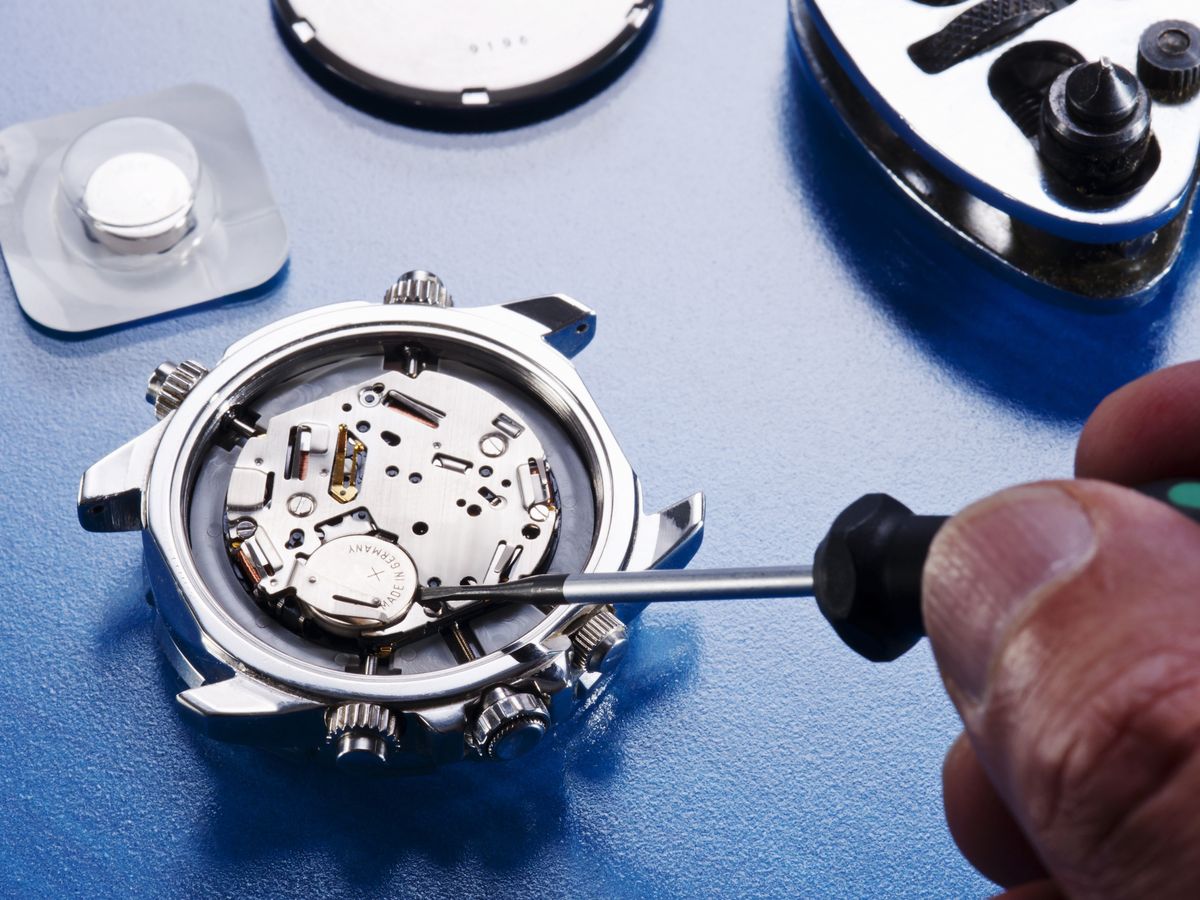
- Use non-metal tweezers to carefully lift the metal clip or spring that secures the battery. Be gentle to avoid bending the clip or damaging nearby components.
- Lift the old battery out of its compartment using the tweezers. Note its orientation (which side faces up) so you can install the new one the same way.
- Dispose of the old battery properly according to local regulations, as watch batteries contain harmful chemicals.
Step 5: Insert the new battery correctly
- Hold the new battery by its edges to avoid transferring oils from your fingers to the terminals.
- Identify the positive (+) and negative (-) terminals on the battery. Align the battery in the compartment so that the positive terminal matches the corresponding contact point in the watch.
- Gently press the battery into place until it is seated flat. Then, carefully lower the retention clip or spring back over the battery to secure it.
Step 6: Clean the movement and reseal the watch back
- After replacing the battery, clean any dust from the movement with a dust blower before closing the case. This prevents particles from interfering with the gears.
- For snap-on case backs, a watch back press is often necessary to securely close the watch and prevent damage to the crystal. For screw-on backs, align the notches and twist clockwise until snug, do not overtighten.
- Proper resealing of the watch case back is essential to maintain its water resistance, and professional service often includes pressure testing.
Step 7: Test your Fossil watch's functions
- Set the time by turning the crown. Observe the second hand to ensure it moves smoothly and without hesitation.
- If your watch has a chronograph (stopwatch) function, start, stop, and reset it to confirm all subdials operate correctly.
- Test the date display and any other complications, such as an alarm or world time feature, to verify they function properly.
Frequently Asked Questions
How long should a new Fossil watch battery last?
Traditional Fossil watch batteries are expected to last approximately two years from replacement. Battery life can vary based on usage of features like the chronograph or backlight.
What should I do if my watch isn't working after replacing the battery?
First, double-check that the battery is inserted with the correct polarity and that the retention clip is securely holding it. If the watch still does not run, the movement may have been damaged during the process, or the battery might be incorrect. In this case, take the watch to a professional for diagnosis.
Can replacing the battery myself void my Fossil warranty?
Yes, opening the watch case yourself can void the warranty. Fossil recommends having battery replacements performed by an authorized service center to keep the warranty valid.
Is it safe to replace watch and device batteries at home?
Replacing watch and device batteries at home carries risks of damaging delicate components, losing water resistance, and voiding warranties. For watches, professional service is strongly recommended by manufacturers like Fossil to avoid these issues.
For the wider topic, see replacing watch and device batteries.
Related reading: Where To Get Watch Battery Replaced and How To Change Invicta Watch Battery.