
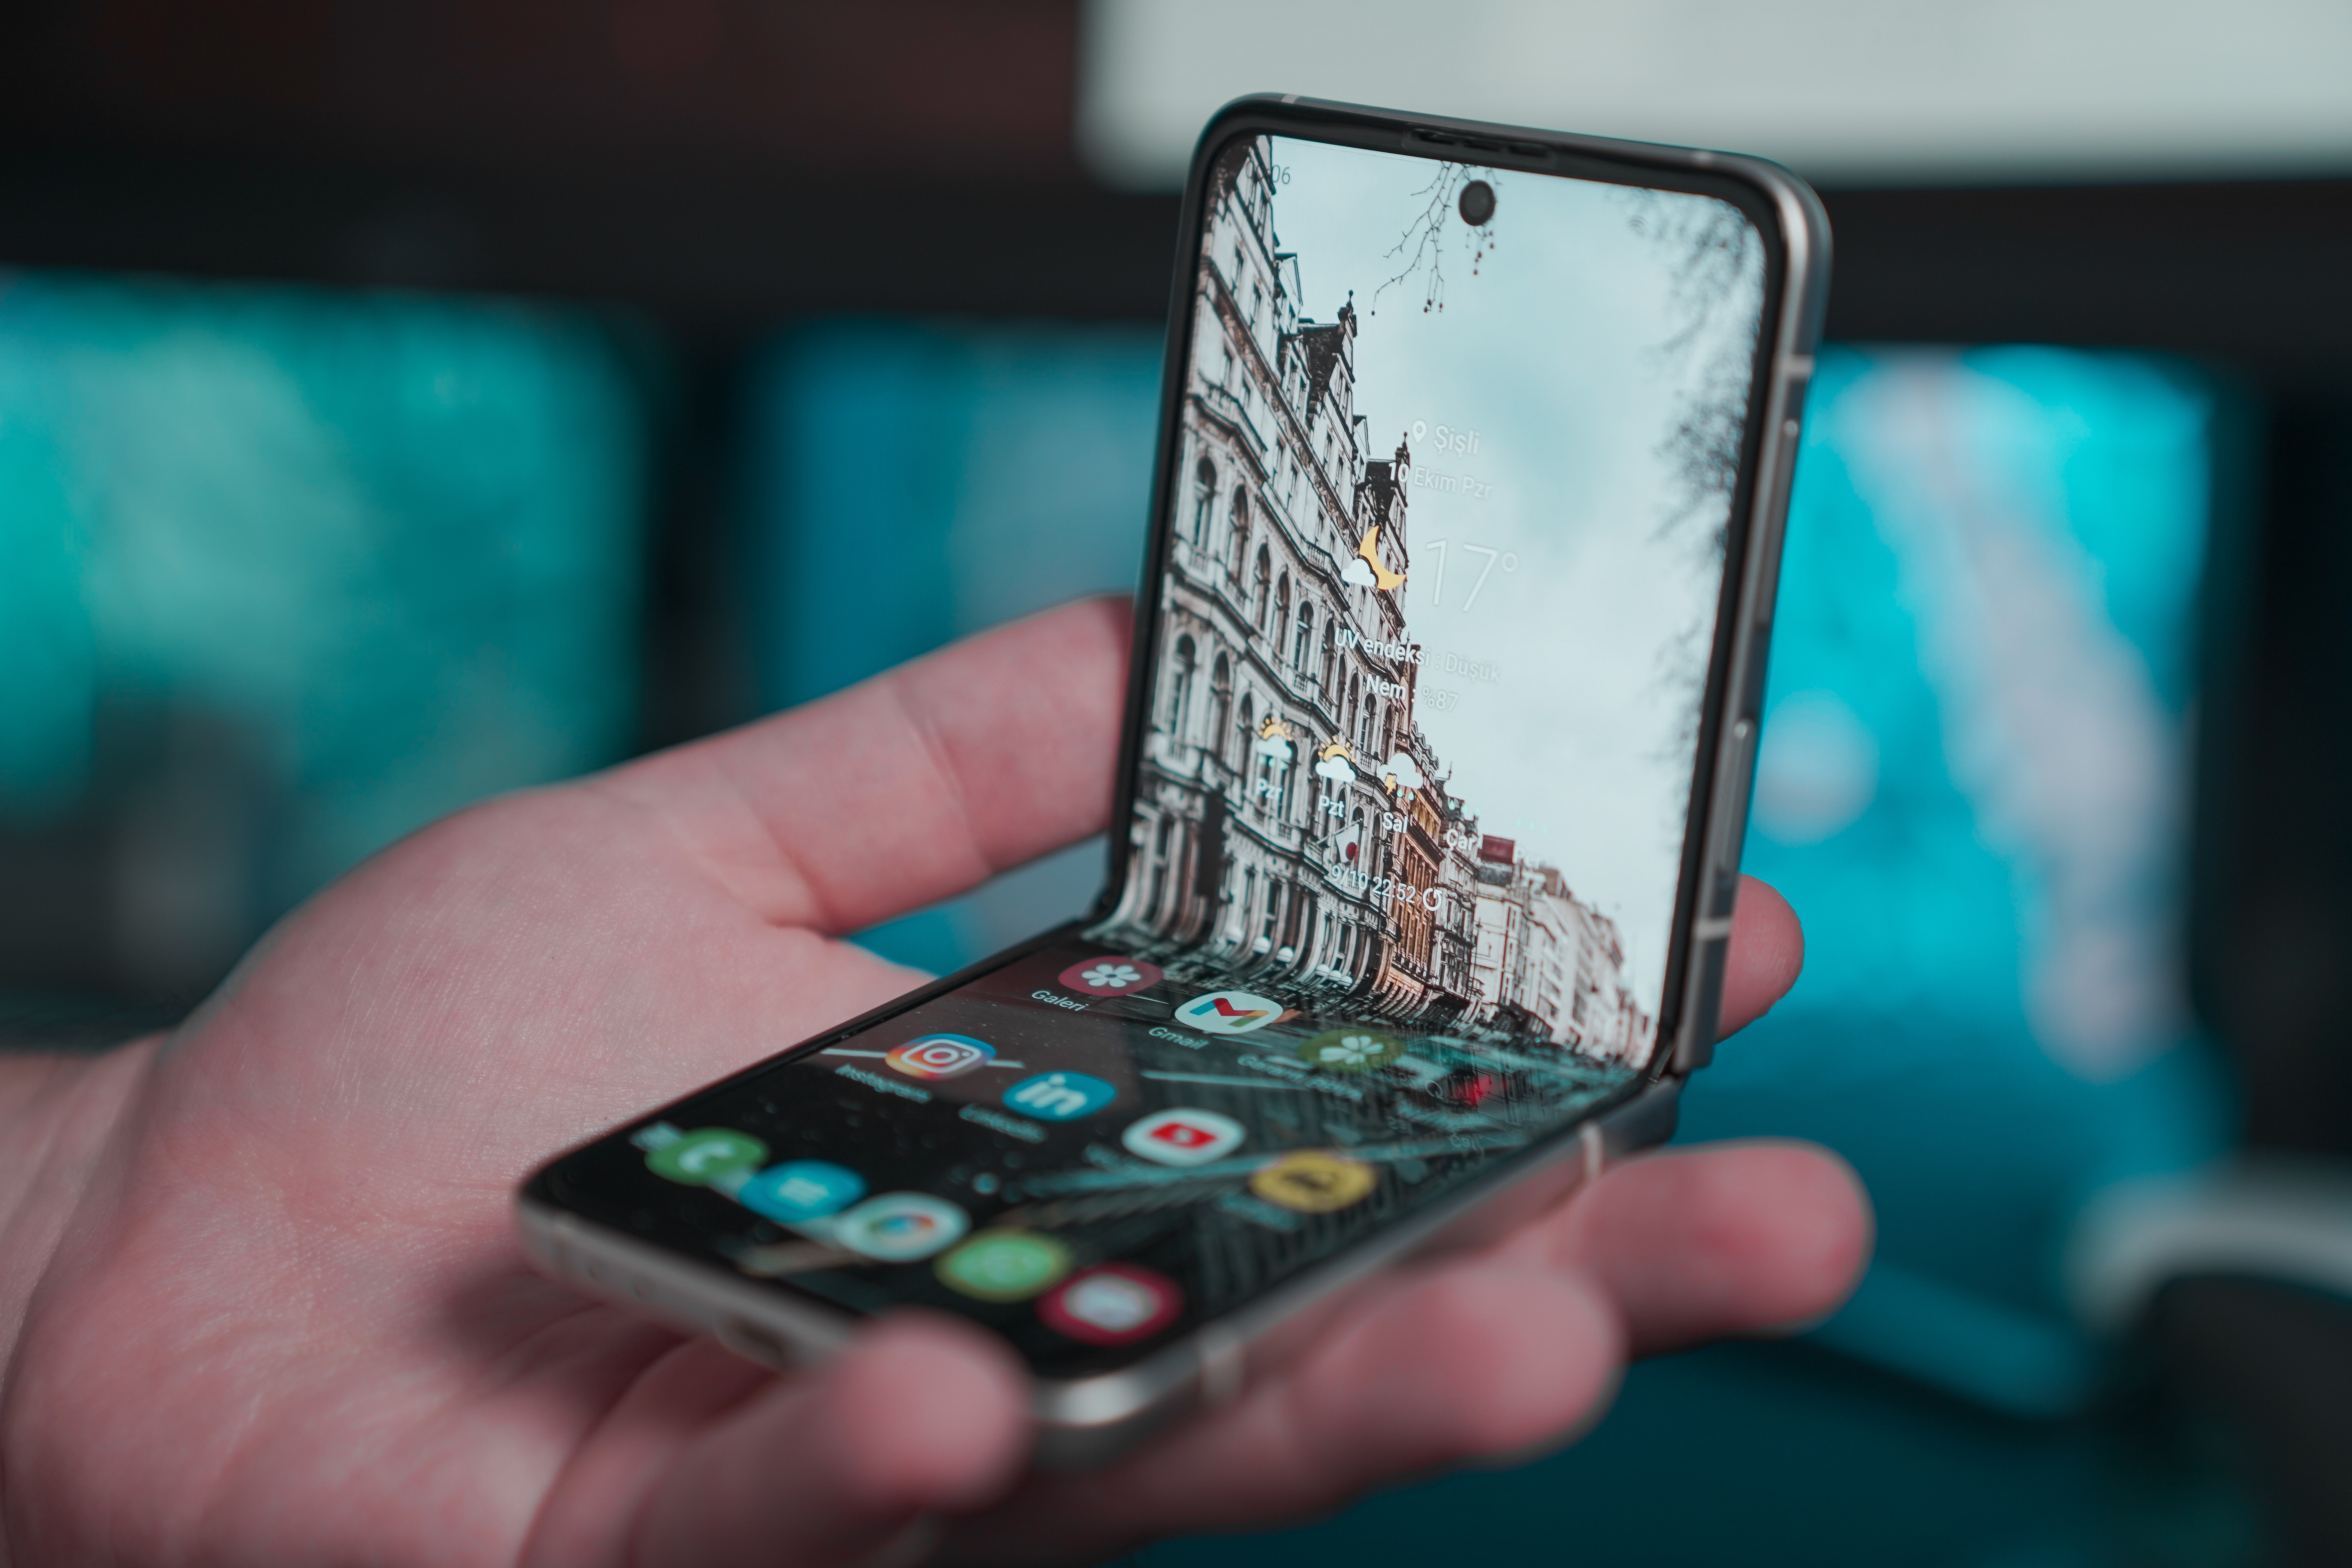
Are you the proud owner of the brand new Samsung Z Flip 3? If so, then you certainly want to protect its stunning foldable display. The screen protector is a crucial accessory that will ensure your device remains scratch-free and pristine. In this article, we will guide you on how to replace the screen protector on your Z Flip 3, saving you the hassle of expensive repairs or a compromised viewing experience. Whether you’re a tech-savvy guru or a beginner, we’ve got you covered with step-by-step instructions and valuable tips. So, let’s dive in and discover how to easily and effectively replace the Z Flip 3 screen protector, keeping your smartphone looking as good as new!
Inside This Article
- Introduction
- Necessary Tools
- Step 1: Gather the Supplies
- Step 2: Remove the Old Screen Protector
- Step 3: Clean the Device
- Step 4: Align the New Screen Protector
- Step 5: Apply the New Screen Protector
- Step 6: Remove Bubbles and Smudges
- Step 7: Test the New Screen Protector
- Conclusion
- Conclusion
- FAQs
Introduction
Are you the proud owner of the Samsung Z Flip 3, but now find yourself in need of a new screen protector? Accidents happen, and despite the Z Flip 3’s durable build, it’s always a good idea to protect your investment with a reliable screen protector. Thankfully, replacing the screen protector on your Z Flip 3 is a straightforward process that you can easily do at home, without the need for professional assistance.
In this guide, we will walk you through the step-by-step process of replacing the screen protector on your Z Flip 3, ensuring a clean and flawless installation. With just a few tools and some patience, you’ll have your Z Flip 3 looking brand new and protected against scratches and smudges in no time.
Before we dive into the process, it’s good to note that there are various types of screen protectors available in the market. You can choose from tempered glass protectors that offer enhanced durability, PET film protectors that provide a smoother feel, or even liquid screen protectors that create an invisible shield. However, for this guide, we will focus on the more common tempered glass screen protectors.
So, let’s get started and learn how to replace the screen protector on your Z Flip 3!
Necessary Tools
Before you begin the process of replacing the screen protector on your Z Flip 3, there are a few essential tools that you’ll need to have on hand. These tools will help ensure a smooth and successful installation:
- Microfiber Cloth: This soft cloth will be used to clean the device’s screen and remove any dust or fingerprints.
- Dust Removal Sticker: This handy tool allows you to easily remove any remaining dust particles from the screen before applying the new protector.
- Alcohol Wipes: These wipes are used to thoroughly clean the device’s screen, removing any oils or residue that could interfere with the adhesive of the new screen protector.
- Tweezers: Tweezers can be helpful for precise placement of the screen protector and for removing any trapped bubbles during the installation process.
- Screen Protector: Of course, you’ll need a new screen protector specifically designed for the Z Flip 3. There are various options available, including tempered glass and film protectors. Choose one that suits your preferences and needs.
- Installation Kit: Some screen protectors come with an installation kit that includes items such as an alignment tray or a squeegee. Check the packaging of your chosen screen protector to see if any additional tools are included.
Having these tools readily available will make the screen protector replacement process much easier and help ensure a perfect fit and finish for your Z Flip 3.
Step 1: Gather the Supplies
To replace the screen protector on your Z Flip 3, you will need to gather a few essential supplies. Having these tools on hand will ensure a smooth and successful screen protector replacement process. Here are the necessary tools you will need:
- New Screen Protector: Make sure to purchase a compatible screen protector specifically designed for the Z Flip 3. Look for high-quality options that offer scratch resistance and clarity.
- Cleaning Solution: A cleaning solution specifically formulated for electronic devices will help you remove any dirt, fingerprints, or smudges on the screen.
- Microfiber Cloth: A soft microfiber cloth is essential for effectively cleaning the screen without leaving any scratches or lint behind.
- Dust Remover: A dust remover tool, such as a dust sticker or lint roller, will help you eliminate any particles or debris from the screen surface before applying the new protector.
- Squeegee or Card: A squeegee or a rigid plastic card can be used to smooth out the screen protector and eliminate any air bubbles during the application process.
- Tape: Transparent tape can be handy for lifting the old screen protector off the device or positioning the new one accurately.
By gathering these supplies beforehand, you’ll have everything you need to replace the screen protector on your Z Flip 3. Ensuring that you have the right tools will contribute to a successful and hassle-free installation process.
Step 2: Remove the Old Screen Protector
Now that you have gathered the necessary tools and supplies, it’s time to remove the old screen protector from your Z Flip 3. This step is crucial to ensure a clean and smooth surface for applying the new protector. Follow these steps to remove the old screen protector:
- Power off your Z Flip 3 and make sure the screen is completely turned off.
- If there are any phone cases or covers on your device, remove them to access the screen protector easily.
- Take a microfiber cloth or a screen cleaning wipe and gently clean the surface of the screen to remove any dust or debris.
- Locate the edge of the screen protector and use a fingernail or a pry tool (if provided in the screen protector kit) to lift it slightly from one corner.
- Slowly and carefully peel off the screen protector from one corner to the other, applying gentle pressure if required. Make sure to do it slowly to avoid damaging the phone’s screen.
- Once the old screen protector is removed, use a clean cloth or wipe to clean any adhesive residue or smudges left on the screen.
By following these steps, you have successfully removed the old screen protector from your Z Flip 3. Now, it’s time to move on to the next step and prepare the device for the application of the new screen protector.
Step 3: Clean the Device
Before applying the new screen protector, it’s essential to ensure that the device is clean and free from any dust or debris. Follow these steps to clean your device effectively:
- Power off your device: To prevent any accidental button presses or screen smudges, it’s best to turn off your device before starting the cleaning process.
- Gather cleaning supplies: Grab a microfiber cloth or a lint-free cloth, isopropyl alcohol, and a cotton swab.
- Wipe the screen: Take the microfiber cloth and gently wipe the screen to remove any fingerprints, smudges, or dust particles.
- Dampen the cloth: Moisten the microfiber cloth with a small amount of isopropyl alcohol. Make sure the cloth is not soaking wet, as excessive moisture can damage the device.
- Gently clean the screen: Using the damp cloth, wipe the screen in a circular motion, focusing on areas that are visibly dirty or have stubborn stains.
- Pay attention to edges and corners: Use the cotton swab dipped in isopropyl alcohol to clean the edges and corners of the screen. These areas tend to accumulate more dirt and debris.
- Allow the device to dry: After cleaning, give your device a few minutes to air dry completely before moving on to the next step.
Remember to handle your device with care while cleaning. Avoid using excessive pressure or abrasive materials that could scratch or damage the screen. Once the device is clean and dry, you are ready to proceed to the next step.
Step 4: Align the New Screen Protector
Now that you have cleaned the device, it’s time to align the new screen protector. Follow these steps:
- Start by carefully peeling off the protective film or backing from the adhesive side of the screen protector, exposing the clear sticky surface.
- Hold the screen protector by the sides and avoid touching the sticky side with your fingers to prevent fingerprints or smudges.
- Align the cutouts and edges of the protector with the corresponding features on your Z Flip 3.
- Slowly lower the screen protector onto the device, starting from one side and gradually gliding it into place.
- Use gentle pressure from the center to the edges of the screen protector to ensure it adheres securely to the device’s screen.
- If needed, adjust the positioning of the screen protector by carefully lifting and re-aligning it. Take your time to achieve a perfect fit.
Note: If the screen protector comes with an alignment tool or guide, be sure to use it for precise placement.
Remember, proper alignment is crucial to ensure full coverage and protection for your Z Flip 3’s screen. Take your time and make any necessary adjustments to ensure a precise fit.
Step 5: Apply the New Screen Protector
Once you have aligned the new screen protector, it’s time to apply it to your Z Flip 3. Follow these steps:
- Carefully remove the backing from the screen protector, exposing the adhesive side.
- Hold the screen protector by the edges, making sure not to touch the adhesive surface.
- Align the exposed adhesive side of the screen protector with the edges and cutouts of your Z Flip 3.
- Slowly and gently lower the screen protector onto the device, starting from one edge.
- Press down on the screen protector starting from the center and working your way outwards to eliminate any air bubbles. You can use a microfiber cloth or a credit card wrapped in a soft cloth to smooth out any bubbles or wrinkles.
- Apply even pressure to ensure a secure and bubble-free adhesion.
- Once the screen protector is securely applied, give it a final wipe with a clean microfiber cloth to remove any fingerprints or smudges.
Take your time during this step to ensure precise alignment and a bubble-free installation. Remember, a properly applied screen protector will enhance the display quality of your Z Flip 3 and provide an extra layer of protection against scratches and smudges.
Step 6: Remove Bubbles and Smudges
After applying the new screen protector, there may be some small bubbles or smudges trapped underneath. These can be distracting and affect the overall visibility of your device. Here’s how to remove them:
- Inspect the screen: Take a close look at the screen to identify any bubbles or smudges. They may appear as small air pockets or streaks on the surface of the screen protector.
- Use a microfiber cloth: Start by gently wiping the screen with a clean, lint-free microfiber cloth. This will help remove any loose particles or smudges on the screen.
- Apply pressure: For small bubbles, you can try applying gentle pressure on the screen using your fingers. Press down on the bubble and slowly move your finger towards the edge of the screen to push the air out. Be careful not to apply too much pressure, as it may damage the screen protector.
- Use a card: If the bubbles are more stubborn, you can use a plastic card, such as a credit card or ID card, to push them out. Place the card at the edge of the bubble and gently slide it towards the opposite edge, pushing out any trapped air as you go.
- Work from the center outwards: Start from the center of the screen and work your way towards the edges when removing bubbles. This will help ensure a smooth and even distribution of pressure.
- Repeat if necessary: If there are still bubbles or smudges remaining, repeat the process until the screen is free of any imperfections.
- Final clean: Once you have successfully removed the bubbles, give the screen a final wipe with a microfiber cloth to ensure it is clean and free from any fingerprints or debris.
It’s important to note that some screen protectors may have a self-healing feature, which means that small scratches or marks will disappear over time. In such cases, the bubbles or smudges may also dissipate on their own. However, if you find that the bubbles persist or the screen protector becomes damaged, it may be necessary to replace it with a new one.
By following these steps, you can ensure that your new screen protector is applied smoothly and free from any imperfections. This will not only enhance the appearance of your device but also protect it from scratches and other potential damage.
Step 7: Test the New Screen Protector
Once you have successfully applied the new screen protector, it’s important to test it to ensure that it is working effectively. Here’s how you can do it:
- Turn on your device: Power on your device and make sure the screen is functioning properly.
- Check touch sensitivity: Test the responsiveness of the touch screen by swiping and tapping various areas of the screen. The new screen protector should not hinder the touch sensitivity in any way.
- Inspect for any imperfections: Carefully examine the screen for any bubbles, smudges, or dust particles that might have been trapped during the application process. If you notice any imperfections, you can gently lift the screen protector and reapply it, following the same steps mentioned earlier.
- Verify visibility: Ensure that the screen protector has not affected the clarity or visibility of the display. The screen should appear clear and vibrant, just as it did before the application.
- Test functionality: Test various functions of your device, such as making calls, sending messages, and using different apps. Check that the screen protector does not interfere with any of these functions.
If you notice any issues during the testing process, such as decreased touch sensitivity, poor visibility, or hindered functionality, you may need to remove the screen protector and try again. Remember, practice makes perfect, and it may take a few attempts to achieve a seamless and bubble-free application.
By following these steps and thoroughly testing the new screen protector, you can ensure that your device’s screen remains protected while maintaining optimal functionality.
Conclusion
In conclusion, replacing the screen protector on your Z Flip 3 can help to maintain the device’s display in pristine condition. By following the steps outlined in this guide and using the necessary tools, you can easily remove the old screen protector and apply a new one without any hassle. Remember to handle the device with care and ensure that the screen is thoroughly cleaned before applying the new protector to guarantee optimal adhesion.
Regularly replacing your screen protector not only protects your Z Flip 3’s display from scratches, smudges, and other damages, but it also ensures a clear and vibrant viewing experience. With the right tools and proper technique, you can maintain the functionality and visual appeal of your device for a long time to come.
Remember, if you are uncertain about the replacement process or if you encounter any issues along the way, it is always best to seek guidance from a professional or contact the manufacturer for assistance. Taking the time to learn how to replace the screen protector on your Z Flip 3 will not only save you money but also provide you with the satisfaction of giving your device the care it deserves.
Investing in a high-quality screen protector and regularly replacing it is a small but impactful step towards keeping your Z Flip 3 looking and performing at its best. So, go ahead and confidently protect your device with a new screen protector, knowing that you have the knowledge and tools to do it right.
Conclusion
In conclusion, replacing the screen protector on your Z Flip 3 is a simple and important step to keep your device in optimal condition. By following the step-by-step guide outlined above, you can ensure a seamless process while protecting your screen from scratches, smudges, and other potential damage.
Remember to start by gathering the necessary tools and materials before removing the old screen protector. Take your time and be gentle when cleaning the screen to avoid any damage. Carefully align the new screen protector and smooth out any bubbles or imperfections. Finally, give it some time to settle before placing your Z Flip 3 back into its case.
With the right techniques and a bit of patience, you can easily replace the screen protector on your Z Flip 3 and enjoy a clear, scratch-free display. Keep your device protected and always keep a spare screen protector handy for future replacements. Now you can confidently enjoy the stunning visuals of your Z Flip 3 while extending its lifespan!
FAQs
Q: Can I replace the screen protector on my Z Flip 3?
A: Yes, you can replace the screen protector on your Z Flip 3. The Z Flip 3 comes with a pre-installed screen protector, but over time, it may get scratched or damaged. You can purchase a new screen protector and carefully remove the old one before applying the new one.
Q: How do I remove the old screen protector?
A: To remove the old screen protector from your Z Flip 3, start by gently peeling off a corner of the protector with your fingernail or a plastic card. Once you have a grip on the corner, slowly lift and peel off the protector, making sure to apply even pressure and keep it at a low angle to prevent any damage to the screen.
Q: What type of screen protector should I use for my Z Flip 3?
A: It is recommended to use a tempered glass screen protector for your Z Flip 3. Tempered glass screen protectors offer better protection against scratches and provide a smoother touch experience compared to film or plastic protectors. Look for a screen protector specifically designed for the Z Flip 3 to ensure a perfect fit.
Q: Are there any special instructions for applying a new screen protector?
A: When applying a new screen protector to your Z Flip 3, make sure to thoroughly clean the screen before installation to remove any dust or debris. Follow the instructions provided with the screen protector to ensure proper alignment and a bubble-free application. Apply the protector carefully, starting from one end and pressing out any air bubbles as you go.
Q: How often should I replace the screen protector on my Z Flip 3?
A: The frequency of screen protector replacement depends on how often you use your Z Flip 3 and the level of wear and tear it is exposed to. If you notice any scratches, cracks, or loss of touch sensitivity on the screen protector, it’s time to replace it. Additionally, if the protector becomes significantly worn or starts to peel off, it is advisable to replace it to ensure optimal protection for your device’s screen.