
Popsockets have become a popular mobile accessory for phone users worldwide. These nifty little contraptions provide a convenient grip for your phone, allowing you to text, take selfies, and browse the internet with ease. But did you know that Popsockets can also be used as a stylish way to display or save pictures?
In this article, we will show you how to save the picture on a Popsocket. Whether it’s a cute snapshot of your pet, a memorable vacation photo, or a beautiful landscape, we’ll guide you through the steps to ensure that your cherished memories can be easily displayed on your phone accessory.
So, if you’re ready to unleash your creativity and personalize your Popsocket with your favorite images, read on to discover the secrets of saving pictures on a Popsocket!
Inside This Article
- Choosing the Right Popsocket Design
- Preparing the Popsocket for Customization
- Applying the Picture on the Popsocket
- Securing and Protecting the Picture on the Popsocket
- Choosing the Right Popsocket Design
- Preparing the Popsocket for Customization
- Applying the Picture on the Popsocket
- Securing and Protecting the Picture on the Popsocket
- Conclusion
- FAQs
Have you ever wanted to add a personalized touch to your popsocket? One great way to do that is by saving your favorite picture on a popsocket. This simple customization not only adds a unique flair to your phone accessory, but also allows you to showcase a special memory or design that you love.
Choosing the Right Popsocket Design
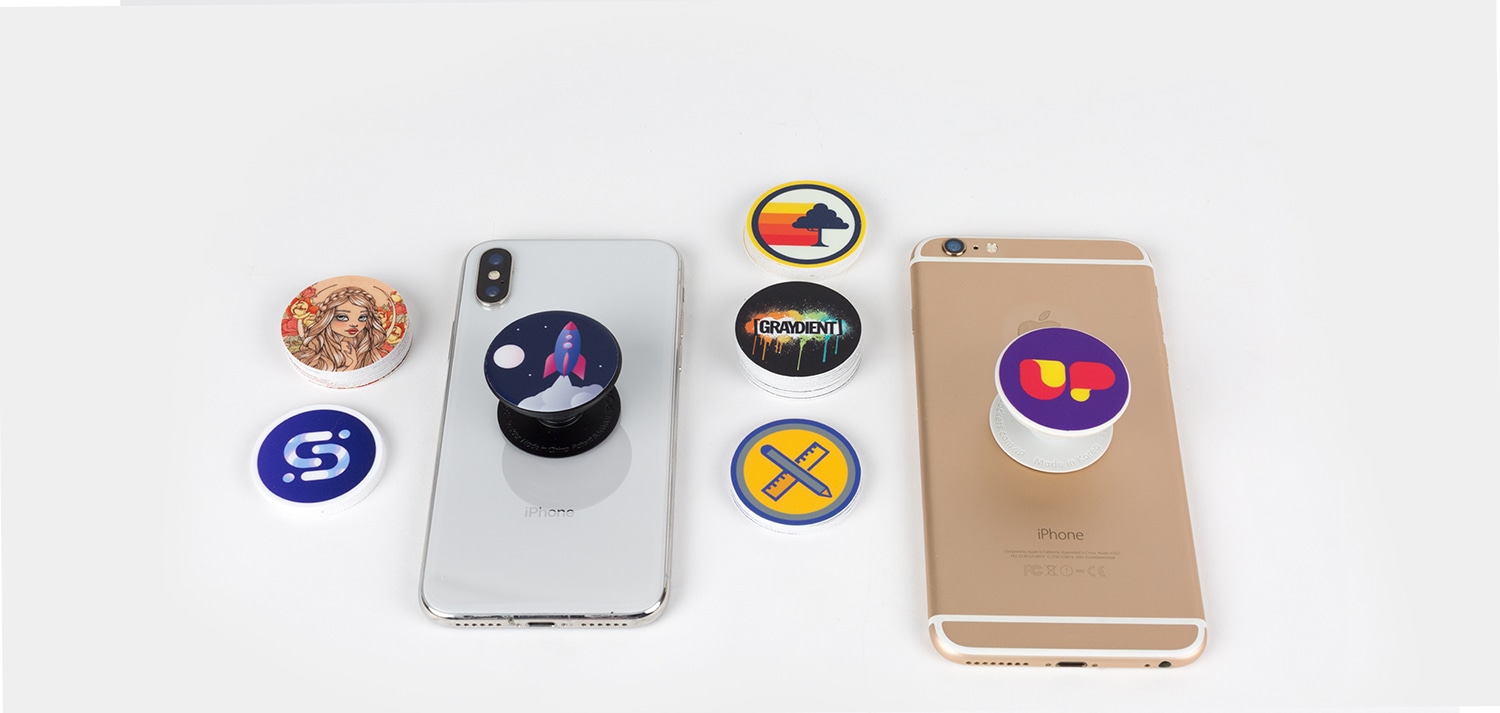
The first step in saving a picture on a popsocket is selecting the right design. Popsockets come in a variety of shapes, colors, and styles. Consider choosing a popsocket that complements the picture you want to save. For example, if your picture has vibrant colors, opt for a popsocket that is a solid color or has a simple design, so your picture stands out.
Preparing the Popsocket for Customization
Before saving a picture on a popsocket, it’s important to properly prepare the surface. Start by cleaning the popsocket with a mild soap and water solution. This will remove any dirt, dust, or oils that might interfere with the adhesion of the picture. Once cleaned, ensure the popsocket is completely dry before moving on to the next step.
Applying the Picture on the Popsocket
There are different methods to save a picture on a popsocket. One popular method is using a custom popsocket decal. These decals are specially designed to fit on the popsocket surface and can be easily applied. Simply peel off the backing of the decal, align it with the popsocket, and firmly press it down. Smooth out any bubbles or wrinkles as you go. Follow the manufacturer’s instructions for the best results.
Another option is to use a clear popsocket with an adhesive backing. In this case, you’ll need to print your desired picture on a high-quality adhesive paper or use a clear sticker. Carefully cut the picture to fit the size of the popsocket and then peel off the backing of the adhesive paper or sticker. Align the picture with the popsocket and press it down firmly, making sure there are no air bubbles or wrinkles.
Securing and Protecting the Picture on the Popsocket
Once you’ve saved the picture on the popsocket, it’s important to protect it and ensure it stays in place. You can apply a clear sealant or top coat over the picture to add an extra layer of protection against scratches and fading. This will also make the picture look more vibrant and enhance its longevity.
It’s worth noting that popsockets can be removed and replaced with a new design if you ever want to change the picture. Simply peel off the decal or adhesive paper/sticker, clean the popsocket surface, and start fresh with a new picture or design.
By following these simple steps, you’ll be able to save your favorite picture on a popsocket and transform it into a personalized accessory for your phone. So go ahead, get creative, and showcase your unique style with a picture-perfect popsocket!
Choosing the Right Popsocket Design
When it comes to saving a picture on a Popsocket, the first step is to choose the right design for your accessory. Popsockets come in a variety of styles and patterns, allowing you to express your personal taste and interests. Whether you want a simple and minimalist design, a vibrant and colorful pattern, or a Popsocket featuring your favorite character or logo, there is a wide range of options to choose from.
Consider your own style and preferences, as well as the overall aesthetic you want to achieve. Think about the colors, patterns, and imagery that resonate with you and that will complement your phone’s appearance. Keep in mind that the design you choose will be the backdrop for the picture you want to save, so select a design that will enhance and showcase the image in the best possible way.
Preparing the Popsocket for Customization
Once you have chosen the perfect Popsocket design, it’s time to prepare it for customization. Start by cleaning the surface of the Popsocket with a gentle, non-abrasive cleaning solution. This will remove any dirt, dust, or oils that may affect the adhesion of the picture. Use a soft cloth or a microfiber cloth to carefully wipe the surface until it is clean and dry.
Next, make sure the adhesive on the back of the Popsocket is well-positioned and intact. Gently remove the protective film from the adhesive to expose the sticky surface. Be careful not to touch the adhesive directly with your fingers to avoid leaving any oils or residues behind.
Preparing the Popsocket properly will help ensure that the picture you save adheres securely and stays in place for a long time.
Applying the Picture on the Popsocket
Now comes the exciting part – applying the picture on the Popsocket! There are a few different methods you can use to save a picture on a Popsocket, depending on your preference and the materials you have available.
One option is to use a custom decal or sticker to transfer the picture onto the Popsocket surface. Simply align the decal with the Popsocket design and carefully press it onto the surface, smoothing out any bubbles or wrinkles. Make sure to apply even pressure and consider using a tool, such as a credit card or a squeegee, to ensure a tight bond between the picture and the Popsocket.
Another option is to print the picture onto a special adhesive paper designed for crafts. Cut the picture to fit the size of the Popsocket and carefully peel off the backing to expose the adhesive side. Align the picture with the Popsocket design and press it firmly onto the surface, smoothing out any air bubbles or misalignments.
Securing and Protecting the Picture on the Popsocket
Once you have applied the picture to the Popsocket, it’s important to secure and protect it to ensure its longevity. If you used a decal or sticker, consider using a clear adhesive sealant or mod podge to seal the edges and prevent any peeling or lifting.
If you printed the picture onto adhesive paper, you may want to consider covering it with a clear, self-adhesive laminate for added protection. This will help guard against scratches, water damage, and fading, ensuring that your picture stays vibrant and intact over time.
Remember to handle your Popsocket with care, as rough handling or excessive rubbing may cause the picture to wear off or become damaged. Avoid immersing the Popsocket in water or exposing it to harsh chemicals, as this can compromise the adhesion and quality of the picture.
By following these steps and taking the necessary precautions, you can save a picture on a Popsocket and proudly display your favorite image on your phone accessory. Not only will it add a personal touch to your device, but it will also serve as a reminder of a cherished memory or a source of inspiration.
Conclusion
In conclusion, knowing how to save the picture on a Popsocket can greatly enhance your personalization options and transform your phone into a fashion-forward accessory. By following the simple steps outlined in this article, you can effortlessly customize your Popsocket with your favorite pictures and designs.
Not only does saving a picture on a Popsocket allow you to showcase your unique style, but it also adds a personal touch to your mobile device. Whether it’s a memorable photo, a cute design, or a meaningful image, a customized Popsocket lets you express yourself and stand out from the crowd.
With the wide variety of options available, you can change your Popsocket picture to suit your mood or make a statement. Whether you prefer a minimalist look, vibrant colors, or even a stylish pattern, the possibilities are endless.
So, go ahead and unleash your creativity by saving pictures on your Popsocket. It’s a simple yet effective way to make your phone truly yours and add a touch of personality to your everyday life. Make a statement and turn heads with a customized Popsocket that reflects your unique style and interests.
Don’t wait any longer, grab your favorite picture and start personalizing your Popsocket today!
FAQs
1. How do I save a picture on a Popsocket?
2. Can I change the picture on my Popsocket?
3. Is it possible to customize a Popsocket with my own design?
4. Can I remove a picture from my Popsocket and replace it with a new one?
5. What are some tips for preserving the picture quality on my Popsocket?