
Are you looking for a way to stabilize your mobile phone while taking photos or recording videos? Using a monopod can be a game-changer. A monopod is a single-legged support system that allows you to mount your phone securely and capture steady shots. It’s a great accessory for mobile photographers and videographers who want to elevate their content creation. In this article, we will guide you on how to set up a monopod on the ground, providing you with step-by-step instructions and helpful tips. Whether you’re a professional or amateur photographer, using a monopod can help you achieve professional-looking photos and videos with ease. So, let’s dive in and explore the world of monopods!
Inside This Article
- Overview
- Positioning the Monopod
- Securing the Monopod
- Adjusting the Height of the Monopod
- Conclusion
- FAQs
Overview
Setting up a monopod on the ground is a simple process that can greatly improve stability and provide steadier shots for your photography or videography needs. Whether you’re capturing action-packed sports moments or shooting breathtaking landscapes, knowing how to properly place and secure your monopod is essential for getting the best results.
In this article, we will guide you through the steps of setting up a monopod on the ground, including positioning it correctly, securing it in place, and adjusting its height to suit your shooting requirements. So, let’s dive in and learn how to make the most of this versatile camera accessory.
Before we delve into the specifics, it’s important to note that different monopods come with varying features and functionalities. While the basic principles of setting up a monopod remain the same, make sure to check the manufacturer’s instructions for any specific guidelines pertaining to your particular model.
Now, let’s explore the key steps involved in setting up your monopod on the ground.
Positioning the Monopod
When it comes to using a monopod, proper positioning is crucial for stability and balance. Whether you’re capturing breathtaking landscapes or fast-paced action shots, here are some key steps to ensure you position your monopod correctly:
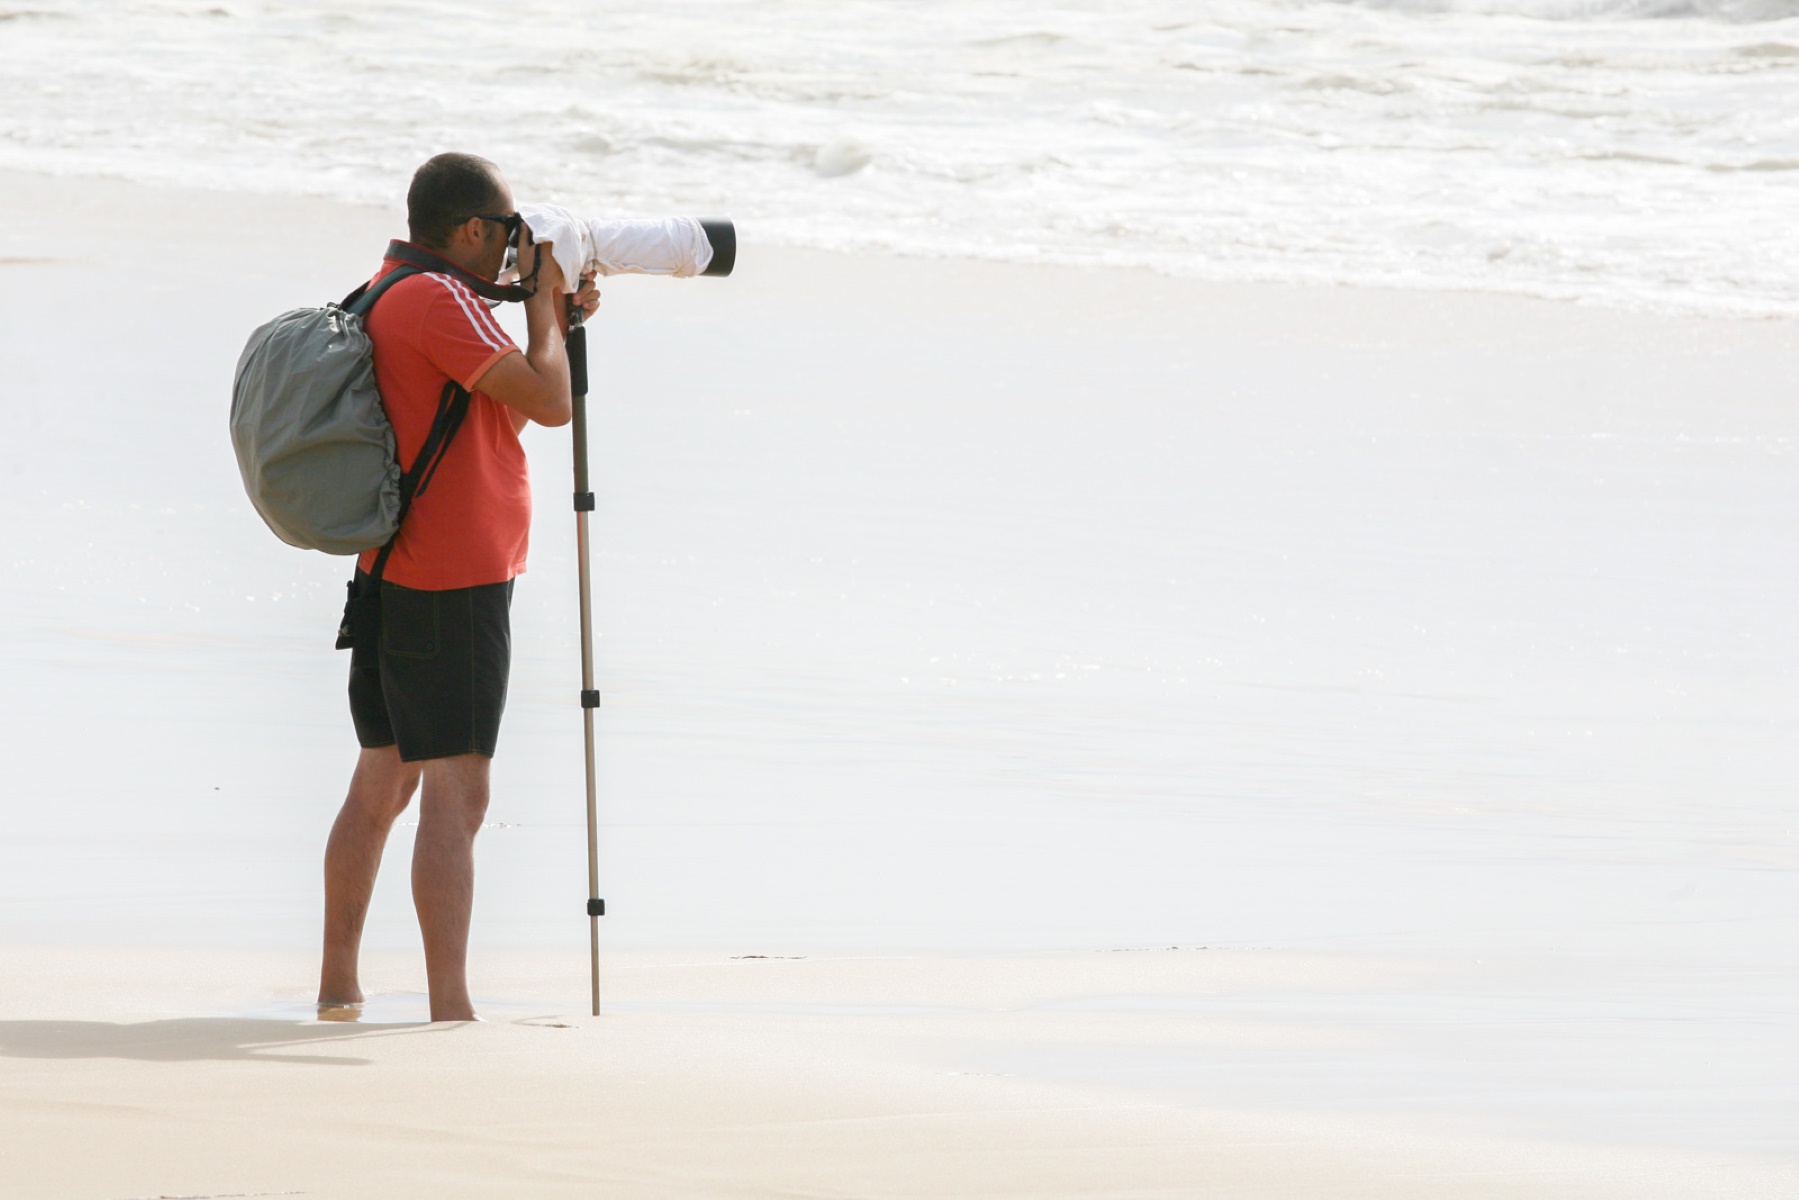
1. Find a flat and stable surface: Look for a sturdy and level ground to place your monopod. Avoid uneven terrain or soft surfaces like sand or grass, as they can compromise stability.
2. Stand facing the subject: Position yourself in front of the subject you wish to photograph or film. This will allow you to have a clear line of sight and better control over your monopod.
3. Extend the monopod to a comfortable height: Gradually extend the monopod to your desired height. Consider the type of shot you want to capture and adjust accordingly. For instance, if you’re shooting a scene from above, you may need to extend the monopod higher. On the other hand, if you want a lower-angle shot, adjust the height accordingly.
4. Hold the monopod firmly: Grip the monopod’s handle firmly with one hand, ensuring a secure hold. This will provide stability and prevent unnecessary movement during the shoot.
5. Position the monopod in front of you: Ideally, the monopod should be positioned slightly in front of your body, keeping it within your natural range of motion. This will allow for smoother panning and tracking movements while minimizing strain on your arms and shoulders.
6. Adjust the angle: Tilt the monopod to the desired angle, depending on the composition you wish to achieve. This can be done by rotating the monopod handle or adjusting any attached ball head or gimbal.
7. Parallel or perpendicular placement: Consider whether you want the monopod to be parallel or perpendicular to the ground. Parallel placement provides more stability, while perpendicular placement allows for versatile shooting angles. Choose the option that best suits your needs.
By following these steps, you can ensure that your monopod is properly positioned for optimal stability and control. This will not only help you capture sharper images but also make your photography experience more enjoyable. Now that you’ve positioned your monopod, let’s move on to securing it to prevent any accidents or mishaps.
Securing the Monopod
Once you have positioned your monopod on the ground, it’s important to properly secure it to ensure stability and prevent any accidents or mishaps. Here are some steps to follow to securely fasten your monopod:
- Tighten the Locking Mechanism: Most monopods have a locking mechanism near the top that allows you to extend or retract the pole. Before securing the monopod, make sure this locking mechanism is tightened securely. This will prevent any unwanted movement or sliding of the monopod.
- Attach a Wrist Strap: Many monopods come with a wrist strap that can be attached near the top. This strap is essential for providing an extra layer of security, especially if you accidentally let go of the monopod while using it. Make sure to securely fasten the wrist strap to your wrist to prevent any accidents.
- Use a Rubber Foot: Some monopods come with a detachable rubber foot that can be screwed on to the base. This rubber foot provides additional stability and prevents the monopod from slipping on smooth or slippery surfaces. If your monopod has a rubber foot, make sure to attach it securely before using.
- Consider Adding a Weighted Base: If you’re planning to use your monopod in windy conditions or on uneven terrain, you may want to consider using a weighted base. This is a separate accessory that can be attached to the bottom of the monopod, providing extra stability and preventing it from tipping over.
- Check the Stability: Before you start using your monopod, give it a gentle shake to ensure that it is securely fastened and stable. If you notice any wobbling or movement, double-check the locking mechanism and make any necessary adjustments to ensure a secure fit.
By following these steps, you can ensure that your monopod is properly secured, providing stability and peace of mind while capturing your photos or videos. Remember, safety should always be a top priority when using any type of photography equipment.
Adjusting the Height of the Monopod
One of the key features of a monopod is its adjustable height, allowing you to find the perfect positioning for your mobile phone. With this flexibility, you can capture stunning photos and videos from various angles, whether you’re shooting by yourself or in a group setting.
To adjust the height of the monopod, start by loosening the locking mechanism. Depending on the model of your monopod, this may be a twist-lock mechanism or a flip-lock mechanism. Once the locking mechanism is loosened, you can extend or retract the sections of the monopod to achieve your desired height.
Extend the monopod by gently pulling the sections apart. Be careful not to apply excessive force, as this may cause damage to the monopod. Gradually extend the sections until you reach the desired height. If you need to shorten the monopod, simply push the sections back in until they are securely locked in place.
As you adjust the height, pay attention to the markers or indications on the monopod. These markings are often found on the sections and serve as guides to help you maintain a consistent height. Align the sections with the desired markers to ensure that the monopod is properly extended and balanced.
Once you have set the height, make sure to tighten the locking mechanism. This step is crucial to ensure that the monopod remains stable and secure during use. If the locking mechanism is loose, the monopod may collapse or wobble, jeopardizing the stability of your mobile phone.
When adjusting the height, consider the shooting conditions and your specific needs. If you are shooting in a crowded area, you may need to lower the monopod to avoid obstructing people’s view or taking up too much space. Conversely, if you want to capture a wider perspective or shoot over a crowd, you may want to extend the monopod to its maximum height.
Experiment with different heights and angles to discover the best setting for your particular photography or videography requirements. Whether you’re capturing breathtaking landscapes, recording dynamic action shots, or simply taking a selfie, finding the right height of the monopod can make a significant difference in the quality of your shots.
Remember to always adjust the height of the monopod with care and caution. Take your time to ensure that the monopod is securely locked at the desired height before using it to support your mobile phone. By properly adjusting the height, you can elevate your photography and video skills to new heights.
Conclusion
Setting up a monopod on the ground is a simple and effective way to stabilize your camera and capture steady shots. With a few key steps, you can ensure that your monopod is securely positioned and ready to use. Start by finding a flat and stable surface to place the monopod on. Then, extend the monopod to your desired height and lock it in place. Adjust the leg and foot position to ensure stability. Finally, attach your camera securely to the monopod and you’re ready to start shooting.
By following these steps and taking the time to properly set up your monopod, you’ll greatly improve the stability and quality of your photography or videography. Whether you’re capturing action shots, landscape scenes, or anything in between, a well-positioned monopod will be your trusted companion in achieving professional-looking results.
FAQs
1. What is a monopod and how is it used?
A monopod is a single-legged support device that is commonly used in photography and videography. It is designed to provide stability to your camera or phone while capturing images or videos. To use a monopod, simply attach your camera or phone to the top of the monopod using the appropriate mount or adapter. Then, hold onto the monopod grip while extending the single leg. This will allow you to stabilize your device and reduce camera shake, resulting in clearer and sharper shots.
2. Why should I use a monopod instead of a tripod?
While tripods offer better stability and are preferable for longer exposures or when you need to leave your camera unattended, monopods offer greater mobility and ease of use. Monopods are lighter and more compact, making them ideal for situations where you need to move around quickly or when space is limited. Additionally, monopods are easier to carry and set up, making them a popular choice among photographers and videographers who are constantly on the go.
3. What are the advantages of using a monopod for mobile photography?
Using a monopod for mobile photography can significantly improve the quality of your photos and videos. The main advantages of using a monopod include:
– Enhanced stability: A monopod helps you achieve steadier shots by reducing camera shake, especially in low-light conditions or when capturing fast-moving subjects.
– Versatility: Monopods can be used with various mobile devices, including smartphones and action cameras. They are compatible with different mounting options to accommodate different-sized devices.
– Portability: Monopods are lightweight and easy to carry, making them a convenient accessory to have on hand when you’re out and about.
– Flexibility: Monopods allow you to adjust the height and angle of your device, giving you more control over your composition and framing.
4. Can I use a monopod for video recording on my smartphone?
Yes, absolutely! Using a monopod for video recording on your smartphone can greatly improve the stability of your footage. It helps reduce camera shake and provides a smoother shooting experience. Additionally, many monopods come with built-in features like a phone holder or Bluetooth remote control specifically designed for mobile videography.
5. Are monopods waterproof?
Most monopods are not inherently waterproof, as they are primarily made of aluminum or carbon fiber materials. However, you can find monopods that are water-resistant or come with a protective coating to prevent water damage. If you plan on using a monopod in wet or rainy conditions, it’s advisable to check the product specifications or invest in a waterproof case or cover for your device.